

P0442 on 2000-2004 Oldsmobile Silhouette: EVAP Small Leak Causes and Fixes
This code means a small leak is detected in your van's fuel vapor system. The most common fix is replacing a worn-out gas cap. If that doesn't work, the next likely culprits are the EVAP vent or purge solenoids, which are known to fail on these GM minivans.
- P0442 means your van has a small fuel vapor leak.
- Always start by checking, tightening, or replacing the gas cap; it's the most likely and cheapest fix.
- If the gas cap isn't the issue, the EVAP vent solenoid (at the rear) or purge solenoid (in the engine bay) are the next most common culprits.
- While you can drive with this code, your vehicle will not pass an emissions inspection until it is fixed.
- Finding the leak without a smoke machine can be difficult; professional diagnosis is often the most efficient path if the gas cap isn't the problem.
What's Unique About the 2000-2004 Oldsmobile SILHOUETTE
On these GM U-body minivans (Silhouette, Chevy Venture, Pontiac Montana), the P0442 code is a very common issue as the vehicles age. The components are generally reliable, but rubber hoses and seals degrade over time. While a loose gas cap is a frequent cause, the vent and purge solenoids are also common failure points. GM has issued technical service bulletins, like #PIT4943D, that guide technicians to use specialized EVAP system testers (smoke machines) for diagnosis, acknowledging that finding these small leaks can be tricky.
🎬 Watch: How to find a small EVAP leak using a smoke machine.Diagnostic Flowchart
Tap your situation to follow the diagnostic path that matches what you're seeing on this vehicle.
Symptoms You May Notice
- Check Engine Light is on
- A faint fuel smell may be present, especially after parking in a garage.
- Difficulty refueling (gas pump nozzle clicks off repeatedly) can occur if the vent valve is stuck closed or clogged. This is a widely reported symptom on these vans and often points directly to a faulty vent solenoid.
- Replacing the O2 sensors. O2 sensors are not related to the EVAP system.
- Replacing the fuel pump. While the FTP sensor is on the fuel pump module, the pump itself does not cause EVAP leak codes.
Most Likely Causes
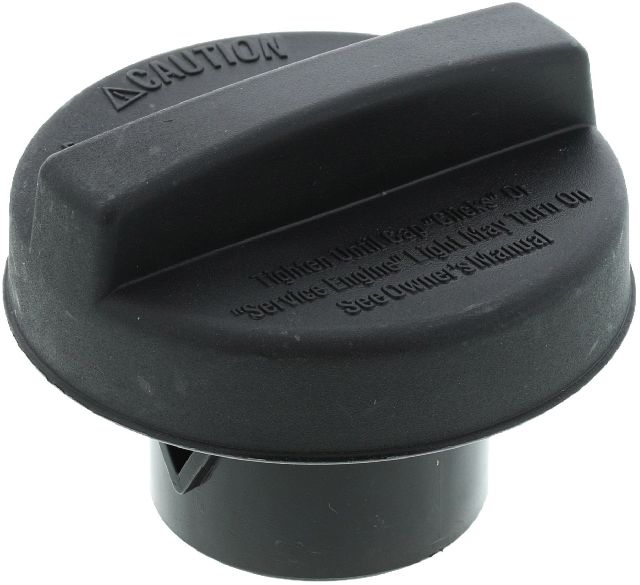
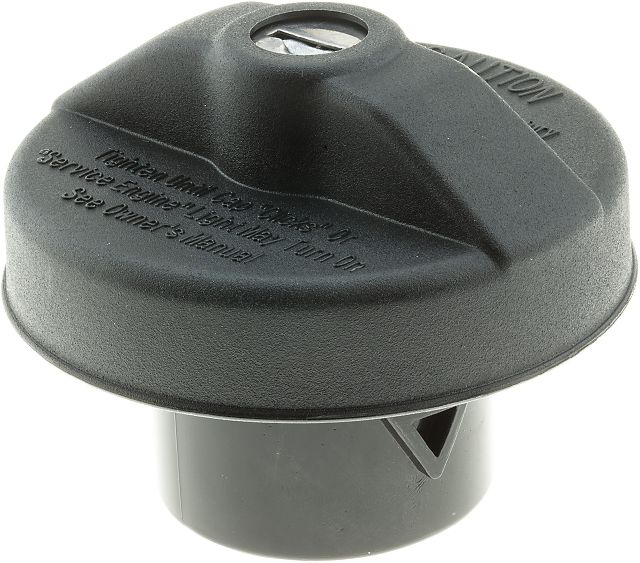
- Loose or Faulty Gas Cap 🔴 High Probability The rubber O-ring on the gas cap is the system's primary seal. It degrades and flattens over time, preventing a tight seal. Aftermarket caps can also cause issues if they don't meet OEM specifications. This is the most common cause and the first thing to check.
How to confirm: Ensure the cap is tightened until it clicks at least three times. Inspect the rubber seal for cracks or damage. If the seal is worn, replacing the cap is the easiest and cheapest first step.
Typical fix: Replace the gas cap with a new, high-quality OEM or equivalent part, such as ACDelco GT295.
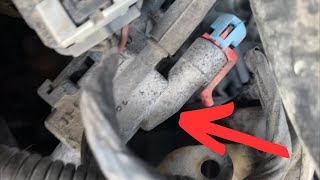
Est. part cost: $15-$35 - Faulty EVAP Vent Solenoid 🟡 Medium Probability Located near the rear of the vehicle by the charcoal canister (often above the rear axle), this valve is exposed to road debris, salt, and moisture, which can cause it to fail, its seal to leak, or its housing to crack over time.
How to confirm: A smoke test is the best method; smoke will be seen exiting the valve when it should be closed. It can also be removed and tested with a 12V power source to see if the solenoid actuates and seals properly. Visually inspect the rubber components for cracks.
Typical fix: Replace the EVAP vent solenoid. It is typically mounted on or near the charcoal canister. On these vans, it is found above the fuel tank/rear axle area.
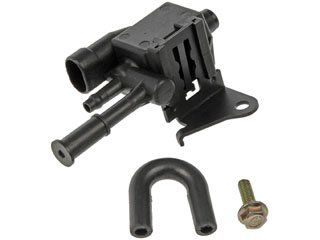
Est. part cost: $25-$70 - Faulty EVAP Purge Solenoid 🟡 Medium Probability This valve is located in the engine bay and can get stuck slightly open due to age or contamination from the charcoal canister, creating a constant small leak.
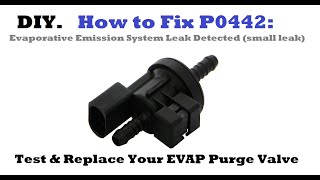
How to confirm: With the engine off, try to blow through the valve; it should be closed and not allow air to pass. 🎬 See this walkthrough on testing and replacing the purge valve. A hand-held vacuum pump can also be used to see if it holds vacuum. A smoke test will also reveal a leak here.
Typical fix: Replace the purge solenoid valve.
Est. part cost: $20-$50 - Rusted Fuel Filler Neck ⚪ Low Probability In areas where road salt is used, the metal fuel filler neck can rust where the gas cap seals, creating an uneven surface that prevents a proper seal. This is a very common issue on older GM vehicles in the rust belt.
How to confirm: Remove the gas cap and visually and physically inspect the rim of the filler neck for rust, corrosion, or pitting. Run your finger along the sealing surface to feel for roughness.
Typical fix: Clean the filler neck surface thoroughly with a wire brush or sandpaper to restore a smooth sealing surface. Applying a light coat of dielectric grease can help seal and prevent future rust. If the rust is severe and has created holes, the filler neck must be replaced.
Est. part cost: $50-$150 - Cracked or Disconnected EVAP Hoses ⚪ Low Probability The rubber and plastic lines that run from the fuel tank to the engine bay can become brittle and crack with age and heat exposure, especially at connection points and bends.
How to confirm: A thorough visual inspection of all EVAP lines may reveal obvious cracks. A smoke test is the most effective way to find small, hard-to-see cracks in the hoses.
Typical fix: Replace the specific section of cracked hose. Small sections of vacuum hose can be purchased cheaply.
Est. part cost: $10-$40
Rare But Worth Checking
- Leaking Fuel Tank Pressure (FTP) Sensor: The sensor itself or its seal on the fuel tank can develop a leak. It's located on top of the fuel tank sending unit, making it difficult to access without lowering the tank. A smoke test is the best way to confirm this.
- Cracked Charcoal Canister: The plastic housing of the charcoal canister can develop cracks from age or impact from road debris, causing a leak. This is usually found during a smoke test.
Diagnosis Steps
- Check the Gas Cap: Remove, inspect the seal for cracks, and reinstall it, ensuring it clicks several times. Clear the code and drive for a few days to see if it returns. This is the most common fix.
- Visual Inspection: Carefully inspect all accessible EVAP hoses in the engine bay and under the vehicle for obvious cracks, disconnections, or damage. Pay close attention to rubber elbows and connections to the purge and vent solenoids.
- Inspect Fuel Filler Neck: Check the sealing surface of the filler neck for any rust or corrosion that could prevent the gas cap from sealing. Clean with a wire brush if necessary.
- Perform a Smoke Test: This is the most effective diagnostic step. Connect a smoke machine to the EVAP service port (often a green cap in the engine bay). The system will fill with smoke, and any leaks from hoses, valves, the canister, or seals will become visible.
- Test Solenoids: If a smoke test isn't available, the purge and vent solenoids can be removed and tested. The purge valve (engine bay) should be closed when unpowered. The vent valve (rear of vehicle, near tank) should be open when unpowered. Test their function with a 12V source and by attempting to blow air through them.
- Test Fuel Tank Pressure Sensor: This requires a scan tool to monitor sensor voltage and a vacuum pump to check if the sensor's readings change correctly with applied vacuum.
Parts You'll Likely Need
- Gas Cap
(OEM #ACDelco GT295)— This is the most common and easiest fix. The seal wears out over time, and an OEM-spec cap is crucial for a proper seal.
Trusted brands: ACDelco, Stant
OEM price range: $20-$35
Aftermarket price range: $15-$25 - EVAP Vapor Canister Vent Solenoid
(OEM #214-2149)— A common failure point that causes a leak when its internal valve no longer seals correctly or the housing cracks due to its exposed location.
Trusted brands: ACDelco, Dorman
OEM price range: $40-$70
Aftermarket price range: $25-$50 - EVAP Vapor Canister Purge Valve/Solenoid
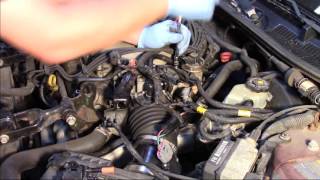
(OEM #214-641)— This valve can get stuck partially open, causing a persistent small leak in the system. It is located in the engine compartment and is relatively easy to replace. 🎬 Watch: Step-by-step purge solenoid replacement on a GM minivan.
Trusted brands: ACDelco, Bosch
OEM price range: $30-$50
Aftermarket price range: $20-$40
Related Codes That Often Appear With This One
- P0440 — EVAP System Malfunction. This is a more general EVAP system code that can appear alongside more specific leak codes like P0442.
- P0455 — EVAP Leak Detected (Large Leak). If a component fails significantly, the system may register both a small and large leak code at different times.
- P0449 — EVAP Vent Valve/Solenoid Circuit Malfunction. This code points specifically to an electrical issue with the vent valve circuit, but can appear alongside a P0442 if the valve is failing mechanically and electrically.
Technical Service Bulletins (TSBs) & Recalls
- PIT4943D: Mentions that for a P0442 code, technicians may need to refer to a specific Techlink article on using an Evaporative Emissions System Tester for proper diagnosis.
- 01-06-04-033: This TSB addresses trouble codes P0440, P0442, and P0452/P0453 on various GM vehicles, including the U-body vans. It points to potential issues with the fuel tank pressure sensor wiring being damaged or corroded where it passes through the floor, or a faulty fuel tank pressure sensor itself.
Platform-Specific Known Issues
- Vent Solenoid Location and Vulnerability: On the Silhouette and its U-body platform mates, the EVAP vent solenoid is mounted above the rear axle, near the fuel tank. This location makes it highly susceptible to damage from road salt, water, and debris, leading to corrosion and cracking of the plastic and rubber components, which is a frequent cause of the P0442 code.
Mechanic-Grade Diagnostic Values
- EVAP Canister Purge Valve Solenoid Resistance — expected: 30 - 38 Ohms. Failure: Readings outside this range indicate a faulty solenoid coil.
- EVAP Canister Vent Solenoid Resistance — expected: 48 - 65 Ohms. Failure: Readings outside this range suggest a problem with the vent solenoid coil.
- Fuel Tank Pressure (FTP) Sensor Voltage (KOEO, gas cap off) — expected: ~1.45 - 1.5 Volts. Failure: A significantly different voltage, or a voltage that doesn't change when vacuum is applied, indicates a faulty sensor. Note: This sensor reads in gauge pressure, so it will show near zero kPa at atmospheric pressure, not barometric pressure.
Scan Tool Commands That Help
- GM Tech2: Service Bay Tests -> EVAP System Bay Test — This is a guided, automated test to force the EVAP monitor to run and diagnose the system without having to perform a full drive cycle. It commands the solenoids and reads sensor data to verify system integrity. It requires specific actions, like holding the engine at a steady RPM (e.g., 2000 RPM) for several minutes.
- GM Tech2: Output State Control (or similar bidirectional control menu) — To manually command the EVAP Purge and Vent solenoids ON and OFF. This allows a technician to seal the system for a smoke test or to check if the solenoids are actuating mechanically (listening for a click) and sealing properly.
Wiring & Ground Locations
- G401 — Lower left 'D' pillar.. This is a major body ground point at the rear of the vehicle, near the location of the EVAP canister and vent solenoid. A poor ground here could cause intermittent or faulty operation of the vent solenoid.
- G103 — Located at the left rear of the engine compartment on the cowl, above the brake booster.. This ground serves the Body Control Module (BCM) and Instrument Panel Cluster (IPC). The BCM/PCM is responsible for controlling and monitoring the EVAP system, so a fault at this ground could cause a variety of strange electrical issues, including false diagnostic codes.
- Instrument Panel Fuse Block — Located on the passenger side of the dashboard, behind a cover.. This fuse block contains fuses critical to the ignition and BCM circuits that power the EVAP system components, such as the 'IGN 1' fuse.
Real Owner Repair Stories
- YouTube video demonstration (General vehicle, but common on GM models in the rust belt.) — P0442 Check Engine Light.
❌ Tried (didn't work) Replacing the gas cap without inspecting the filler neck.
✅ What actually fixed it The metal fuel filler neck where the gas cap seals was corroded with rust, preventing a good seal. The fix was to thoroughly clean the surface with a wire brush and then apply a light coat of silicone dielectric grease to help seal and prevent future rust. This resolved the P0442 code. - CorvetteForum user (GM vehicle requiring EVAP monitor to run for emissions.) — Inability to get the EVAP monitor to set to 'Ready' for an emissions test.
❌ Tried (didn't work) Attempting to perform the standard drive cycle., Trying to hold RPMs steady with foot on the pedal during the Tech2 test.
✅ What actually fixed it Used a GM Tech2 scanner to run the 'EVAP System Bay Test'. To successfully complete the test, which required holding RPMs steady between 1800-2200 for 8 minutes, the user wedged a piece of wood between the seat and gas pedal and used the power seat controls to achieve a constant 2000 RPM. This allowed the automated test to complete and set the monitor.
"I Checked Everything" — The Actual Cause
- A valve (purge or vent) may seal correctly under the light positive pressure of a smoke machine, but fail to hold the vacuum that the PCM actually uses to test the system. A technician on a forum noted this possibility, suggesting testing the valves with a hand-held vacuum pump to see if they leak under vacuum, which would explain a P0442 code even after a 'clean' smoke test.
OEM Part Supersession History
N/A→ACDelco 214-2149 (Vent Solenoid)— This is a widely used service replacement part that fits a huge range of GM vehicles from this era, likely superseding multiple original part numbers.
Heads up: Cross-references to Dorman 911-021 and Standard Motor Products CVS6.N/A→ACDelco 214-641 (Purge Solenoid)— This is the standard GM original equipment service part for the purge valve on many vehicles from the late 90s through the mid-2000s, including the Silhouette.
Helpful Videos
We Have This Part in Stock


The information in this article is provided for general reference and educational purposes only. Vehicle specifications, procedures, and part compatibility can vary by production date, trim level, and region. Always consult your vehicle's factory service manual and verify part numbers before purchasing or performing repairs. Safety-critical components such as airbags, seat belts, and braking systems should be installed by a qualified professional.
- Oldsmobile SILHOUETTE:
- 🎬 Helpful Videos
- 🛍️ Shop This Part
- What's Unique About the 2000-2004 Oldsmobile SILHOUETTE
- Diagnostic Flowchart
- Symptoms You May Notice
- Most Likely Causes
- Rare But Worth Checking
- Diagnosis Steps
- Parts You'll Likely Need
- Related Codes That Often Appear With This One
- Technical Service Bulletins (TSBs) & Recalls
- Platform-Specific Known Issues
- Mechanic-Grade Diagnostic Values
- Scan Tool Commands That Help
- Wiring & Ground Locations
- Real Owner Repair Stories
- "I Checked Everything" — The Actual Cause
- OEM Part Supersession History
- 🎟️ Get 5% Off