

P0442 on 2004-2011 Chevrolet Malibu: EVAP Small Leak Causes and Fixes
For a 2004-2011 Chevy Malibu, code P0442 is most often caused by a loose or faulty gas cap. If tightening or replacing the gas cap (~$15-$30) doesn't fix it, the next most likely causes are a failed EVAP purge or vent valve. A smoke test is the most effective way to find the exact source of the leak.
- P0442 indicates a small leak in the EVAP (emissions) system, not a critical engine problem.
- Always check the gas cap first. Make sure it's tight and the seal is in good condition. This is the most common and cheapest fix.
- If the gas cap isn't the issue, the EVAP purge valve (on the engine) and vent valve (near the fuel tank) are the next most likely culprits.
- The 2004-2011 Malibu covers two generations; double-check that any replacement part is correct for your specific year.
- For hard-to-find leaks, a professional smoke test is the most effective diagnostic tool.
What's Unique About the 2004-2011 Chevrolet MALIBU

The 2004-2011 Chevrolet Malibu spans two distinct generations (6th gen: 2004-2008; 7th gen: 2008-2012), which can lead to differences in part design and location for EVAP components. While the causes for P0442 are common across many GM vehicles of this era, it's important to verify the correct part for your specific model year. Manufacturer TSBs for this issue on the Malibu, like PIT4943D, focus on proper diagnostic procedures using a specific EVAP tester (smoke machine) rather than a single defective part, highlighting the need to test components before replacing them.
Diagnostic Flowchart

Tap your situation to follow the diagnostic path that matches what you're seeing on this vehicle.
Generation note: This range covers the 6th generation (2004-2008 'Classic' models) and the 7th generation (2008-2011). While the operating principles of the EVAP system are the same, the physical location and part numbers for components like the purge and vent solenoids may differ. For example, the vent solenoid on some 6th-gen models is on top of the fuel tank, requiring the tank to be lowered for access. Always confirm parts fit your specific year before purchasing.
Symptoms You May Notice
- Check Engine Light is on.
- A faint smell of fuel, possibly near the gas cap area or in a garage.
- No noticeable difference in how the car drives.
- A 'tighten gas cap' message may appear on the driver information center for newer models.
- Difficulty refueling, where the gas pump clicks off repeatedly (this can indicate a blocked vent valve or hose).
- Replacing the charcoal canister when the actual problem is a much cheaper vent solenoid attached to it.
- Replacing O2 sensors, which are not related to the EVAP system.
- Immediately replacing the purge or vent valve without testing them first. The issue could be a simple cracked hose nearby.
Most Likely Causes

- Loose or Faulty Gas Cap 🔴 High Probability The gas cap seal is a common failure point on all vehicles over time. It's the most frequently moved part of the emissions system and the rubber O-ring can crack, harden, or become dirty, preventing a proper seal.
How to confirm: Ensure the gas cap is tightened until it clicks several times. Inspect the rubber O-ring on the cap for any cracks, tears, dirt, or signs of being worn out. Also, check the rim of the fuel filler neck for rust or debris that could interfere with the seal.
Typical fix: Replace the gas cap with a new, OEM-equivalent part. Using a non-conforming aftermarket cap can also cause this code.
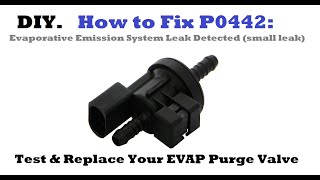
Est. part cost: $15-$30 - Faulty EVAP Purge Valve/Solenoid 🟡 Medium Probability The purge valve, located on the engine, cycles frequently during operation and can become stuck slightly open or develop a small internal leak, which a scan tool may not always detect without a specific test. This allows vacuum to constantly pull on the EVAP system, which the computer interprets as a leak.
How to confirm: The purge valve is typically located on the engine intake manifold. It can be tested with a hand-held vacuum pump to see if it holds vacuum when de-energized (it should). A bi-directional scan tool can also command it open and closed to check for function. A very small leak might only be found by pressurizing the valve with a smoke machine.
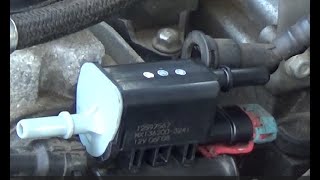
Typical fix: Replace the purge valve solenoid. This is often a straightforward replacement held by one or two bolts with push-on hose connections. 🎬 Watch: How to replace the purge valve on 2.4L engines.
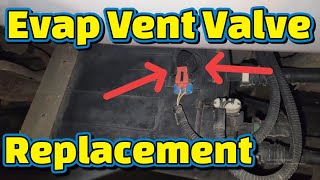
Est. part cost: $25-$60 - Faulty EVAP Vent Valve/Solenoid 🟡 Medium Probability Located near the charcoal canister under the car, this valve is exposed to road debris, moisture, and dust, which can lead to failure. It can get stuck open or fail to seal completely, causing a persistent small leak. GM has issued service bulletins for other vehicles regarding dust intrusion causing this part to fail.
How to confirm: The valve is normally open and closes when energized. It can be removed and tested by applying 12V power to see if the valve closes and seals against light pressure or vacuum. A scan tool can also command it closed for testing while performing a smoke test.
Typical fix: Replace the vent valve solenoid. It is usually mounted on or near the charcoal canister, though on some 6th gen Malibus it may be on top of the fuel tank. 🎬 Watch: How to replace a common GM vent valve solenoid.
Est. part cost: $30-$75 - Cracked or Disconnected EVAP Hoses ⚪ Low Probability The plastic and rubber hoses in the EVAP system can become brittle with age and engine heat cycles, leading to small, hard-to-see cracks, especially at connection points and elbows.
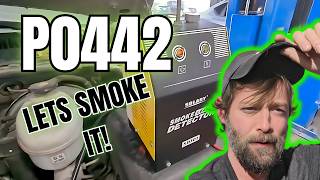
How to confirm: A visual inspection may reveal obvious cracks or loose connections, but tiny leaks are often invisible. The most effective method is a smoke test, which forces low-pressure smoke into the EVAP system, making even tiny leaks visible as smoke escapes. 🎬 See a full diagnosis and fix for a 2011 Malibu.
Typical fix: Replace the cracked section of hose or the entire hose assembly. Ensure all connections are secure, using clamps if necessary.
Est. part cost: $10-$50
Rare But Worth Checking
- Cracked Charcoal Canister: While less common for a small leak, a hairline crack in the plastic body of the canister can trigger a P0442. This is almost always found during a smoke test.
- Corroded Fuel Filler Neck: Rust or damage on the rim of the fuel filler neck can prevent the gas cap from creating a proper seal, leading to a leak. In severe cases, the neck itself can rust through, creating a leak that may also be visible when refueling. This is more common in regions that use road salt.
- Faulty Fuel Tank Pressure Sensor: A faulty fuel tank pressure (FTP) sensor can give incorrect readings, making the computer believe there is a leak when there isn't one. This will often, but not always, be accompanied by other FTP sensor-specific codes.
Diagnosis Steps
- Read the code with an OBD-II scanner to confirm P0442 is present.
- Inspect the gas cap. Remove it, check the seal for damage, and clean the sealing surface on the filler neck. Reinstall the cap, ensuring it clicks multiple times. Clear the code and drive for a few days to see if it returns.
- If the code returns, perform a thorough visual inspection of all accessible EVAP hoses under the hood and around the fuel tank area for obvious cracks, deterioration, or disconnections.
- Locate and test the EVAP purge valve on the engine. With the engine off, it should be closed and hold a vacuum. You can disconnect it and try to blow through it; no air should pass.
- Locate and test the EVAP vent valve near the charcoal canister. It is normally open but should close and seal when 12V is applied. Check it for dirt or debris that may prevent it from closing fully.
- If no obvious issues are found, the most reliable method to find the leak is to have a professional smoke test performed. This will reveal the exact source of the small leak, whether it's a hose, the canister, the fuel filler neck, or a valve seal.
Parts You'll Likely Need

- Fuel Tank Cap
(OEM #GT288 (ACDelco for 7th gen), GT261 (ACDelco for 6th gen))— This is the most common cause for a P0442 code due to a worn or damaged seal. It's the easiest and cheapest part to replace first.
Trusted brands: ACDelco, Gates, Stant
OEM price range: $20-$40
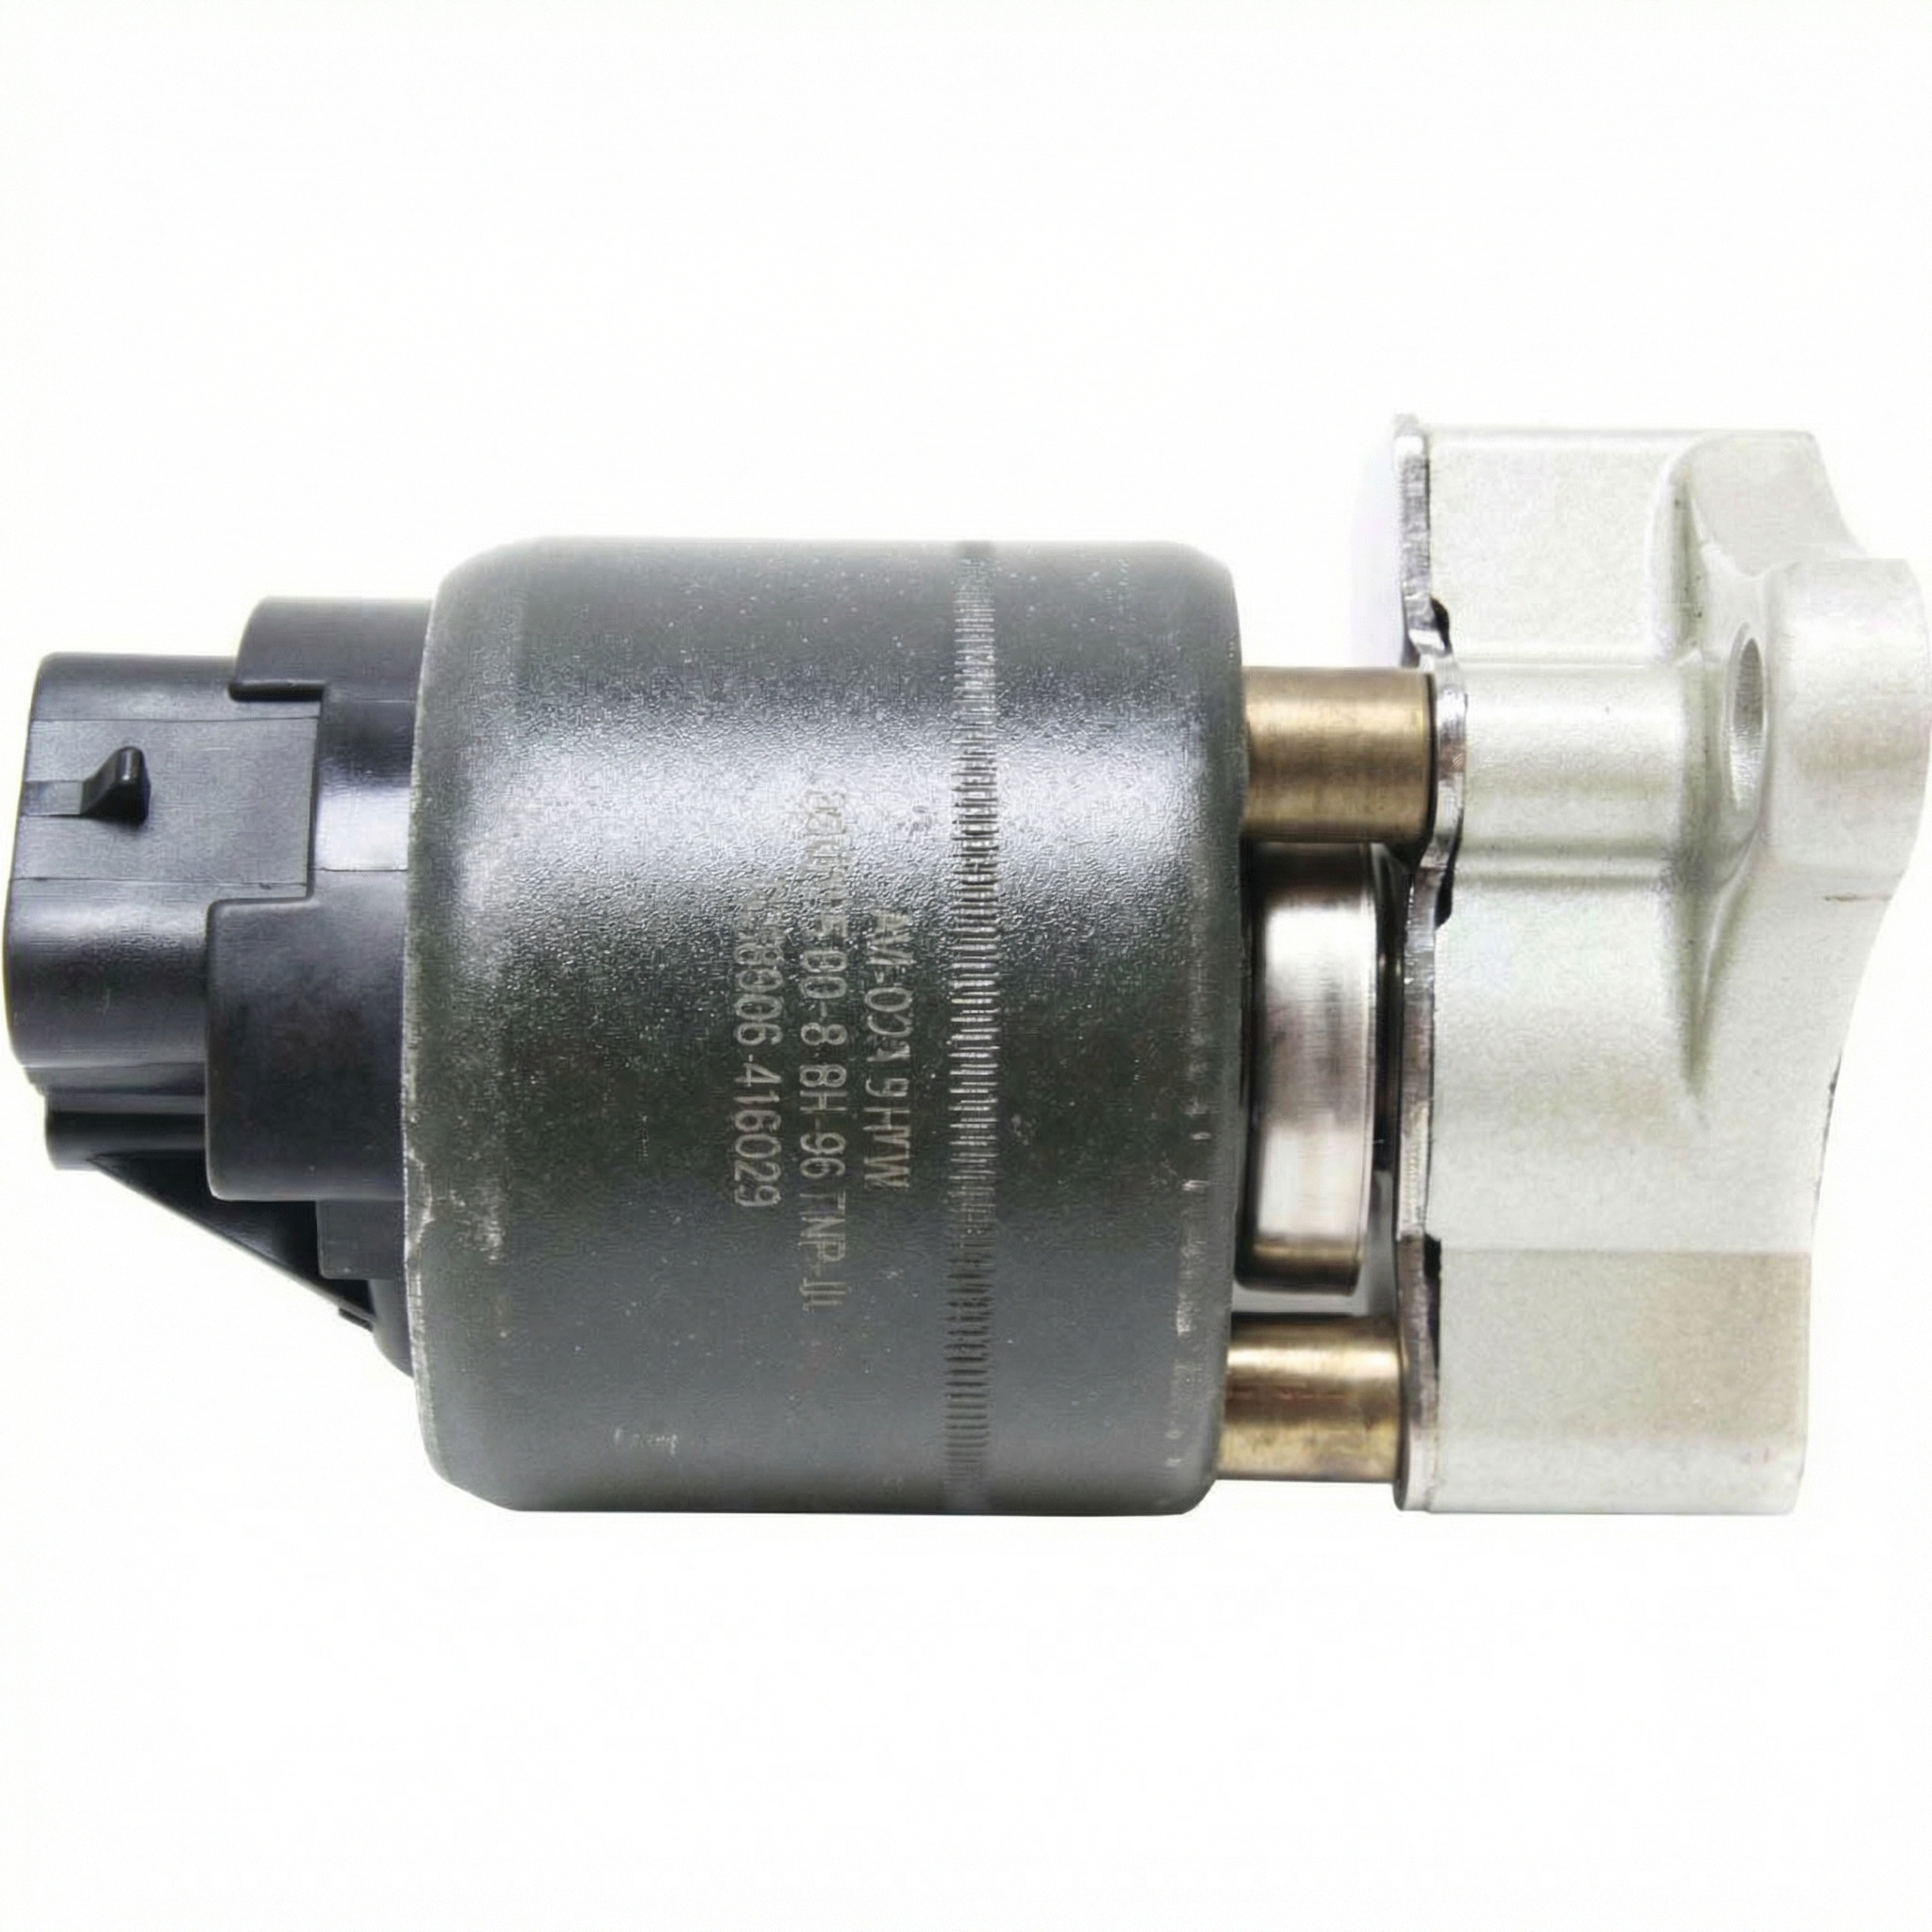
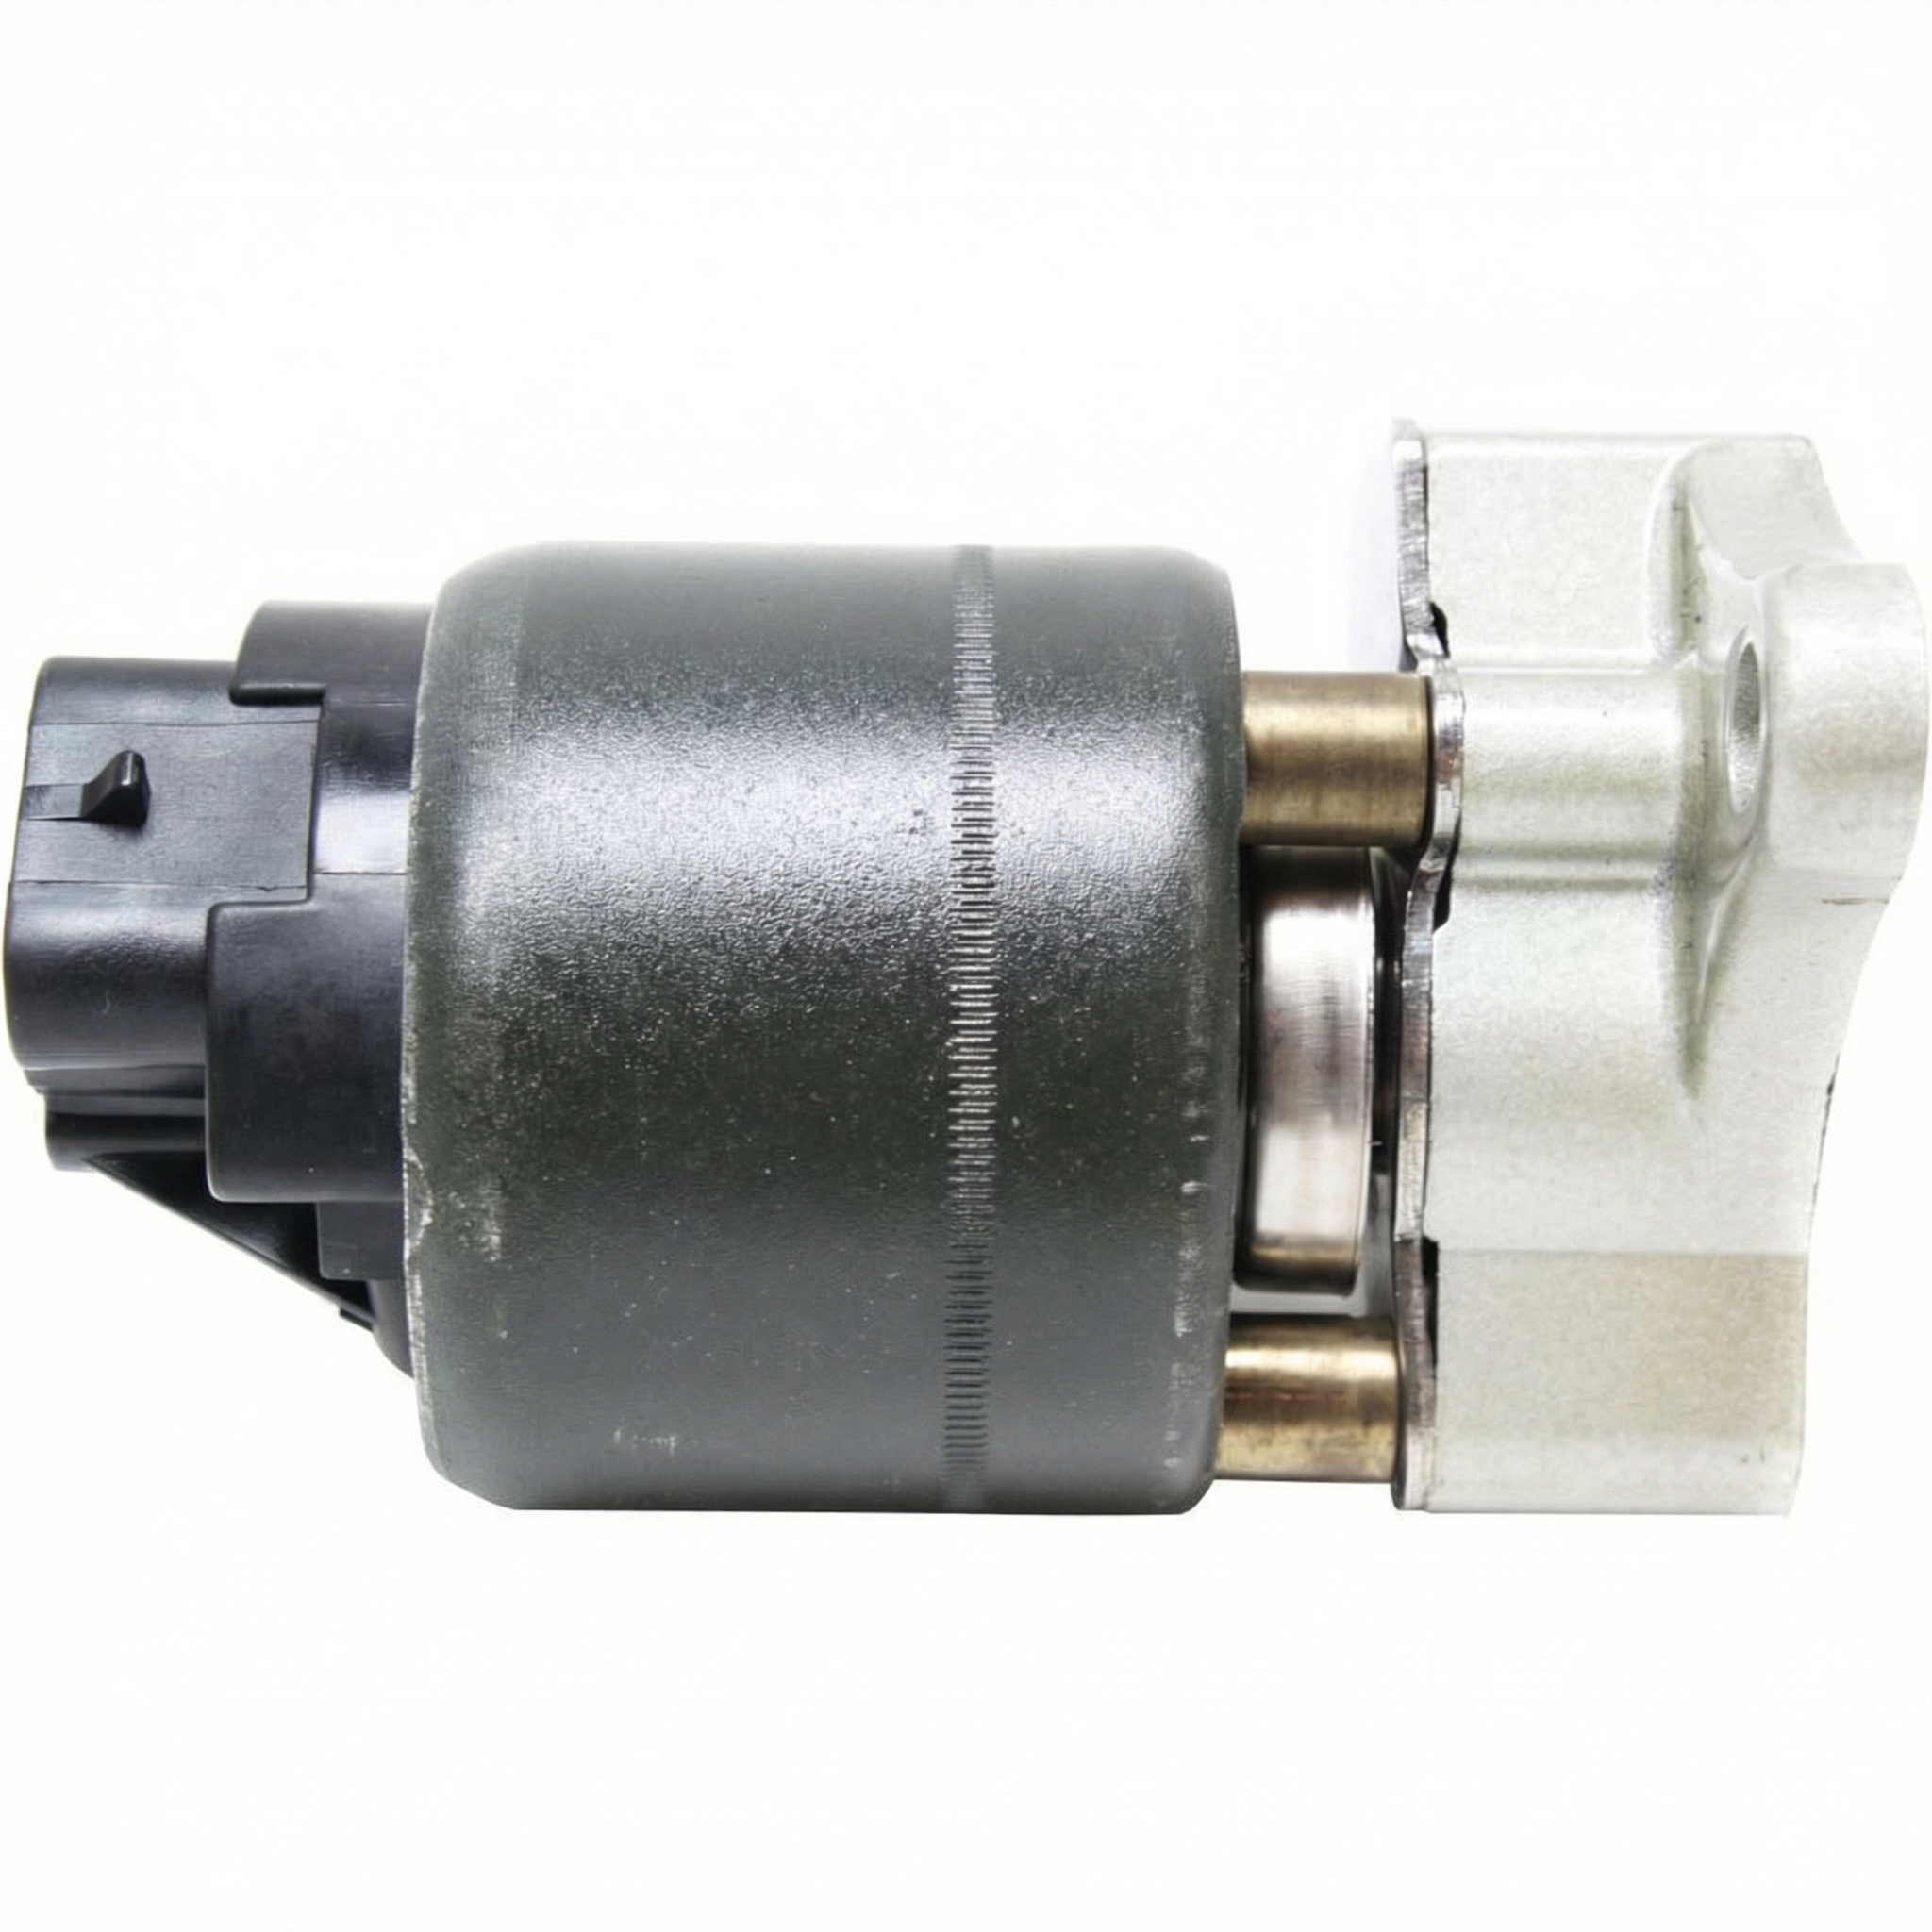
Aftermarket price range: $15-$30 - Vapor Canister Purge Valve / Solenoid
(OEM #12690512 (Supersedes 12610560, common for 7th gen 2.4L), 214-1682 (Common for 6th gen))— This valve is a common failure point that can stick open or leak internally, causing a small leak detected by the system.
Trusted brands: ACDelco, Dorman, Bosch
OEM price range: $40-$70
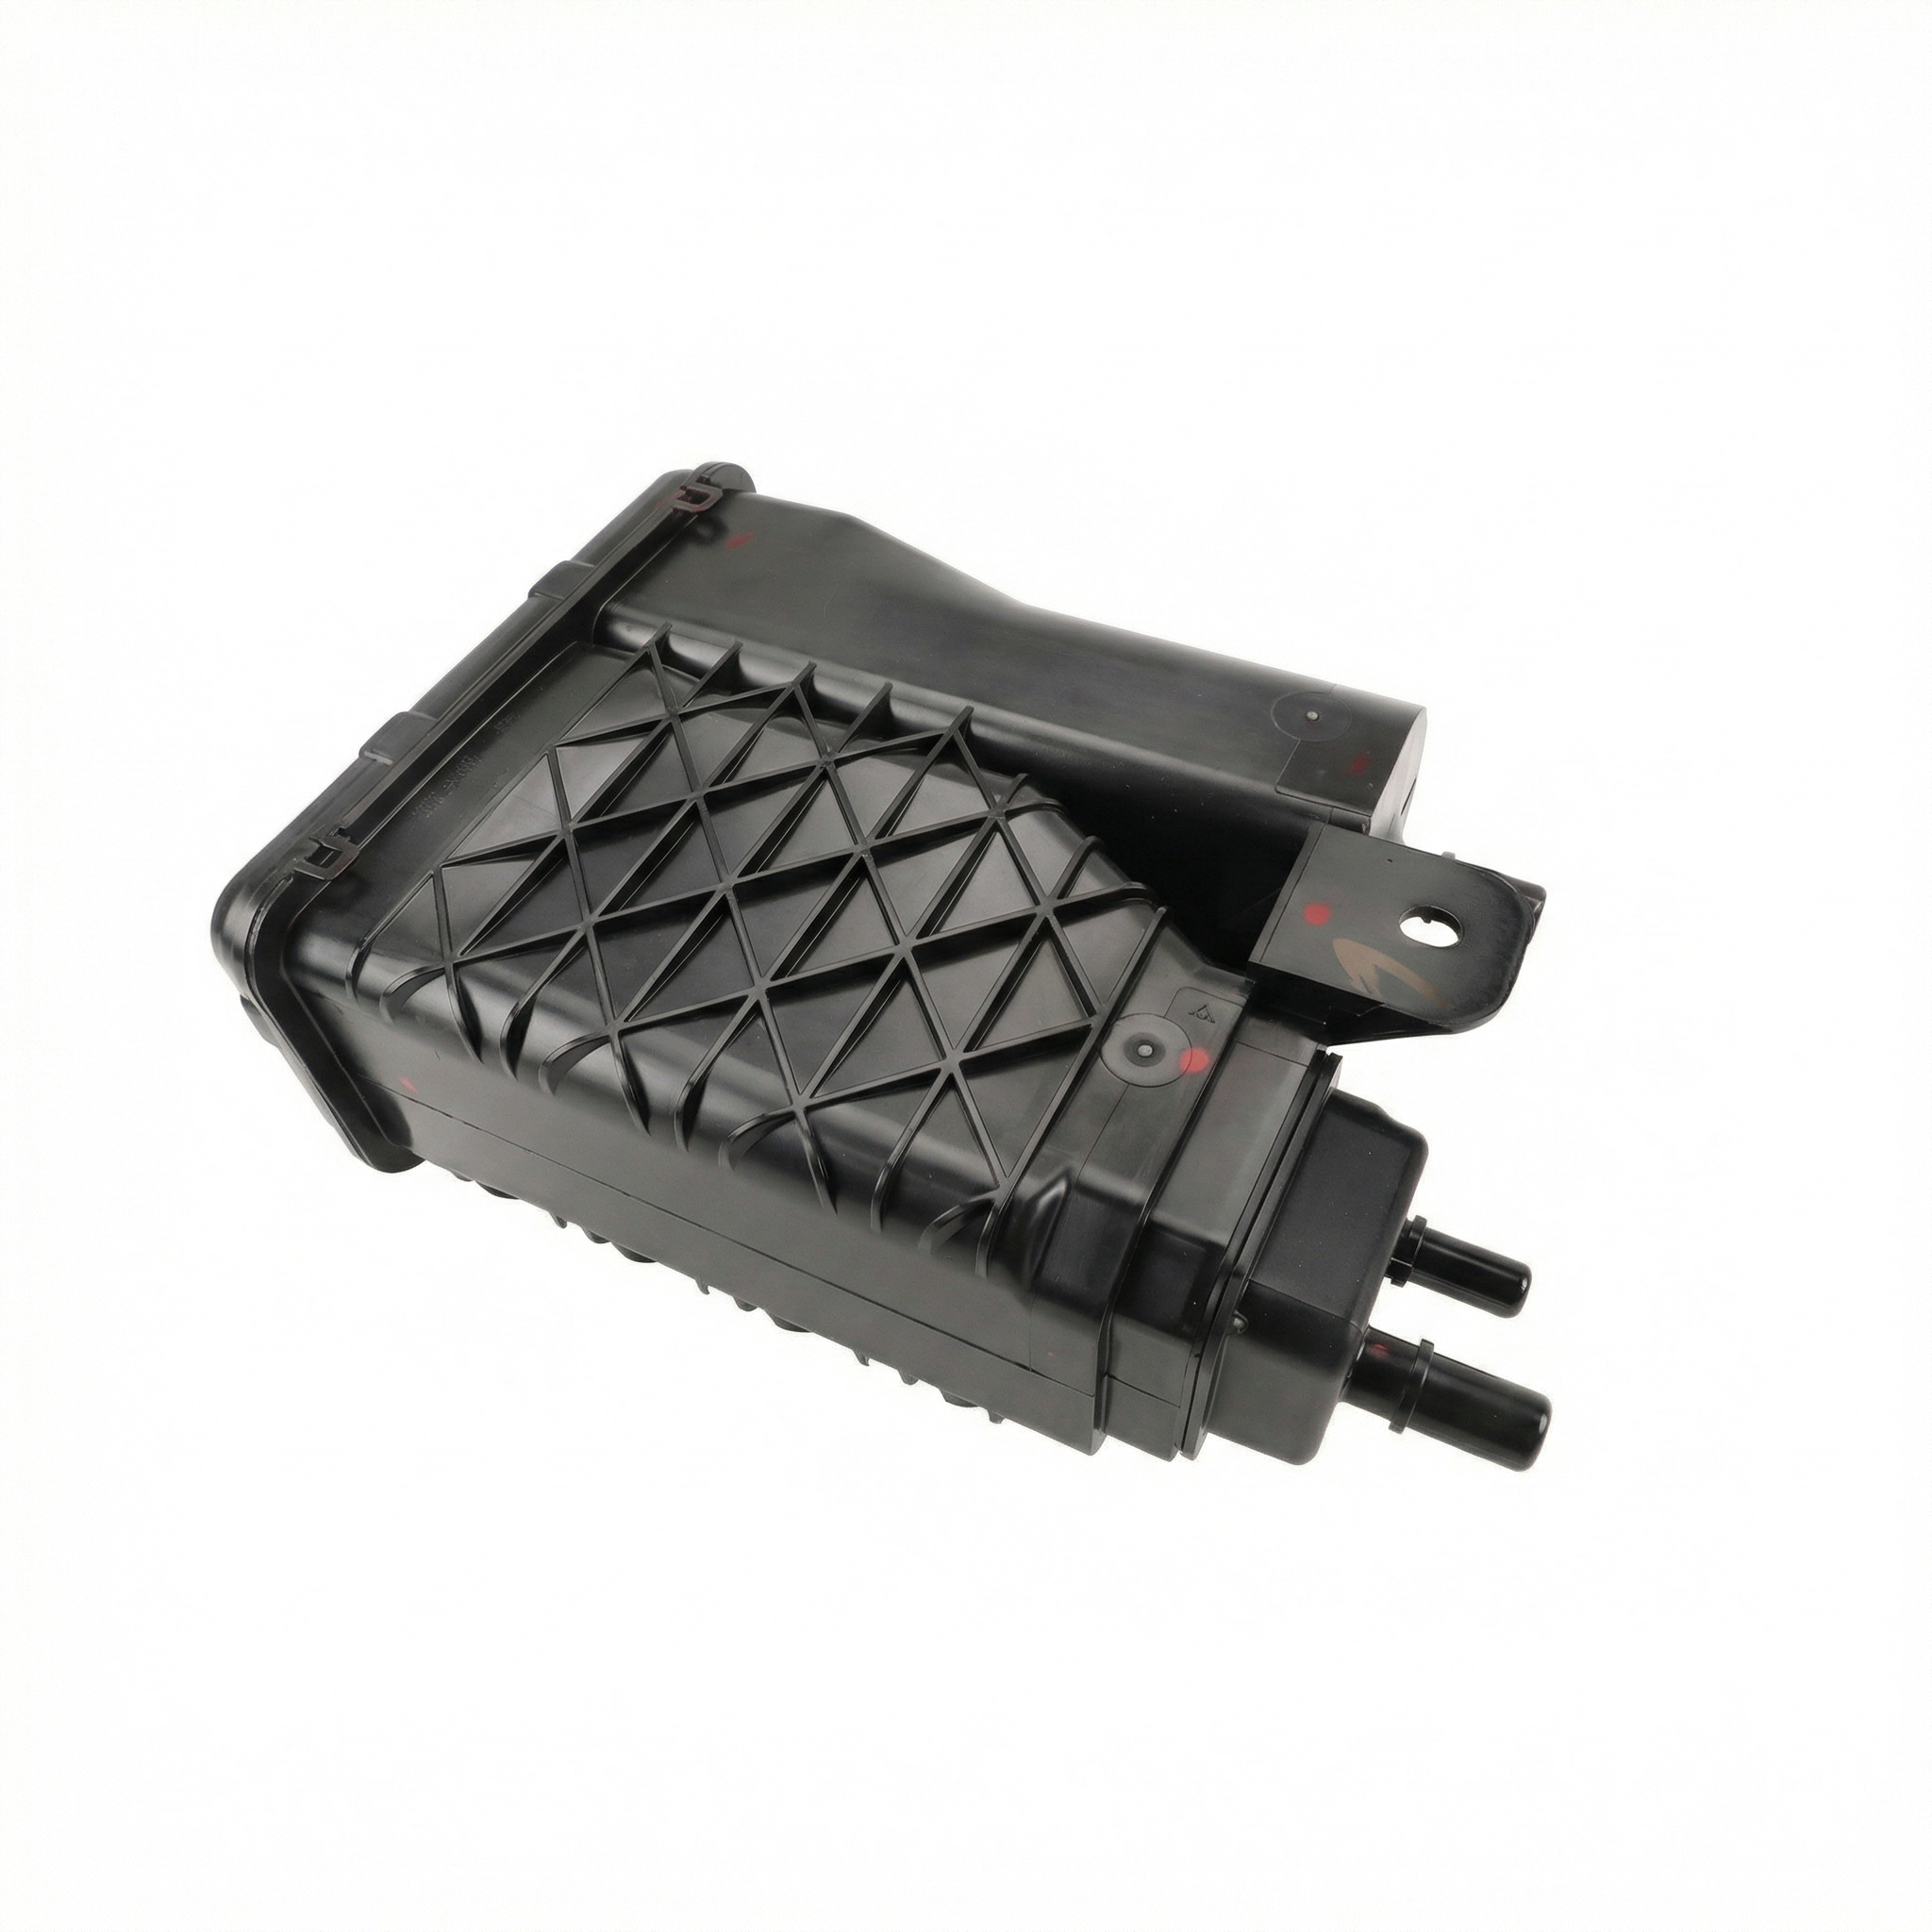
Aftermarket price range: $25-$60 - Vapor Canister Vent Valve / Solenoid
(OEM #214-2311 (ACDelco, common for 7th gen), 214-2149 (ACDelco, common for 6th gen))— Its location under the car makes it susceptible to damage and corrosion, causing it to stick open and create a leak.
Trusted brands: ACDelco, Dorman, Standard Motor Products
OEM price range: $50-$90
Aftermarket price range: $30-$75
Related Codes That Often Appear With This One
- P0455 — This indicates a large EVAP leak. If you see both, it could mean an intermittent issue, a component that is failing badly (like a vent valve stuck wide open), or something as simple as a missing gas cap.
- P0449 — This code specifically points to a fault in the EVAP vent valve solenoid circuit. If you have P0442 and P0449 together, the vent valve solenoid is almost certainly the culprit, either due to an electrical failure or a mechanical one causing the leak.
- P0171 — System Too Lean (Bank 1). A leaking EVAP purge valve can sometimes cause this code by creating a vacuum leak, allowing un-metered air (fuel vapor) into the intake manifold.
Technical Service Bulletins (TSBs) & Recalls
- 21-NA-124: Provides diagnostic tips for testing EVAP system leaks related to DTCs P0442 and/or P0455. It advises a specific order of operations: check lines and connections first, then the vent valve, and finally the purge valve.
- PIT4943D: Directs technicians to review a specific Techlink article for using an evaporative emissions system tester (smoke machine) to diagnose DTC P0442, emphasizing the difficulty in finding small leaks without the proper tool.
Platform-Specific Known Issues
- Corroded Fuel Filler Neck: On Malibus driven in the rust belt, the steel fuel filler neck can corrode where the gas cap seals. This creates a rough surface that prevents a proper seal, causing a P0442 even with a new gas cap. Cleaning the surface with a wire brush or emery cloth can sometimes resolve the issue, but severe corrosion may require replacing the filler neck.
Mechanic-Grade Diagnostic Values
- EVAP Purge Valve Solenoid Coil Resistance — expected: 20-36 ohms, depending on ambient temperature.. Failure: An infinite reading (open circuit) or a very low reading (short circuit) indicates a failed solenoid coil.
Scan Tool Commands That Help
- Tech2 / GDS2 (GM Scan Tool): EVAP Canister Vent Solenoid Valve ON/OFF Command — This command is essential during a smoke test. The vent valve is normally open, so it must be commanded closed to seal the system and allow it to be pressurized with smoke to find leaks.
- Tech2 / GDS2 (GM Scan Tool): EVAP Canister Purge Solenoid Valve Command (0-100%) — Used to verify the purge valve is functioning electrically. A technician can command the valve to open at various percentages and should hear a corresponding clicking sound from the valve. This helps determine if the valve is responding to the ECM's commands.
Wiring & Ground Locations
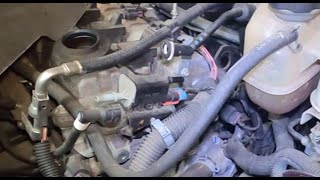
- EVAP Canister Purge Solenoid Valve — On the 7th generation (2008-2011), it is typically located on the top rear of the engine, on the intake manifold.. Knowing the location is the first step to testing for leaks or electrical function. A leak at this valve is a common cause of P0442.
- Engine Control Module (ECM) — For the 7th generation (2008-2011), the ECM is located on the left side of the engine compartment, near the battery.. The ECM controls and monitors the EVAP system. All control circuits for the purge and vent valves originate here, making it a key point for advanced electrical diagnosis.
- EVAP Canister Vent Solenoid — Typically located underneath the rear of the vehicle, near or attached to the charcoal canister by the fuel tank.. This component is exposed to the elements and is a frequent failure point. Accessing it is necessary for testing and replacement.
Real Owner Repair Stories
- YouTube video by a DIY mechanic (Older car, likely from a rust-belt region) — Persistent P0442 code.
❌ Tried (didn't work) Replacing the gas cap.
✅ What actually fixed it The fuel filler neck surface where the gas cap seals was corroded with rust. The fix was to thoroughly clean the rust off the metal filler neck with a wire brush to create a smooth sealing surface for the gas cap gasket. - Chevrolet Forum user (Not specified, but common GM issue) — P0442 code that appears after using about 1/4 of a tank of gas.
❌ Tried (didn't work) Initial assumption that it must be a complex leak.
✅ What actually fixed it The user replaced a worn and dried-out factory gas cap, which resolved the issue. This highlights that even if a cap is tight, a degraded seal is enough to cause the code.
"I Checked Everything" — The Actual Cause
- A common scenario is passing a smoke test but still having a P0442 code. This can happen if the EVAP purge valve on the engine is not leaking at rest (when the smoke test is performed) but leaks intermittently under vacuum when the engine is running. The valve may appear to function correctly but fails to seal completely during operation, a condition a static smoke test might miss.
Model Year Variations Within This Range
- 2008: In 2008, Chevrolet sold both the previous generation (renamed 'Malibu Classic') and the fully redesigned 7th generation Malibu. The Malibu Classic is a carryover from the 2004-2007 design. EVAP components like the purge and vent valves are not interchangeable between the two different 2008 models. It is critical to identify whether the vehicle is a 'Classic' (6th gen) or the new body style (7th gen) before ordering parts.
Helpful Videos
Used OEM Parts in Stock
New Aftermarket Parts Available


The information in this article is provided for general reference and educational purposes only. Vehicle specifications, procedures, and part compatibility can vary by production date, trim level, and region. Always consult your vehicle's factory service manual and verify part numbers before purchasing or performing repairs. Safety-critical components such as airbags, seat belts, and braking systems should be installed by a qualified professional.
- Chevrolet MALIBU:
- 🎬 Helpful Videos
- 🛍️ Shop This Part
- What's Unique About the 2004-2011 Chevrolet MALIBU
- Diagnostic Flowchart
- Symptoms You May Notice
- Most Likely Causes
- Rare But Worth Checking
- Diagnosis Steps
- Parts You'll Likely Need
- Related Codes That Often Appear With This One
- Technical Service Bulletins (TSBs) & Recalls
- Platform-Specific Known Issues
- Mechanic-Grade Diagnostic Values
- Scan Tool Commands That Help
- Wiring & Ground Locations
- Real Owner Repair Stories
- "I Checked Everything" — The Actual Cause
- Model Year Variations Within This Range
- 🎟️ Get 5% Off