

P0442 on 2018-2023 Cadillac Escalade: EVAP Small Leak Causes and Fixes
P0442 on a Cadillac Escalade indicates a small leak in the EVAP system. The most common cause is a loose or faulty gas cap. If that's not the issue, the next most likely culprits are the EVAP purge or vent valves. A new OEM gas cap is under $40, while valves can range from $30 to $100. Always check for cracked hoses and follow the diagnostic order in GM TSB #21-NA-124.
- Always check the gas cap first. Ensure it's tight and the seal is in good condition. This is the simplest and most common fix.
- If the gas cap isn't the problem, the EVAP purge valve (on the engine) and the EVAP vent valve (by the tank) are the next most likely suspects.
- Do not ignore the code. While it doesn't affect drivability, your Escalade will not pass an emissions inspection with an active P0442 code.
- For hard-to-find leaks, a professional smoke test is the fastest and most accurate diagnostic method.
- When replacing parts, using OEM components (like ACDelco for GM) is often recommended for EVAP system parts to ensure a perfect seal.
What's Unique About the 2018-2023 Cadillac ESCALADE
For the 2018-2023 Escalade, which spans two vehicle generations, the P0442 code is a common and generally straightforward issue. GM has issued Technical Service Bulletin #21-NA-124, which provides specific diagnostic tips for P0442. The bulletin advises a specific diagnostic order: first, inspect all EVAP lines and connections for damage or improper seating; second, test the vent valve for a stuck-open condition; and third, investigate the purge valve. The most frequent failure points tend to be the purge valve on the engine or the vent valve near the charcoal canister. While the parts are similar across the K2XL (2018-2020) and GMT1XX (2021-2023) generations, their exact location and part numbers differ, requiring VIN verification.
Diagnostic Flowchart
Tap your situation to follow the diagnostic path that matches what you're seeing on this vehicle.
Generation note: The 2018-2023 range covers the end of the fourth generation (2018-2020, K2XL platform) and the beginning of the fifth generation (2021-2023, GMT1XX platform). While the function of the EVAP system is the same, the specific locations and part numbers for components like the purge valve and vent solenoid differ between these generations. Always verify the part with your vehicle's VIN before purchasing.
Symptoms You May Notice
- Check Engine Light is on
- A faint smell of gasoline, particularly around the rear of the vehicle
- A 'Tighten Gas Cap' message on the driver information center, even if the cap is tight.
- Potentially hard starting right after refueling (if the purge valve is stuck open).
- Replacing the O2 sensors. O2 sensors are not related to the EVAP system.
- Replacing the fuel injectors. While a bad purge valve can affect air/fuel mixture, the injectors themselves are rarely the cause of an EVAP code.
- Replacing the entire fuel tank. This is an extreme and expensive measure that is almost never necessary for a small leak code.
Most Likely Causes
- Loose or Faulty Gas Cap 🔴 High Probability This is the most common cause for a P0442 on any vehicle. The rubber O-ring on the cap can dry out, crack, or get dirty, preventing a proper seal.
How to confirm: Check that the cap is tightened until it clicks. Remove the cap and inspect the rubber seal for any cracks, tearing, or debris. Also, inspect the metal surface of the fuel filler neck for rust or grime that could prevent a good seal.
Typical fix: First, try cleaning the seal and the filler neck, then properly reinstalling the cap. If the seal is damaged or the code returns, replace the gas cap with a new OEM part.
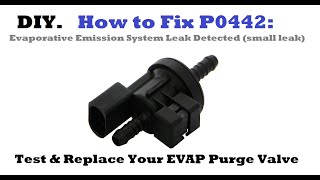
Est. part cost: $15-$40 - Faulty EVAP Purge Valve (Solenoid) 🟡 Medium Probability The purge valve is an electromechanical part that cycles frequently and can get stuck partially open, creating a small leak. This is a very common failure point on many GM vehicles. Owners have reported extremely high failure rates with non-OEM parts, sometimes going through multiple replacements before finding one that works correctly.
How to confirm: The purge valve is located on the engine intake manifold. With the engine off, disconnect the valve and try to blow through it; if any air passes, it's stuck open and faulty. A scan tool can also be used to command the valve open and closed to check for function.
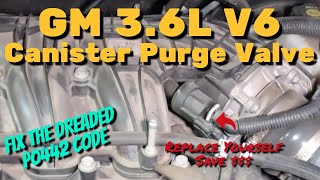
Typical fix: Replacement of the purge valve is straightforward. It's typically held by one bolt and has one electrical connector and two hoses. 🎬 See this walkthrough for replacing the vapor canister purge valve
Est. part cost: $30-$75 - Faulty EVAP Vent Valve (Solenoid) 🟡 Medium Probability Located near the charcoal canister by the fuel tank, this valve is exposed to road debris and moisture. Owners have found the valve assembly filled with fine dirt and sand, causing it to stick or fail.
How to confirm: This valve is normally open and closes when the system runs its self-test. It can be tested with a scan tool or by applying 12v to see if it actuates. Visual inspection for cracks or damage is also recommended. A smoke test is the most definitive way to confirm a leak at the valve.
Typical fix: Replace the vent valve assembly. This often involves lowering the spare tire for access. On 2021+ models, this may be part of the larger canister assembly.
Est. part cost: $50-$120 - Cracked or Disconnected EVAP Hose ⚪ Low Probability Over time, the rubber and plastic hoses in the EVAP system can become brittle and crack. One owner found a hose near the vent valve was kinked and cracked due to tension from its mounting bracket, which was the source of the P0442 code.
How to confirm: A thorough visual inspection of all accessible EVAP lines from the engine bay to the fuel tank is the first step. Pay close attention to bends and connection points. A smoke test is the most effective method, as smoke will visibly escape from any leak.
Typical fix: Replace the damaged section of hose or the entire hose assembly. In some cases, adjusting a bracket to relieve tension may be required.
Est. part cost: $10-$50
Rare But Worth Checking
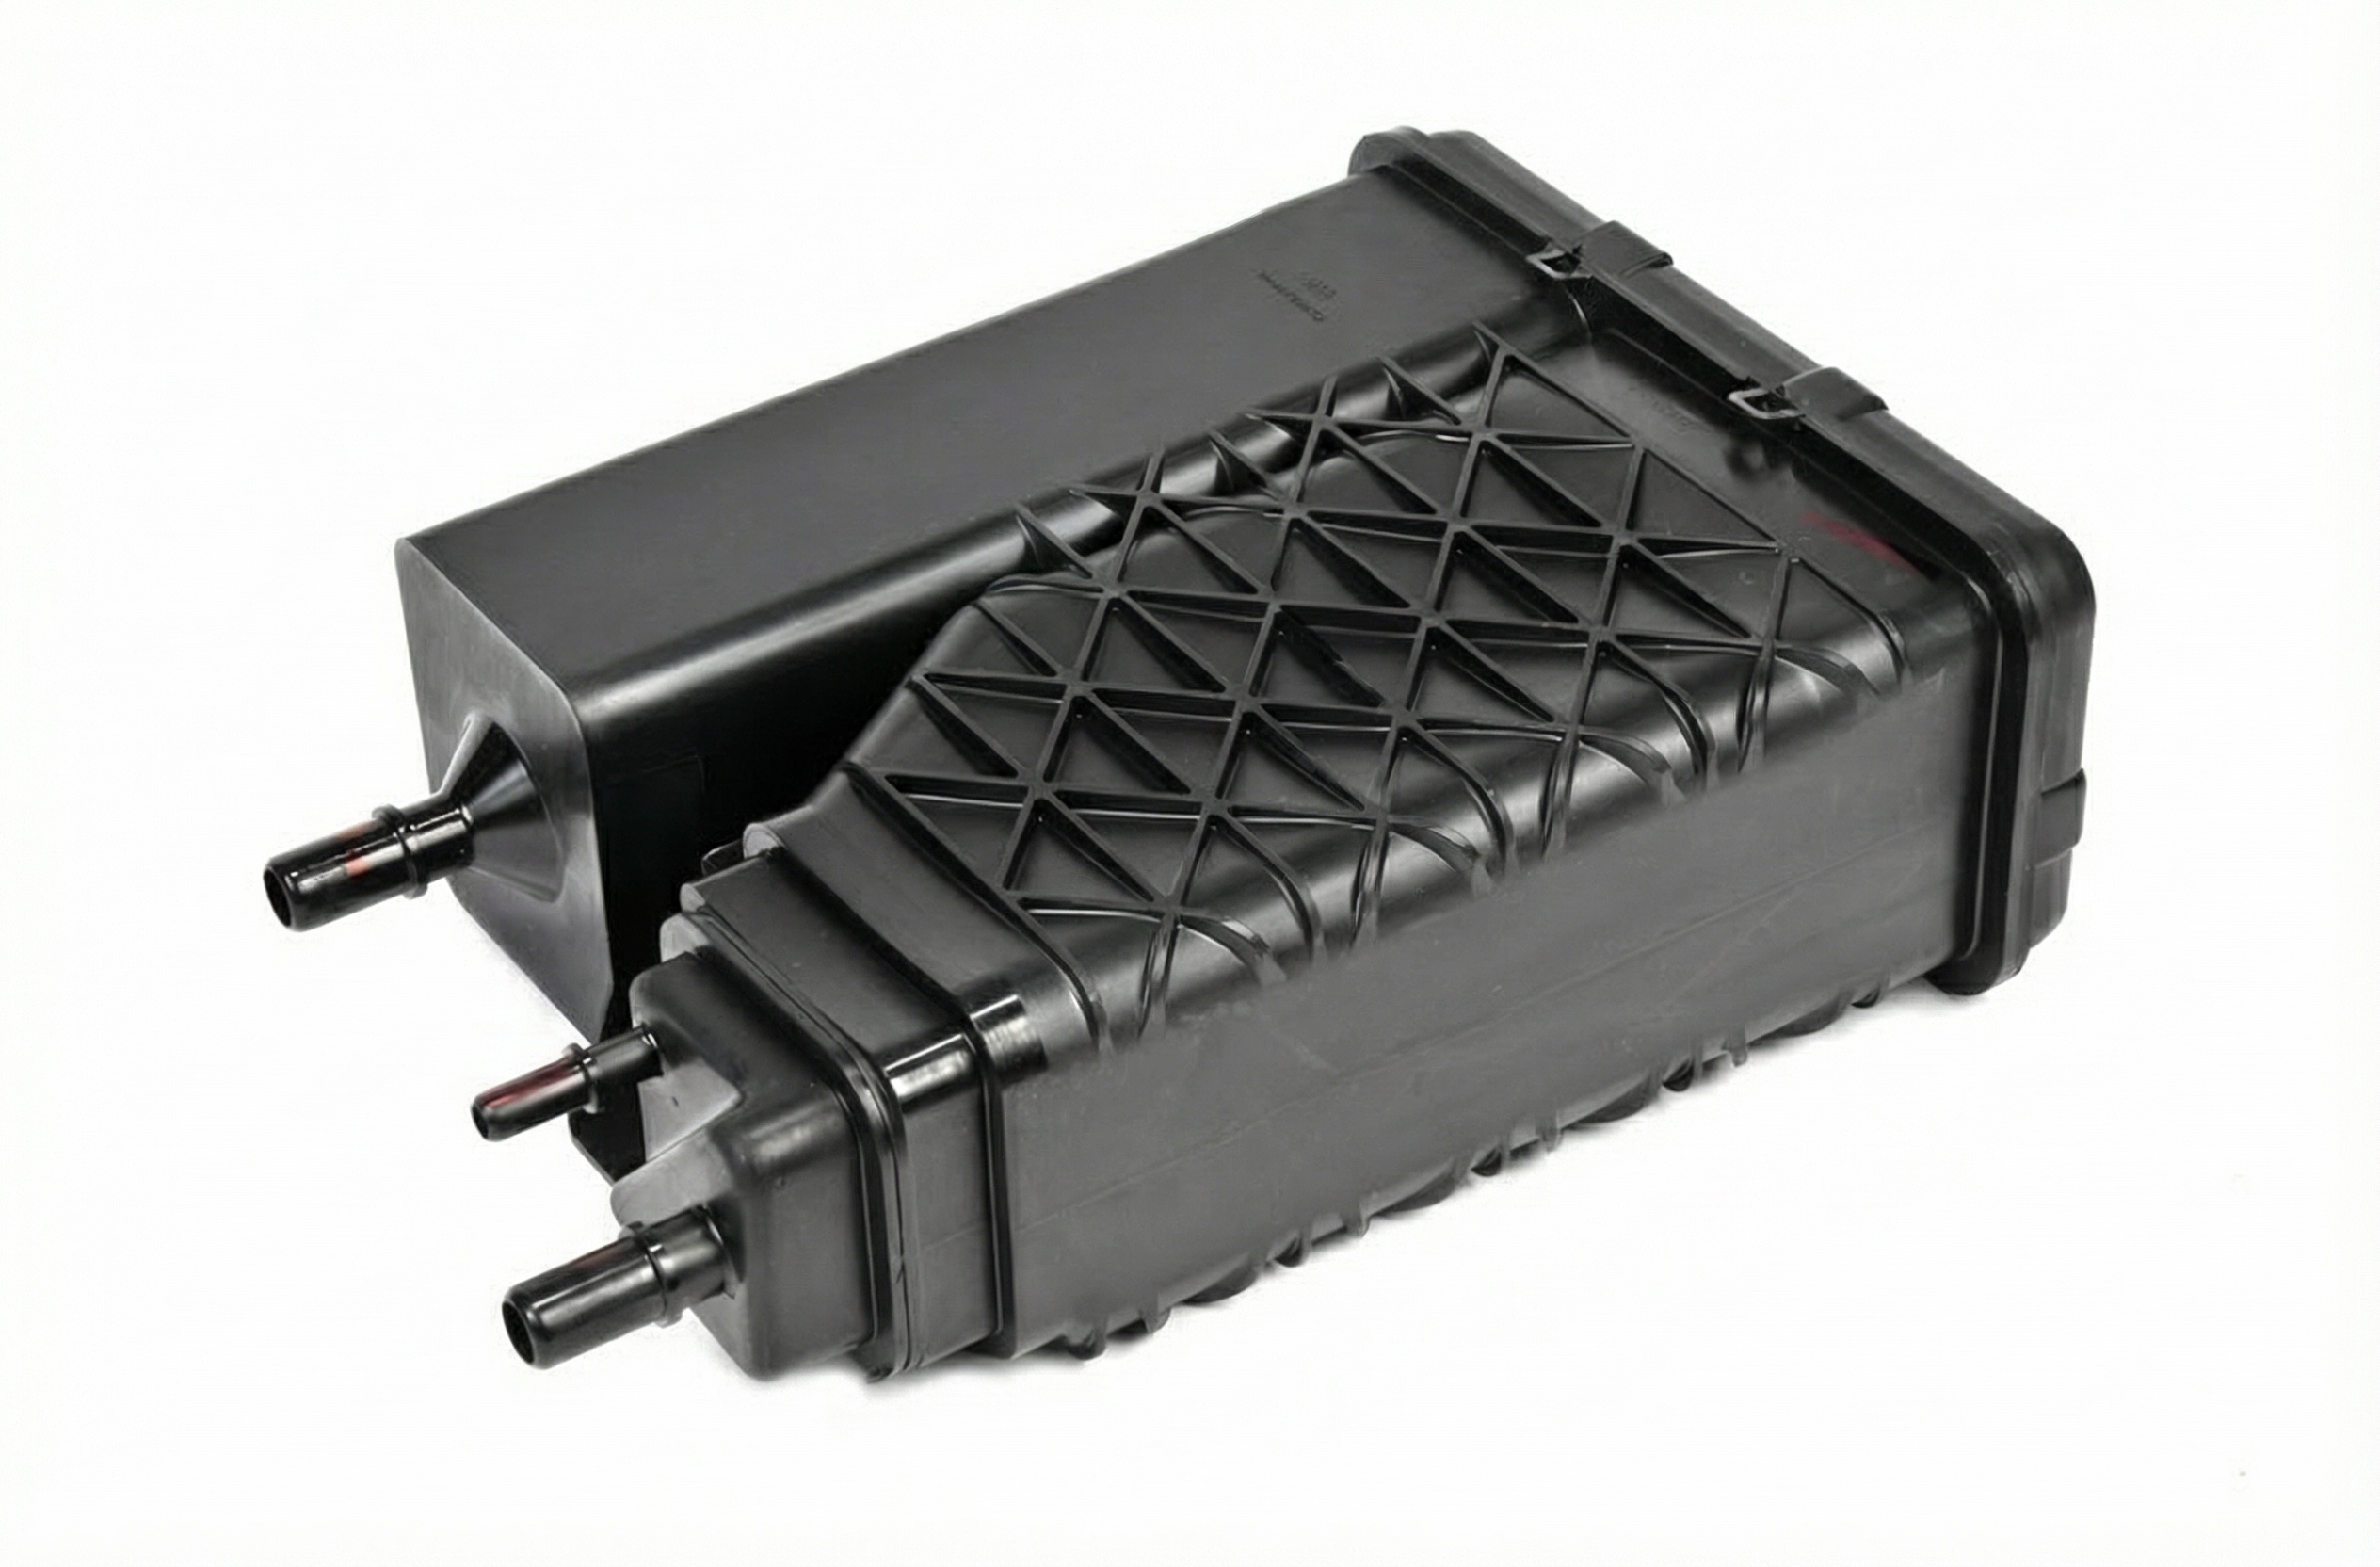
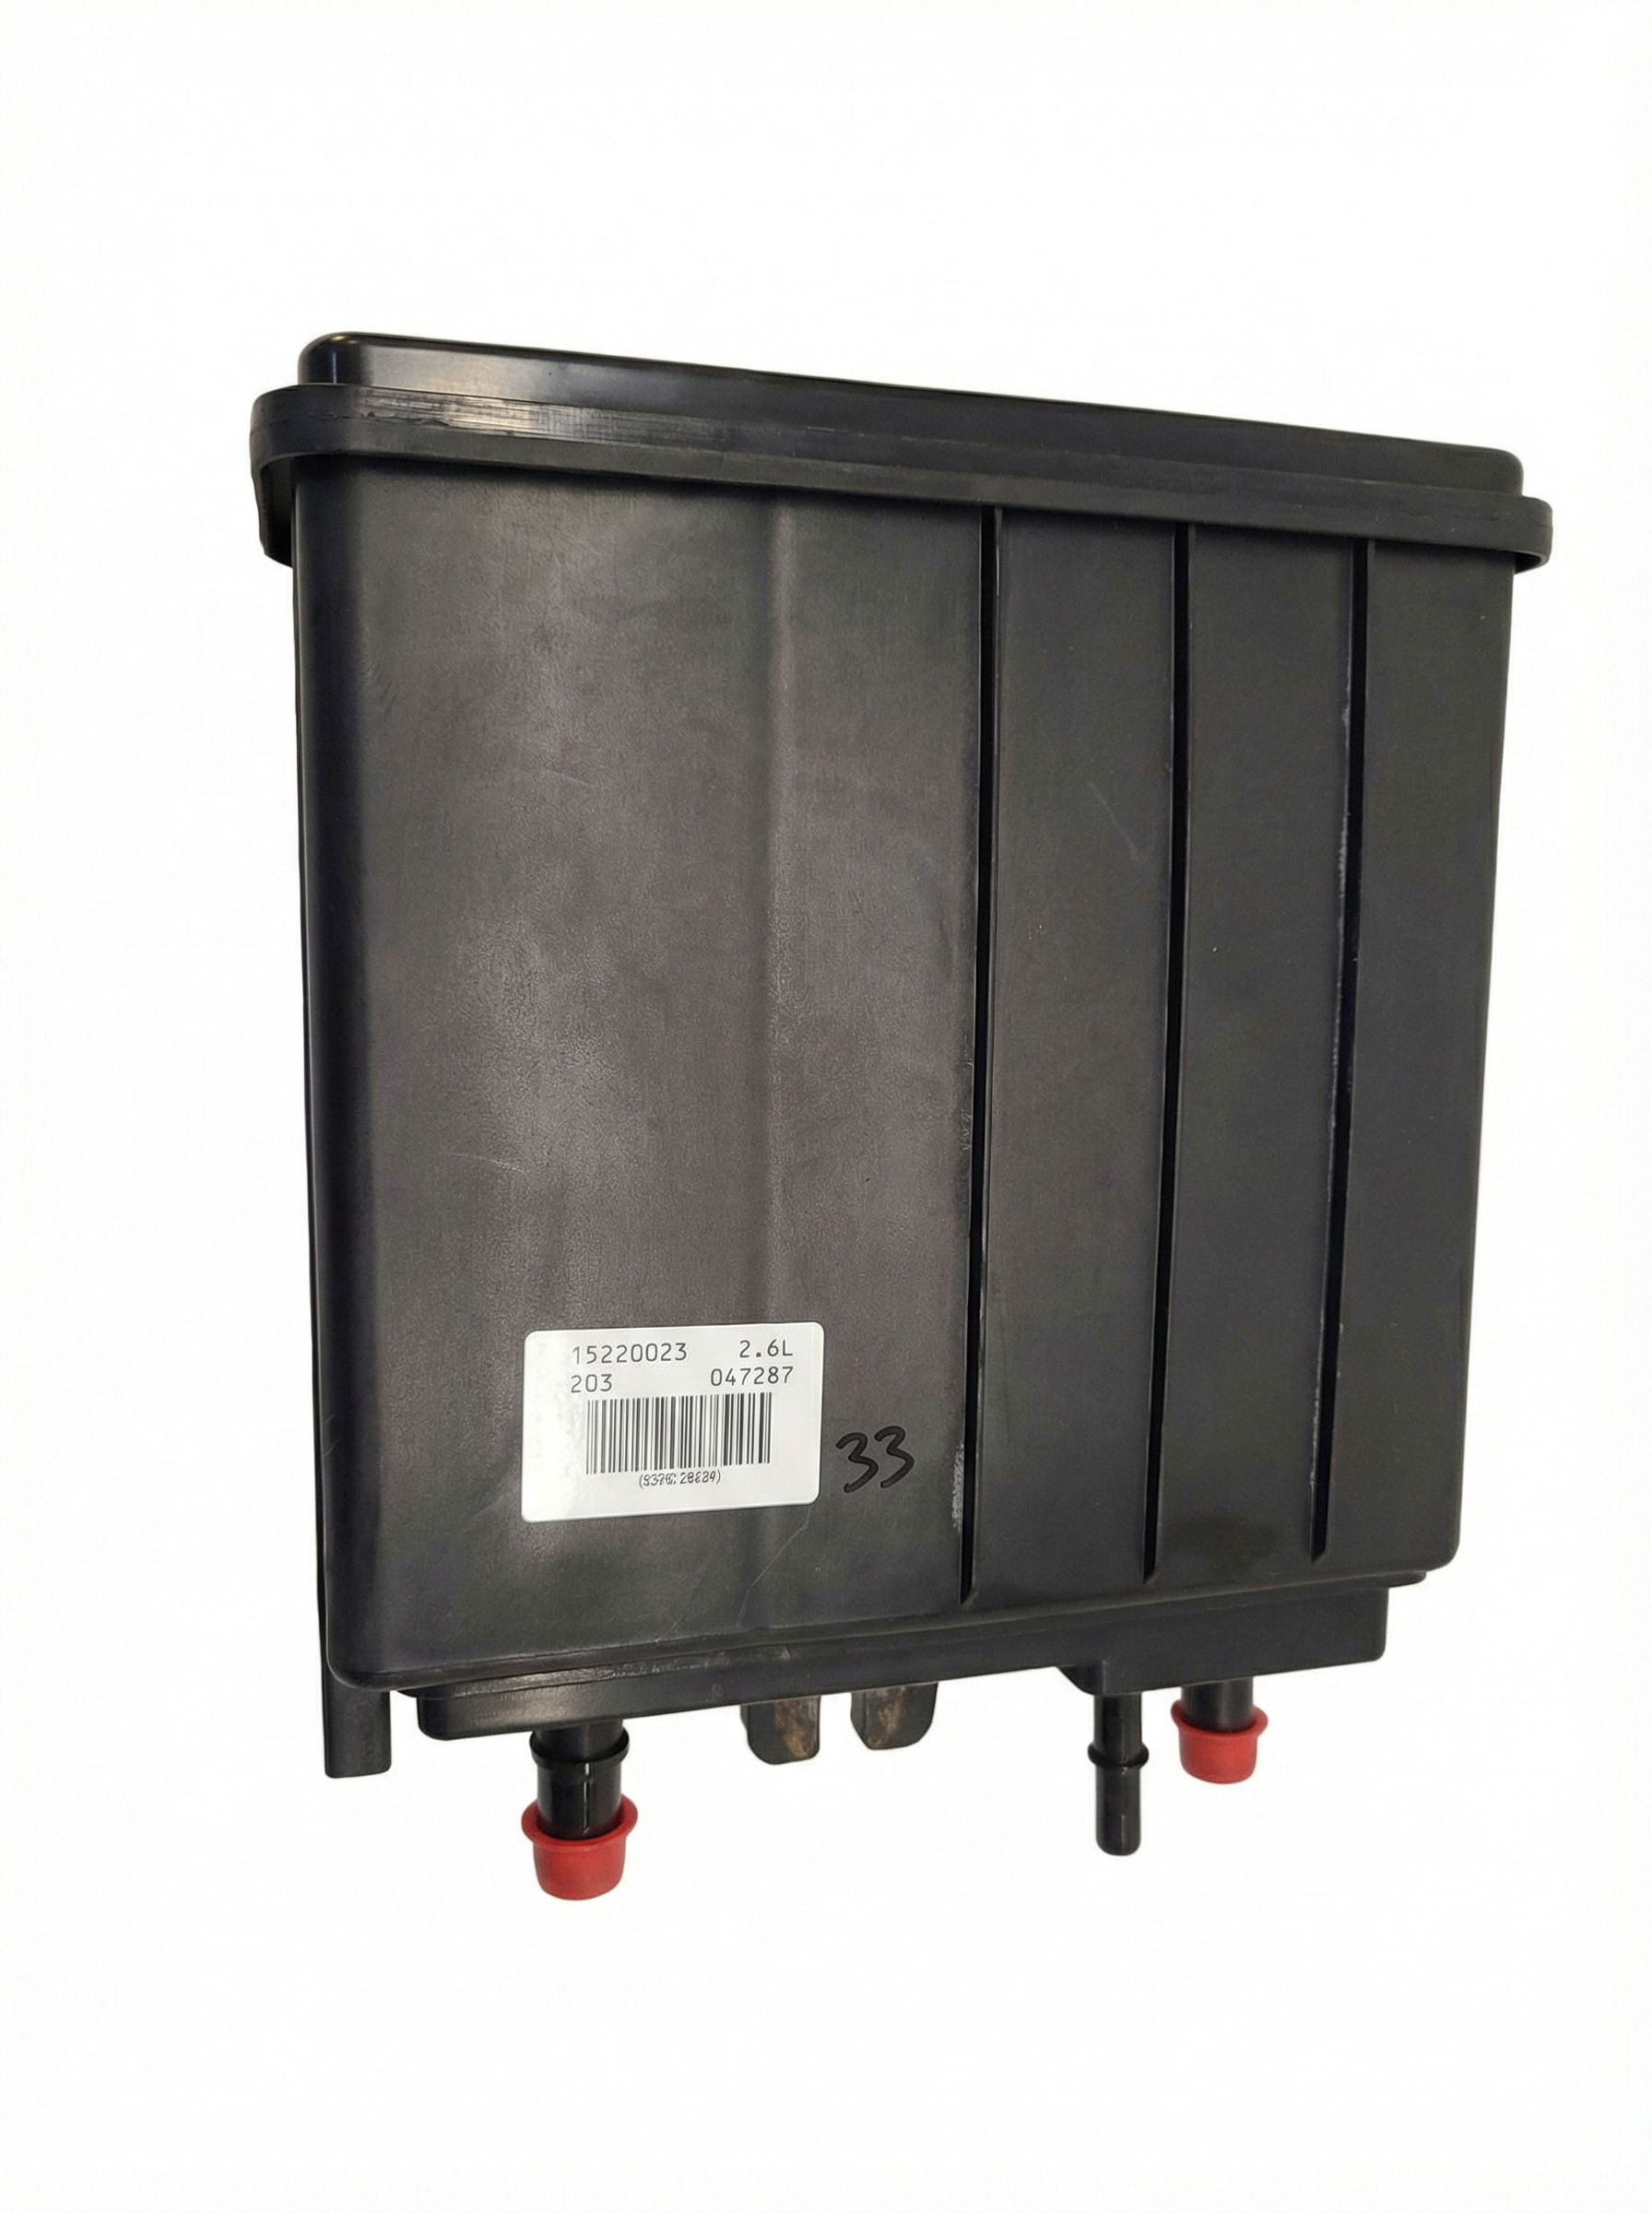
- Cracked EVAP Charcoal Canister: The plastic housing of the canister itself can develop hairline cracks from age or impact. In one documented case, a brand new canister was found to be defective, leaking smoke from a manufacturing seam.
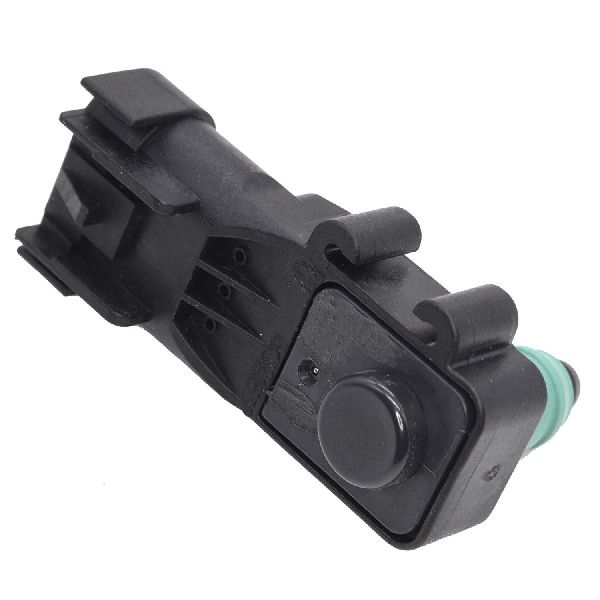
- Leaking Fuel Tank Pressure Sensor: The seal for the fuel tank pressure (FTP) sensor can degrade, causing a leak at the sensor's mounting point on the fuel tank or fuel pump module. This was a suspected culprit in a lengthy forum diagnosis.
- Leaking Fuel Pump Gasket: The large O-ring that seals the fuel pump module to the top of the fuel tank can fail, creating an EVAP leak. One owner on a platform-mate vehicle confirmed this was the ultimate fix after replacing many other parts.
Diagnosis Steps
- Check the Gas Cap: Ensure it is tight by clicking it at least three times. If the light returns, remove the cap and inspect the rubber seal for cracks or stiffness. Crucially, inspect the fuel filler neck for any rust or debris that could prevent a seal and clean it with a wire brush if necessary.
- Scan for Other Codes: Use an OBD-II scanner to check if any other codes are present, which could point to a specific component (like P0496 for the purge valve).
- Visual Inspection (per TSB #21-NA-124): Following GM's recommended procedure, first carefully inspect all visible EVAP hoses and lines in the engine bay and underneath the vehicle. Look for obvious cracks, disconnections, or damage, paying special attention to hoses under tension near brackets.
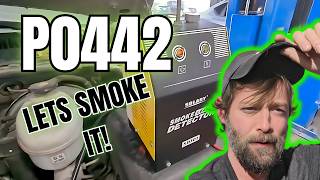
- Perform a Smoke Test: This is the most effective way to find small leaks. A smoke machine forces low-pressure smoke into the EVAP system. Smoke will visibly escape from the location of the leak, making it easy to pinpoint 🎬 Watch: How to find a small EVAP leak with smoke cracked hoses, a bad vent valve, or even a faulty canister seam. This is the method recommended by TSB #21-NA-124.
- Test the Vent Valve: Per TSB #21-NA-124, this is the next component to check if lines are good. Locate the vent valve near the canister and test it by applying 12V power to see if the solenoid clicks and closes. Check for dirt/sand inside the valve.
- Test the Purge Valve: If all other components pass, test the purge valve. Locate it on the engine. With the engine off, disconnect the hose leading to the intake and check if you can blow through the valve. If you can, it's stuck open and needs replacement.
Parts You'll Likely Need
- Fuel Cap — The seal fails over time, making it the most common and cheapest fix to try first.
Trusted brands: ACDelco
OEM price range: $25-$40
Aftermarket price range: $15-$25 - Vapor Canister Purge Valve / Solenoid (2018-2020)
(OEM #12690512)— This valve frequently gets stuck open, causing a constant small leak. It's a very common failure on GM trucks and SUVs of this generation.
Trusted brands: ACDelco, Bosch
OEM price range: $40-$75
Aftermarket price range: $25-$50 - Vapor Canister Purge Valve / Solenoid (2021-2023)
(OEM #12630282)— Carries over as a common failure point on the newer GMT1XX platform. Part numbers can vary, so VIN confirmation is essential.
Trusted brands: ACDelco
OEM price range: $40-$75
Aftermarket price range: $25-$50 - Vapor Canister Vent Valve / Solenoid (2018-2020)
(OEM #84148820)— This is the correct part for the K2XL generation. It's exposed under the vehicle and can fail from dirt/moisture ingress.
Trusted brands: ACDelco
OEM price range: $50-$120
Aftermarket price range: $35-$80
Related Codes That Often Appear With This One
- P0455 — A P0455 indicates a large EVAP leak. Sometimes a component is failing and can cause either a small or large leak code to be set at different times. The TSB #21-NA-124 specifically mentions diagnosing both codes together.
- P0496 — This code means 'EVAP Flow During a Non-Purge Condition' and almost always points to a purge valve that is stuck open, which can also be interpreted by the system as a small leak (P0442).
Technical Service Bulletins (TSBs) & Recalls
- Bulletin #21-NA-124: 'Diagnostic Tip for Malfunction Indicator Lamp (MIL) Illuminated - DTC P0442 and/or P0455 Set.' This bulletin provides a clear diagnostic order: 1. Inspect EVAP lines/connections. 2. Check the vent valve. 3. Check the purge valve.
Platform-Specific Known Issues
- Technical Service Bulletin #21-NA-124 provides diagnostic tips for dealers on how to properly test for EVAP leaks related to codes P0442 and P0455, indicating this is a known issue that may require careful diagnosis. [⭐ MANUFACTURER TSB — highest authority] Bulletin #21-NA-124 (2018 ENGINE AND ENGINE COOLING, dated 2022-12-14)
Mechanic-Grade Diagnostic Values
- EVAP Vent Valve Solenoid Resistance — expected: 20 - 50 Ohms. Failure: A reading of OL (Open Loop/Infinite resistance) indicates a burned-out coil. A reading outside the expected range suggests a faulty solenoid.
- EVAP Purge Valve Vacuum Test — expected: Valve should hold vacuum (e.g., 17 inHg) with no significant drop over 10 minutes.. Failure: If the valve is tested off the vehicle and cannot hold a vacuum, it is leaking internally and is faulty. A drop of several inHg in under 10 minutes indicates a leak.
- Fuel Tank Pressure (FTP) Sensor Voltage — expected: Varies with pressure, but should not be stuck at the minimum or maximum value. Typically around 1.5V - 2.5V with the gas cap off (atmospheric pressure).. Failure: A reading stuck at a very low voltage may trigger a P0452 code. A reading stuck at a very high voltage may trigger a P0453 code. Either can be misinterpreted by the ECU as a system leak.
Scan Tool Commands That Help
- GDS2 (or advanced bidirectional scanner): EVAP System Test / Output Control — This is used to command the normally-open EVAP Vent Valve to close ('Not Venting'). This seals the system, which is a required first step before performing a smoke test to find a leak.
- GDS2 (or advanced bidirectional scanner): Purge/Seal — This function allows the technician to command the purge and vent valves open or closed to test their individual function and to monitor the Fuel Tank Pressure (FTP) sensor's response, helping to isolate a faulty component without removing it.
Wiring & Ground Locations
- Frame Grounds — Under the driver's side door, on the frame rail. Two grounds are typically found here.. Corrosion at these main frame grounds can cause a wide range of bizarre electrical issues, including erratic sensor readings and component behavior for chassis-mounted parts like the EVAP vent valve and fuel tank pressure sensor.
- Firewall Ground — On the engine bay firewall, often located between the brake master cylinder and the engine.. This ground is critical for engine-mounted components. A poor connection here could affect the operation of the engine-mounted EVAP Purge Valve.
- EVAP Vent Valve Connector — At the EVAP vent valve, near the charcoal canister under the vehicle.. This is a 2-wire connector. One wire should have 12V power whenever the ignition is on. The other wire is the ground, which is switched on and off by the ECU to activate the valve. Checking for power here is a key step in diagnosing a non-responsive valve.
Real Owner Repair Stories
- YouTube user 'Cars, Crafts, & Drafts' (2005 Chevy Silverado (platform-mate)) — P0442 code returned after replacing the EVAP purge valve.
❌ Tried (didn't work) Replacing the purge valve with a new, aftermarket part.
✅ What actually fixed it The owner discovered that new, out-of-the-box aftermarket purge valves were also faulty. He used a handheld vacuum pump to test them. The faulty ones would not hold vacuum. The final fix was to test several new valves until he found one that successfully held vacuum for over 10 minutes, which he then installed.
"I Checked Everything" — The Actual Cause
- In cases on similar GM platforms where a smoke test reveals no external leaks from hoses, the canister, or the gas cap, the cause is often an internally leaking EVAP Purge Valve. The valve may be stuck slightly open, creating a vacuum leak into the engine that a low-pressure smoke test might not easily reveal. The definitive test in this scenario is to remove the purge valve and test it with a handheld vacuum pump to see if it can hold vacuum.
OEM Part Supersession History
12610560→12690512— Standard part revision and update by the manufacturer.
Heads up: The new part number (12690512) is the correct replacement for the older number and should be used for service on applicable 2018-2020 models.
Model Year Variations Within This Range
- 2018-2020 (K2XL Platform): On this generation, the vapor canister and vent valve assembly are located under the vehicle on the driver's side, mounted to a crossmember near the fuel tank. Access requires lowering and removing the spare tire.
Helpful Videos
Used OEM Parts in Stock



New Aftermarket Parts Available


The information in this article is provided for general reference and educational purposes only. Vehicle specifications, procedures, and part compatibility can vary by production date, trim level, and region. Always consult your vehicle's factory service manual and verify part numbers before purchasing or performing repairs. Safety-critical components such as airbags, seat belts, and braking systems should be installed by a qualified professional.
- Cadillac ESCALADE:
- 🎬 Helpful Videos
- 🛍️ Shop This Part
- What's Unique About the 2018-2023 Cadillac ESCALADE
- Diagnostic Flowchart
- Symptoms You May Notice
- Most Likely Causes
- Rare But Worth Checking
- Diagnosis Steps
- Parts You'll Likely Need
- Related Codes That Often Appear With This One
- Technical Service Bulletins (TSBs) & Recalls
- Platform-Specific Known Issues
- Mechanic-Grade Diagnostic Values
- Scan Tool Commands That Help
- Wiring & Ground Locations
- Real Owner Repair Stories
- "I Checked Everything" — The Actual Cause
- OEM Part Supersession History
- Model Year Variations Within This Range
- 🎟️ Get 5% Off