

P0442 on 2016-2020 Cadillac CT6: EVAP Small Leak Causes and Fixes
P0442 on a Cadillac CT6 indicates a small leak in the fuel vapor system. The most common and easiest fix is checking for a loose or worn gas cap. If that doesn't solve it, the issue is likely a faulty EVAP purge or vent valve, or a cracked hose, which often requires a smoke test to locate. GM TSB #21-NA-124 provides a clear diagnostic order: check lines, then the vent valve, then the purge valve.
- P0442 on your CT6 means a small leak has been detected in the emissions system that contains fuel vapors.
- Always check your gas cap first. Make sure it's tight and the seal is not cracked. This is the most common and cheapest fix.
- This code will not affect how your car drives, but it will cause an automatic failure on an emissions test.
- If the gas cap isn't the problem, the leak is most likely a faulty purge valve, vent valve, or a cracked hose, which requires a smoke test to find accurately.
- Do not replace expensive parts like the charcoal canister unless a smoke test has confirmed it is the source of the leak.
What's Unique About the 2016-2020 Cadillac CT6
For the 2016-2020 Cadillac CT6, which is built on the unique GM Omega platform, there isn't one single part that consistently fails to cause a P0442 code. Instead, GM's technical service bulletins (TSBs) emphasize a systematic diagnostic approach. TSB #21-NA-124 and #PIT4943D both highlight the importance of following proper testing procedures, starting with a visual inspection of all lines and connections, then testing the vent valve, and finally the purge valve. This suggests that unlike some vehicles with a known pattern failure (like the purge valve on older 3.6L GM engines), the CT6 requires a thorough diagnosis, often with a smoke machine, to accurately pinpoint the small leak.
Diagnostic Flowchart
Tap your situation to follow the diagnostic path that matches what you're seeing on this vehicle.
Symptoms You May Notice
- Check Engine Light is on
- A faint fuel smell (less common than with a large leak code like P0455)
- Failing a state emissions inspection
- A 'Tighten Gas Cap' message on the driver information center, even if the cap is tight
- Hard starting immediately after refueling (this strongly points to a purge valve stuck open)
- Replacing the charcoal canister when only a valve is bad. The vent valve is often attached to the canister but can sometimes be replaced separately.
- Replacing O2 sensors or other unrelated parts before properly diagnosing the EVAP system.
- Immediately replacing the purge valve without following the diagnostic order outlined in TSB #21-NA-124 (inspect lines, then vent valve, then purge valve).
Most Likely Causes
- Loose or Faulty Gas Cap 🔴 High Probability This is the most common cause for any EVAP code on any vehicle. The cap's seal is a rubber component that degrades, cracks, or stiffens over time, preventing a proper seal. Using a non-OEM cap can also cause sealing issues.
How to confirm: First, ensure the cap is tightened until it clicks several times. Inspect the rubber O-ring on the cap for cracks, stiffness, or damage. Check the fuel filler neck for rust or debris that could prevent a good seal. A temporary test involves wrapping the cap's seal with a plastic bag to see if the code clears after a drive cycle.
Typical fix: Tighten or replace the gas cap. It is highly recommended to use an OEM (ACDelco) or high-quality aftermarket cap to ensure a proper seal.
Est. part cost: $15-$40 - Faulty EVAP Purge Valve/Solenoid 🟡 Medium Probability The purge valve controls the flow of fuel vapors from the charcoal canister to the engine. It can get stuck open or closed, or develop a small internal leak. GM TSB #21-NA-124 lists this as the final component to investigate after checking lines and the vent valve. A stuck-open purge valve is often accompanied by difficulty starting the car right after getting gas.
How to confirm: With the engine off, remove the valve (typically on the engine) and try to blow through it. If air passes, it is stuck open and faulty. A bi-directional scan tool can also command the valve to cycle while monitoring system pressure. A smoke test may also reveal the leak.
Typical fix: Replace the purge valve. It is typically located in the engine bay, mounted to the intake manifold.
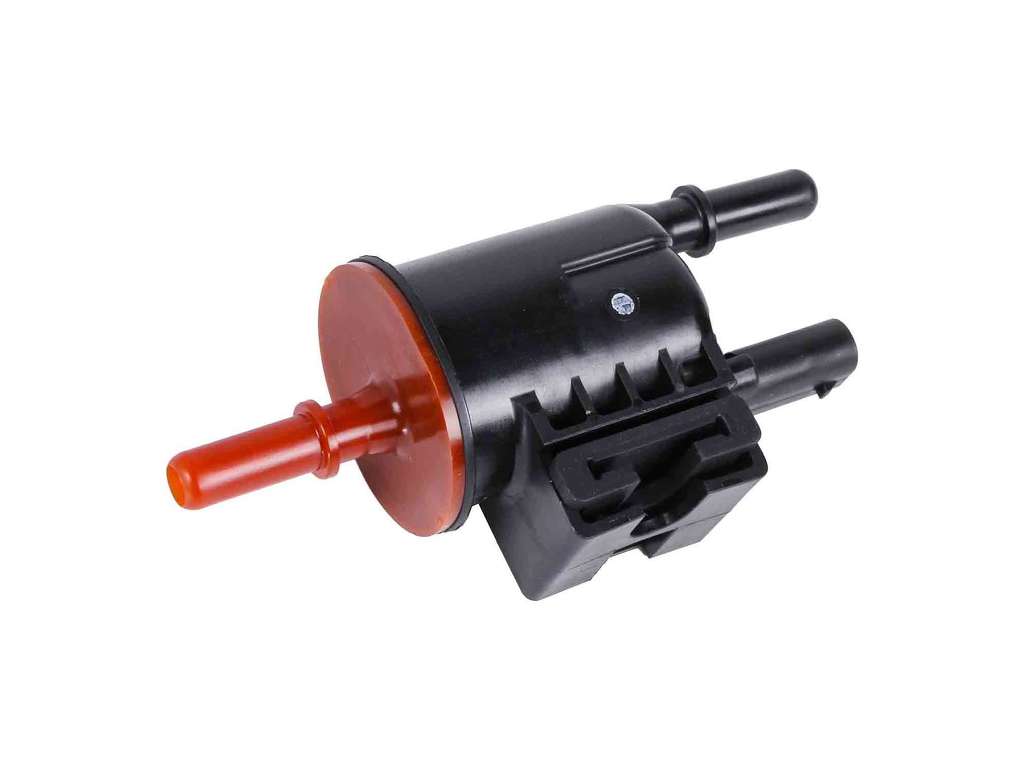
Est. part cost: $25-$60 - Faulty EVAP Vent Valve/Solenoid 🟡 Medium Probability The vent valve is normally open and closes during system self-tests. Located near the charcoal canister under the car, it is exposed to road debris and moisture, which can cause it to stick or fail to seal. TSB #21-NA-124 points to this as a primary component to check after inspecting the EVAP lines.
How to confirm: A smoke machine test is the most effective method. Smoke will be seen exiting the valve when it is commanded closed by a scan tool. It can also be removed and tested by applying 12V power to see if the solenoid actuates and seals. A known issue is the valve sealing under pressure but leaking under vacuum, which requires scan tool testing.
Typical fix: Replace the vent valve. It is usually located near the charcoal canister under the vehicle, towards the rear.
Est. part cost: $20-$50 - Cracked or Disconnected EVAP Hose ⚪ Low Probability Rubber and plastic hoses can become brittle with age and exposure to heat and elements, leading to small cracks or loose connections. TSB #21-NA-124 makes inspecting all EVAP lines for proper seating and damage the very first diagnostic step.
How to confirm: A visual inspection may reveal obvious damage, but a smoke test is the definitive way to find a small hose leak. The technician will fill the system with smoke and look for where it escapes, paying close attention to connection points and rubber elbows.
Typical fix: Replace the damaged section of hose or re-secure the connection. GM offers specific replacement hoses like part number 84119325.
Est. part cost: $10-$50
Rare But Worth Checking
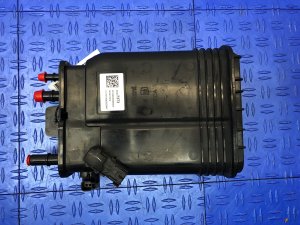
- Cracked Charcoal Canister: The plastic housing of the canister itself can develop a hairline crack, causing a small leak. This is less common than valve failure but should be checked during a smoke test, especially if charcoal pellets are found in the purge valve.
- Leaking Fuel Tank or Filler Neck: Rust or physical damage to the fuel tank or the filler neck where the gas cap seals can cause a leak. This is uncommon but possible, especially in regions with heavy road salt use. A smoke test will reveal leaks in this area.
- Faulty Fuel Tank Pressure (FTP) Sensor: A faulty FTP sensor can send incorrect readings to the ECM, making it think there is a leak when there isn't one. However, this failure usually triggers a specific sensor-related trouble code in addition to P0442.
Diagnosis Steps
- Check the gas cap. Remove it, inspect the seal for cracks or damage, and reinstall it, ensuring it clicks multiple times. Clear the code and drive for a few days to see if it returns.
- If the code returns, perform a thorough visual inspection of all accessible EVAP hoses and lines from the engine bay to the rear of the vehicle, per TSB #21-NA-124. Look for any obvious cracks, damage, or loose connections.
- The most effective diagnostic step is to have a smoke test performed. A technician will use a smoke machine to fill the EVAP system with a visible, low-pressure vapor.
- Use a bi-directional scan tool to command the vent valve closed to seal the system for the smoke test.
- While the system is filled with smoke, inspect all components in the order recommended by GM: gas cap seal, filler neck, all hoses and connections, the vent valve, the charcoal canister, and finally the purge valve. The source of the leak will be revealed by the escaping smoke.
- If no leak is found, test the purge and vent valves for functionality. The purge valve should hold vacuum when de-energized, and the vent valve should close completely when 12V is applied. Per GM bulletin PI0979, if no leak is found with pressure, test the vent valve for leakage under vacuum using a scan tool's 'Purge & Seal' function, as it may leak under vacuum but not pressure.
Parts You'll Likely Need
- Gas Cap
(OEM #13502509 (ACDelco GT294))— This is the most frequent cause of P0442 due to a worn seal or improper tightening. It's the first and cheapest part to check.
Trusted brands: ACDelco, Motorad
OEM price range: $25-$40
Aftermarket price range: $15-$25 - Vapor Canister Purge Valve
(OEM #12630282 (ACDelco 214-2317))— This valve is a common failure point that can get stuck or leak, causing the ECM to detect a small leak in the system. A failure here often causes hard starting after refueling.
Trusted brands: ACDelco, Dorman, Standard Motor Products
OEM price range: $40-$60
Aftermarket price range: $25-$45 - Vapor Canister Vent Solenoid/Valve
(OEM #84524035)— This valve, located near the canister, can fail to seal properly due to internal failure or debris, leading to a leak during the system's self-test. TSB #21-NA-124 identifies this as a key part to inspect.
Trusted brands: ACDelco, Dorman, SKP
OEM price range: $30-$50
Aftermarket price range: $20-$40
Related Codes That Often Appear With This One
- P0455 — Evaporative Emission System Leak Detected (Large Leak). This code may appear alongside P0442 if the leak size is intermittent or on the borderline between small and large. TSB #21-NA-124 mentions both codes occurring for similar issues, such as a stuck valve or disconnected line.
- P0456 — Evaporative Emission System Leak Detected (Very Small Leak). This indicates a leak even smaller than P0442 and can be caused by the same components, just with a much smaller failure.
- P0496 — EVAP Flow During a Non-Purge Condition. This code often appears with P0442 and strongly points to a faulty purge valve that is stuck open or leaking, allowing fuel vapor into the engine when it shouldn't.
Technical Service Bulletins (TSBs) & Recalls
- 21-NA-124: Provides diagnostic tips for finding EVAP leaks causing P0442 and P0455. It gives a specific diagnostic order: 1. Inspect all EVAP lines for proper installation and damage. 2. Investigate potential vent valve malfunction. 3. Investigate potential purge valve malfunction.
- PIT4943D: Directs technicians to a Techlink article from May 2013 titled "Using the Evaporative Emissions System Tester" for proper diagnosis of P0442 with a smoke machine.
Mechanic-Grade Diagnostic Values
- EVAP Canister Purge Valve Resistance — expected: 30 to 38 ohms (standard) or 2.5 to 6 ohms (electronic type). Failure: A reading outside the specified range indicates a faulty valve coil.
- EVAP Canister Vent Solenoid Resistance — expected: 48 to 65 ohms. Failure: A reading outside this range suggests the solenoid coil is bad.
- EVAP System Test Pressure (with EEST tool) — expected: 13 inches of H2O (0.5 PSI). Failure: This is the standard pressure applied by the GM-specified test tool GE-41413-A.
- Scan Tool Fuel Tank Pressure (FTP) Sensor Display — expected: Stable reading when system is sealed.. Failure: A GM TSB recommends changing the units from inches of H2O to mm_Hg for better resolution when watching for small leak-downs.
Scan Tool Commands That Help
- GDS2 (GM Tech Tool): EVAP System 'Purge & Seal' Test — This function is used to command the purge valve to create a vacuum in the tank and then seal the system by closing the vent valve. It is the definitive test for finding a vent valve that leaks under vacuum but not pressure, a common cause for P0442 when a smoke test passes.
- GDS2 (or other advanced scan tool): EVAP Canister Vent Valve - Command CLOSED — This command is essential before performing a smoke test. It manually closes the normally-open vent valve to seal the EVAP system, allowing it to be pressurized with smoke to find leaks.
- GDS2 (or other advanced scan tool): Cycle Purge and Vent Solenoids — While the system is under pressure or vacuum, repeatedly cycling the valves can reveal an intermittent sticking issue that might not be apparent in a static test.
"I Checked Everything" — The Actual Cause
- A known scenario documented in GM bulletin PI0979 is when a P0442 is set, but the EVAP system passes a standard pressure-based smoke test. The cause is often a faulty EVAP Canister Vent Solenoid (CVS) Valve that seals correctly when positive pressure is applied (from a smoke machine) but fails to seal under the vacuum condition created by the ECM during its self-test. The correct diagnosis requires using a scan tool to perform a 'Purge & Seal' test to check for vacuum decay.
OEM Part Supersession History
15788844, 15795021, 17114055, 20924750, 21993142, 22865590, 25321964, 25932573→84524035— Part has been updated and consolidated over many model years and platforms.
Helpful Videos
Used OEM Parts in Stock

New Aftermarket Parts Available


The information in this article is provided for general reference and educational purposes only. Vehicle specifications, procedures, and part compatibility can vary by production date, trim level, and region. Always consult your vehicle's factory service manual and verify part numbers before purchasing or performing repairs. Safety-critical components such as airbags, seat belts, and braking systems should be installed by a qualified professional.
- Cadillac CT6:
- 🎬 Helpful Videos
- 🛍️ Shop This Part
- What's Unique About the 2016-2020 Cadillac CT6
- Diagnostic Flowchart
- Symptoms You May Notice
- Most Likely Causes
- Rare But Worth Checking
- Diagnosis Steps
- Parts You'll Likely Need
- Related Codes That Often Appear With This One
- Technical Service Bulletins (TSBs) & Recalls
- Mechanic-Grade Diagnostic Values
- Scan Tool Commands That Help
- "I Checked Everything" — The Actual Cause
- OEM Part Supersession History
- 🎟️ Get 5% Off