

P0340 on 2000-2004 Toyota MR2 Spyder: Camshaft Sensor Causes & Fixes
P0340 on an MR2 Spyder usually means a failed camshaft position sensor, causing stalling or no-start issues. Before replacing the sensor (~$30-$80), check your battery's health, as a Toyota TSB confirms low voltage can trigger this code. Also, inspect the sensor's wiring connector for damage or oil contamination, as it is a common point of failure.
What's Unique About the 2000-2004 Toyota MR2 SPYDER
The 2000-2004 MR2 Spyder uses the 1.8L 1ZZ-FE engine, which is known for its reliability but is sensitive to electrical issues. A key platform-specific issue is documented in a Toyota Technical Service Bulletin (TSB T-TT-0010-10 Rev), which states that low battery voltage during cranking can cause a false P0340 code. This makes checking the battery and charging system an essential first step before replacing any parts. Additionally, real-world owner reports indicate the wiring connector pigtail is a frequent failure point due to heat and age.
Diagnostic Flowchart
Tap your situation to follow the diagnostic path that matches what you're seeing on this vehicle.
Symptoms You May Notice
- Check Engine Light is on
- Engine is hard to start or cranks but won't start
- Engine stalls unexpectedly while driving or at idle
- Rough or erratic idle
- Noticeable loss of engine power and acceleration
- Decreased fuel mileage
- In some cases, the engine may start and run only if the camshaft sensor is disconnected
- Replacing the camshaft position sensor without first checking the battery and charging system, as per the TSB.
- Assuming the sensor is bad when the actual fault is a cracked or oil-contaminated wiring connector.
- Mistaking the camshaft position sensor for the crankshaft position sensor (which triggers code P0335).
Most Likely Causes
- Failed Camshaft Position Sensor 🔴 High Probability The sensor is exposed to constant heat cycles at the top of the engine, leading to eventual electronic failure. Oil from a leaking valve cover gasket can also seep into the electrical connector, shorting the pins.
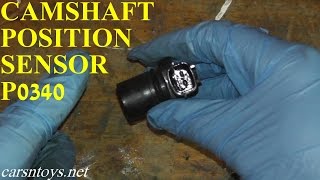
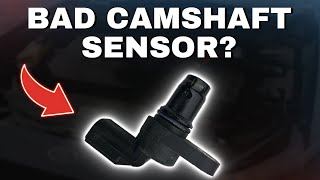
How to confirm: A definitive test uses an oscilloscope to check for a proper square wave signal. 🎬 See how to test and replace the sensor yourself. A practical DIY test is to disconnect the sensor; if a 'crank-no-start' issue is resolved and the engine starts (it will run poorly), the sensor is likely faulty and is sending a bad signal. Given the low cost, replacement is a common diagnostic step.
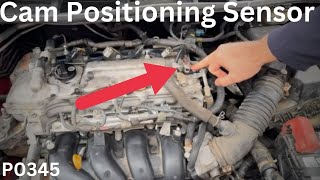
Typical fix: Replace the camshaft position sensor. It is located on the driver's side of the cylinder head and held by a single 10mm bolt. 🎬 Watch this quick walkthrough of the sensor replacement process. It is highly recommended to use an OEM (Denso) or high-quality aftermarket (NGK, Delphi) sensor, as cheap alternatives are known to fail prematurely on this engine family.
Est. part cost: $30-$80 - Damaged Wiring or Connector 🟡 Medium Probability After 20+ years, the plastic connector becomes brittle from engine heat and vibration, causing the locking tab to break or developing cracks that allow moisture and oil in. Wires can also fray near the connector.
How to confirm: Visually inspect the wiring harness and connector for cracks, melting, or corrosion. Wiggle the connector while the engine is idling to see if it causes a stall. A forum user on a platform-mate (Vibe) fixed their P0340 by replacing only the $12 connector.
Typical fix: Repair the damaged section of wire or replace the connector pigtail. Pigtails are readily available online.
Est. part cost: $10-$35 - Low Battery Voltage or Failing Alternator 🟡 Medium Probability A specific Toyota TSB (T-TT-0010-10 Rev) directly links low battery voltage to the P0340 code on this engine family. Slow or inconsistent cranking speed confuses the ECM's correlation of cam and crank signals.
How to confirm: Test the battery voltage with a multimeter; it should be above 12.4V with the engine off. With the engine running, check the alternator output, which should be between 13.5V and 14.5V. A weak starter can also cause excessive voltage drop during cranking.
Typical fix: Charge or replace the battery. If the running voltage is low, diagnose and replace the alternator.
Est. part cost: $100-$300 - Stretched Timing Chain or Failed Tensioner ⚪ Low Probability While the 1ZZ-FE is generally robust, a high-mileage engine can suffer from a stretched timing chain or a weak tensioner, causing the camshaft and crankshaft correlation to be out of sync, which the ECM interprets as a sensor circuit fault.
How to confirm: This is an advanced diagnosis. It often presents with a rattling noise from the timing cover area, especially on startup. Confirmation requires removing the valve cover to inspect chain slack and tensioner position.
Typical fix: Replace the timing chain, guides, and tensioner.
Est. part cost: $150-$400
Rare But Worth Checking
- Faulty Engine Control Module (ECM): This is extremely rare. The ECM should only be considered after all other possibilities have been ruled out. It's worth noting that on the sister platform Pontiac Vibe, a faulty ECM was common enough to warrant a recall for causing identical symptoms.
Diagnosis Steps
- Read the code with an OBD-II scanner to confirm P0340 is present.
- Check Battery Health First: Per TSB T-TT-0010-10 Rev, this is the mandatory first step. Test the battery voltage. It must be >12.4V engine off, and 13.5-14.5V engine running. Address any charging system issues before proceeding.
- Inspect Wiring and Connector: Carefully inspect the camshaft position sensor's wiring and connector. Look for cracks, oil contamination, and bent or corroded pins. Ensure the connector is securely fastened.
- Perform Sensor Function Test: If the engine cranks but does not start, try disconnecting the camshaft sensor's electrical connector. If the engine then starts and runs (though it will be in a limp mode), this strongly indicates the sensor itself has failed and is sending a signal that is confusing the ECM.
- Replace the Sensor (with a quality part): If the inspection and test point to the sensor, replace it. Use a Denso (OEM) or reputable aftermarket brand. Lightly oil the new sensor's O-ring before installation for a proper seal.
- Check for Other Codes: If other codes like P0335 are present, it further points towards a base electrical issue (battery/alternator) or a timing issue.
- Inspect Mechanical Timing: If a new, quality sensor and good wiring don't solve the issue, the next step is to inspect the timing chain for excessive slack, which would require removing the valve cover.
- Consider the ECM: As a final step, if all else fails, the ECM could be the culprit, but this is highly unlikely.
Parts You'll Likely Need
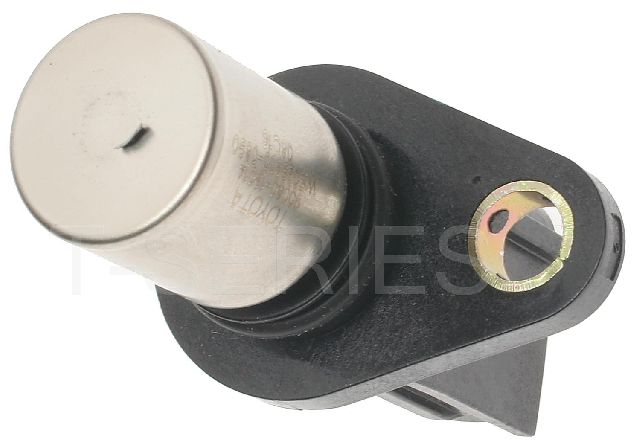
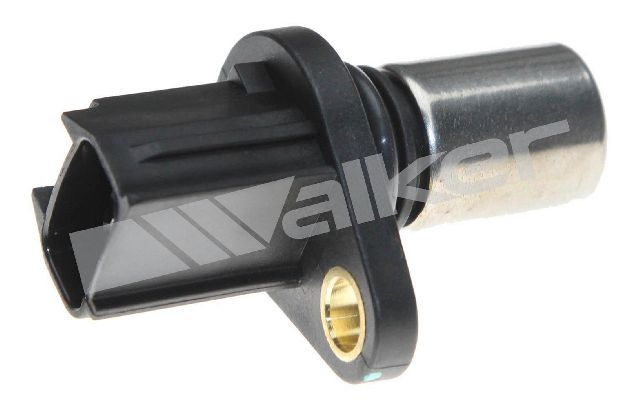
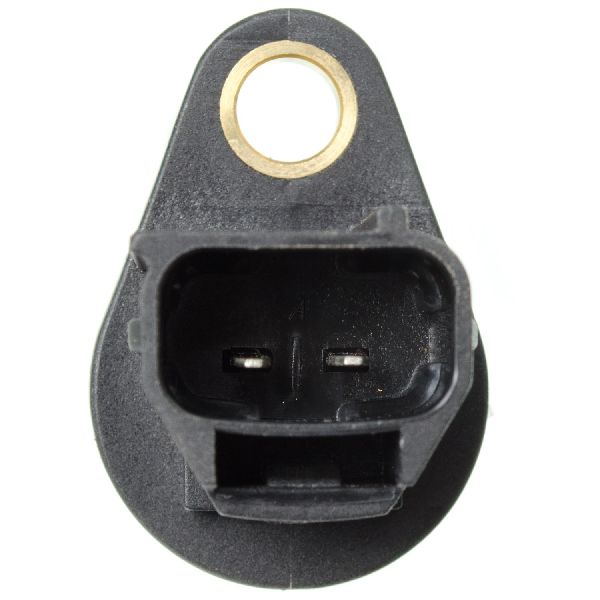
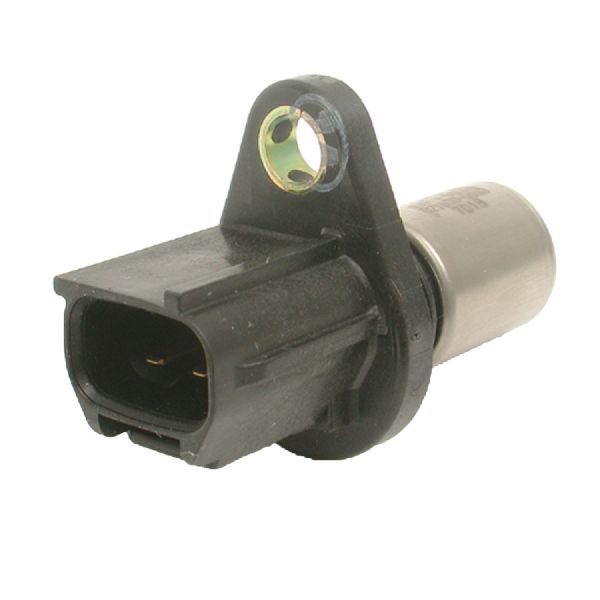
- Camshaft Position Sensor
(OEM #90919-05060)— This sensor is the most frequent cause of a P0340 code once basic electrical issues are ruled out. It's a common wear-and-tear item. Quality is key; forum members for platform-mates strongly advise against cheap, unbranded sensors.
Trusted brands: Denso (OEM), NGK/NTK, Delphi
OEM price range: $70-$125
Aftermarket price range: $30-$80 - Camshaft Position Sensor Connector Pigtail — The original connector often becomes brittle and fails, causing an intermittent or total loss of signal. Replacing the pigtail is often the true fix when a new sensor doesn't solve the problem.
Trusted brands: Standard Motor Products (S2326), Dorman, Various aftermarket
OEM price range: N/A
Aftermarket price range: $10-$35
Related Codes That Often Appear With This One
- P0335 — This is the code for the Crankshaft Position Sensor. The TSB T-TT-0010-10 Rev mentions that low battery voltage can cause both P0340 and P0335 to appear, as the ECM struggles to correlate the signals from both sensors during a slow/erratic crank.
Technical Service Bulletins (TSBs) & Recalls
- T-TT-0010-10 Rev: Low battery voltage can contribute to a MIL "ON" condition for P0335 (Crankshaft Position Sensor Circuit) and/or P0340 (Camshaft Position Sensor Circuit) due to inconsistent rotational speed of the engine's crankshaft.
Platform-Specific Known Issues
- Toyota Technical Service Bulletin T-TT-0010-10 Rev notes that low battery voltage can contribute to a MIL "ON" condition for P0340 due to inconsistent rotational speed of the engine's crankshaft during starting. This is a well-documented quirk across many Toyota models from this era.
- Owner forums report that a crank-no-start condition can sometimes be bypassed by simply unplugging the faulty sensor, forcing the ECU into a limp mode that allows the engine to run.
Mechanic-Grade Diagnostic Values
- Camshaft Position Sensor Resistance (Cold) — expected: 835 - 1,400 Ohms. Failure: A reading outside this range, or an open/infinite reading, indicates a faulty sensor.
- Camshaft Position Sensor Resistance (Hot) — expected: 1,060 - 1,645 Ohms. Failure: A reading outside this range when the engine is at operating temperature indicates a faulty sensor.
- Sensor Supply Voltage (Key On, Engine Off) — expected: 4.5 - 5.5 Volts. Failure: Voltage below 4.5V suggests an issue with the ECM or the wiring from the ECM.
- Sensor Ground Circuit Resistance — expected: Below 5.0 Ohms. Failure: Resistance above 5.0 Ohms indicates a poor ground connection, which can cause a faulty signal.
Scan Tool Commands That Help
- Toyota Techstream: Freeze Frame Data — To review the exact vehicle and driving conditions (engine speed, temperature, etc.) at the moment the P0340 code was triggered. This can help differentiate between a startup issue (low battery) and a running issue.
Wiring & Ground Locations
- Engine Control Module (ECM) — Behind the driver's seat, mounted on the interior panel.. This is the termination point for the camshaft position sensor wiring. All voltage and signal tests ultimately lead back to the ECM connectors.
- Camshaft Position Sensor Connector — On the driver's side of the cylinder head, connected to the sensor.. This 2-pin connector is where voltage and resistance tests are performed. The pins are for the sensor signal (G2) and ground (G-).
- Ground Point 'EA' — Located on the left rear suspension tower in the engine compartment.. This is a primary engine ground point. A loose or corroded connection here can affect the entire engine management system and introduce electrical noise that could interfere with the camshaft sensor signal.
Real Owner Repair Stories
- mr2spyder.net user (2000-2005 Toyota MR2 Spyder (1ZZ-FE)) — Engine would crank but not start. No trouble codes were initially present.
❌ Tried (didn't work) Cranking the engine repeatedly., Checking for vacuum leaks., Connecting a known-good (but old) sensor externally to the harness; still resulted in a no-start.
✅ What actually fixed it The engine started and ran immediately after disconnecting the camshaft position sensor's electrical connector. This forced the ECU into a limp mode and set the P0340 code. The final fix was replacing the faulty camshaft position sensor. The owner had previously repaired the connector pigtail, which was also a point of failure.
OEM Part Supersession History
90919-05060→N/A— Part number is still active and has not been superseded.
Heads up: This part number is used for both camshaft and crankshaft position sensors on various Toyota models. While it is the correct number for the MR2 Spyder's camshaft sensor, it is critical to verify the application. Using a sensor intended for a different position, even if it fits physically, could cause issues.
Model Year Variations Within This Range
- 2003-2005: The MR2 Spyder received a facelift for the 2003 model year. This included revised styling, additional chassis bracing for improved rigidity, and an upgraded 6-speed Sequential Manual Transmission (SMT) option (the standard manual remained 5-speed). While the base 1ZZ-FE engine and P0340 diagnosis remained the same, engines from 2003 onward had revised piston rings to address the oil consumption and pre-catalyst failure issues common in 2000-2002 models.
Helpful Videos
We Have This Part in Stock


The information in this article is provided for general reference and educational purposes only. Vehicle specifications, procedures, and part compatibility can vary by production date, trim level, and region. Always consult your vehicle's factory service manual and verify part numbers before purchasing or performing repairs. Safety-critical components such as airbags, seat belts, and braking systems should be installed by a qualified professional.
- Toyota MR2 SPYDER:
- 🎬 Helpful Videos
- 🛍️ Shop This Part
- What's Unique About the 2000-2004 Toyota MR2 SPYDER
- Diagnostic Flowchart
- Symptoms You May Notice
- Most Likely Causes
- Rare But Worth Checking
- Diagnosis Steps
- Parts You'll Likely Need
- Related Codes That Often Appear With This One
- Technical Service Bulletins (TSBs) & Recalls
- Platform-Specific Known Issues
- Mechanic-Grade Diagnostic Values
- Scan Tool Commands That Help
- Wiring & Ground Locations
- Real Owner Repair Stories
- OEM Part Supersession History
- Model Year Variations Within This Range
- 🎟️ Get 5% Off