

P0340 on 2017-2019 Chevy Silverado 2500: Camshaft Sensor Circuit Causes & Fixes
On a 2017-2019 Silverado 2500, P0340 often points to a chaffed or damaged wiring harness, a known issue cited in multiple GM Technical Service Bulletins (TSBs). Before replacing the camshaft position sensor, a thorough inspection of the wiring, especially around the X154 connector, A/C compressor, and other known chafe points, is the most critical first step. If the wiring is intact, a sensor replacement is the next most likely fix.
- For a P0340 code on a 2017-2019 Silverado 2500, suspect a wiring problem before a sensor problem.
- Multiple GM service bulletins point to a chaffed wiring harness as the root cause.
- Symptoms are serious and include stalling or a no-start condition, making the truck unsafe to drive.
- A thorough visual inspection of the engine wiring harness is the most important diagnostic step.
- Other codes, especially for the crankshaft sensor (P0335) or cam sensor performance (P0341), make the wiring issue even more likely.
What's Unique About the 2017-2019 Chevrolet SILVERADO 2500
For this generation of Silverado HD trucks (K2XX), the P0340 code is strongly associated with specific wiring harness problems, as documented by General Motors. Multiple Technical Service Bulletins (TSBs) have been issued that mention this code in conjunction with chaffed wiring harnesses, particularly near the X154 connector, A/C compressor, and generator bracket. This makes a visual inspection of the engine wiring a more critical first step than on many other vehicles, where the sensor itself is the most common point of failure.
Diagnostic Flowchart
Tap your situation to follow the diagnostic path that matches what you're seeing on this vehicle.
Symptoms You May Notice
- Check Engine Light is on
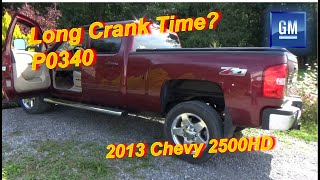
- Engine is difficult to start or has a long crank time. 🎬 Watch: Diagnosing long crank times and P0340 on GM trucks.
- Engine stalls unexpectedly.
- Rough running or unstable idle.
- Hesitation or lack of power during acceleration.
- Vehicle may not start at all.
- Transmission may not shift properly or seem locked in gear.
- Replacing the camshaft position sensor without first performing a thorough inspection of the wiring harness. Given the known TSBs for this vehicle, skipping the wiring check, especially around the X154 connector, can lead to unnecessary parts replacement and recurring issues. 🎬 See why replacing the sensor doesn't always fix P0340.
Most Likely Causes
- Chaffed or Damaged Wiring Harness 🔴 High Probability Multiple GM TSBs (PIP5553A, PIP5335C, 21-NA-149) identify a chaffed wiring harness as a primary cause for P0340. The harness is routed tightly and is known to rub against various engine and chassis components.
How to confirm: Perform a thorough visual inspection of the engine wiring harness. Pay extremely close attention to these known chafe points: - At the X154 connector (16-pin, front driver's side of engine) and its mounting bracket. - Where the harness passes the A/C compressor. - Near the generator (alternator) bracket. - Against the sharp corners of the cylinder heads. - Near the upper control arm and shock tower bolts. Look for worn-through plastic conduit, exposed copper wires, or signs of rodent damage. Check for corrosion inside the X154 connector.
Typical fix: Repair the damaged section of wire using solder and heat-shrink tubing. Protect the repaired area with new conduit or tape and secure the harness away from the point of friction using zip ties. If the X154 connector is corroded, it may need to be cleaned with electrical contact cleaner or replaced with a new pigtail.
Est. part cost: $5-$50 - Failed Camshaft Position Sensor (CMP) 🟡 Medium Probability The sensor operates in a high-heat environment and can fail electronically over time.
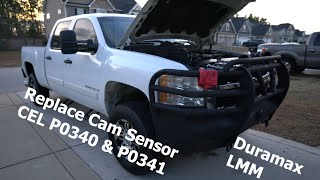
How to confirm: If the wiring and connector are confirmed to be in good condition, the sensor is the next likely culprit. It can be tested with a multimeter for proper resistance or by observing its signal on an oscilloscope during engine cranking. Sensor Location: - 6.0L Gas (L96): Located at the top rear of the engine block, behind the intake manifold. - 6.6L Diesel (L5P): Located on the front engine cover. 🎬 Watch: How to replace the CMP sensor on a Duramax.
Typical fix: Replace the camshaft position sensor. Access on the 6.0L is tight. On the 6.6L, it may require removing the cooling fan, shroud, and serpentine belt for access.
Est. part cost: $45-$110 - Loose or Corroded Sensor Connector ⚪ Low Probability
How to confirm: Disconnect the sensor and inspect the connector terminals for looseness, moisture, or green/white corrosion. Ensure it clicks securely into place.
Typical fix: Clean the connector terminals with electrical contact cleaner and a small brush. Apply a small amount of dielectric grease to the seal before reconnecting.
Est. part cost: $5-$15
Rare But Worth Checking
- Timing Chain Issue: While less common on newer vehicles, a stretched timing chain can cause the camshaft and crankshaft signals to be out of sync, potentially triggering this code. This is usually accompanied by rattling noises from the front of the engine.
- Faulty Engine Control Module (ECM): This is a very rare cause. The ECM should only be considered after all other possibilities, including wiring, sensors, and mechanical timing, have been exhaustively ruled out by a professional.
Diagnosis Steps
- Read the trouble codes with an OBD-II scanner and note any other codes present.
- Perform a thorough visual inspection of the entire engine wiring harness. Focus on the specific chafe points identified in TSBs: around the A/C compressor, generator bracket, and cylinder head corners.
- Specifically locate and inspect the X154 connector (front driver's side of the engine). Disconnect it and check for green/white corrosion on the pins or signs of the harness rubbing against its bracket.
- Inspect the camshaft position sensor connector itself for damage, corrosion, or loose pins.
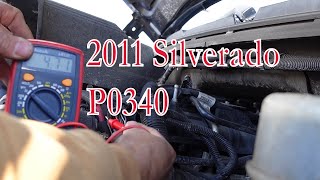
- If wiring appears intact, use a multimeter to check for correct voltage (typically 5V reference), ground, and signal at the sensor connector with the key on.
- If wiring and power/ground are good, test the sensor itself. For a definitive test, use an oscilloscope to view the sensor's square wave signal while cranking the engine.
- If the sensor produces no signal but wiring is good, replace the camshaft position sensor.
- If all of the above check out, the issue may be more complex, such as a mechanical timing problem (stretched timing chain) or, rarely, a faulty ECM.
Parts You'll Likely Need
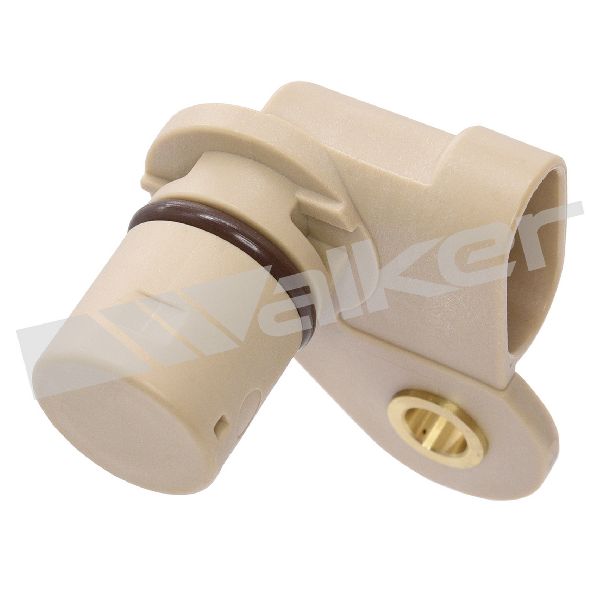
- Camshaft Position Sensor
(OEM #6.0L Gas: ACDelco 213-3826; 6.6L Diesel: ACDelco 12636947)— This is the second most common cause of the P0340 code after wiring issues. The sensor itself can fail internally from heat and age.
Trusted brands: ACDelco, Delphi, Dorman
OEM price range: $50-$120
Aftermarket price range: $25-$80 - Wiring Pigtail / Connector — If the connector itself is damaged or corroded, or if wiring is damaged close to the connector, replacing the pigtail is the most effective repair.
Trusted brands: ACDelco, Dorman
OEM price range: $20-$50
Aftermarket price range: $10-$30
Related Codes That Often Appear With This One
- P0341 — This code for 'Camshaft Position Sensor 'A' Circuit Range/Performance' is often set along with P0340, as they both relate to the same sensor circuit. TSBs PIP5335C and PIP5553A list both codes together as resulting from the same wiring faults.
- P0335 / P0336 — These codes relate to the Crankshaft Position Sensor. The ECM compares cam and crank signals to verify timing. A wiring issue affecting the cam sensor circuit might also affect the crank sensor circuit, as the wires are often bundled in the same harness, as noted in TSB PIP5553A.
Technical Service Bulletins (TSBs) & Recalls
- PIP5553A: Mentions P0340 in a list of DTCs caused by a possible chaffed wiring jumper harness, leading to a crank/no start or stall.
- PIP5335C/D: Notes that DTCs P0340 and P0341 may set intermittently and specifically points to inspecting the X154 connector for corrosion.
- 21-NA-149: A newer, comprehensive TSB that details multiple specific engine harness chafe points that can cause P0340 and other electrical faults.
- PIP5553: An earlier version of PIP5553A, also linking P0340 to a potential chaffed wiring harness.
- PIE0416A: A bulletin ending a field information request for vehicles setting DTCs P0335, P0340, or P0365.
Platform-Specific Known Issues
- TSB #PIP5553A documents that a chaffed wiring jumper harness can cause P0340 along with numerous other codes, leading to a stall or no-start condition. The chafe point is often near the X154 connector bracket.
- TSB #PIP5335C notes that P0340 and P0341 can set intermittently due to water intrusion and corrosion inside the X154 connector on the front of the engine.
- TSB #21-NA-149 is a comprehensive bulletin that supersedes older ones and details multiple potential engine wire harness chafing locations, including against the A/C compressor, the corner of the cylinder head, and the generator bracket.
Mechanic-Grade Diagnostic Values
- 5-Volt Reference at Sensor Connector — expected: 4.8 to 5.2 Volts. Failure: Voltage below 4.8V or 0V indicates an open or short in the supply circuit from the ECM.
- Ground Circuit Resistance — expected: Less than 5.0 Ohms. Failure: Resistance higher than 5.0 Ohms to a clean chassis ground indicates a poor ground connection, which is a common issue.
- Signal Circuit Voltage (Oscilloscope) — expected: A clean digital square wave, switching between approximately 0V and 5V as the engine is cranked.. Failure: A flat line at 0V or 5V, or an erratic, noisy, or inconsistent waveform points to a failed sensor or a mechanical issue with the reluctor wheel.
- Signal Circuit Voltage (Multimeter, KOEO) — expected: Approximately 5.0 Volts. Failure: 0V on the signal wire with the sensor disconnected suggests a break in the wire going back to the ECM.
Scan Tool Commands That Help
- GDS2 / Tech2Win (or equivalent professional scanner): Live Data PID: 'CMP Active Counter' or 'Camshaft RPM Signal' — This is a primary diagnostic step. While cranking the engine, this data parameter should show increasing counts or an RPM value. If it remains at 0 while the crankshaft RPM signal is active, it confirms the ECM is not receiving a signal from the camshaft sensor.
- GDS2 / Tech2Win (or equivalent professional scanner): Cam/Crank Relearn Procedure — This procedure is not for diagnosing P0340 but should be performed after replacing a camshaft sensor, crankshaft sensor, ECM, or any timing components. It synchronizes the ECM to the learned positions of the components to ensure accurate timing and prevent misfire codes from being set.
Wiring & Ground Locations
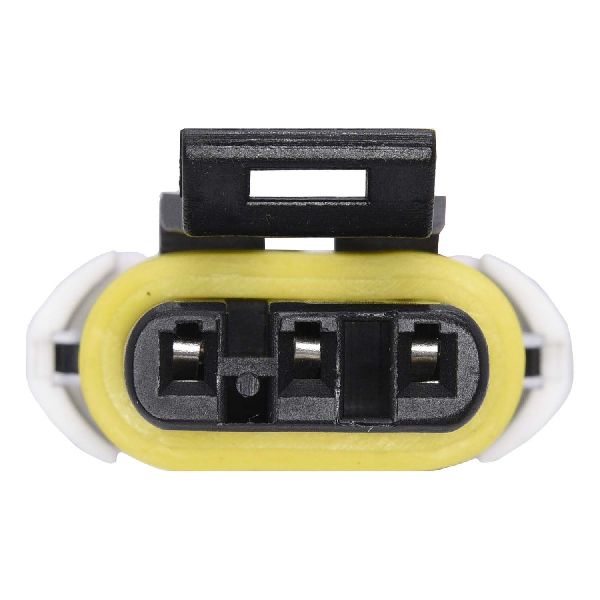
- CMP Sensor Connector (Typical) — On the sensor itself. 6.0L Gas: Top rear of engine block. 6.6L Diesel: Front engine cover.. This is where all circuit testing begins. A common 3-pin configuration is Pin 1: 5V Reference, Pin 2: Signal, Pin 3: Low Reference (Ground). Wire colors vary, but a common GM pattern is Gray (5V), Green or Blue (Signal), and Brown or Black (Ground).
- G103 / G104 — These are primary engine-to-chassis grounds, typically bolted to the cylinder heads. G103 is often on the front of the passenger-side head, and G104 on the rear of the driver-side head.. The ECM and its sensors rely on clean ground connections. A loose or corroded G104, in particular, is a known cause of multiple, seemingly random sensor codes on GM trucks because it serves as a primary ground point for the sensor data network.
- X154 Connector — Front driver's side of the engine, near the A/C compressor.. This is a major engine harness pass-through connector. Multiple TSBs cite this specific connector as a location for corrosion from water intrusion or chaffing of wires against its bracket, directly causing P0340.
Real Owner Repair Stories
- Tahoe Yukon Forum user (2021 Yukon with 3.0L Duramax (related GM diesel engine)) — Check engine light on, erratic camshaft position counter on scan tool.
❌ Tried (didn't work) Initial diagnosis pointed towards the sensor or wiring.
✅ What actually fixed it The dealership found the exhaust camshaft drive sprocket had failed mechanically. The reluctor ring, which the sensor reads, is part of this sprocket. It was replaced under warranty to resolve the issue.
OEM Part Supersession History
12698173, 55487257, 55508453→12733487— Part consolidation and potential design updates.
Heads up: Using the latest part number (12733487) is recommended to ensure you have the most current revision.
Helpful Videos

We Have This Part in Stock
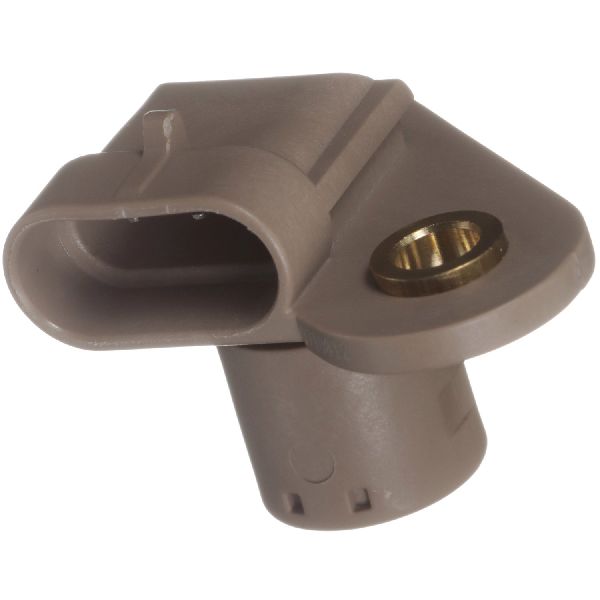


The information in this article is provided for general reference and educational purposes only. Vehicle specifications, procedures, and part compatibility can vary by production date, trim level, and region. Always consult your vehicle's factory service manual and verify part numbers before purchasing or performing repairs. Safety-critical components such as airbags, seat belts, and braking systems should be installed by a qualified professional.
- Chevrolet SILVERADO 2500:
- 🎬 Helpful Videos
- 🛍️ Shop This Part
- What's Unique About the 2017-2019 Chevrolet SILVERADO 2500
- Diagnostic Flowchart
- Symptoms You May Notice
- Most Likely Causes
- Rare But Worth Checking
- Diagnosis Steps
- Parts You'll Likely Need
- Related Codes That Often Appear With This One
- Technical Service Bulletins (TSBs) & Recalls
- Platform-Specific Known Issues
- Mechanic-Grade Diagnostic Values
- Scan Tool Commands That Help
- Wiring & Ground Locations
- Real Owner Repair Stories
- OEM Part Supersession History
- 🎟️ Get 5% Off