

P0335 on 2001-2004 Toyota Sequoia: Crankshaft Sensor Causes & Fixes
P0335 on a 1st Gen Sequoia usually means a failed crankshaft position sensor, causing a no-start or stalling. However, a weak battery is a known issue that can trigger this code. Always test the battery before replacing the sensor, which costs about $40-$80 for an OEM Denso part. The sensor is located on the lower driver's side of the engine, near the crankshaft pulley.
- **Test the battery first!** A weak battery is a documented cause of P0335 on the 2001-2004 Sequoia and is a common misdiagnosis.
- The most likely failed part, if the battery is good, is the crankshaft position sensor itself.
- Use a genuine Toyota or Denso (OEM) replacement sensor (part # 90919-05057) for best results; these engines can be sensitive to aftermarket parts.
- Symptoms are severe and include the engine cranking but not starting, or stalling unexpectedly while driving. Do not drive the vehicle until it is repaired.
- The sensor is located on the lower driver's side of the engine and is accessible from underneath after removing a skid plate, making it a manageable DIY job for many.
What's Unique About the 2001-2004 Toyota SEQUOIA
For the 2001-2004 Sequoia with the 4.7L 2UZ-FE engine, this code has a specific quirk documented by Toyota in Technical Service Bulletin T-TT-0010-10 Rev. A low battery can cause inconsistent cranking speed, which the computer may misinterpret as a faulty crankshaft sensor signal. The TSB advises technicians to review the vehicle's Freeze Frame Data to see if battery voltage was below the minimum specification of 11 volts when the DTC was set. This can trick owners into replacing a perfectly good sensor when the real problem is an old or weak battery. Testing the battery is the essential first step for this specific vehicle.
🎬 Watch: Why you should check your battery before replacing the sensor.Diagnostic Flowchart
Tap your situation to follow the diagnostic path that matches what you're seeing on this vehicle.
Symptoms You May Notice
- Engine cranks but will not start (most common).
- Engine stalls intermittently, often without warning.
- No-crank, no-start condition (less common, may indicate a related starter issue).
- Hard starting (prolonged cranking).
- Rough or unstable idle.
- Hesitation or loss of power during acceleration.
- Check Engine Light is on.
- Tachometer may read zero even when the engine is cranking.
- VSC/TRAC lights may also illuminate.
- Replacing the crankshaft position sensor when the actual cause is a weak battery. The provided TSB highlights this as a common trap.
- Replacing the camshaft position sensors. While a bad crank sensor can sometimes cause camshaft sensor codes (like P0340) to appear simultaneously, the crank sensor is the primary input and should be addressed first.
- Replacing the fuel pump due to a 'crank, no start' symptom, without checking for the P0335 code first.
Most Likely Causes
- Weak or Failing Battery 🔴 High Probability A Toyota Technical Service Bulletin (T-TT-0010-10 Rev) specifically states that low battery voltage (below 11V) can cause inconsistent cranking speed, leading the ECM to incorrectly set a P0335 code. This is a very common misdiagnosis trap for this platform.
How to confirm: Before any other step, fully charge and load test the battery. Check that the terminals are clean and tight. A simple voltage check is not enough; a load test is required to confirm battery health. An advanced scan tool can check the freeze frame data to see what the battery voltage was at the exact moment the code was triggered.
Typical fix: Replace the vehicle's battery.
Est. part cost: $150-$350 - Failed Crankshaft Position Sensor 🔴 High Probability The sensor operates in a high-heat environment at the front of the engine and can fail electronically over time. It is the most common mechanical cause after battery issues are ruled out.
How to confirm: If the battery and wiring are good, the sensor is the likely culprit. It can be tested with a multimeter for resistance. The specified resistance for a cold sensor is between 1,630 to 2,740 Ω. If the reading is outside this range, the sensor is bad. 🎬 See how to test the 4.7L sensor with a multimeter. Replacement is often the most straightforward diagnostic step.
Typical fix: Replace the crankshaft position sensor. It is highly recommended to use an OEM (Toyota/Denso) part for reliability, as forum users report issues with aftermarket sensors.
Est. part cost: $40-$80 - Damaged Wiring or Connector 🟡 Medium Probability The sensor is located at the bottom front of the engine, and its wiring can be susceptible to heat damage from the engine block/exhaust, or corrosion and physical damage from road debris. A common failure point is the wiring getting mis-routed and rubbing against the serpentine belt after a timing belt service.
How to confirm: Visually inspect the wiring harness leading to the sensor for any signs of melting, chafing, or breaks. Unplug the connector and check for corrosion, moisture, or bent pins. Use a multimeter to check for proper voltage and ground at the connector with the key on.
Typical fix: Repair the damaged section of the wiring harness or replace the connector pigtail.
Est. part cost: $15-$50
Rare But Worth Checking
- Damaged or Mis-installed Reluctor Ring: The sensor reads teeth on a reluctor ring (signal plate) mounted on the crankshaft. While rare, these teeth can be damaged or become excessively rusty. More specific to the 2UZ-FE, if the P0335 code appears immediately after a timing belt replacement, the reluctor plate may have been installed backward. This is a known mistake documented by owners on IH8MUD.com.
- Faulty Starter Motor: In some cases, a failing starter motor can cause electrical interference or voltage drops that the ECM misinterprets as a crankshaft sensor fault. One forum user with a 2UZ-FE engine reported a no-crank P0335 was ultimately a seized starter motor.
- Faulty Engine Control Module (ECM): This is extremely rare. The ECM should only be considered as a potential cause after all other possibilities (sensor, wiring, battery, reluctor ring) have been exhaustively ruled out.
Diagnosis Steps
- Check Battery Health: This is the most critical first step for this vehicle. Fully charge and load test the battery. Ensure voltage is above 12.4V at rest and does not drop below 11V during cranking. Clean any corrosion from the battery terminals. If possible, use a scan tool to check the freeze frame data for battery voltage when the code was set.
- Scan for Codes and Check Live Data: Use an OBD-II scanner to confirm P0335. Check for any other codes (P0340 is common). Use the live data function to monitor 'Engine Speed' (RPM) while cranking the engine. If the RPM reads 0 while cranking, it's a definitive sign of a problem in the crank sensor circuit (sensor, wiring, or ECM).
- Inspect Wiring and Connector: Raise the vehicle safely. Locate the crankshaft position sensor on the front of the engine, on the lower driver's side, mounted on the oil pump body near the main crankshaft pulley. Visually inspect the sensor's wiring harness for any signs of melting, chafing, or rubbing against belts/pulleys. Disconnect the sensor and inspect the connector pins for damage or corrosion.
- Test the Sensor and Circuit: With the connector unplugged, use a multimeter to test the sensor's resistance. It should be between 1,630 and 2,740 Ω when cold. If the resistance is out of spec, the sensor is bad. You can also test the harness connector for power and ground with the key in the 'ON' position.
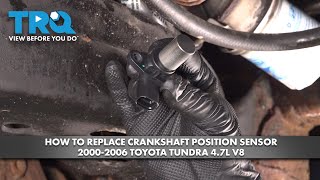
- Replace the Crankshaft Position Sensor: If the battery and wiring are confirmed to be good, the sensor itself is the most likely cause. Replace the sensor. It is held in by a single 10mm bolt. 🎬 Watch this step-by-step guide to replacing the sensor. Applying a small amount of clean engine oil to the new sensor's O-ring can help it seal properly.
- Clear Codes and Test Drive: After replacing the sensor, clear the trouble codes with the scanner and start the vehicle. Perform a test drive to ensure the code does not return.
Parts You'll Likely Need
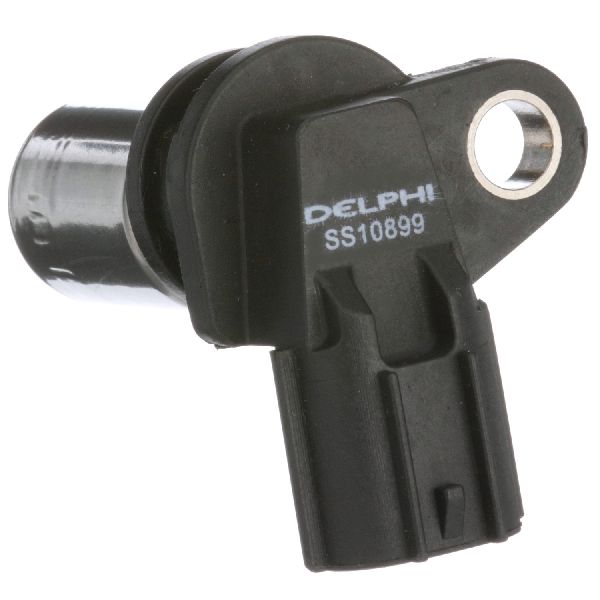
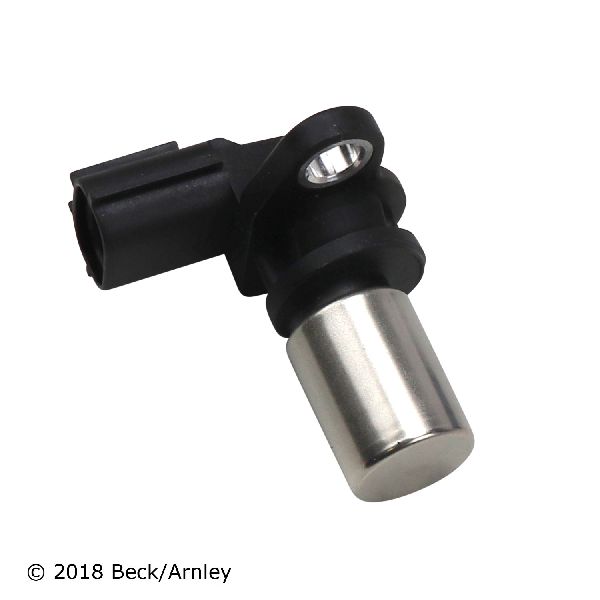
- Crankshaft Position Sensor
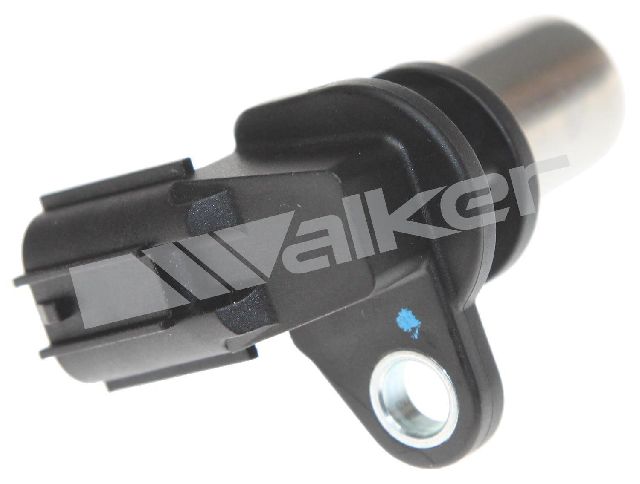
(OEM #90919-05057)— This sensor is the most common part to fail and cause a P0335 code after battery issues are ruled out. The 4.7L 2UZ-FE engine is known to be sensitive to aftermarket sensors, so an OEM part is strongly recommended.
Trusted brands: Toyota Genuine Parts, Denso, Aisan
OEM price range: $70-$110
Aftermarket price range: $20-$50 - Car Battery — A weak battery is a documented cause of P0335 on this vehicle per Toyota TSB T-TT-0010-10 Rev. It can cause inconsistent cranking speed that the ECM misinterprets as a sensor fault.
Trusted brands: Interstate, DieHard, Bosch
OEM price range: $200-$350
Aftermarket price range: $150-$250
Related Codes That Often Appear With This One
- P0340 — P0340 is the code for the Camshaft Position Sensor. The ECM uses both the crank and cam sensors to verify engine timing. A loss of the primary crankshaft signal (P0335) can confuse the ECM and cause it to flag the camshaft sensor signal as well.
Technical Service Bulletins (TSBs) & Recalls
- T-TT-0010-10 Rev: Notes that low battery voltage (below 11V) can contribute to a MIL "ON" condition for P0335 and/or P0340 due to inconsistent rotational speed of the engine's crankshaft. Advises checking freeze frame data for voltage at the time of the fault.
Platform-Specific Known Issues
- Per Toyota TSB T-TT-0010-10 Rev, low battery voltage is a documented cause of P0335 on this platform due to inconsistent engine rotational speed during cranking.
- If the code appears immediately after a timing belt service, the crankshaft reluctor plate may have been installed backward, a known issue on the 2UZ-FE engine.
- Wiring for the sensor is sometimes mis-routed after service and can be damaged by rubbing on the serpentine belt.
Mechanic-Grade Diagnostic Values
- Crankshaft Position Sensor Resistance (Cold) — expected: 1,630 to 2,740 Ω. Failure: Resistance is outside the specified range.
- Crankshaft Position Sensor Resistance (Hot) — expected: 2,065 to 3,225 Ω. Failure: Resistance is outside the specified range. 'Hot' is defined as 50°C to 100°C (122°F to 212°F).
- Crankshaft Position Sensor Air Gap — expected: 0.5 mm to 1.5 mm (0.020 in to 0.059 in). Failure: An incorrect air gap can cause a weak or biased signal, leading to a DTC. This can be caused by debris on the sensor tip, rust buildup on the mounting surface, or an improperly seated sensor.
- Oscilloscope Waveform (NE Signal) — expected: A consistent pulsing AC waveform should be visible between terminals NE+ and NE- at the ECM while the engine is cranking or idling.. Failure: A flat line, erratic spikes, or a noisy pattern indicates a problem with the sensor, wiring, or a grounding failure of the shielded wire.
Scan Tool Commands That Help
- Toyota Techstream: Data List > Primary > Engine SPD — This is the primary method to confirm a P0335 fault. While cranking the engine, if 'Engine SPD' (RPM) remains at 0, it confirms the ECM is not receiving a signal from the crankshaft position sensor circuit. An RPM reading that is present but seems lower than the actual cranking speed can indicate a weak signal from the sensor.
- Toyota Techstream: DTC Info > Freeze Frame Data — Crucial for this specific vehicle due to the TSB regarding low battery voltage. Check the vehicle data recorded at the exact moment the P0335 code was set. If the battery voltage parameter is below 11V, the battery is the most likely cause, not the sensor.
Wiring & Ground Locations
- EC — Rear bank of the left (driver's side) cylinder head.. This is a primary engine ground point for the 2UZ-FE. A loose or corroded ground at this location can introduce electrical noise into the system, potentially interfering with the low-voltage signal from the crankshaft position sensor and causing a false P0335 code.
- EB — Rear bank of the right (passenger's side) cylinder head.. Another main engine ground point. Like the 'EC' ground, ensuring this connection is clean and tight is a critical step when diagnosing elusive electronic faults like P0335.
- ECM Connector Pins (NE+, NE-) — At the main Engine Control Module (ECM).. These are the specific pins where the crankshaft position sensor signal terminates. Technicians can back-probe these pins to check for the signal waveform with an oscilloscope or test for continuity back to the sensor connector, which helps isolate a wiring break from a failed sensor.
Real Owner Repair Stories
- IH8MUD.com Forum user 'Tank5' (Land Cruiser with 2UZ-FE VVTi engine swap (similar electronics)) — Crank, no start, with a persistent P0335 code after clearing.
❌ Tried (didn't work) Replacing the battery, Swapping with a second known-good ECU, Checking all engine ground points multiple times, Removing and inspecting the entire wiring harness for damage
✅ What actually fixed it The harness builder found a single pin in the ECU connector for the crank sensor circuit that was not making proper contact. Replacing the faulty pin within the connector resolved the P0335 code and the no-start condition. - Toyota Tundra Forum user 'Bilbo Swaggins' (2000 Toyota Tundra (2UZ-FE engine)) — P0335 code appeared immediately after performing a timing belt replacement.
❌ Tried (didn't work) Considering replacing the crankshaft position sensor and reluctor gear.
✅ What actually fixed it The community identified the most common mistake is incorrectly routing the crankshaft position sensor wire harness after a timing belt job. The wire must be tucked properly behind a mount on the water pump; failure to do so causes the wire to get nicked or cut by the serpentine belt, triggering the code.
OEM Part Supersession History
90919-05057→90919-A5003— Standard part number update/revision by Toyota.
Heads up: The new part number 90919-A5003 is the direct, backward-compatible replacement for 90919-05057.
Helpful Videos

We Have This Part in Stock




The information in this article is provided for general reference and educational purposes only. Vehicle specifications, procedures, and part compatibility can vary by production date, trim level, and region. Always consult your vehicle's factory service manual and verify part numbers before purchasing or performing repairs. Safety-critical components such as airbags, seat belts, and braking systems should be installed by a qualified professional.
- Toyota SEQUOIA:
- 🎬 Helpful Videos
- 🛍️ Shop This Part
- What's Unique About the 2001-2004 Toyota SEQUOIA
- Diagnostic Flowchart
- Symptoms You May Notice
- Most Likely Causes
- Rare But Worth Checking
- Diagnosis Steps
- Parts You'll Likely Need
- Related Codes That Often Appear With This One
- Technical Service Bulletins (TSBs) & Recalls
- Platform-Specific Known Issues
- Mechanic-Grade Diagnostic Values
- Scan Tool Commands That Help
- Wiring & Ground Locations
- Real Owner Repair Stories
- OEM Part Supersession History
- 🎟️ Get 5% Off