

P0335 on 2012-2015 Toyota RAV4: Crank Sensor Fault Causes and Fixes
Code P0335 on a 2012-2015 RAV4 usually means a failed crankshaft position sensor. However, a Toyota Technical Service Bulletin (TSB) states that low battery voltage can also cause this code, so test the battery before replacing parts. A new OEM-quality sensor costs about $90-$180. Intermittent issues or the code appearing after hitting a bump often point to a wiring problem rather than the sensor itself.
- Always test the battery and charging system before replacing any parts for a P0335 code on this RAV4, as per Toyota's own service bulletin.
- The most likely failed part is the crankshaft position sensor itself, which is a manageable DIY replacement for many owners.
- Use a high-quality OEM (Denso) or reputable aftermarket sensor. Cheaper parts are known to fail prematurely and cause the code to return.
- If the engine cranks but won't start, or stalls while driving, the crankshaft position sensor circuit is a primary suspect.
- The 2012 model is a different generation (3rd gen) than the 2013-2015 models (4th gen), but the diagnostic approach for this code is nearly identical.
What's Unique About the 2012-2015 Toyota RAV4
For this generation of Toyota vehicles, a unique and documented cause for P0335 is low battery voltage. A Technical Service Bulletin (T-TT-0010-10 Rev) confirms that a weak battery can disrupt the engine's rotational speed enough during startup to trigger this code, even if the sensor itself is fine. The TSB advises checking the freeze-frame data to see if battery voltage was below 11 volts when the code was set. This makes checking the battery and charging system an essential, platform-specific first step that can prevent an unnecessary sensor replacement.
Diagnostic Flowchart
Tap your situation to follow the diagnostic path that matches what you're seeing on this vehicle.
Generation note: Yes, this range covers two RAV4 generations. The 2012 model is the final year of the 3rd generation (XA30), which offered both the 2.5L I4 (2AR-FE) and an optional 3.5L V6 (2GR-FE). The 2013-2015 models are the beginning of the 4th generation (XA40), which dropped the V6 and exclusively used the 2.5L I4 engine with a new 6-speed automatic transmission. The fundamental cause and diagnosis for P0335 remain similar for both generations and engines, with the sensor being in a similar location on the front of the engine near the crankshaft pulley.
Symptoms You May Notice
- Check Engine Light is on
- Engine cranks but will not start
- Engine stalls, sometimes intermittently or when warm
- Engine may shut off completely while driving, especially after hitting a bump or during hard acceleration.
- Rough idling or engine misfiring.
- Reduced engine power and jerky or uneven acceleration.
- Noticeable decrease in fuel economy 🎬 Watch: 8 common symptoms of a bad Toyota crankshaft sensor
- Replacing the crankshaft position sensor without first testing the battery and charging system, as per TSB T-TT-0010-10 Rev.
- Replacing the camshaft position sensor (P0340) by mistake.
- Assuming the sensor is bad when an intermittent wiring fault is the true cause, especially if the code appears after hitting bumps.
Most Likely Causes
- Low Battery Voltage 🔴 High Probability A manufacturer TSB (T-TT-0010-10 Rev) specifically identifies low battery voltage as a potential cause for P0335 on Toyotas due to inconsistent engine cranking speed. This can also be triggered by a weak key fob battery causing communication issues.
How to confirm: Test the battery with a multimeter; it should read above 12.4 volts with the engine off. Test the alternator output; it should be between 13.5 and 14.5 volts with the engine running. Check freeze frame data with a scan tool to see if voltage was below 11V when the DTC was set.
Typical fix: Recharge or replace the battery. Test the charging system for underlying issues.
Est. part cost: $100-$250 - Failed Crankshaft Position Sensor 🔴 High Probability The sensor is an electronic component that operates in a high-heat environment near the engine block and can fail with age and mileage. It is the most common direct cause of the code.
How to confirm: Use a scan tool to check for an RPM signal while cranking. If the RPM reads 0, the sensor or its circuit is faulty. You can also test the sensor's internal resistance with a multimeter. For the 2AR-FE and 2GR-FE engines, the spec is typically 985 to 1,600 Ω when cold and 1,265 to 1,890 Ω when hot.
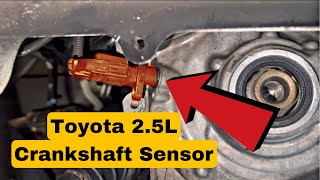
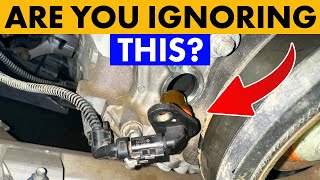
Typical fix: Replace the crankshaft position sensor. It is located on the front of the engine (passenger side) near the main crankshaft pulley, held by a single 10mm bolt. Applying a little engine oil to the new O-ring is recommended during installation. 🎬 Watch: How to locate and replace the 2.5L crankshaft sensor
Est. part cost: $50-$188 - Damaged Wiring or Connector 🟡 Medium Probability The sensor's wiring is located low on the engine and can be damaged by road debris, heat, or oil leaks. Wires can become brittle and break internally near the connector. Intermittent codes that appear when hitting bumps are a strong indicator of a wiring issue.
How to confirm: Visually inspect the wiring harness from the sensor to the ECM for any signs of fraying, melting, or breaks. Wiggle the harness with the engine running to see if it triggers the stall or code. Check that the connector is clean, dry, and securely fastened.
Typical fix: Repair the damaged section of wire or replace the connector pigtail.
Est. part cost: $10-$50
Rare But Worth Checking
- Stretched Timing Chain: If the timing chain has stretched, the correlation between the crankshaft and camshaft sensors will be incorrect, which can sometimes trigger a P0335 code. This is more likely on higher-mileage engines and would typically be accompanied by rattling noises.
- Damaged Reluctor Ring/Sensor Plate: The sensor reads teeth on a reluctor ring mounted to the crankshaft. If this ring is damaged, cracked, or has broken teeth, the signal will be erratic. This is uncommon but can happen, sometimes during other engine repairs if care is not taken.
- Faulty Engine Control Module (ECM): This is the least likely cause. The ECM itself can fail, but all other possibilities, especially wiring and sensors, should be exhaustively ruled out before condemning the computer.
Diagnosis Steps
- Read the code with an OBD-II scanner and check for any other pending or stored codes. Record the freeze frame data, paying close attention to the battery voltage parameter.
- Check the Battery First: Test the battery voltage with the engine off (>12.4V). Start the engine and test the alternator output (13.5-14.5V). If the freeze frame data showed voltage below 11V when the code set, the battery/charging system is the prime suspect.
- Inspect Wiring: Visually inspect the entire wiring harness for the crankshaft position sensor. Look for damage, melting, corrosion, or loose connections at both the sensor and the ECM. A common failure point is the wire right at the connector.
- Check for RPM Signal: Use a scan tool with live data capability to monitor Engine RPM while cranking the engine. If the RPM reads 0, the ECM is not receiving a signal, pointing strongly to a bad sensor or a complete circuit failure.
- Test the Sensor: Disconnect the sensor and measure its internal resistance with a multimeter. Compare the reading to the specifications: 985 to 1,600 Ω (cold) and 1,265 to 1,890 Ω (hot). An out-of-spec reading indicates a failed sensor.
- Replace the Sensor: If the sensor is confirmed to be faulty, replace it. Using an OEM (Toyota) or high-quality brand like Denso is highly recommended by owners on forums to avoid repeat failures. The part is located behind the passenger-side front wheel.
- Inspect Mechanical Components: If a new sensor and good wiring do not fix the issue, the problem may be mechanical. Inspect the sensor's reluctor ring for damage and check the engine's timing chain for excessive slack (usually requires a professional).
- Consider the ECM: If all other steps fail, the ECM may be the issue, but this is extremely rare and should be diagnosed by a professional.
Parts You'll Likely Need
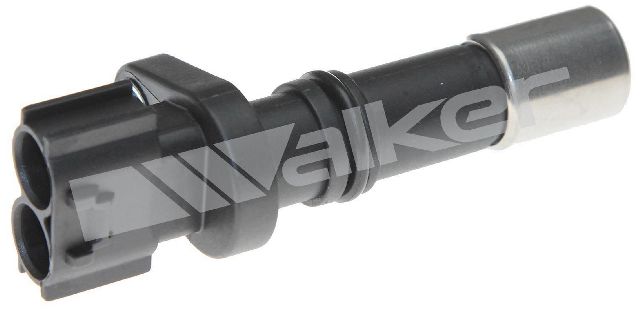
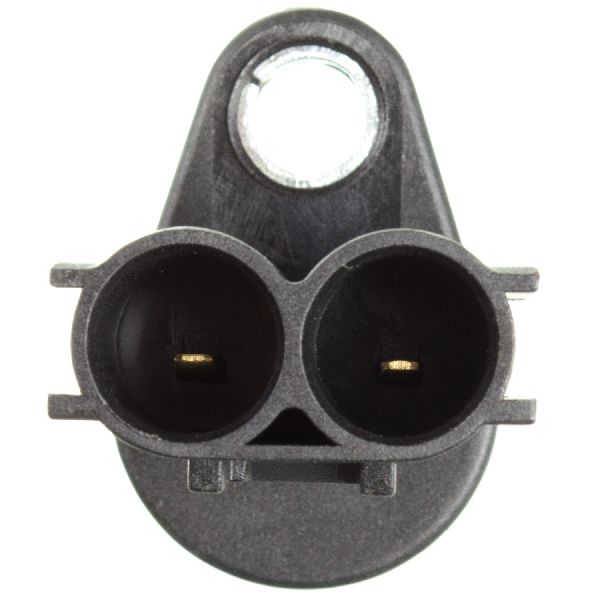
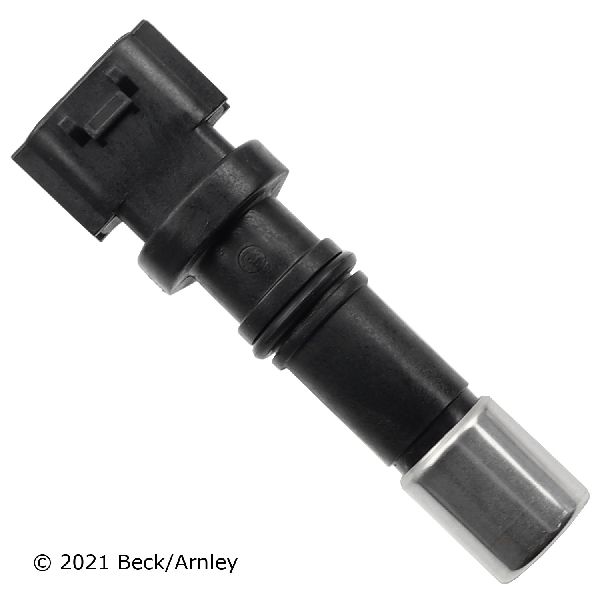
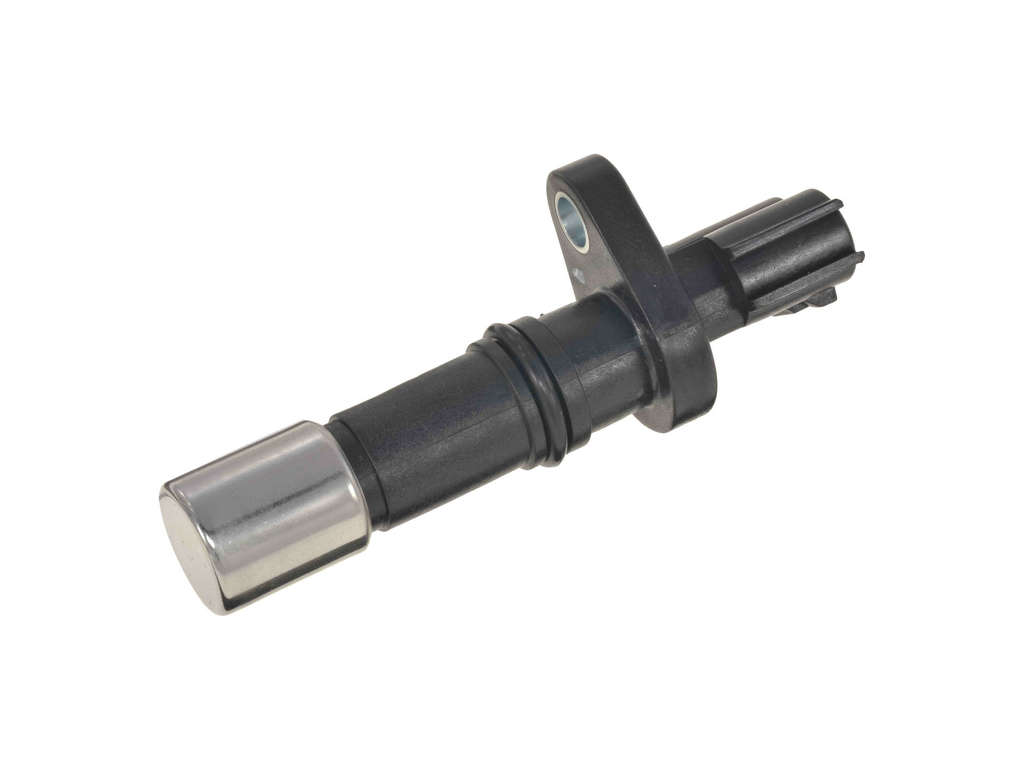
- Crankshaft Position Sensor
(OEM #90919-A5004)— This is the most common part to fail and directly causes the P0335 code when it can no longer send a signal to the ECM. This part number supersedes 90919-05070.
Trusted brands: Toyota (Genuine), Denso, NTK
OEM price range: $130-$188
Aftermarket price range: $50-$90
Related Codes That Often Appear With This One
- P0340 — The TSB T-TT-0010-10 Rev explicitly states that low battery voltage can cause both P0335 (Crankshaft) and P0340 (Camshaft) codes to appear, as both sensors are affected by inconsistent engine rotational speed.
- P0339 — This code indicates an intermittent signal from the crankshaft sensor, which often points to a wiring issue, a failing sensor on the verge of complete failure, or a damaged reluctor ring.
Technical Service Bulletins (TSBs) & Recalls
- T-TT-0010-10 Rev: Notes that low battery voltage (below 11V) can contribute to a MIL "ON" condition for P0335 (Crankshaft Position Sensor Circuit) and/or P0340 (Camshaft Position Sensor Circuit).
Platform-Specific Known Issues
- A Technical Service Bulletin (T-TT-0010-10 Rev) was issued by Toyota stating that low battery voltage can cause a P0335 and/or P0340 code due to inconsistent engine rotational speed during cranking. Checking freeze frame data for low voltage is a key diagnostic step.
- A Reddit user with a 2010 RAV4 (2AR-FE) reported an intermittent P0335 that would trigger when hitting a bump or at high RPM, strongly suggesting a wiring harness issue rather than a sensor failure.
Mechanic-Grade Diagnostic Values
- Crankshaft Position Sensor Resistance (2-pin sensor) — expected: 985 to 1,600 Ω (Cold), 1,265 to 1,890 Ω (Hot). Failure: A resistance reading outside of this range indicates a faulty sensor.
- Wiring Harness Continuity to ECM (Sensor to ECM) — expected: Below 1 Ω. Failure: A reading above 1 Ω indicates excessive resistance in the wiring harness.
- Wiring Harness Short to Ground (Sensor connector to Body Ground) — expected: 10 kΩ or higher. Failure: A reading below 10 kΩ indicates a short to ground in the harness.
Scan Tool Commands That Help
- Toyota Techstream: Data List -> Engine Speed (RPM) — Use this to confirm if the ECM is receiving a signal from the crankshaft sensor. While cranking the engine, if the 'Engine Speed' parameter shows 0 RPM, it strongly indicates a fault in the sensor or its circuit.
- Toyota Techstream: Utility -> All Readiness — After clearing DTCs, this function can be used to check the status of the P0335 monitor to confirm if the repair was successful without having to complete a full drive cycle.
Wiring & Ground Locations
- CKP Sensor Connector (2AR-FE) — On the front of the engine, near the crankshaft pulley/harmonic balancer, accessible from the passenger side wheel well.. This is the primary connection point for the sensor. It's a 2-pin connector. Checking for corrosion, damage, or a loose fit here is a critical step.
- ECM Connector (e.g., D1 for 2AR-FE) — In the engine bay, typically a large multi-pin connector at the Engine Control Module.. This is the termination point for the sensor circuit. Pinpoint tests for continuity and shorts are performed here. For example, on some diagrams, the CKP signals are NE+ (Pin 76) and NE- (Pin 77) at the ECM connector.
Real Owner Repair Stories
- Rob The Mechanic YouTube Channel (2006 Toyota RAV4 2.4L (2AZ-FE engine, similar diagnostic principles)) — P0335 code stored with no noticeable drivability issues. The check engine light would come on, especially under heavy load/acceleration.
❌ Tried (didn't work) Clearing the code (it returned after two days)., Initial visual inspection (a new aftermarket crank sensor had already been installed).
✅ What actually fixed it The issue was a broken piece of the intake camshaft's reluctor/timing component. Under load, the camshaft would 'walk' slightly, causing the camshaft sensor (not the crank sensor) to momentarily lose its signal. The ECM incorrectly interpreted this as a P0335 crankshaft circuit fault. The fix was to replace the damaged camshaft component.
OEM Part Supersession History
90919-05070→90919-A5004— Standard part revision and improvement by the manufacturer.
Helpful Videos
We Have This Part in Stock


The information in this article is provided for general reference and educational purposes only. Vehicle specifications, procedures, and part compatibility can vary by production date, trim level, and region. Always consult your vehicle's factory service manual and verify part numbers before purchasing or performing repairs. Safety-critical components such as airbags, seat belts, and braking systems should be installed by a qualified professional.
- Toyota RAV4:
- 🎬 Helpful Videos
- 🛍️ Shop This Part
- What's Unique About the 2012-2015 Toyota RAV4
- Diagnostic Flowchart
- Symptoms You May Notice
- Most Likely Causes
- Rare But Worth Checking
- Diagnosis Steps
- Parts You'll Likely Need
- Related Codes That Often Appear With This One
- Technical Service Bulletins (TSBs) & Recalls
- Platform-Specific Known Issues
- Mechanic-Grade Diagnostic Values
- Scan Tool Commands That Help
- Wiring & Ground Locations
- Real Owner Repair Stories
- OEM Part Supersession History
- 🎟️ Get 5% Off