

P0335 on 2013-2016 Honda Accord: Crankshaft Sensor Signal Loss Causes & Fixes
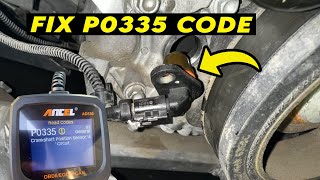
On a 2013-2016 Honda Accord, P0335 most often points to corrosion in the crankshaft position (CKP) sensor's electrical connector, a known issue documented in Honda TSBs. Before replacing the sensor, inspect and clean the connector. A new sensor costs $40-$180. For the 2.4L engine, Honda's official fix is a complete engine wire harness replacement.
- P0335 on a 2013-2016 Accord indicates a total loss of signal from the crankshaft position sensor, which is a critical failure that can cause stalling or a no-start condition.
- The most likely cause is not the sensor itself, but corrosion in the electrical connector between the sensor and the engine wiring harness, a problem documented by Honda in TSB A16-011.
- Before replacing any parts, the first and most important diagnostic step is to disconnect and thoroughly inspect the CKP sensor connector for any signs of green or white corrosion.
- After replacing the CKP sensor, a 'CKP Pattern Learn' procedure must be performed with a compatible scan tool to synchronize the new sensor with the engine computer.
- Using a cheap, non-OEM aftermarket sensor is a common cause of repeat failures; it is highly recommended to use a Genuine Honda, Denso, or Hitachi part.
What's Unique About the 2013-2016 Honda ACCORD

For this specific generation of Honda Accord (9th Gen), the P0335 code is strongly linked to a known manufacturing issue. Honda released Technical Service Bulletin (TSB) #A16-011, which applies to the 2.4L L4 engine models. The TSB identifies corrosion forming between the engine wire harness and the CKP sensor connector as the root cause. Crucially, Honda's official corrective action is not to clean the connector but to replace the entire engine wire harness and the CKP sensor itself, indicating the problem can be severe and a simple cleaning may not be a permanent solution.
Diagnostic Flowchart

Tap your situation to follow the diagnostic path that matches what you're seeing on this vehicle.
Symptoms You May Notice
- Check Engine Light is on
- Engine cranks but will not start
- Engine stalls unexpectedly while driving, sometimes after hitting a bump or after the engine warms up
- Rough or unstable idle
- Noticeable loss of engine power and acceleration
- Engine misfires
- VSA (Vehicle Stability Assist) light may also illuminate
- Replacing the Camshaft Position Sensor(s) instead of the Crankshaft sensor.
- Replacing the starter motor when the engine cranks but does not start.
- Replacing the CKP sensor with a cheap aftermarket part, which fails again shortly after, leading to confusion.
Most Likely Causes

- Corroded CKP Sensor Connector or Wiring 🔴 High Probability Honda TSB #A16-011 explicitly states that corrosion can form in the connector between the engine wire harness and the CKP sensor, causing a P0335 or P0339 code. This is the most probable cause for the 2.4L engine. The V6 is also susceptible to this, though not covered under the same TSB. 🎬 See how to diagnose and repair P0335 on V6 models.
How to confirm: Visually inspect the CKP sensor's electrical connector by unplugging it. Look for white, green, or blue crusty deposits on the pins and inside the connector housing. Check for moisture intrusion.
Typical fix: For the 2.4L engine, the official Honda fix is to replace the engine wire harness and the CKP sensor. For DIYers or those seeking a less expensive option, thoroughly cleaning the connector terminals with an electrical contact cleaner and a small brush is a common first step. If corrosion is severe, the connector pigtail can be replaced (e.g., Standard Motor Products S2814). Apply dielectric grease upon reassembly to prevent future corrosion.
Est. part cost: $5-$30 (Cleaner/Pigtail), $500-$800+ (Engine Harness) - Failed Crankshaft Position (CKP) Sensor 🟡 Medium Probability While wiring is the top suspect, the sensor itself can fail from heat and vibration. Using non-OEM (aftermarket) sensors is a known cause of repeat failures on these vehicles, as documented by mechanics and owners.
How to confirm: If the connector and wiring are clean and test good, the sensor is the next likely culprit. It can be tested with a multimeter for resistance (cold resistance should be between 985 – 1600 Ω). An oscilloscope is the best tool to verify a proper signal pattern while cranking the engine.
Typical fix: Replace the crankshaft position sensor with a high-quality OEM or OEM-supplier part (e.g., Denso, Hitachi). A 'CKP Pattern Learn' procedure is required with a scan tool after replacement to sync the new sensor with the ECM.
Est. part cost: $40-$180 - Damaged Wiring (Open or Short) ⚪ Low Probability
How to confirm: Use a multimeter to check for continuity, shorts to ground, and proper voltage at the connector. With the key on, you should have approximately 5V reference and 12V power on specific pins. Visually inspect the harness for any signs of chafing, melting near the exhaust, or physical breaks.
Typical fix: Repair or replace the damaged section of the wire harness.
Est. part cost: $10-$50
Rare But Worth Checking
- Damaged Reluctor Ring: The toothed ring that the CKP sensor reads can get damaged, break, or accumulate metallic debris, but this is uncommon without other major engine work or failure.
- Failed Powertrain Control Module (PCM/ECM): This is extremely rare and should only be considered after all other possibilities (sensor, connector, wiring) have been exhaustively ruled out.
Diagnosis Steps
- Read the trouble codes with an OBD-II scanner and confirm P0335 is present. Note any other codes, especially P0339.
- Locate the crankshaft position sensor. On the 2.4L 4-cylinder, it is on the lower part of the engine block, near the oil pan and oil filter, accessible from underneath behind a small cover. On the 3.5L V6, it is located on the back of the engine block, near the transmission bell housing, under a protective cover.
- Disconnect the CKP sensor's electrical connector. Carefully inspect both the harness side and the sensor side for any signs of corrosion (white or green powder), moisture, or damaged pins. This is the most critical step for this vehicle.
- If corrosion is found on a 2.4L, be aware the official fix is a harness replacement. A DIY fix involves cleaning the terminals using electrical contact cleaner and a terminal cleaning tool. If heavily damaged, replace the connector pigtail. Apply dielectric grease before reconnecting.
- If the connector is clean, inspect the wiring harness for any visible damage like cuts, abrasions, or heat damage from the nearby exhaust.
- If wiring appears intact, use a multimeter to test the circuit. Check for 12V power, 5V reference, and ground at the connector with the key on. Check for continuity on the signal wire back to the ECM.
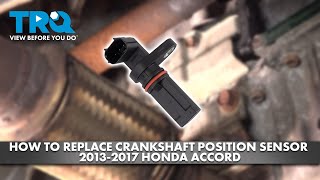
- If the circuit tests good, the sensor itself is likely faulty. Replace the crankshaft position sensor, preferably with an OEM or high-quality aftermarket part. 🎬 Watch: Step-by-step guide to replacing the crankshaft position sensor.
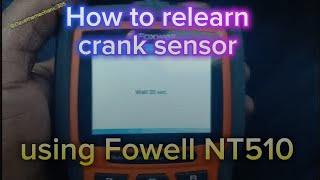
- After the repair, clear the codes with the scanner. Perform the 'CKP Pattern Learn' procedure using a compatible scan tool. Drive the vehicle to confirm 🎬 Watch: How to perform the CKP pattern learn procedure. the fix and ensure the Check Engine Light does not return.
Parts You'll Likely Need

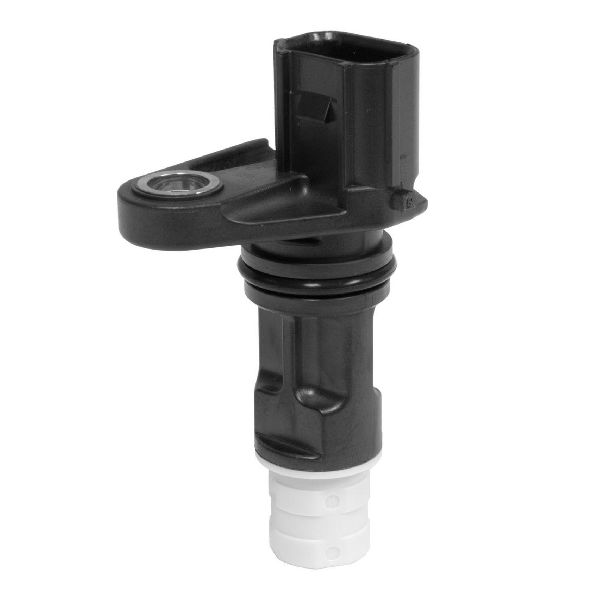
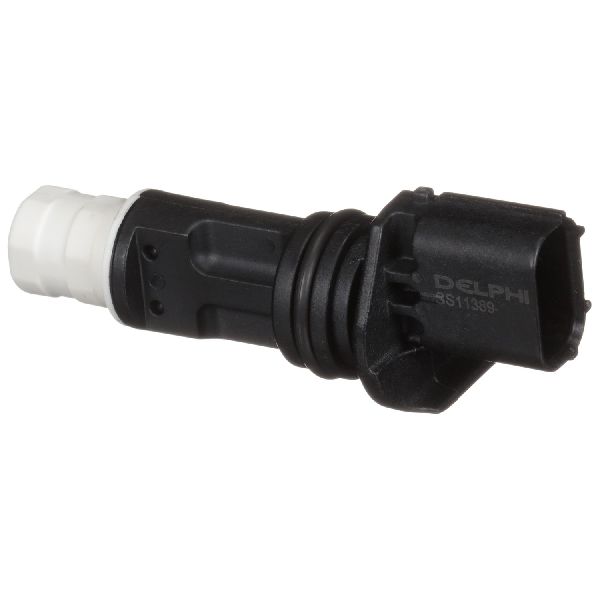
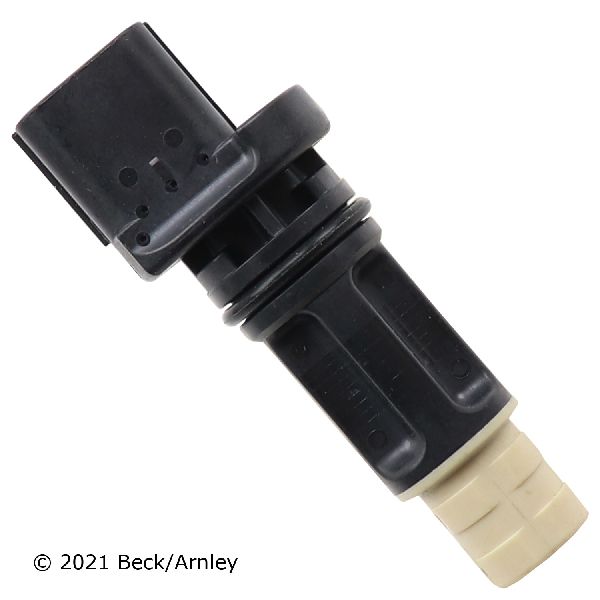
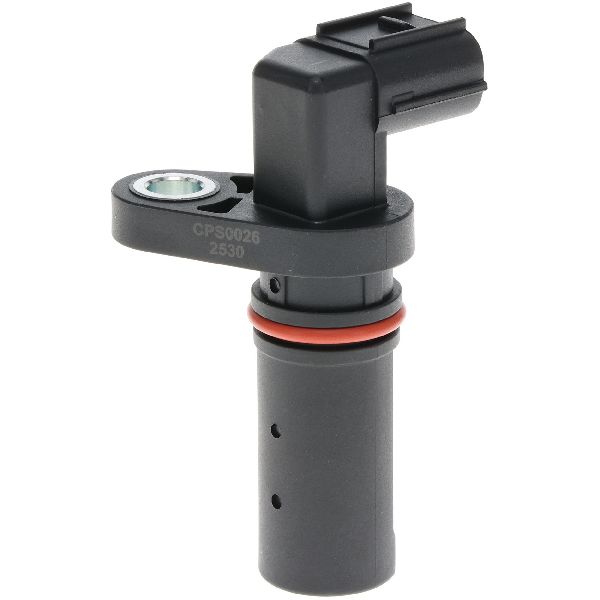
- Crankshaft Position Sensor
(OEM #37500-R40-A01)— This sensor is the primary component that fails if the wiring and connector are confirmed to be in good condition. This part number fits a wide range of Honda/Acura vehicles, including the 2013-2017 Accord 2.4L and 3.5L engines.
Trusted brands: Honda (Genuine), Denso, Hitachi (e.g., CPS0023)
OEM price range: $160-$230
Aftermarket price range: $40-$110 - Engine Wire Harness (2.4L Only)
(OEM #32110-5A2-406 (CVT), 32110-5A2-306 (M/T))— This is the official corrective action from Honda per TSB A16-011 for 2014-2016 2.4L models to permanently fix the corrosion issue.
Trusted brands: Honda (Genuine)
OEM price range: $600-$850 - Connector Pigtail
(OEM #Standard Motor Products S2814 (Aftermarket))— For repairing a corroded connector when replacing the entire harness is not practical. This provides a new connector and a short length of wire to splice into the existing harness.
Trusted brands: Standard Motor Products, Dorman
Aftermarket price range: $20-$40
Related Codes That Often Appear With This One
- P0339 — P0339 indicates an 'Intermittent Interruption' in the CKP circuit. The same corrosion issue noted in the TSBs often causes both a complete signal loss (P0335) and an intermittent one (P0339), so they frequently appear together.
Technical Service Bulletins (TSBs) & Recalls
- A16-011: MIL Comes On with DTC P0335 and/or P0339
- SB16011: MIL Comes on with DTC P0335 AND/OR P0339
Platform-Specific Known Issues
- TSB #A16-011: Honda issued this bulletin for 2013-2016 Accords (2.4L) and 2015-2016 CR-Vs to address MIL illumination with DTC P0335 and/or P0339. The cause is identified as "corrosion between the engine wire harness and the CKP sensor connector." The official corrective action is to replace the engine wire harness and the CKP sensor.
Mechanic-Grade Diagnostic Values
- CKP Sensor Resistance (Cold) — expected: 985 – 1600 Ω. Failure: A reading outside this range, or an open/short circuit, indicates a faulty sensor.
- CKP Sensor Connector - Power Supply Voltage (Key On, Engine Off) — expected: Approximately 12V (Battery Voltage). Failure: No voltage suggests an open in the power wire from the main relay.
- CKP Sensor Connector - Reference Voltage (Key On, Engine Off) — expected: Approximately 5V. Failure: No voltage suggests an open in the reference wire to the PCM or a faulty PCM.
- CKP Sensor Connector - Ground Circuit — expected: Continuity to ground (near 0 Ω). Failure: High resistance or an open circuit indicates a bad ground connection (check G101).
Scan Tool Commands That Help
- Honda HDS (or compatible bidirectional scanner like Autel/Launch): Crank Pattern Learn / CKP Pattern Learning — This function is required after replacing the CKP sensor or the PCM. It allows the PCM to learn the new sensor's specific signal pattern related to the crankshaft's reluctor wheel, preventing misfire detection errors and ensuring accurate timing.
- Honda HDS (or compatible bidirectional scanner): CKP Pattern Clear — This should be performed before the 'CKP Pattern Learn' function. It erases the previously stored crankshaft pattern from the PCM's memory, ensuring a clean slate for the new sensor's data.
Wiring & Ground Locations
- CKP Sensor Connector (3-Pin) — On the 2.4L, near the oil filter housing. On the 3.5L, on the back of the engine block near the transmission bell housing.. This is the primary failure point due to corrosion as identified in TSB A16-011. All electrical tests for the sensor circuit begin here.
- CKP Connector Pin 1 (V6 Example) — Yellow/Black wire at the CKP sensor connector.. This is the 12V power supply wire from the PGM-FI main relay. Loss of voltage here will cause P0335.
- CKP Connector Pin 2 (V6 Example) — Brown/Yellow wire at the CKP sensor connector.. This is the ground wire. A poor connection here will cause a loss of signal.
- CKP Connector Pin 3 (V6 Example) — Blue wire at the CKP sensor connector.. This is the 5V signal wire that sends the crank position data back to the PCM. An open or short on this wire will cause P0335.
- G101 — On the right front of the engine (for the 2.4L). On older models, it's often on or near the intake manifold on the driver's side.. This is a primary engine ground point. The CKP sensor circuit relies on a solid ground connection. A loose or corroded G101 ground can cause intermittent or total signal loss, mimicking a failed sensor.
Real Owner Repair Stories
- YouTube - "P0335 Honda/Acura V6 3.5 Diagnosis and Repair" (2011 Acura TSX 3.5L V6 (J-series engine, similar to Accord V6)) — Check Engine Light, VSA light, rough idle, hesitant start, P0335 code stored.
❌ Tried (didn't work) Replacing the crankshaft position sensor with an aftermarket part.
✅ What actually fixed it The aftermarket sensor was faulty out of the box. After verifying the wiring had correct power (12V), ground, and reference voltage (5V), the technician replaced the aftermarket sensor with a genuine OEM Honda sensor, which resolved the issue.
OEM Part Supersession History
37500-R40-A01→N/A— This part number remains the current OEM part for the entire 2013-2017 generation and many other Honda/Acura models.
Heads up: While there are no official supersessions, mechanics strongly advise against using non-OEM (aftermarket) sensors, as they are a frequent cause of continued or repeat P0335/P0339 codes even when new.
Model Year Variations Within This Range
- 2016-2017: The Accord received a mid-cycle refresh for the 2016 model year, which included updated styling (fascia, lights, wheels). However, the core powertrain options, including the 2.4L K24W1 and 3.5L J35Y engines, remained the same. Therefore, the causes and fixes for P0335 are consistent across the entire 2013-2016 range.
Helpful Videos
We Have This Part in Stock


The information in this article is provided for general reference and educational purposes only. Vehicle specifications, procedures, and part compatibility can vary by production date, trim level, and region. Always consult your vehicle's factory service manual and verify part numbers before purchasing or performing repairs. Safety-critical components such as airbags, seat belts, and braking systems should be installed by a qualified professional.
- Honda ACCORD:
- 🎬 Helpful Videos
- 🛍️ Shop This Part
- What's Unique About the 2013-2016 Honda ACCORD
- Diagnostic Flowchart
- Symptoms You May Notice
- Most Likely Causes
- Rare But Worth Checking
- Diagnosis Steps
- Parts You'll Likely Need
- Related Codes That Often Appear With This One
- Technical Service Bulletins (TSBs) & Recalls
- Platform-Specific Known Issues
- Mechanic-Grade Diagnostic Values
- Scan Tool Commands That Help
- Wiring & Ground Locations
- Real Owner Repair Stories
- OEM Part Supersession History
- Model Year Variations Within This Range
- 🎟️ Get 5% Off