

P0333 on 2014-2018 GMC Sierra Denali: Knock Sensor Circuit Causes and Fixes
On a 2014-2018 GMC Sierra, P0333 is often caused by an electrical issue at the ECM connector, not a bad knock sensor. Before replacing the sensor (a costly job), inspect the ECM's X2 connector for issues as noted in GM TSB #20-NA-207.
- Always check GM TSB #20-NA-207 first. Inspect and clean the ECM's X2 connector before buying any parts.
- P0333 points to Bank 2, which is the passenger side on your GMC's V8 engine.
- If you must replace the knock sensor, it is located under the intake manifold, which is a labor-intensive job. Always replace both sensors, the harness, and the intake gaskets at the same time.
What's Unique About the 2014-2018 Gmc SIERRA DENALI
For this specific generation of GMC Sierra and its platform mates, the P0333 code has a well-documented cause that is often misdiagnosed. General Motors issued Technical Service Bulletin (TSB) #20-NA-207, which states that voltage from the transmission's park/neutral signal circuit can 'bleed' into the knock sensor circuit, creating a false high voltage reading. This problem is often traced to a poor connection, debris, or moisture intrusion at the ECM's X2 electrical connector. This leads many to unnecessarily replace the knock sensor when the real issue is a simple connector problem that can often be resolved by cleaning and applying dielectric grease. The issue is noted to be particularly common when shifting out of Park.
Diagnostic Flowchart
Tap your situation to follow the diagnostic path that matches what you're seeing on this vehicle.
Symptoms You May Notice
- Check Engine Light is on
- Audible engine pinging or knocking, especially under load
- Reduced engine power and acceleration
- Worse-than-normal fuel economy
- Hesitation during acceleration
- Rough or uneven idle.
- Replacing the Bank 2 knock sensor without first inspecting the ECM X2 connector. The TSB clearly indicates the connector is a common point of failure that mimics a bad sensor.
Most Likely Causes
- Electrical Issue at ECM X2 Connector 🔴 High Probability As documented in GM TSB #20-NA-207, voltage from the transmission park/neutral signal circuit can bleed into the knock sensor circuit at this specific connector, causing a false P0333 code. This is the most common cause for this specific vehicle generation.
How to confirm: Inspect the K20 ECM X2 electrical connector for any signs of corrosion, moisture, debris, backed-out pins, or poor terminal tension. The issue may be more likely to occur when shifting out of Park. The ECM is typically located in the engine bay on the driver's side. The signal for Knock Sensor 2 is at Pin 37 (Light Blue wire) of the X2 connector.
Typical fix: Disconnect the battery. Unplug the ECM X2 connector, clean it thoroughly with electrical contact cleaner, and inspect for any damaged or bent pins. Apply a small amount of dielectric grease to the connector seal before reconnecting to prevent future moisture intrusion. Ensure it is securely latched.
Est. part cost: $5-$20 for cleaner and grease - Faulty Knock Sensor (Bank 2) 🟡 Medium Probability The knock sensors on these V8 engines (L83, L86) are located under the intake manifold, in the engine valley. This location is prone to collecting moisture, oil, and debris, which can cause the sensor and its connector to fail and corrode over time.
How to confirm: After confirming the ECM connector is good, the sensor must be accessed by removing the intake manifold. Test the sensor's internal resistance with a multimeter. A typical reading for a good sensor is between 93k and 107k Ohms. A reading that is open (infinite) or shorted (zero) indicates a failed sensor.
Typical fix: Replace the knock sensor. It is highly recommended to replace both sensors (Bank 1 and Bank 2) and the wiring harness at the same time due to the significant labor involved in accessing them. The new sensor should be torqued to the correct specification, typically 15 ft-lbs, as over- or under-tightening can affect its reading.
Est. part cost: $40-$100 for two sensors and a harness - Damaged Knock Sensor Wiring Harness 🟡 Medium Probability The harness sits in the hot engine valley and can become brittle, chafed, or damaged by oil and coolant leaks, leading to shorts or open circuits. Rodent damage is also a possibility in this protected area.
How to confirm: Visually inspect the harness for damage after removing the intake manifold. Perform a continuity test on each wire from the sensor connector to the ECM connector to rule out a break in the wire.
Typical fix: Replace the knock sensor wiring harness. This is typically done along with the sensors as a complete kit.
Est. part cost: $25-$50
Rare But Worth Checking
- Faulty Engine Control Module (ECM): This is very rare. Before condemning the ECM, all other possibilities, especially the TSB-documented connector issue and wiring problems, must be exhaustively ruled out.
- Bad Gasoline: A tank of low-octane or poor-quality fuel can sometimes cause excessive engine knock, which might overwhelm the sensor and trigger a circuit code, though this is less common for a 'circuit high' fault.
Diagnosis Steps
- Scan the vehicle for trouble codes to confirm P0333 is the primary code. 🎬 Watch: A professional guide to diagnosing and repairing P0333 codes.
- IMPORTANT FIRST STEP: Locate the Engine Control Module (ECM) on the driver's side of the engine bay. Disconnect the negative battery terminal. Inspect the X2 electrical connector (often the second connector from the front) as per GM TSB #20-NA-207. Check for loose pins, corrosion, or debris, paying close attention to Pin 37.
- Clean the connector and pins with electrical contact cleaner, let it dry, apply dielectric grease to the seal, and ensure a secure connection.
- Reconnect the battery, clear the codes, and drive the vehicle, specifically shifting in and out of Park, to see if P0333 returns. If it does not, the issue was the connector.
- If the code returns, the next step is to access the knock sensors, which requires removing the intake manifold. This is a multi-hour job.
- Once the intake is removed, visually inspect the knock sensors and the wiring harness for any signs of corrosion, damage, or rodent activity. The valley is often filled with dirt and leaves.
- Disconnect the Bank 2 knock sensor (passenger side) and test its internal resistance using a multimeter. Compare the reading to the manufacturer's specification (typically 93k-107k Ohms). An open or shorted sensor needs replacement.
- Test the wiring harness for continuity from the sensor plug to the ECM plug to rule out a break in the wire.
- If the sensor or harness is faulty, it is best practice to replace both knock sensors, the wiring harness, and the rubber grommet seals at the same time.
- Torque the new knock sensors to 15 ft-lbs. Also, replace the intake manifold gaskets, as they are single-use. 🎬 Watch: How to safely remove the intake manifold and sensors.
- Reassemble the engine, clear the codes, and perform a test drive.
Parts You'll Likely Need
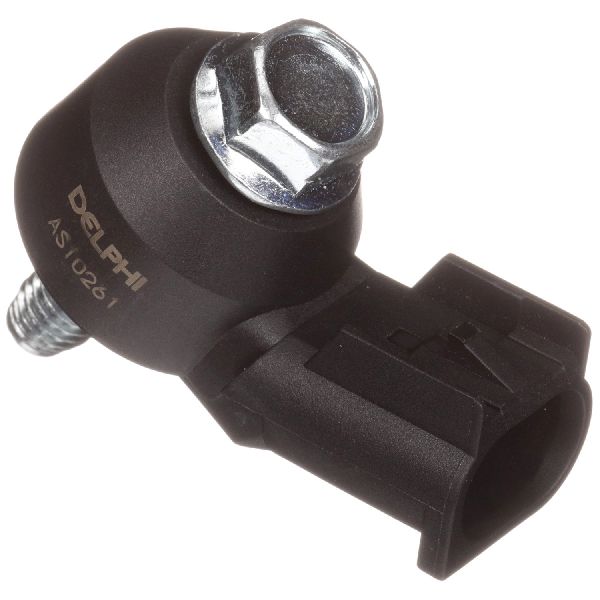
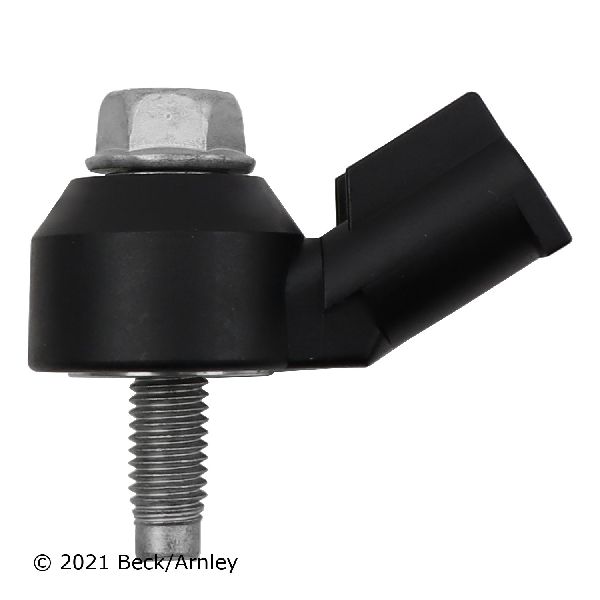
- Ignition Knock (Detonation) Sensor
(OEM #12623095)— This is the sensor that measures engine vibration. It is often replaced due to failure, but should only be replaced after checking the ECM connector per the TSB.
Trusted brands: ACDelco (GM OE), Delphi, NGK, Standard Motor Products
OEM price range: $25-$40
Aftermarket price range: $15-$30 - Knock Sensor Wiring Harness
(OEM #12692961 (replaces 12687634))— The harness sits in a high-heat area under the intake and is prone to becoming brittle and failing. It is best practice to replace it whenever the sensors are replaced.
Trusted brands: ACDelco (GM OE), Dorman, Standard Motor Products (J72001)
OEM price range: $30-$50
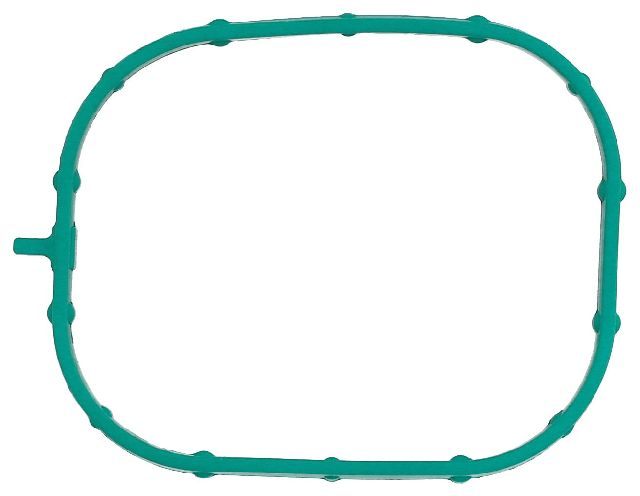
Aftermarket price range: $20-$40 - Intake Manifold Gasket Set — These are single-use gaskets that must be replaced anytime the intake manifold is removed to access the knock sensors.
Trusted brands: ACDelco, Fel-Pro (e.g., MS98016T, MS97204)
OEM price range: $40-$60
Aftermarket price range: $25-$45
Technical Service Bulletins (TSBs) & Recalls
- 20-NA-207: Malfunction Indicator Lamp (MIL) Illuminated - DTC P0333 Set. Points to a possible electrical concern at the ECM X2 electrical connector due to voltage bleed-over from the transmission park/neutral signal circuit. This bulletin supersedes PIP5576.
- PIP5576: The preliminary bulletin that first identified the ECM connector X2 as the likely cause for P0333 when shifting from park. It was later replaced by 20-NA-207.
Platform-Specific Known Issues
- GM Technical Service Bulletin #20-NA-207 identifies a known issue where voltage from the transmission park/neutral signal circuit can interfere with the knock sensor circuit at the ECM X2 connector, triggering a false P0333 code.
Mechanic-Grade Diagnostic Values
- Knock Sensor Internal Resistance — expected: 93,000 to 107,000 Ohms (93k-107k Ω). Failure: A reading of OL (open circuit), zero, or significantly outside the expected range indicates a failed sensor.
- Knock Sensor Circuit Voltage (Key On, Engine Off) — expected: The circuit uses a reference voltage from the ECM, typically around 2.5V to 5V.. Failure: A P0333 'Circuit High' code is set when the voltage is stuck high, near or above the reference voltage (e.g., over 4.5V), indicating a short to voltage or an open in the sensor circuit.
- Knock Sensor AC Voltage Output (Dynamic Tapping Test) — expected: A small, fluctuating AC voltage should be produced when the engine block is tapped near the sensor (e.g., 50mV to over 200mV).. Failure: No AC voltage produced when tapping indicates the sensor's internal piezoelectric element is dead.
- Knock Sensor Mounting Bolt Torque — expected: 15 ft-lbs (20 N·m). Failure: Over- or under-tightening the sensor can alter its sensitivity, leading to false knock signals or a failure to detect real knock.
Wiring & Ground Locations
- K20 ECM Connector X2 — The Engine Control Module (ECM) is in the engine compartment on the driver's side. X2 is one of the large multi-pin connectors plugging into it.. This is the specific connector identified in GM TSB #20-NA-207 as the primary failure point for P0333 due to moisture, debris, or pin tension issues causing voltage bleed-over.
- X2 Connector, Pin 37 — Pin 37 within the K20 ECM's X2 connector.. This is the specific pin for the Knock Sensor 2 Signal circuit. The wire is typically Light Blue (L-BU). A 'Circuit High' fault points directly to an issue on this circuit, often at this pin.
- G103 / G104 — G103 is a primary engine ground on the front of the passenger side cylinder head. G104 is on the rear of the driver's side cylinder head.. These are critical engine-to-chassis ground points. A loose or corroded ground here can introduce electrical noise and cause erratic voltage readings for many sensors, including the knock sensor circuit, potentially leading to false codes.
Real Owner Repair Stories
- Tahoe Yukon Forum user 'Dustin Jackson' (2015 Chevrolet Tahoe (same platform/engine family)) — Check Engine Light with code P0333, engine running poorly.
❌ Tried (didn't work) Adding 11 gallons of E85 fuel to rule out a bad tank of gas.
✅ What actually fixed it Replacing the Bank 2 knock sensor and clearing the codes resolved the issue. The Check Engine Light did not return and the engine ran smoothly, confirming the sensor itself was the point of failure.
When the Usual Fixes Don't Work
- While GM Technical Service Bulletin #20-NA-207 strongly points to the ECM X2 connector as the most probable cause, it is not the only cause. Real-world repair stories from owners of these vehicles confirm that a straightforward failure of the knock sensor itself remains a common reason for this code. Therefore, while inspecting the TSB-indicated connector first is the most efficient diagnostic step, one should not rule out a faulty sensor if the connector appears clean and secure.
Helpful Videos
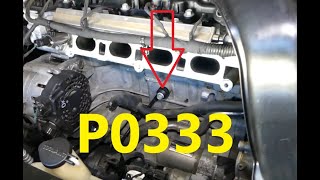
![How to Fix P0333 Engine Code in 2 Minutes [1 DIY Method / Only $10.92]](https://img.youtube.com/vi/VxK0OXMG2Bg/mqdefault.jpg)
We Have This Part in Stock


The information in this article is provided for general reference and educational purposes only. Vehicle specifications, procedures, and part compatibility can vary by production date, trim level, and region. Always consult your vehicle's factory service manual and verify part numbers before purchasing or performing repairs. Safety-critical components such as airbags, seat belts, and braking systems should be installed by a qualified professional.
- Gmc SIERRA DENALI:
- 🎬 Helpful Videos
- 🛍️ Shop This Part
- What's Unique About the 2014-2018 Gmc SIERRA DENALI
- Diagnostic Flowchart
- Symptoms You May Notice
- Most Likely Causes
- Rare But Worth Checking
- Diagnosis Steps
- Parts You'll Likely Need
- Technical Service Bulletins (TSBs) & Recalls
- Platform-Specific Known Issues
- Mechanic-Grade Diagnostic Values
- Wiring & Ground Locations
- Real Owner Repair Stories
- When the Usual Fixes Don't Work
- 🎟️ Get 5% Off