

P0333 on 2016-2020 Chevrolet Camaro: Knock Sensor Circuit High Causes and Fixes
On a 2016-2020 Camaro, code P0333 is most often caused by an electrical issue, not a bad knock sensor. Two GM Technical Service Bulletins (TSBs) point to either voltage bleeding from the transmission circuit or a bad connection at the ECM's X2 connector. Always investigate these wiring issues before replacing the sensor.
- For a 2016-2020 Camaro, P0333 is most likely a wiring issue, not a bad sensor.
- Always check for the issue when shifting out of Park, as this is a key symptom pointing to a known TSB.
- The first and most important diagnostic step is to inspect and clean the ECM's X2 connector.
- Do not replace the knock sensor unless you have ruled out all wiring and connector problems first.
What's Unique About the 2016-2020 Chevrolet CAMARO
For this generation of Camaro and its platform mates, the P0333 code is frequently not due to a failed knock sensor. General Motors has identified specific electrical faults that trigger this code. One known issue, documented in TSB #20-NA-207, involves voltage from the transmission's park/neutral signal circuit interfering with the knock sensor circuit within the wiring harness. This often causes the Check Engine Light to illuminate immediately after shifting out of Park. Another documented problem points to a poor electrical connection, debris, or moisture at the main ECM's black X2 connector. These platform-specific wiring problems are the most common culprits and should be investigated first.
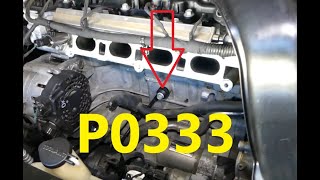
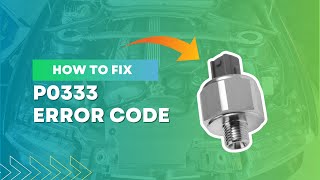
🎬 Watch: A breakdown of common P0333 causes and fixesDiagnostic Flowchart
Tap your situation to follow the diagnostic path that matches what you're seeing on this vehicle.
Symptoms You May Notice
- Check Engine Light is on
- Reduced engine power and acceleration
- Lower than normal fuel economy
- Audible engine pinging or knocking (less common, as the ECM will likely be in a safe mode)
- Check Engine Light appears immediately after shifting from Park to Drive or Reverse.
- Replacing the knock sensor immediately without first inspecting the ECM X2 connector and related wiring. The TSBs for this platform strongly indicate the problem is usually electrical interference, not a failed sensor.
Most Likely Causes
- Electrical Interference or Debris at ECM X2 Connector 🔴 High Probability This is a known issue documented in GM TSB #20-NA-207. Debris, moisture, or poor terminal contact in this specific connector can cause a false high voltage reading on the knock sensor circuit. The bulletin explicitly directs technicians to inspect this connector if initial diagnostics don't find the fault.
How to confirm: Inspect the K20 Engine Control Module's black X2 electrical connector for any signs of corrosion, damage, moisture, or backed-out pins. The ECM is located in the engine bay on the driver's side near the firewall. The Knock Sensor 2 signal is on Pin 25 (typically a Dark Blue wire) of the X2 connector.
Typical fix: Clean the connector with electrical contact cleaner and a soft brush, ensuring it is completely dry before reconnecting. Use dielectric grease on the seal to prevent future moisture intrusion. Repair any damaged terminals or wires as needed.
Est. part cost: $0-$25 - Voltage Bleed from Transmission Park/Neutral Circuit 🔴 High Probability GM TSB #PIP5576 (superseded by #20-NA-207) specifically calls this out. Voltage from the transmission signal wire can 'bleed' into the knock sensor circuit within the harness or at the ECM X2 connector, especially when shifting out of Park. This happens due to the proximity of the circuits in the harness and connector.
How to confirm: Note if the Check Engine Light for P0333 appears immediately after shifting the transmission from Park to Drive or Reverse. This strongly indicates the TSB-related issue.
Typical fix: The fix is the same as the above cause: inspect, clean, and repair the ECM X2 connector and associated wiring harness to eliminate the electrical interference. Ensuring the connector is clean and properly seated is the primary corrective action.
Est. part cost: $0-$25 - Faulty Knock Sensor (Bank 2) ⚪ Low Probability
How to confirm: If wiring and connector issues are ruled out, test the sensor's internal resistance with a multimeter. Compare the reading to the manufacturer's specification (typically in the 93-107 kOhm range for GM vehicles). Also check for a short to ground or voltage on the signal wire.
Typical fix: Replace the Bank 2 knock sensor. It is located on the passenger side of the engine block. Ensure the new sensor is torqued to the correct specification, typically 18 lb-ft (25 Nm), as this is critical for proper function.
Est. part cost: $35-$75 - Damaged Knock Sensor Wiring Harness ⚪ Low Probability Engine heat and vibrations can cause the wiring leading to the sensor to become brittle, chafed, or shorted over time. On some GM models, owners have found the harness gets pinched or melted near hot engine or exhaust components. A video for a 2012 Camaro with a 3.6L engine showed the knock sensor wire pinched under the oil filter housing after an oil change, causing a short.
How to confirm: Visually inspect the wiring harness leading from the ECM to the Bank 2 knock sensor for any signs of melting, chafing against engine components, or corrosion at the sensor connector. Check for continuity with a multimeter.
Typical fix: Repair or replace the damaged section of the wiring harness. A new pigtail connector can be spliced in if the connector itself is damaged.
Est. part cost: $10-$50
Rare But Worth Checking
- Faulty Engine Control Module (ECM): This is very rare. The ECM should only be considered after all other possibilities, including all wiring, connectors, and the sensor itself, have been thoroughly tested and ruled out.
Diagnosis Steps
- Read the trouble codes with an OBD-II scanner to confirm P0333 is the primary code.
- Pay close attention to when the code sets. If it appears immediately after shifting from Park, the issue is almost certainly related to the TSBs.
- Crucial Step: Disconnect the battery. Locate the Engine Control Module (ECM) on the driver's side of the engine bay and carefully disconnect the black X2 connector. Thoroughly inspect both the male and female sides for any debris, moisture, green corrosion, or bent/backed-out pins. Pay special attention to Pin 25 (Dark Blue wire).
- If any issues are found in the connector, clean it with a quality electrical contact cleaner and a soft brush. Allow it to dry completely. Apply a small amount of dielectric grease to the connector seal before reconnecting.
- If the connector is clean, inspect the wiring harness near the ECM and where it runs close to the transmission and engine block for any signs of chafing, melting, or damage.
- If no wiring or connector issues are found, locate the Bank 2 knock sensor on the passenger side of the engine block. Inspect its connector and wiring for damage.
- Test the knock sensor's internal resistance with a multimeter. A typical reading for a good sensor is between 93k and 107k Ohms. Also test the signal wire for shorts to voltage or ground.
- If the sensor is faulty, replace it. Torque the new sensor's bolt to 18 lb-ft (25 Nm). Over or under-torquing can lead to incorrect readings.
- After any repairs, clear the code and perform a test drive, including shifting from Park to Drive, to ensure the code does not return.
Parts You'll Likely Need
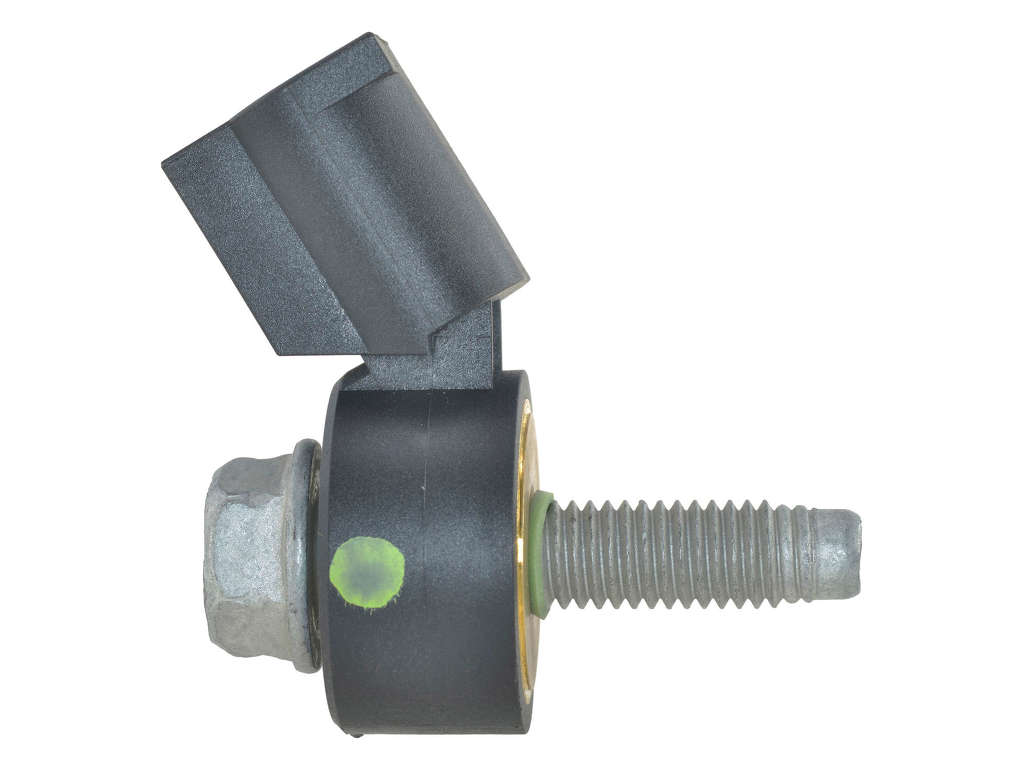
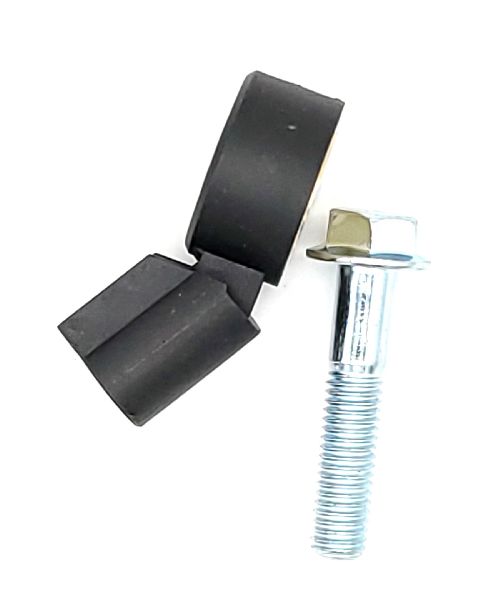
- Knock Sensor (Bank 2)
(OEM #12623730)— This is the part to replace if it is confirmed to have failed via resistance testing, but only after ruling out the more common TSB-related wiring issues. This part number has been superseded by 12739206.
Trusted brands: ACDelco (Genuine GM), Bosch, Delphi
OEM price range: $45-$65
Aftermarket price range: $25-$50 - Electrical Contact Cleaner — Required for cleaning the ECM X2 connector, which is the most likely point of failure according to GM service bulletins.
Trusted brands: CRC QD Electronic Cleaner, WD-40 Specialist Contact Cleaner
OEM price range: $10-$15
Aftermarket price range: $8-$12 - Dielectric Grease — Used to protect the cleaned electrical connector from future moisture and corrosion.
Trusted brands: Permatex, CRC
OEM price range: $5-$10
Aftermarket price range: $4-$8
Technical Service Bulletins (TSBs) & Recalls
- 20-NA-207: Malfunction Indicator Lamp (MIL) Illuminated - DTC P0333 Set
- PIP5576: SES lamp, setting DTC P0333 when shifting the Transmission from park
Platform-Specific Known Issues
- TSB #20-NA-207: This bulletin, which supersedes PIP5576, addresses a Malfunction Indicator Lamp (MIL) with DTC P0333. It states the cause can be voltage from the transmission park/neutral signal circuit bleeding into the knock sensor circuit. The recommended correction, if standard diagnostics fail, is to inspect the K20 ECM X2 electrical connector for debris or terminal issues.
- TSB #PIP5576: This preliminary bulletin specifically mentioned that DTC P0333 can set when shifting from Park due to the voltage bleed issue. It established the initial link between the symptom and the cause.
Mechanic-Grade Diagnostic Values
- Knock Sensor Internal Resistance — expected: 93,000 to 107,000 ohms (93-107 kΩ). Failure: A reading of OL (Open Loop/Infinite) or a value significantly outside this range.
- Knock Sensor AC Voltage Generation (Tapping Test) — expected: A small, fluctuating AC millivolt signal should be generated on a multimeter when the engine block is tapped near the sensor (engine off).. Failure: No AC voltage is generated, indicating a dead piezoelectric element.
- Knock Sensor Bolt Torque — expected: 18 lb-ft (25 Nm). Failure: Incorrect torque (either too loose or too tight) can cause the sensor to read incorrectly, leading to false codes or a failure to detect real knock.
Wiring & Ground Locations
- K20 ECM Connector X2 — The black connector at the Engine Control Module (ECM), which is located in the engine bay on the driver's side near the firewall.. This is the specific connector identified in TSB #20-NA-207 where voltage from the transmission park/neutral circuit can bleed into the knock sensor circuit (Pin 25), causing a false P0333 code.
- G103 / G104 — On many GM V8 platforms, these are primary engine grounds located on the rear of the passenger and driver side cylinder heads, respectively.. While not named in the P0333 TSB, loose or corroded main engine grounds are a known cause of various unexplained electrical and sensor faults on GM vehicles. Verifying these are clean and tight is a fundamental diagnostic step.
- Ground near Starter/Passenger Exhaust Manifold — A ground point on the engine block underneath the passenger exhaust manifold, near the starter.. A user on a Camaro forum noted this ground bolt was loose from the factory and caused erratic tachometer behavior and other issues. A poor ground in this area could potentially affect nearby sensor readings.
Real Owner Repair Stories
- YouTube video on a 2012 Camaro (2012 Chevrolet Camaro w/ 3.6L V6) — Check engine light with code P0332 (Knock Sensor 2 Circuit Low - the opposite of P0333, but the root cause is relevant). The code would return immediately after clearing, even without starting the engine. The issue started after an oil change.
❌ Tried (didn't work) Replacing the knock sensor with an aftermarket part., Replacing the knock sensor again with a genuine AC Delco part.
✅ What actually fixed it The mechanic found the knock sensor wiring harness was pinched underneath the oil filter housing, causing a short circuit. Repairing the damaged wire resolved the code. - LS1Tech Forum User (LS1-powered Camaro (Gen 4)) — Getting both knock sensor codes (P0327 and P0332) after swapping the intake manifold.
❌ Tried (didn't work) Clearing codes (they came back immediately).
✅ What actually fixed it The user discovered they had forgotten to reconnect the knock sensor harness connector after the intake manifold installation. Properly seating the connector fixed the issue.
OEM Part Supersession History
12623730→12739206— Standard part number update by GM. The new part is a direct replacement.
Heads up: Part number 12623730 also replaces the even older part number 12570125.
Helpful Videos
We Have This Part in Stock


The information in this article is provided for general reference and educational purposes only. Vehicle specifications, procedures, and part compatibility can vary by production date, trim level, and region. Always consult your vehicle's factory service manual and verify part numbers before purchasing or performing repairs. Safety-critical components such as airbags, seat belts, and braking systems should be installed by a qualified professional.
- Chevrolet CAMARO:
- 🎬 Helpful Videos
- 🛍️ Shop This Part
- What's Unique About the 2016-2020 Chevrolet CAMARO
- Diagnostic Flowchart
- Symptoms You May Notice
- Most Likely Causes
- Rare But Worth Checking
- Diagnosis Steps
- Parts You'll Likely Need
- Technical Service Bulletins (TSBs) & Recalls
- Platform-Specific Known Issues
- Mechanic-Grade Diagnostic Values
- Wiring & Ground Locations
- Real Owner Repair Stories
- OEM Part Supersession History
- 🎟️ Get 5% Off