

P0331 on 2014-2017 Chevrolet Impala 3.6L: Knock Sensor Causes and Fixes
On a 2014-2017 Impala with the 3.6L V6, P0331 usually points to a failing Bank 2 (front) knock sensor. However, before replacing it, check for loose intake manifold bolts as per TSB PIP5529B, a common and overlooked cause. A new sensor costs $40-$80 and is an easy DIY replacement.
- This code applies to the 3.6L V6 engine in the 2014-2017 Impala.
- Before buying any parts, check for loose intake manifold bolts, as this is a known issue (TSB PIP5529B) that can trigger this code. The fix involves applying threadlocker and re-torquing to 18 lb-ft.
- The Bank 2 knock sensor is on the front of the engine block and is relatively easy to access and replace.
- If replacing the sensor, use a quality brand like ACDelco or Delphi and ensure it is torqued to the correct specification (18 ft-lbs) to ensure accurate readings.
What's Unique About the 2014-2017 Chevrolet IMPALA
This code specifically applies to the 3.6L LFX V6 engine, as the 4-cylinder option only has one bank. Unlike many other V6 engines that bury knock sensors under the intake manifold, the Impala's LFX engine has them mounted externally on the block, making replacement significantly easier. Crucially, GM issued a Technical Service Bulletin (PIP5529B) indicating that loose intake manifold bolts can cause P0331 along with many other codes, which can lead to misdiagnosis. Bank 2 on this transverse-mounted V6 is the cylinder bank closer to the radiator.
Diagnostic Flowchart
Tap your situation to follow the diagnostic path that matches what you're seeing on this vehicle.
Symptoms You May Notice
- Check Engine Light is on
- Reduced engine power and acceleration
- Engine hesitates or stumbles, sometimes described as 'chugging' under load.
- Audible engine pinging or knocking, especially under load
- Decreased fuel economy
- Rough or uneven idle.
- Replacing the knock sensor without first checking for loose intake manifold bolts as described in TSB PIP5529B.
- Using a cheap, low-quality aftermarket knock sensor, which may not meet GM's specifications and can cause the code to return.
- Improperly torquing the new knock sensor. The torque value is critical for the sensor's sensitivity and correct operation.
Most Likely Causes
- Loose Intake Manifold Bolts 🔴 High Probability Documented in GM Technical Service Bulletin PIP5529B, this issue can cause unexpected vibrations or minor vacuum leaks that trigger a host of sensor codes, including P0331. It is a well-known issue across many GM vehicles using the LFX engine.
How to confirm: Visually inspect and manually check if the intake manifold bolts are tight. The TSB recommends removing one bolt at a time, applying medium-strength threadlocker, and torquing in sequence to the proper specification.
Typical fix: Torque all intake manifold bolts to the manufacturer's specification (typically 18 lb-ft or 25 Nm for the LFX). Use a medium-strength threadlocker like Loctite Blue 242 as advised in the TSB to prevent them from backing out again.
Est. part cost: $5-$15 for threadlocker - Faulty Knock Sensor (Bank 2) 🟡 Medium Probability Sensors are exposed to harsh engine bay conditions and can fail over time. Bank 2 is the front cylinder bank on the 3.6L V6, closer to the radiator. Some owners report that GM vehicles can be sensitive to aftermarket sensors, making an OEM part (ACDelco) a safer bet.
How to confirm: After confirming intake bolts are tight, inspect the sensor and its connector. If the wiring is good, the sensor itself is the likely culprit. It can be tested with a multimeter for resistance; a typical range for these GM sensors is 93-110 kOhms. An out-of-spec or open reading indicates a failed sensor.
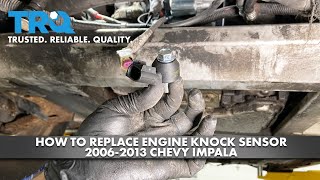
Typical fix: Replace the Bank 2 knock sensor. It is located on the front of the engine block. 🎬 Watch: How to replace the knock sensor on a Chevy Impala Ensure the mounting surface is clean and torque the new sensor to specification, which is critical for proper operation (typically 18 lb-ft / 25 Nm).
Est. part cost: $40-$80 - Damaged Wiring or Connector ⚪ Low Probability The wiring harness to the sensor can become brittle from heat cycles or damaged by road debris or improper service. The wires are shielded, and improper repairs (like using butt connectors) can introduce interference and resistance issues, causing the code to persist.
How to confirm: Visually inspect the wiring leading to the knock sensor for any signs of cracking, melting, or corrosion at the connector pins. Perform a continuity test on the wiring from the sensor connector to the ECM if a visual inspection is inconclusive.
Typical fix: Repair the damaged section of wire or replace the connector pigtail. Soldering and heat-shrinking the connection is highly recommended over using crimp connectors to maintain signal integrity.
Est. part cost: $10-$30
Rare But Worth Checking
- Faulty Powertrain Control Module (PCM): This is very rare. The PCM should only be considered after all other possibilities, including sensors, wiring, and the TSB for loose intake bolts, have been exhaustively tested and ruled out.
- Excessive Engine Noise: In some cases, other mechanical engine problems (like worn rod bearings or timing chain issues) can create vibrations that the knock sensor correctly interprets as knock, triggering the code. This is less common and would typically be accompanied by other serious symptoms.
Diagnosis Steps
- Scan the vehicle for all DTCs. Note any other codes that appear alongside P0331, especially those mentioned in TSB PIP5529B.
- Thoroughly inspect the intake manifold bolts to ensure they are properly torqued. Per TSB PIP5529B, the fix is to remove one bolt at a time, apply medium-strength threadlocker, and torque to 18 lb-ft (25 Nm).
- If bolts are tight, locate the Bank 2 knock sensor on the front of the engine block.
- Inspect the sensor's connector and wiring for any signs of damage, corrosion, or looseness. Ensure the connector is fully seated.
- If the wiring appears intact, test the knock sensor's internal resistance with a multimeter. Compare the reading to the manufacturer's specification (typically 93-110 kOhms).
- If the sensor tests out of range or the wiring is confirmed faulty, replace the necessary component. Use a quality OEM part (ACDelco) for best results.
- When installing a new sensor, ensure the mounting surface on the block is clean and torque the new sensor to 18 lb-ft (25 Nm).
- Clear the trouble codes and perform a test drive under various load conditions to confirm the repair.
Parts You'll Likely Need
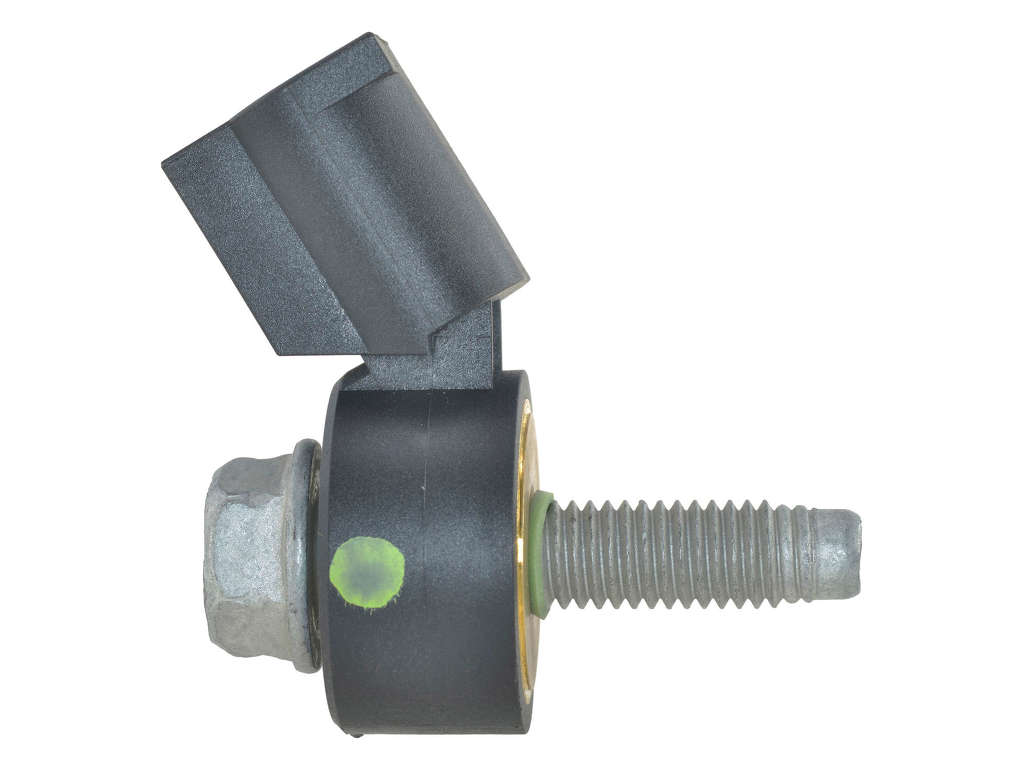
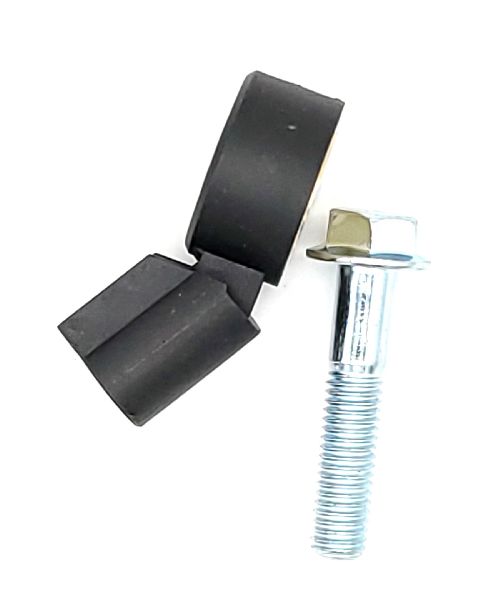
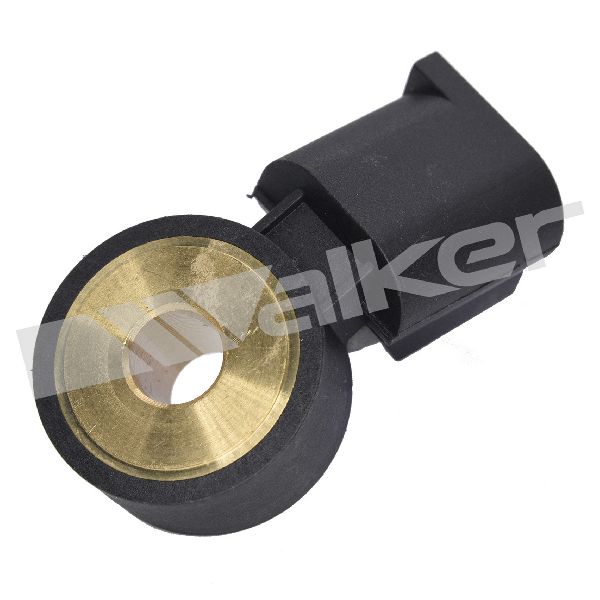
- Knock Sensor
(OEM #12729597)— This is the sensor for Bank 2 (front) that the code directly references. It is the most common part to fail after ruling out the TSB for loose intake bolts. This part number supersedes 12605738, 12636736, and 12692505.
Trusted brands: ACDelco (GM OE), Delphi, NGK/NTK
OEM price range: $50-$90
Aftermarket price range: $27-$67
Related Codes That Often Appear With This One
- P0068 — Listed in TSB PIP5529B as a related code caused by loose intake manifold bolts.
- P0101 — Listed in TSB PIP5529B as a related code caused by loose intake manifold bolts.
- P0106 — Listed in TSB PIP5529B as a related code caused by loose intake manifold bolts.
- P0171 — Listed in TSB PIP5529B as a related code caused by loose intake manifold bolts.
- P0326 — This is the range/performance code for the other knock sensor (Bank 1). Both may appear if the underlying cause (like loose bolts) affects the whole engine. It is also listed in TSB PIP5529B.
Technical Service Bulletins (TSBs) & Recalls
- PIP5529B: Addresses a potential stall or hesitation with numerous DTCs, including P0331, caused by loose intake manifold bolts. The updated fix specifies using threadlocker.
- PIP5529A: An earlier version of the same bulletin, also citing P0331 in a list of codes related to loose intake manifold bolts.
- PIP5273: A Preliminary Information bulletin for 2015 Colorado/Canyon with the LFX engine, advising against replacing the knock sensor or ECM for history codes P0326/P0331 while a software calibration was being investigated.
Platform-Specific Known Issues
- TSB PIP5529B: GM identified that loose intake manifold bolts can cause a stall, hesitation, and a variety of DTCs including P0331. The fix is to remove each bolt one by one, apply medium-strength threadlocker, and re-torque to specification, not necessarily replace parts.
- TSB PIP5273: While for the Colorado/Canyon, this bulletin from 2015 notes that P0326/P0331 codes setting in history on the LFX engine were under investigation for a potential software calibration fix, highlighting that it's not always a hardware fault.
Mechanic-Grade Diagnostic Values
- Knock Sensor Resistance — expected: 93 kOhms to 110 kOhms. Failure: An open reading (OL) or a value outside the specified range indicates a faulty sensor.
- Knock Sensor AC Voltage Output — expected: A small AC voltage (millivolts to >1 volt) should be generated when the sensor is vibrated.. Failure: No voltage or extremely low voltage (single-digit millivolts) when tapping the engine block near the sensor suggests a dead sensor.
Scan Tool Commands That Help
- Any OBD-II Scan Tool with Live Data: Observe 'Knock Retard' or 'Knock Sensor' PID — With the engine running above idle (approx. 1500 RPM), lightly tap the engine block near the sensor with a hammer. A functional sensor and PCM circuit will show the knock retard value increasing as the PCM pulls timing in response to the simulated knock. No reaction suggests a problem in the sensor or circuit.
Wiring & Ground Locations
- G105 / G106 — Main engine grounds, typically located on the engine block or on the front frame rail under the crank pulley area.. A corroded or loose main engine ground can introduce electrical noise and cause erratic signals from various sensors, including the knock sensor, potentially leading to false codes.
- G115 — On the front of the left cylinder bank (Bank 2 on the LFX engine).. This is a key ground point located on the same bank as the knock sensor in question (Bank 2). A poor connection here can directly impact the sensor's signal quality.
- Knock Sensor Connector — Directly on the knock sensor, which for Bank 2 is on the front of the engine block, near the oil filter.. The two-pin connector is a common failure point due to heat, moisture, and vibration. Check for corrosion on the pins or a damaged locking tab.
Real Owner Repair Stories
- South Main Auto Repair YouTube Channel (2003 Chevrolet Impala (different generation, but same principle)) — Persistent P0332 (Knock Sensor Bank 2) code.
❌ Tried (didn't work) Initial diagnosis was confusing as the sensor and its dedicated wiring seemed okay.
✅ What actually fixed it The root cause was an unrelated wiring harness left dangling on top of the secondary ignition (spark plug) wires. The high voltage from the ignition wires was inducing a false signal into the nearby knock sensor circuit. Securing the loose harness away from the ignition wires resolved the code.
OEM Part Supersession History
12605738, 12636736, 12692505→12729597— GM regularly updates part designs to integrate new materials and technologies for improved reliability and performance.
Helpful Videos
We Have This Part in Stock


The information in this article is provided for general reference and educational purposes only. Vehicle specifications, procedures, and part compatibility can vary by production date, trim level, and region. Always consult your vehicle's factory service manual and verify part numbers before purchasing or performing repairs. Safety-critical components such as airbags, seat belts, and braking systems should be installed by a qualified professional.
- Chevrolet IMPALA:
- 🎬 Helpful Videos
- 🛍️ Shop This Part
- What's Unique About the 2014-2017 Chevrolet IMPALA
- Diagnostic Flowchart
- Symptoms You May Notice
- Most Likely Causes
- Rare But Worth Checking
- Diagnosis Steps
- Parts You'll Likely Need
- Related Codes That Often Appear With This One
- Technical Service Bulletins (TSBs) & Recalls
- Platform-Specific Known Issues
- Mechanic-Grade Diagnostic Values
- Scan Tool Commands That Help
- Wiring & Ground Locations
- Real Owner Repair Stories
- OEM Part Supersession History
- 🎟️ Get 5% Off