

P0331 on 2014-2017 Buick Regal: Knock Sensor Circuit Causes and Fixes
This code indicates a fault in the Knock Sensor 2 circuit. The most likely cause is a loose intake manifold, as outlined in GM TSB #PIP5529B. Before replacing the sensor, check for loose intake bolts and inspect the sensor's wiring. The torque specification for these bolts is 12 N.m (106 lb in).
- For a 2014-2017 Buick Regal, P0331 is very often caused by loose intake manifold bolts, not a bad sensor.
- Always check for the loose intake bolts as described in TSB #PIP5529B before buying any parts.
- The fix may only require a bottle of threadlocker and properly torquing the bolts to 12 N.m (106 lb in).
- If the sensor does need replacement, there are two of them located under the intake manifold, making the job more involved.
What's Unique About the 2014-2017 Buick REGAL
On the 2014-2017 Buick Regal with the 2.0L LTG engine, code P0331 is frequently associated with a very specific and non-obvious cause: loose intake manifold bolts. A General Motors Technical Service Bulletin (TSB #PIP5529B) confirms that these loose bolts can create vibrations or a vacuum leak that triggers P0331 along with a host of other seemingly unrelated codes. This makes it critical to check the intake manifold torque before assuming the knock sensor itself has failed. This issue is common across many GM vehicles using the LTG engine.
Diagnostic Flowchart
Tap your situation to follow the diagnostic path that matches what you're seeing on this vehicle.
Symptoms You May Notice
- Check Engine Light is on
- Reduced engine power and acceleration
- Engine hesitation or stalling
- Audible engine pinging or knocking sound
- Decreased fuel economy
- Rough or uneven idle
- Replacing the knock sensor without first checking for loose intake manifold bolts. The TSB for this platform makes the intake bolts a primary suspect that is often overlooked.
Most Likely Causes
- Loose Intake Manifold Bolts 🔴 High Probability This is a documented issue for this platform, as noted in GM Technical Service Bulletin #PIP5529B, which specifically lists the 2014-2017 Regal and code P0331. The vibration from the loose manifold can be misinterpreted by the knock sensor.
How to confirm: Check for other codes listed in the TSB (P0068, P0101, P0106, P0171, etc.). Physically inspect and check the torque of the intake manifold bolts. The correct torque is 12 N.m or 106 lb in.
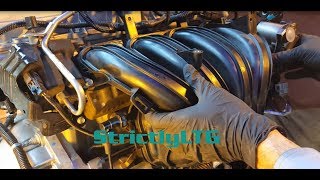
Typical fix: Remove one intake manifold bolt at a time, apply medium-strength threadlocker, 🎬 Watch: Step-by-step guide to removing the LTG intake manifold and torque to 12 N.m (106 lb in) in the correct sequence. The TSB advises against replacing the intake gasket unless a leak is confirmed after torquing.
Est. part cost: $5-$15 for threadlocker - Faulty Knock Sensor 2 🟡 Medium Probability
How to confirm: After confirming intake bolts are tight, test the sensor's circuit. A good sensor should have a resistance between 93 and 100 ohms on most vehicles. If the wiring is good, the sensor is the likely culprit.
Typical fix: Replace the knock sensor. The Regal 2.0L has two sensors located on the back of the engine block, underneath the intake manifold. 🎬 See this video to locate the knock sensors on your Regal Given the labor to access them, some owners replace the wiring harness at the same time.
Est. part cost: $30-$70 - Wiring or Connector Issue 🟡 Medium Probability The sensor's location under the intake manifold makes the wiring susceptible to heat and vibration over time, which can lead to brittle wires or corrosion.
How to confirm: Visually inspect the wiring harness and connector for Knock Sensor 2 for any signs of damage, corrosion, or loose pins. Check for continuity and shorts with a multimeter.
Typical fix: Repair or replace the damaged section of the wiring harness or the connector. Sometimes the connector itself is corroded and must be replaced along with the sensor.
Est. part cost: $10-$50 for repair materials
Rare But Worth Checking
- Faulty Powertrain Control Module (PCM): This is extremely rare and should only be considered after all other possibilities, including sensors and wiring, have been exhaustively ruled out.
- Excessive Engine Carbon Buildup: Direct-injected engines like the LTG are prone to carbon buildup on intake valves, which can alter combustion and potentially trigger knock codes. This is less likely to be the direct cause of a specific circuit code like P0331 but can be a contributing factor to overall engine noise.
Diagnosis Steps
- Scan the ECM for all stored trouble codes. Note if any other codes listed in TSB #PIP5529B are present.
- Carefully inspect the intake manifold bolts to see if they are loose. If they are, follow the TSB procedure: remove one bolt at a time, apply medium-strength threadlocker, and torque each bolt to 12 N.m (106 lb in) in sequence.
- Clear the codes and test drive the vehicle to see if the code returns. If it does not, the repair is complete.
- If the intake bolts are tight, proceed to inspect the wiring harness and connector for Knock Sensor 2. Look for any signs of melting, chafing, corrosion, or loose pins.
- If the wiring appears intact, use a multimeter to test the sensor circuit for proper resistance according to the service manual (typically 93-100k ohms).
- If the circuit and wiring are confirmed to be good, the knock sensor itself is the most likely cause of failure and should be replaced.
- After any repair, clear the codes and perform a test drive to ensure the P0331 code does not return.
Parts You'll Likely Need
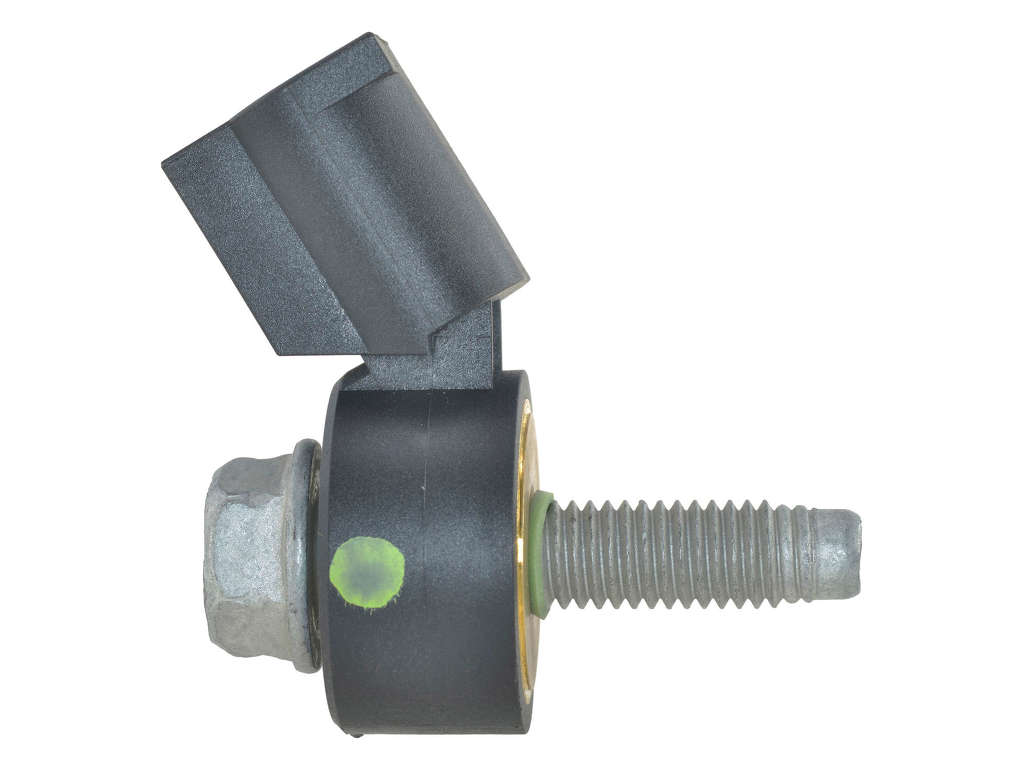
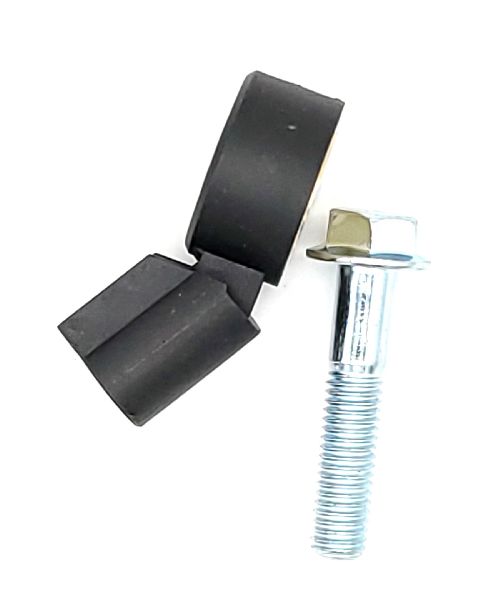
- Ignition Knock Sensor
(OEM #12623095)— If the intake manifold is secure and wiring is intact, the sensor itself is the next most likely component to fail.
Trusted brands: ACDelco (GM Genuine), Bosch, Delphi
OEM price range: $25-$50
Aftermarket price range: $15-$40 - Medium-Strength Threadlocker — Required for the TSB procedure to fix loose intake manifold bolts, which is a primary cause of this code on this vehicle.
Trusted brands: Permatex, Loctite
OEM price range: $10-$15
Aftermarket price range: $5-$10 - Intake Manifold Gasket
(OEM #12676282 (example, verify by VIN))— While TSB #PIP5529B states not to replace the gasket unless a leak is confirmed after torquing, many technicians or DIYers may choose to replace it as a preventative measure since the manifold is being worked on.
Trusted brands: ACDelco, Fel-Pro
OEM price range: $20-$40
Aftermarket price range: $15-$30
Related Codes That Often Appear With This One
- P0326 — This is the code for Knock Sensor 1 Performance. If both appear, it could point to a common issue like the loose intake manifold.
- P0068, P0101, P0106, P0171, P0506 — These codes, relating to MAP/MAF, throttle body, and air/fuel ratios, are specifically mentioned in TSB #PIP5529B as being potentially caused by loose intake manifold bolts, which creates a vacuum leak.
Technical Service Bulletins (TSBs) & Recalls
- PIP5529B: Addresses a stall, hesitation, or malfunction indicator lamp with a combination of DTCs, including P0331, caused by loose intake manifold bolts. Specifies applying threadlocker and re-torquing.
- PIP5529A: An earlier version of the same bulletin with a similar diagnosis and correction.
- PIP5529: The original version of the bulletin.
Platform-Specific Known Issues
- A known issue documented in GM TSB #PIP5529B involves loose intake manifold bolts causing a variety of codes, including P0331. The fix is to re-torque the bolts to 12 N.m (106 lb in) with threadlocker. This should be the first check for any 2014-2017 Regal with the LTG engine presenting this code.
Mechanic-Grade Diagnostic Values
- Knock Sensor Internal Resistance — expected: 93k to 110k Ohms (93,000 to 110,000 Ohms). Failure: An open circuit (OL) or a reading significantly outside this range indicates a faulty sensor.
- Knock Sensor Signal Voltage (AC) — expected: A small AC voltage that increases when the engine block is tapped near the sensor.. Failure: No AC voltage produced when tapping indicates a dead sensor.
- Knock Sensor Circuit Bias Voltage (DC) — expected: Approximately 2.5V to 5V with the key on, engine off, sensor connected. This voltage is supplied by the ECM.. Failure: 0V or a full 5V that doesn't change when the sensor is unplugged can indicate a wiring short/open or a bad ECM driver.
- Knock Sensor Bolt Torque — expected: 25 N.m (18 lb ft). Failure: Incorrect torque can make the sensor too sensitive or not sensitive enough, leading to false signals or a failure to detect real knock.
Scan Tool Commands That Help
- GDS2 (GM Dealer Tool): Knock Sensor Signal Live Data — While monitoring live data, a technician can tap near the sensor to see if the signal responds. A lack of response on the scan tool, even if voltage is present at the sensor, can point to a wiring or ECM issue.
- GDS2 (GM Dealer Tool): Knock Retard PID — This data parameter shows how many degrees of timing the ECM is pulling in response to perceived knock. If P0331 is active, this value may be erratic or fixed. After a repair, observing that knock retard operates normally under load is a good confirmation of the fix.
Wiring & Ground Locations
- G101 / G106 — G101 is on the lower front of the engine block, with a jumper to G106 on the frame cross rail under the crank pulley.. This is a primary ground point for the Engine Control Module (ECM). A poor or corroded ground here can cause erratic sensor readings and unpredictable behavior from the ECM, potentially triggering false codes like P0331.
- K20 ECM Connector X3, Pin 62 — On the main engine control module.. This is the specific pin for the Knock Sensor 1 Signal (Circuit 496). When performing continuity or voltage tests, probing this pin at the ECM connector can confirm if the signal from the sensor is reaching the module, helping to isolate a wiring fault from an ECM fault.
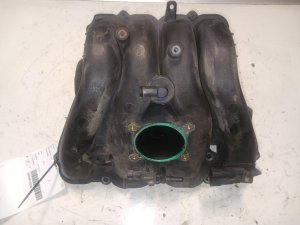
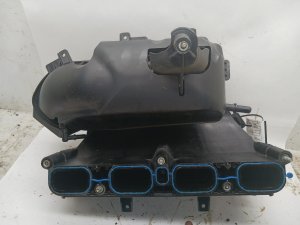
- Knock Sensor Location — The two knock sensors are located on the back of the engine block, underneath the intake manifold.. Their location makes them susceptible to heat and oil leaks, and requires removal of the intake manifold for replacement. This high-labor location is why checking the much easier-to-access intake manifold bolts first is critical.
Real Owner Repair Stories
- CadillacForums user (2014 Cadillac ATS 2.0L Turbo (Platform mate with identical LTG engine and TSB)) — Check Engine Light with code P0331.
❌ Tried (didn't work) Initial diagnosis pointed towards a bad knock sensor.
✅ What actually fixed it The user found and followed TSB PIP5529B. The fix was tightening the intake manifold bolts to the specified torque. The code did not return after the procedure.
"I Checked Everything" — The Actual Cause
- The primary cause for P0331 on this platform, as per TSB #PIP5529B, is loose intake manifold bolts causing mechanical vibration, not a vacuum leak. A smoke test, which is used to find vacuum leaks, would typically come back clean and would not identify this specific problem. Mechanics who rely solely on a smoke test for intake issues would miss this well-documented, non-leak-related cause.
OEM Part Supersession History
12623095→12623095 (current)— No supersession found. The part number remains active and has been used by GM for many years across various models.
Model Year Variations Within This Range
- 2014-2017: The 2.0L LTG engine used in the 2014-2017 Regal was a significant update from the LHU engine used in 2011-2013 models. While they share architecture, the TSB #PIP5529B specifically applies to the LTG engine family. Therefore, the high probability of 'loose intake bolts' as a cause is most relevant to the 2014-2017 model years.
Helpful Videos
Used OEM Parts in Stock
New Aftermarket Parts Available


The information in this article is provided for general reference and educational purposes only. Vehicle specifications, procedures, and part compatibility can vary by production date, trim level, and region. Always consult your vehicle's factory service manual and verify part numbers before purchasing or performing repairs. Safety-critical components such as airbags, seat belts, and braking systems should be installed by a qualified professional.
- Buick REGAL:
- 🎬 Helpful Videos
- 🛍️ Shop This Part
- What's Unique About the 2014-2017 Buick REGAL
- Diagnostic Flowchart
- Symptoms You May Notice
- Most Likely Causes
- Rare But Worth Checking
- Diagnosis Steps
- Parts You'll Likely Need
- Related Codes That Often Appear With This One
- Technical Service Bulletins (TSBs) & Recalls
- Platform-Specific Known Issues
- Mechanic-Grade Diagnostic Values
- Scan Tool Commands That Help
- Wiring & Ground Locations
- Real Owner Repair Stories
- "I Checked Everything" — The Actual Cause
- OEM Part Supersession History
- Model Year Variations Within This Range
- 🎟️ Get 5% Off