

P0299 on 2017 Chevrolet Silverado: Duramax Turbo Underboost Causes and Fixes
On a 2017 Silverado with the 6.6L L5P Duramax, code P0299 is most often caused by a boost leak from a cracked or loose charge air pipe, a failing turbocharger vane position actuator, or a soot-clogged MAP sensor. Expect to pay $150-$400 for pipe replacement, $300-$600 for a remanufactured actuator, or under $100 for a new MAP sensor.
- P0299 on a 2017 Silverado Duramax means the turbo isn't making enough boost.
- Before suspecting the turbo itself, thoroughly check for boost leaks from cracked pipes or hoses using a smoke test.
- The electronic turbo vane actuator is a common failure point; check for related codes like P003A.
- Inspect and clean the MAP sensor, as soot buildup can cause false underboost readings.
- Do not immediately replace the entire turbocharger, as the issue is often a less expensive, separate component like the actuator or a leaking pipe.
What's Unique About the 2017-2017 Chevrolet SILVERADO
The 2017 model year introduced the 6.6L L5P Duramax engine, which uses a sophisticated variable geometry turbocharger (VGT). This system is highly effective but adds complexity. Unlike older designs, underboost issues on the L5P are often linked to the electronic actuator that controls the turbo vanes, rather than just simple mechanical wastegates. Soot buildup and electronic failure of this actuator are known issues that can directly cause a P0299 code. Additionally, the factory plastic charge air cooler (CAC) pipes are known weak points that can crack or have their connections loosen under normal engine movement, making boost leaks a primary suspect for this code on the L5P.
Diagnostic Flowchart
Tap your situation to follow the diagnostic path that matches what you're seeing on this vehicle.
Symptoms You May Notice
- Significant loss of engine power and acceleration
- Check Engine Light is on
- Vehicle enters 'limp mode' or 'reduced power' mode
- Unusual whistling, hissing, or whining sounds from the engine bay during acceleration
- Black smoke from the exhaust, especially under load
- Poor fuel economy
- Inability to maintain speed while towing or on inclines
- Replacing the entire turbocharger when only the actuator has failed. The actuator is a separate, replaceable component on the L5P Duramax and is a common failure item.
- Replacing the MAP sensor without first checking for boost leaks. A perfectly good sensor will report low pressure if there is a leak in the system.
- Assuming the turbo is bad when the MAP sensor is simply caked in soot. Cleaning the sensor is a fast and cheap diagnostic step that should be performed early.
Most Likely Causes
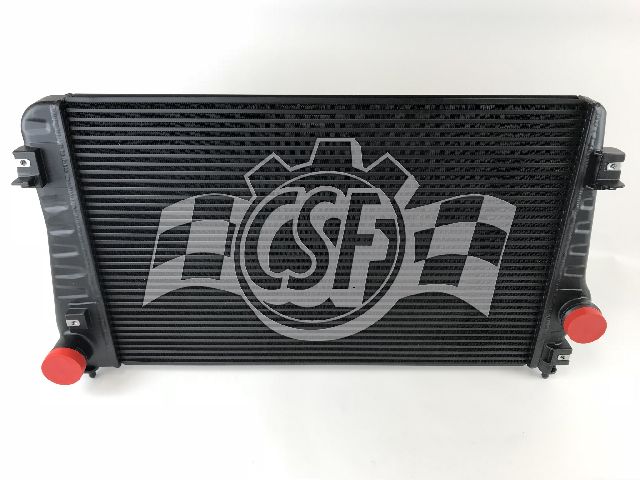
- Leaking or Cracked Charge Air Cooler (CAC) Hoses/Pipes 🔴 High Probability The factory charge air system uses plastic pipes that are known to become brittle and crack. More commonly, the connections can become loose, especially at the throttle body, due to engine roll during acceleration and braking. TSB PIP5468F was issued specifically to address this issue, noting that a static visual inspection may not be enough to find the leak.
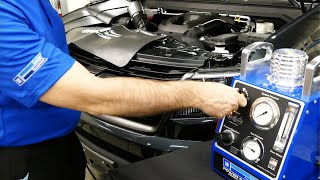
How to confirm: Visually inspect all hoses and pipes between the turbo, intercooler, and intake manifold for cracks, loose clamps, or signs of oil residue. Pay close attention to the connection at the throttle body. A smoke test is the most effective way to find leaks 🎬 See how to use GM's essential tool for boost diagnosis. that aren't visually obvious.
Typical fix: Replace the damaged hose or pipe and secure all clamps. Many owners upgrade to more durable aftermarket metal pipes. If clamps are just loose, tightening them may resolve the issue. GM specifies a labor time of 0.8 hours for this repair under warranty.
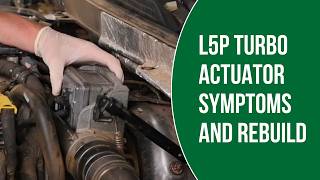
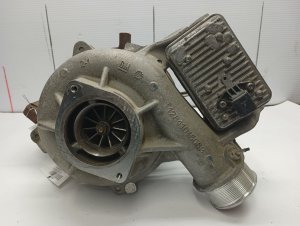
Est. part cost: $80-$250 - Faulty Turbocharger Vane Position Actuator 🟡 Medium Probability The L5P Duramax uses an electronic actuator to control the variable vanes in the turbo. These actuators can fail electronically or have their position learning capability degrade, causing them to improperly position the vanes and fail to build boost. This is a well-documented failure point on the 2017-2019 models.
How to confirm: Scan for other codes like P003A or P0046, which specifically point to the actuator. A capable scan tool can command the actuator position to verify its operation. Physical inspection may reveal a stuck or unresponsive actuator arm. Using a scan tool to monitor desired vs. actual vane position can confirm if it's meeting its target.
Typical fix: Replace the turbocharger actuator. This often requires a 'relearn' procedure to be performed with a scan tool to calibrate the new part. Remanufactured units are widely available and often come pre-programmed.
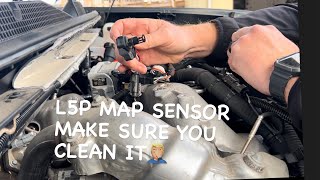
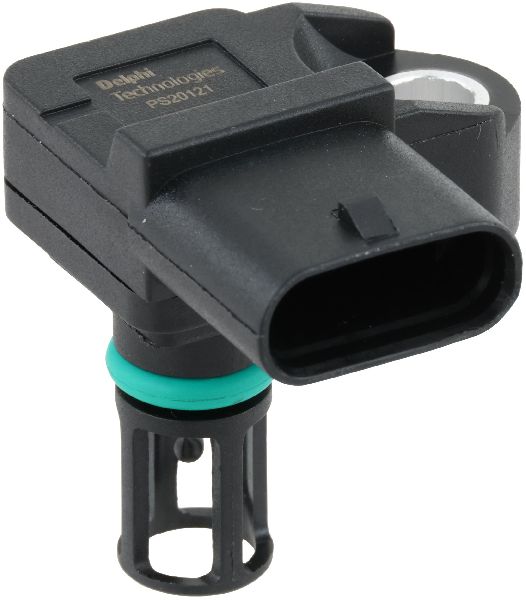
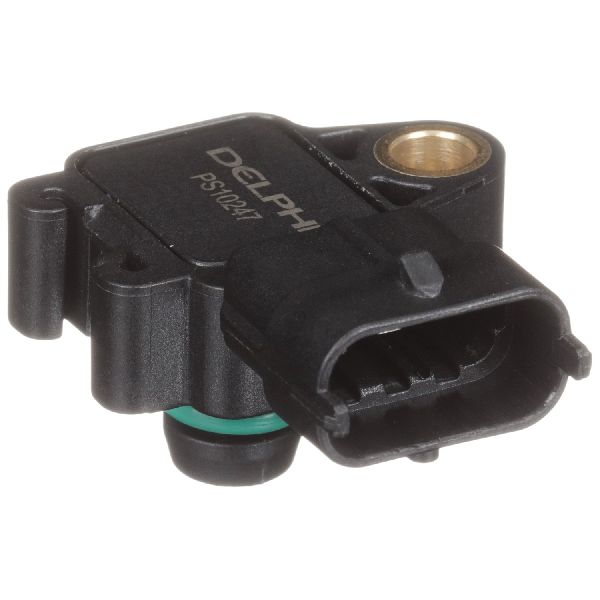
Est. part cost: $300-$600 - Soot-Clogged or Faulty MAP Sensor 🟡 Medium Probability Due to the EGR system, the Manifold Absolute Pressure (MAP) sensor on Duramax engines is prone to collecting a thick layer of soot. This buildup can insulate the sensor, causing it to read boost pressure inaccurately and report a false underboost condition to the ECM.
How to confirm: Remove the MAP sensor, located on the intake manifold, and inspect it for heavy soot buildup. A heavily caked sensor is a likely culprit. You can attempt to clean it with a dedicated MAF/MAP sensor cleaner. If the problem persists after cleaning, the sensor may have failed internally.
Typical fix: Clean the MAP sensor. If cleaning doesn't resolve the issue, replace the sensor. Some aftermarket companies sell a MAP sensor spacer kit to relocate the sensor out of the direct flow of soot.
Est. part cost: $40-$100 - Sticking Turbocharger Vanes ⚪ Low Probability Soot and carbon buildup from the exhaust can cause the variable vanes inside the turbocharger's turbine housing to stick. If they stick in an 'open' position, the turbo cannot build boost effectively at lower RPMs. This is more common on trucks with higher mileage or frequent short trips.
How to confirm: This is difficult to confirm without disassembling the turbo. A key symptom is a persistent lack of boost that doesn't respond to actuator commands. A scan tool may show that the commanded vane position and actual vane position do not match. With the actuator removed, you should be able to move the lever on the turbo freely by hand.
Typical fix: In some cases, the turbo can be removed and professionally cleaned. More often, this requires a complete turbocharger replacement.
Est. part cost: $1500-$3000
Rare But Worth Checking
- Exhaust Leak Before the Turbo: A cracked exhaust manifold or a leaking up-pipe gasket before the turbo will reduce the exhaust energy available to spin the turbine, causing an underboost condition. Check for soot trails near exhaust flanges and listen for ticking noises, especially when the engine is cold.
- Restricted Air Intake Filter: A severely clogged engine air filter can starve the turbo for air, preventing it from building the required boost. This is a simple but sometimes overlooked cause.
- Charge Air Cooler (CAC) Icing: In cold weather, ambient and PCV moisture can freeze inside the charge air cooler, creating a physical blockage. GM issued TSB 23-NA-002 for this issue, which involves an ECM calibration update and adding a baffle to the CAC. The TSB applies if more than 100mL of water is drained from the thawed CAC.
Diagnosis Steps
- Check for other DTCs. Codes like P003A, P0046, or P0101 provide crucial clues to the root cause.
- Perform a thorough visual inspection of the entire charge air system. Per TSB PIP5468F, pay special attention to the connections at the turbo outlet, intercooler inlet/outlet, and throttle body. Look for loose clamps, torn silicone boots, and cracks in the plastic pipes.
- If no visual leaks are found, perform a smoke test on the intake and charge air system to pinpoint any hidden leaks.
- Inspect the engine air filter to ensure it is not clogged or restricting airflow.
- Remove and inspect the MAP sensor for soot buildup. It is located on the intake manifold and held by a single 10mm bolt. Clean it carefully with an appropriate sensor cleaner and let it dry 🎬 Watch: How to properly clean your L5P MAP sensor. completely before reinstalling.
- With a capable scan tool, monitor commanded boost vs. actual boost and turbo vane position vs. desired vane position while driving. A significant and consistent difference confirms the underboost condition and can point towards a vane control issue.
- Observe the turbocharger actuator arm while an assistant starts and stops the engine. It should cycle through its full range of motion. Use the scan tool to command the actuator position and verify it responds correctly.
- If all other components check out, inspect the turbocharger itself for excessive shaft play or damaged compressor/turbine wheels. Also inspect pre-turbo exhaust components like up-pipes for leaks.
Parts You'll Likely Need
- Turbocharger Vane Position Actuator
(OEM #12708802, 12683983)— This electronic component is a known failure point on the L5P Duramax and directly controls the turbo's ability to build boost.
Trusted brands: ACDelco, Dorman, Synapse Auto (Remanufactured)
OEM price range: $400-$600
Aftermarket price range: $250-$450 - Charge Air Cooler (CAC) Pipe/Hose
(OEM #84131333 (Cold Side Pipe))— Boost leaks from cracked plastic pipes or torn rubber boots are a very common cause of underboost, specifically addressed by GM TSB PIP5468F.
Trusted brands: ACDelco, Mishimoto, Banks Power
OEM price range: $150-$250
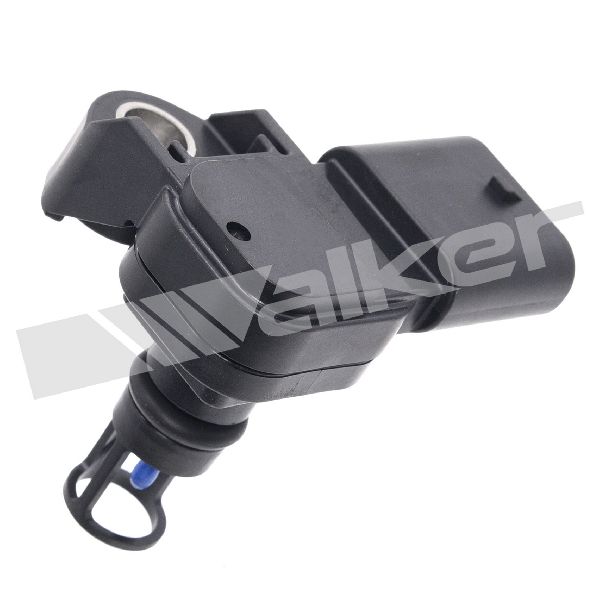
Aftermarket price range: $200-$400 - Manifold Absolute Pressure (MAP) Sensor
(OEM #12644228)— Prone to heavy soot contamination from the EGR system, which causes inaccurate boost readings.
Trusted brands: ACDelco, Bosch, Standard Motor Products
OEM price range: $50-$80
Aftermarket price range: $30-$60
Related Codes That Often Appear With This One
- P003A — This code indicates a problem with the turbocharger vane position actuator's learned limits, which is a common root cause of the underboost condition seen in P0299.
- P0101 — This code relates to the Mass Air Flow (MAF) sensor performance. A large boost leak can cause the MAF sensor readings to be out of sync with what the MAP sensor sees, triggering both codes. TSB PIP5468F specifically lists these two codes together.
- P2227 — This code for Barometric Pressure Sensor Performance can be triggered alongside P0299, particularly in cases of Charge Air Cooler (CAC) icing as described in TSB 23-NA-002.
Technical Service Bulletins (TSBs) & Recalls
- PIP5468F: Check Engine Light On with Leaks in the Charge Air Cooler System. This TSB directly connects P0299 with loose CAC ductwork connections.
- 23-NA-002: Charge Air Cooler (CAC) Icing, Check Engine Lamp Illuminated, Possible P0299, P2227, and/or P0300 DTCs Set. Addresses underboost in cold climates.
Platform-Specific Known Issues
- The provided TSB #PIP5468F is a critical diagnostic starting point, explicitly linking P0299 to loose charge air cooler ductwork. It warns that leaks may only be apparent under load (engine roll) and not during a static inspection.
- TSB #23-NA-002 addresses P0299 in cold weather due to ice forming in the charge air cooler. The fix involves draining moisture, a software update, and potentially installing a new baffle.
Mechanic-Grade Diagnostic Values
- Turbocharger Actuator Mounting Nut Torque — expected: 119 lb-in (13.4 Nm). Failure: N/A - This is an installation specification.
- Turbocharger Actuator Lever Bolt Torque — expected: 93 lb-in (10.5 Nm). Failure: N/A - This is an installation specification.
- Ground Bolt Torque (if inspected/replaced per PIT5562) — expected: 80 lb-in (9 Nm). Failure: A loose ground bolt can cause a wide range of electrical issues, potentially including sensor data problems contributing to P0299.
Scan Tool Commands That Help
- GDS2 (GM Techline Connect): Turbocharger Learn / Turbocharger Boost Control Position Learn — This function is required after replacing the turbocharger or the turbo actuator. It allows the ECM to learn the new component's physical range of motion. Failure to perform this can cause the P0299 code to persist even with new parts.
- GDS2 (GM Techline Connect): Clear DTCs — Before attempting the 'Turbocharger Learn' function, all active diagnostic trouble codes must be cleared from the ECM. The learn function may refuse to run if DTCs are present.
- GDS2 or equivalent (e.g., Edge CTS3): Monitor 'Desired Vane Position' vs 'Actual Vane Position' — During a test drive, this live data is critical for diagnosing a faulty actuator or sticking vanes. If the actual position consistently fails to meet the desired position, it confirms a control system problem.
Wiring & Ground Locations
- Turbo Actuator Connector Pigtail — Connects directly to the turbocharger vane position actuator on the top, rear of the engine.. The wiring harness pigtail (GM P/N 19354437) can become damaged from heat or during other engine service (like removing the Y-bridge), leading to a poor connection and actuator-related codes. A damaged pigtail can mimic the symptoms of a failed actuator.
- G101, G102, G121, G400 — Various body and chassis ground locations on the frame and engine.. A GM Preliminary Information bulletin (PIT5562) was issued for a small number of 2017 Silverados built at the Ft. Wayne plant due to improperly hardened ground bolts. A poor ground connection at these locations can cause a variety of electrical faults, which could potentially affect sensor readings related to the turbo system.
- ECM Connector X1, Pin 6 — At the Engine Control Module (ECM).. This is a primary signal ground for the ECM. A wiring diagram shows this as a Black/White wire. While not a common failure point, a problem with this ground could affect multiple sensor inputs and calculations used to determine expected boost.
Real Owner Repair Stories
- YouTube channel 'Denny Diesel' (2020 L5P Duramax (similar system to 2017)) — Intermittent turbo codes, fuel gauge dropping out, engine sounds like a fixed-vane turbo.
❌ Tried (didn't work) Replacing the turbo actuator with a new one., Attempting the GDS2 'Turbocharger Learn' procedure, which failed repeatedly, stating 'DTC present' even after clearing codes.
✅ What actually fixed it The root cause was weak/failing vehicle batteries. The low system voltage prevented the GDS2 scan tool from successfully completing the actuator relearn procedure. Replacing the batteries allowed the relearn to complete and resolved the issues. - YouTube channel 'Denny Diesel' (L5P Duramax) — Reduced engine power, turbo sounds like a fixed-vane (no whistle), turbo-related codes.
❌ Tried (didn't work) Replacing the turbo actuator multiple times in the past., Repairing a damaged actuator pigtail harness did not solve the immediate problem.
✅ What actually fixed it Performing a 'Turbocharger Boost Control Position Learn' using the GDS2 scan tool. The owner had previously replaced actuators without performing the relearn, which is why the issue returned. The simple software relearn procedure fixed the underboost condition without needing a new actuator. - YouTube channel '310FAILSCOM' (LMM Duramax (older model, but relevant cause)) — P0299 underboost code, truck going into limp mode, audible pressure loss only when driving, horrible fuel economy.
❌ Tried (didn't work) Visual inspection for leaks while idling., Power-braking to build boost while stationary to find the leak.
✅ What actually fixed it The passenger side exhaust up-pipe had a crack near the bellow. This was caused by stress from a previously installed EGR blocker plate. The leak was only significant under driving load and was not apparent during a static inspection. Replacing the up-pipe resolved the underboost code.
"I Checked Everything" — The Actual Cause
- In some cases, a smoke test on the charge air system will show no leaks, but the P0299 code persists. The cause can be a cracked exhaust up-pipe or manifold leaking exhaust pressure *before* it enters the turbocharger, starving the turbo of the energy needed to build boost. This type of leak will not be found with an intake smoke test.
OEM Part Supersession History
12708802, 12683983, 12665348→12723306— Standard part revision and consolidation by the manufacturer.
Helpful Videos
Used OEM Parts in Stock

New Aftermarket Parts Available


The information in this article is provided for general reference and educational purposes only. Vehicle specifications, procedures, and part compatibility can vary by production date, trim level, and region. Always consult your vehicle's factory service manual and verify part numbers before purchasing or performing repairs. Safety-critical components such as airbags, seat belts, and braking systems should be installed by a qualified professional.
- Chevrolet SILVERADO:
- 🎬 Helpful Videos
- 🛍️ Shop This Part
- What's Unique About the 2017-2017 Chevrolet SILVERADO
- Diagnostic Flowchart
- Symptoms You May Notice
- Most Likely Causes
- Rare But Worth Checking
- Diagnosis Steps
- Parts You'll Likely Need
- Related Codes That Often Appear With This One
- Technical Service Bulletins (TSBs) & Recalls
- Platform-Specific Known Issues
- Mechanic-Grade Diagnostic Values
- Scan Tool Commands That Help
- Wiring & Ground Locations
- Real Owner Repair Stories
- "I Checked Everything" — The Actual Cause
- OEM Part Supersession History
- 🎟️ Get 5% Off