

P0205 on 2009-2014 Buick Enclave: Injector Circuit Malfunction Causes and Fixes
P0205 on a Buick Enclave indicates an electrical fault with the cylinder 5 fuel injector. The most common causes are a damaged wiring harness chafing against the engine, or a failed fuel injector. Inspect the injector wiring harness thoroughly, as per GM TSB #PIP4924D, before replacing parts. Cylinder 5 is on the rear bank (near the firewall), middle cylinder.
- P0205 means there's an electrical problem with the cylinder 5 fuel injector circuit.
- Before buying any parts, thoroughly inspect the injector wiring harness for damage, as this is a known weak point on the 2009-2014 Enclave.
- Cylinder 5 is on the front bank (near the radiator), making it easier to access than the rear cylinders.
- A simple 'noid light' test can quickly tell you if the wiring and computer are sending a signal to the injector.
- If the wiring is good, the fuel injector itself is the next most likely part to have failed.
What's Unique About the 2009-2014 Buick ENCLAVE
The 2009-2014 Enclave uses the 3.6L LLT V6 with direct injection (SIDI). While the code itself is standard, General Motors has issued a Technical Service Bulletin (TSB #PIP4924D) that specifically highlights a known issue on this platform and its mates (like the Traverse and Acadia). The fuel injector wiring harness is prone to rubbing through its insulation at several common points, causing a short or open circuit that triggers codes like P0205. This makes a thorough wiring inspection a critical first step, potentially saving you from buying an injector you don't need. Accessing the rear bank of injectors where cylinder 5 is located requires removing the intake manifold, making diagnosis more labor-intensive.
Diagnostic Flowchart
Tap your situation to follow the diagnostic path that matches what you're seeing on this vehicle.
Symptoms You May Notice
- Check Engine Light is on (may be flashing if misfire is severe)
- Rough or unstable idle
- Engine misfire, which may feel like a shudder or stumble
- Hesitation and loss of power during acceleration
- Reduced fuel economy
- Engine may stall
- A raw fuel smell from the exhaust
- Replacing the fuel injector without first thoroughly inspecting the wiring harness. Due to the known TSB, the wiring is a very common culprit and checking it first can save money and time, especially given the labor required to remove the intake manifold for access.
Most Likely Causes
- Damaged Fuel Injector Wiring Harness 🔴 High Probability A GM Technical Service Bulletin (PIP4924D) specifically identifies this as a common problem across many GM models with the 3.6L engine. The harness can chafe against the intake plenum, at valve cover bolts, against a fuel line, or on the side of the cylinder head under the plenum, leading to an open or shorted wire.
How to confirm: Visually inspect the entire length of the wiring harness leading to the cylinder 5 injector. This requires removing the upper intake manifold for access. Look for any signs of rubbing, melted plastic, or exposed copper wires. Pay close attention to the contact points mentioned in the TSB. You can also perform a continuity test on the two wires between the ECM connector and the injector connector. Resistance should be less than 1 ohm.
Typical fix: Repair the damaged section of wire using a solder and heat-shrink butt connector. If the damage is extensive or near the connector, replace the connector pigtail. In severe cases, the entire injector harness may need replacement.
Est. part cost: $10-$50 for repair materials, $100-$200 for a new harness - Failed Fuel Injector 🟡 Medium Probability Direct injection (SIDI) fuel injectors operate under very high pressure and can fail electrically over time. The internal coil winding can develop an open or a short, leading to an out-of-spec resistance reading.
How to confirm: After gaining access to the injector, check its resistance with a multimeter. Disconnect the injector and measure the resistance between its two electrical terminals. The typical specification for this GM GDI injector is between 1.2-1.8 ohms. A reading of infinity (open) or near-zero (short) indicates a bad injector. The most definitive test is to swap the cylinder 5 injector with another cylinder (e.g., cylinder 3, also on the rear bank). Clear the codes and run the engine. If the trouble code moves to the new cylinder (e.g., P0203), the injector is faulty.
Typical fix: Replace the failed fuel injector. It is often recommended to replace all injectors on the same bank (or all six) if they are high mileage, as others may fail soon. New Teflon seals are required for installation.
Est. part cost: $70-$150 per injector - Loose or Corroded Injector Connector ⚪ Low Probability
How to confirm: Once the intake is removed, disconnect the electrical connector at the cylinder 5 fuel injector. Inspect the terminals on both the injector and the connector side for any signs of corrosion (green or white powder), moisture, or backed-out pins. Ensure the connector clicks securely into place.
Typical fix: Clean the terminals with an electrical contact cleaner and a small brush. Apply a small amount of dielectric grease to the connector seal before reconnecting. If the connector is damaged or won't stay secure, replace the connector pigtail.
Est. part cost: $10-$30 for a new pigtail connector
Rare But Worth Checking
- Faulty Powertrain Control Module (PCM): This is the least likely cause and should only be considered after all other possibilities (wiring, injector) have been definitively ruled out. A failed injector driver inside the PCM is rare but can happen. This would typically require sending the PCM for testing and repair or replacement.
Diagnosis Steps
- Read the code with an OBD-II scanner and confirm P0205 is present. Note any other codes, like P0305, and review freeze-frame data.
- Plan for Intake Manifold Removal: Accessing cylinder 5 and its wiring on the rear bank requires removing the upper intake manifold. This is a necessary step for most diagnostic procedures.
- Perform a thorough visual inspection of the fuel injector wiring harness for cylinder 5, as detailed in TSB PIP4924D. Check for chafing against the intake, valve covers, fuel lines, and cylinder head. Wiggle the harness while the engine is running (if possible before disassembly) to see if the misfire changes.
- Inspect the electrical connector at the cylinder 5 injector for corrosion, damage, or a loose fit. Ensure it is securely connected.
- Use a 'noid light' to test the injector circuit. With the intake removed, unplug the injector, plug in the noid light, and have a helper crank the engine. The light should flash steadily. If it's off, there's an open in the circuit. If it's on constantly, there's a short to ground.
- If the noid light test is inconclusive, test the injector itself. Turn off the engine, disconnect the injector, and measure its internal resistance with a multimeter. It should be between 1.2-1.8 ohms for the GDI injectors in the LLT engine. An out-of-spec reading means the injector has failed.
- As a final confirmation, swap the cylinder 5 fuel injector with an adjacent one on the same bank (like cylinder 3). Reassemble the intake, clear the codes, and run the engine. If the code changes to P0203, the injector is confirmed to be the problem. If P0205 returns, the issue is in the wiring or PCM.
- If the injector is good, perform a continuity check on the two wires from the injector connector back to the main ECM connector to find the open or short in the harness.
- If all wiring and the injector are confirmed to be good, the final step is to suspect a faulty PCM driver, which typically requires professional diagnosis and replacement/reprogramming.
Parts You'll Likely Need
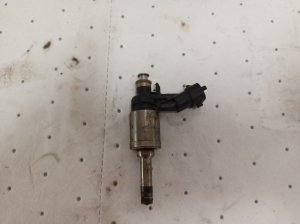
- Fuel Injector
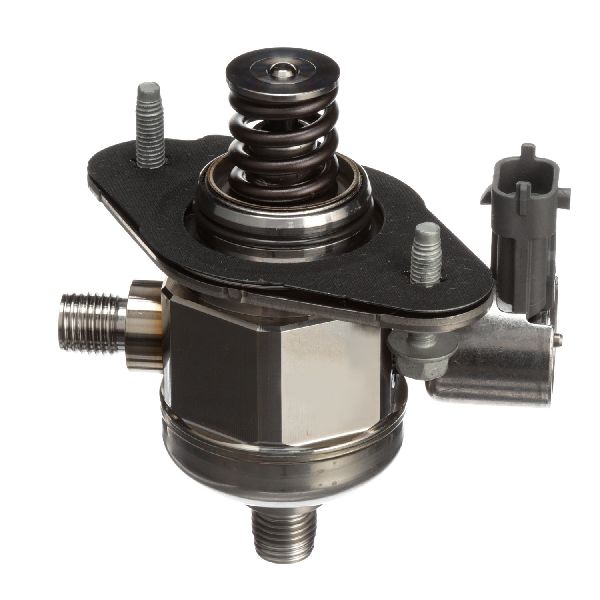
(OEM #12638530 (superseded by 12669384 for 2009-2011), 12634126 (for 2012-2014))— This is the second most likely cause after a wiring issue. The injector's internal electronics can fail, causing the circuit fault.
Trusted brands: ACDelco, Bosch, Standard Motor Products
OEM price range: $120-$180
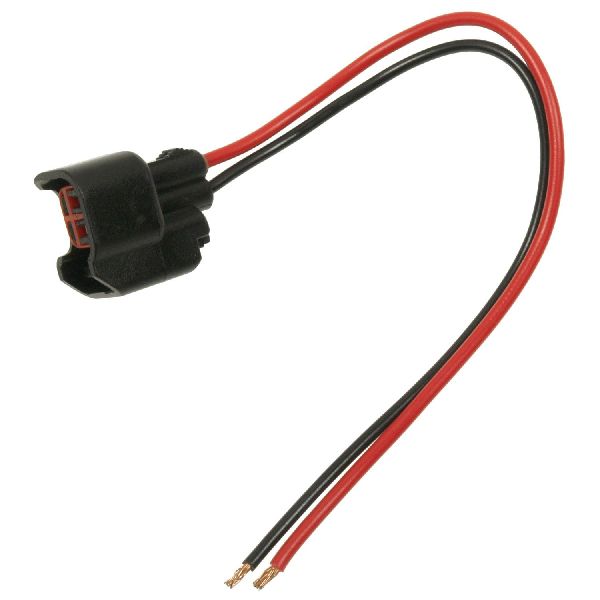
Aftermarket price range: $70-$130 - Fuel Injector Connector Pigtail
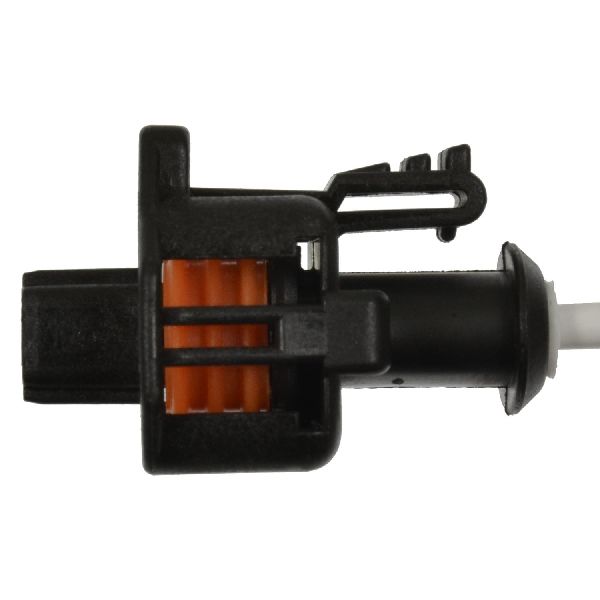
(OEM #ACDelco PT2183 (check application))— If the connector itself is corroded, melted, or the locking tab is broken, it will cause a poor connection and trigger the code. It's also used to repair a harness with damage close to the connector.
Trusted brands: ACDelco, Dorman
OEM price range: $25-$40
Aftermarket price range: $10-$25 - Intake Manifold Gasket Set
(OEM #ACDelco 12607401 (Upper))— Required for reinstallation of the intake manifold after accessing the rear bank of injectors for diagnosis or replacement.
Trusted brands: ACDelco, Fel-Pro
OEM price range: $20-$40
Aftermarket price range: $10-$25
Related Codes That Often Appear With This One
- P0305 — P0305 means 'Cylinder 5 Misfire Detected'. Since P0205 indicates an electrical problem with the injector, it will fail to deliver fuel, directly causing a misfire in that cylinder.
- P0300 — This code means 'Random/Multiple Cylinder Misfire Detected'. If the wiring harness issue is intermittent or is affecting a common power or ground for multiple injectors, it can cause misfires on more than just cylinder 5.
- P2149, P2152, P2155 — These are codes for injector group 'B' (Bank 2) or other injector banks. If the wiring harness chafing is severe, it can short multiple injector circuits together, causing codes for the entire bank to appear. TSB PIP4924D lists these as related codes.
Technical Service Bulletins (TSBs) & Recalls
- PIP4924D: Addresses a Service Engine Soon light and misfire with various injector codes (including P0205). Recommends carefully inspecting the fuel injector wiring harness for rubbing or open wires at common chafe points like the intake plenum, valve cover bolts, and fuel lines.
Platform-Specific Known Issues
- A known issue documented in GM TSB #PIP4924D involves the fuel injector wiring harness chafing against engine components, leading to an open or short circuit. This is a primary diagnostic checkpoint for any P020x codes on this vehicle.
- Access to cylinder 5 (rear bank, middle) requires the removal of the upper intake manifold, adding significant labor time to the diagnosis and repair compared to front-bank cylinders.
Mechanic-Grade Diagnostic Values
- Fuel Injector Coil Resistance (3.6L LLT GDI) — expected: 1.2 - 1.8 Ohms. Failure: A reading of 0 Ohms (short) or OL/infinity (open) indicates a failed injector.
- Injector Circuit Voltage (Key On, Engine Off) — expected: ~12 Volts (Battery Voltage). Failure: Low or no voltage at the injector connector's power feed wire points to a wiring issue upstream, not a faulty injector.
- Injector Pulse Width (at idle) — expected: 2 - 4 milliseconds (ms). Failure: A value of 0 ms for cylinder 5 while other cylinders show normal pulse widths indicates the ECM is not commanding the injector to fire, pointing to a wiring or ECM driver issue.
Scan Tool Commands That Help
- GDS2 (GM Global Diagnostic System 2): Injector Balance Test — This bidirectional test is used to functionally check an injector when wiring and resistance tests are inconclusive. The tool commands each injector to fire and measures the corresponding drop in fuel rail pressure. A minimal or no pressure drop for cylinder 5 compared to others confirms a non-functioning injector or a complete circuit failure.
- GDS2 / AFIT (Active Fuel Injector Tester): Automated Injector Test — This is a more advanced functional test recommended in GM service bulletins for diagnosing injector issues. The tool performs an automated test, measures pressure drop, and provides a 'GOOD' or 'BAD' result for each injector, which is highly effective for isolating a faulty injector.
Wiring & Ground Locations
- Cylinder 5 Injector Control Pin — Pin J2-49 (Light Green/White wire) on the X2 connector of the Engine Control Module (ECM).. This is the specific control wire that the ECM uses to pulse the cylinder 5 fuel injector. Testing for continuity between this pin and the injector connector is the definitive way to confirm if the control wire is open or shorted.
- G113 — Located on the left side of the engine, at the engine-to-transmission stud.. This is a primary ground location for the Engine Control Module (ECM). A loose or corroded ground here can cause a host of erratic engine management issues, including injector circuit codes.
- G101 — Located on the left side of the engine compartment, on the left frame rail.. This ground point also serves the Engine Control Module (ECM). Verifying it is clean and tight is a crucial step when diagnosing any electrical fault related to the ECM.
Real Owner Repair Stories
- Acadia Forum user (2010 GMC Acadia (sister vehicle with same 3.6L LLT engine)) — Check Engine Light with codes P0205 and P0305 (Cylinder 5 injector circuit and misfire).
❌ Tried (didn't work) Initially suspected a bad fuel injector.
✅ What actually fixed it The wiring harness had chafed through on a bracket near the transmission, causing the wires for the cylinder 5 injector to short out. The user repaired the damaged wires, which resolved both codes.
OEM Part Supersession History
12638530→12669384— Standard part revision and update by the manufacturer.
Heads up: This part number is specific to the 2009-2011 Buick Enclave with the LLT engine.12634126→N/A— This is the correct part for the later model years of this generation.
Heads up: This injector is for the 2012-2014 models and should not be mixed with the earlier 12638530 injectors, as they may have different flow characteristics.
Model Year Variations Within This Range
- 2009-2011 vs 2012-2014: The OEM part number for the fuel injectors changed starting with the 2012 model year. 2009-2011 models use injector #12638530 (or its successor #12669384), while 2012-2014 models use injector #12634126. While physically similar, they should not be interchanged.
- 2009: The 2009 model year marked the introduction of the direct-injected (SIDI) LLT V6, which produced 288 hp, an increase from the 275 hp of the 2008 model's port-injected LY7 engine. All vehicles in the 2009-2014 range share this LLT engine platform.
Helpful Videos
Used OEM Parts in Stock


New Aftermarket Parts Available


The information in this article is provided for general reference and educational purposes only. Vehicle specifications, procedures, and part compatibility can vary by production date, trim level, and region. Always consult your vehicle's factory service manual and verify part numbers before purchasing or performing repairs. Safety-critical components such as airbags, seat belts, and braking systems should be installed by a qualified professional.
- Buick ENCLAVE:
- 🎬 Helpful Videos
- 🛍️ Shop This Part
- What's Unique About the 2009-2014 Buick ENCLAVE
- Diagnostic Flowchart
- Symptoms You May Notice
- Most Likely Causes
- Rare But Worth Checking
- Diagnosis Steps
- Parts You'll Likely Need
- Related Codes That Often Appear With This One
- Technical Service Bulletins (TSBs) & Recalls
- Platform-Specific Known Issues
- Mechanic-Grade Diagnostic Values
- Scan Tool Commands That Help
- Wiring & Ground Locations
- Real Owner Repair Stories
- OEM Part Supersession History
- Model Year Variations Within This Range
- 🎟️ Get 5% Off