

P0171 on 2011-2020 Dodge Journey 3.6L V6: Causes and Fixes for System Too Lean
P0171 on a Dodge Journey 3.6L most often means a vacuum leak from a failed PCV valve or intake manifold gaskets. A PCV valve is a cheap, easy fix (~$25), while intake gaskets are a more involved job often done for $200-$500+ at a shop. Before replacing parts, check for hard-to-see leaks with a smoke test.
- P0171 on the Dodge Journey 3.6L is almost always a vacuum leak.
- The two most likely culprits are the PCV valve and the intake manifold gaskets.
- Always perform a smoke test to accurately diagnose the source of the leak before replacing parts.
- If your Journey is a 2011 or 2012 model, be prepared to buy an updated hose if you are replacing the PCV valve.
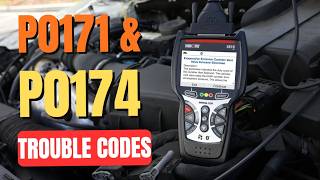
- If you have both P0171 and P0174 codes, it's a strong indicator of a major vacuum leak affecting the whole engine.
What's Unique About the 2009-2020 Dodge Journey
The 3.6L Pentastar V6 in the Journey is notorious for a few common failure points that directly cause the P0171 code. The PCV valve and the lower intake manifold gaskets are extremely frequent culprits for creating vacuum leaks. While these parts can fail on any engine, they are a particularly common owner complaint on this platform and its many platform mates. Early model years (2011-2012) may also have a specific PCV valve design that requires an updated hose if replaced with the newer part.
Generation note: The Dodge Journey (JC platform) had one generation, but the 3.6L V6 engine was only available from the 2011 to 2020 model years. The 2009-2010 models used different engines and this guide does not apply to them. There was a minor change to the PCV valve design around 2013, but otherwise, the causes and fixes for P0171 are consistent for all 2011-2020 3.6L models.
Symptoms You May Notice
- Check Engine Light is on
- Rough or unstable idle, sometimes stalling at stop lights
- Hesitation or stumbling during acceleration
- Reduced engine power and poor throttle response
- Noticeable decrease in fuel economy
- A whistling or hissing sound from the engine bay, indicating a vacuum leak.
- Replacing the oxygen sensor first. The O2 sensor is often just the messenger reporting the lean condition caused by a vacuum leak. Always rule out vacuum leaks (especially intake gaskets) and fuel delivery issues before replacing sensors.
Most Likely Causes
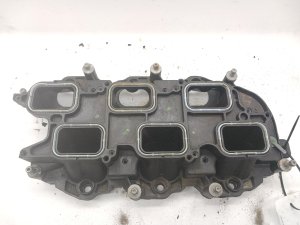
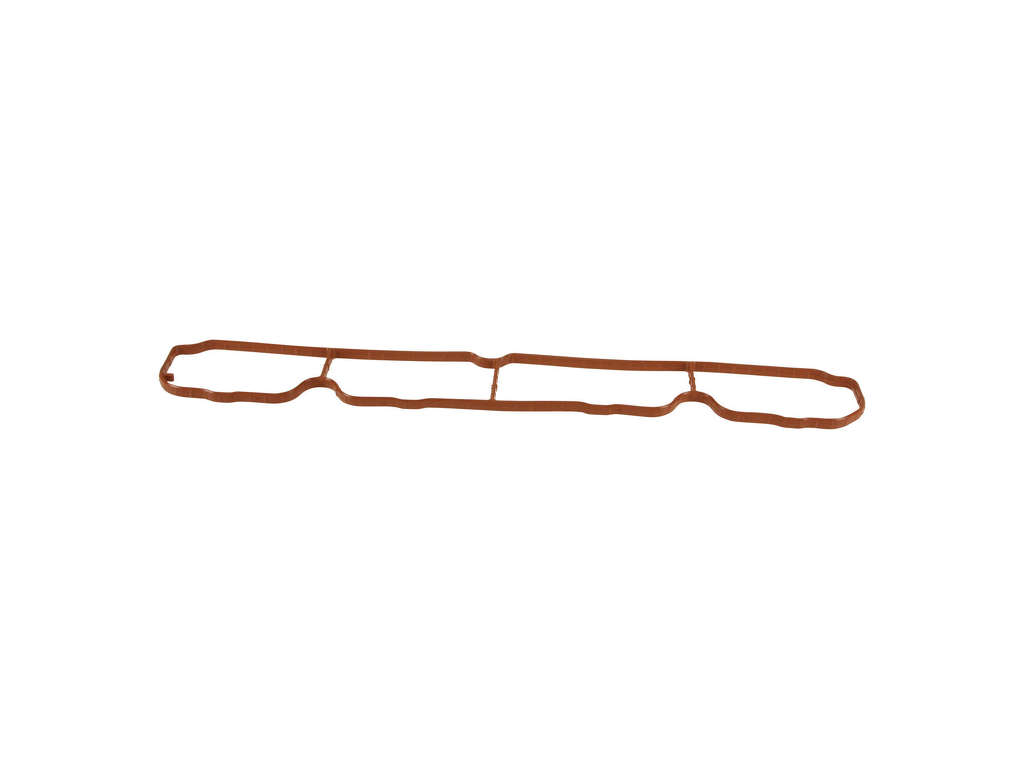
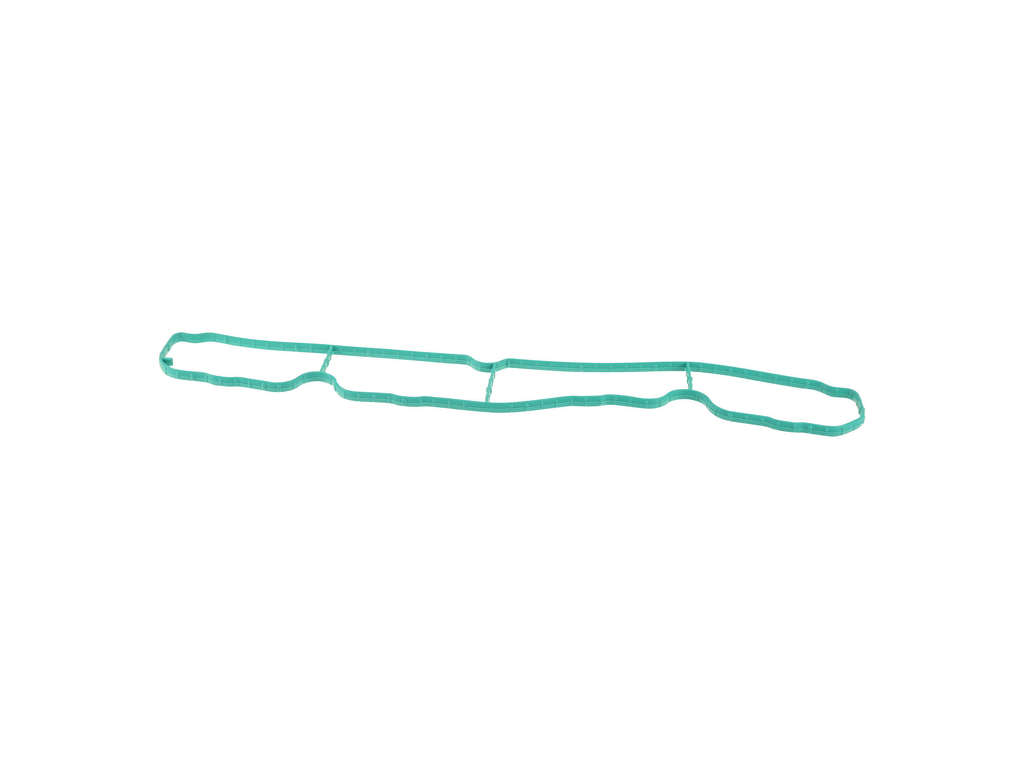
- Leaking Intake Manifold Gaskets 🔴 High Probability The lower intake manifold gaskets on the 3.6L V6 are a known weak point made of rubber that hardens, flattens, and cracks from heat over time. This is arguably the most common cause of P0171/P0174 on high-mileage Pentastar engines.
How to confirm: The most reliable method is to perform a smoke test on the intake system. A mechanic can spray smoke into the intake, and if it leaks out from around the manifold base, the gaskets have failed. A less reliable but common DIY method is to spray brake cleaner or a propane torch (unlit) around the gasket area with the engine idling; a change in engine RPM indicates a leak.
Typical fix: Replace both the upper and lower intake manifold gaskets. This is a labor-intensive job but common for DIYers. 🎬 Watch this walkthrough for removing the intake manifold. It's also a good time to inspect/clean the throttle body and intake ports.
Est. part cost: $30-$80 - Failed PCV Valve 🔴 High Probability The PCV valve is a very common failure item on the 3.6L Pentastar engine. It can get stuck open, creating a significant and constant vacuum leak that the system cannot compensate for.
How to confirm: Inspect the PCV valve and its connecting hoses for cracks, damage, or looseness. With the engine running, a strong suction or loud hissing from the valve indicates it may be stuck open. A failing PCV can also cause oil consumption.
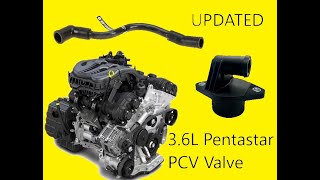
Typical fix: Replace the PCV valve and any damaged hoses. Note that 2011-2012 models may require an updated hose (05184832AC) to fit the newer style replacement valve (05184834AC). 🎬 Watch: How to replace the PCV valve with updated parts.
Est. part cost: $20-$50 - Cracked Oil Filter Housing/Cooler 🟡 Medium Probability This plastic assembly sits in the engine valley, under the intake manifold. It is extremely common for it to crack from heat, causing oil and coolant leaks. While primarily a leak issue, a significant crack could potentially create a vacuum leak into the crankcase, contributing to lean conditions.
How to confirm: Check for oil or coolant pooling in the engine valley beneath the intake manifold. Since the intake manifold must be removed to replace this part, it's often misdiagnosed as only an intake gasket leak.
Typical fix: Replace the entire oil filter housing assembly. Since the intake manifold must be removed for this job, the intake gaskets should always be replaced at the same time.
Est. part cost: $100-$200 - Other Vacuum Leaks 🟡 Medium Probability Rubber hoses and plastic fittings become brittle and crack over time due to heat and age. The brake booster hose and other small vacuum lines connected to the intake manifold are common suspects.
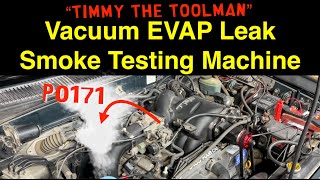
How to confirm: Visually inspect all vacuum lines connected to the intake manifold for cracks or disconnections. A smoke test is the most effective method for finding small, hard-to-see leaks. 🎬 See how to perform a smoke test for vacuum leaks.
Typical fix: Replace the specific cracked or broken hose.
Est. part cost: $10-$60 - Faulty Upstream Oxygen Sensor (Bank 1, Sensor 1) ⚪ Low Probability While O2 sensors more often report a problem than cause it, a failing sensor can become 'lazy' or biased, incorrectly reading a lean condition when one doesn't exist. However, this should be one of the last parts to check.
How to confirm: Use a diagnostic scan tool to observe the O2 sensor's voltage readings. A healthy sensor will fluctuate rapidly between approximately 0.1V and 0.9V. A sensor that is slow to respond or stuck at a low voltage may be faulty.
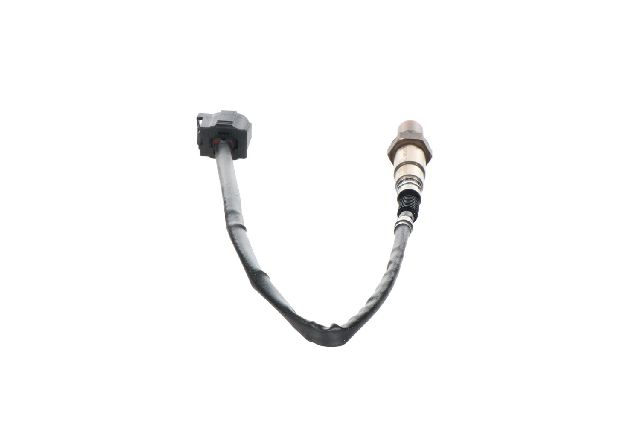
Typical fix: Replace the Bank 1, Sensor 1 (upstream) oxygen sensor. This sensor is on the rear cylinder bank, closer to the firewall.
Est. part cost: $50-$120
Rare But Worth Checking
- Low Fuel Pressure: Could be caused by a weak fuel pump or a clogged fuel filter. This would typically affect both engine banks and be accompanied by code P0174 (Bank 2 Lean). A fuel pressure test is needed to confirm.
- Dirty or Clogged Fuel Injectors: If an injector on Bank 1 is not delivering enough fuel, it can cause a lean condition on that bank. This is less common than vacuum leaks and may be accompanied by a misfire code for a specific cylinder.
Diagnosis Steps
- Check for other stored trouble codes. If P0174 is also present, focus on causes that affect both banks, like intake gaskets or the PCV system.
- Use a scan tool to monitor short-term (STFT) and long-term (LTFT) fuel trims for Bank 1. High positive numbers (e.g., LTFT > +15%) confirm the computer is adding significant fuel to correct a lean condition.
- Perform a smoke test. This is the most effective and professional way to find hard-to-see vacuum leaks from intake gaskets, PCV hoses, or other cracked lines.
- With the engine running, listen for hissing or whistling sounds that could indicate a vacuum leak.
- Visually inspect the air intake system, PCV valve, and all visible vacuum hoses for cracks, damage, or loose connections.
- If no vacuum leaks are found, test the fuel pressure to ensure the fuel pump is delivering adequate pressure according to factory specifications.
- If fuel pressure is good, analyze the performance of the Bank 1 upstream O2 sensor with a scan tool. Compare its readings to the Bank 2 sensor to spot anomalies.
Parts You'll Likely Need
- Intake Manifold Gasket Set (Upper & Lower)
(OEM #5184331AC (Lower), 5184562AC (Upper))— These gaskets are a very common failure point and a leading cause of vacuum leaks and P0171/P0174 codes on this engine.
Trusted brands: Mopar, Fel-Pro (P/N: MS 97204), Mahle, Victor Reinz
OEM price range: $50-$90
Aftermarket price range: $30-$60 - PCV Valve
(OEM #05184834AC (for 2013+), requires hose 05184832AC if updating from 2011-2012 style)— This is a very common failure point on the 3.6L Pentastar engine that directly causes a vacuum leak and a P0171 code.
Trusted brands: Mopar, Dorman
OEM price range: $25-$40
Aftermarket price range: $15-$30 - Upstream Oxygen Sensor (Bank 1, Sensor 1)
(OEM #5149171AA (Verify with VIN))— Though less common to be the root cause, a faulty O2 sensor can trigger the code if all vacuum and fuel system checks pass.
Trusted brands: Mopar, Denso, NGK, Bosch
OEM price range: $80-$150
Aftermarket price range: $50-$100
Related Codes That Often Appear With This One
- P0174 — System Too Lean (Bank 2). If both P0171 and P0174 are present, it strongly suggests a large vacuum leak that is affecting the entire engine, not just one bank. Common culprits are the intake manifold gaskets, PCV valve, or a cracked air intake tube.
- P0300 — Random/Multiple Cylinder Misfire Detected. A significant vacuum leak can lean out the mixture so much that it causes cylinders to misfire, especially at idle. It's common to see P0300 alongside P0171/P0174.
Technical Service Bulletins (TSBs) & Recalls
- TSB 09-008-15:
Platform-Specific Known Issues
- The PCV valve for 2011-2012 models is a three-bolt design that is reportedly no longer available. The fix is to use the newer two-bolt valve from 2013+ models along with the corresponding updated hose.
- When replacing the intake manifold gaskets, it is highly advisable to inspect the oil filter housing assembly located in the engine valley for cracks or leaks, as this is a very common failure point that requires removing the intake manifold to service.
Mechanic-Grade Diagnostic Values
- Fuel Pressure (at fuel rail) — expected: 400 kPa +/- 14 kPa (58 psi +/- 2 psi). Failure: Pressure below this range indicates a weak fuel pump or clogged filter; pressure above indicates a faulty regulator.
- Fuel Injector Resistance — expected: Approximately 12-14 Ohms. Failure: A reading of infinity (OL) indicates an open circuit (bad injector), while a reading near zero indicates a short.
- Fuel Injector Pulse Width (at hot idle) — expected: 2.0 - 4.0 milliseconds (ms). Failure: A value significantly different from the other injectors on the same bank can indicate a faulty injector or a wiring issue.
- Upstream O2 Sensor Voltage — expected: Rapidly fluctuating between ~0.1V and ~0.9V. Failure: A sensor that is slow to respond, stuck at a low voltage (<0.2V), or has a high bias voltage can indicate a faulty sensor or wiring issue.
- O2 Sensor Signal Wire to Ground Resistance — expected: Above 100 Ohms. Failure: Resistance below 100 Ohms indicates a short to ground in the signal circuit, which would cause a false low voltage reading.
Scan Tool Commands That Help
- wiTECH or equivalent high-end scan tool: Fuel System Test — This function can be used to actuate the fuel pump while monitoring a mechanical pressure gauge, allowing a technician to verify pump performance and check for pressure decay without the engine running.
- wiTECH or equivalent high-end scan tool: Reset Fuel Trim Adaptives — After a repair for a lean or rich condition is completed (e.g., replacing intake gaskets), this function should be used to clear the long-term fuel trim values stored in the PCM. This forces the computer to relearn the fuel strategy immediately with the new, correct conditions.
Wiring & Ground Locations
- G101 — Located at the left end of the dash.. This is a major chassis ground point. While not directly for the O2 sensors, poor grounding here can introduce electrical noise and affect various modules, including the PCM.
- O2 Sensor 1/1 (Bank 1 Upstream) Wiring — Runs from the sensor on the rear exhaust manifold, up the back of the engine, to the Powertrain Control Module (PCM) on the left side of the engine compartment.. The signal wire (typically K41 circuit) is critical. A short to ground on this wire will cause a constant low voltage reading, tricking the PCM into thinking the engine is running lean. The harness should be inspected for chafing, especially against the back of the cylinder head.
- Fuel Pump Module Connector — Located on the top left side of the fuel tank.. Corrosion or a poor connection at this point can cause low voltage to the fuel pump, resulting in reduced fuel pressure and a lean condition.
Real Owner Repair Stories
- Ford Truck Enthusiasts Forum (2013 E350 with 6.8L V10 (Note: Different vehicle, but identical diagnostic principle for P0171/P0174)) — Check Engine Light with rough idle and stalling.
❌ Tried (didn't work) Visual inspection of PCV valve and hose., Visual inspection of intake boot., Spraying carb cleaner around the throttle body to find a leak.
✅ What actually fixed it A hissing noise was heard from the rear of the engine. The cause was a small hole in a rubber plug over an unused vacuum tube on the throttle body. Covering the hole with a finger immediately smoothed the idle. The plug had deteriorated from heat. - Jeep Wrangler Forum (2020 Jeep Wrangler (JL) with 3.6L, 80k miles) — P0171 and P2096 codes, rough idle, blinking check engine light at highway speed.
❌ Tried (didn't work) Replacing Bank 1 coil packs and spark plugs., Replacing the upstream O2 sensor., Performing a hard reset on the ECU (problem returned).
✅ What actually fixed it The user was advised by another forum member that the likely fix was to replace the right downstream O2 sensor, check/tighten the valve cover gasket, and reset the fuel trim adaptives. While the original poster did not confirm the fix, this combination points to a common pattern where a downstream sensor or a small, hard-to-find leak is the ultimate culprit after common items are replaced.
"I Checked Everything" — The Actual Cause
- A leaking brake booster diaphragm can cause a significant vacuum leak that will not be found with a standard intake smoke test. This can be diagnosed by listening for a hiss from the driver's footwell or by pinching off the vacuum hose to the booster and observing if fuel trims correct or idle stabilizes.
- A stuck-open EVAP purge valve can allow un-metered fuel vapor and air into the intake, acting as a vacuum leak. This is often missed because the EVAP system is not always included in a standard intake smoke test. A proper diagnosis involves commanding the purge valve shut with a scan tool before performing the smoke test.
- An exhaust leak before the upstream O2 sensor can pull in outside air, causing the sensor to read a false lean condition. This will not be found with an intake smoke test and requires a specific exhaust smoke test or careful visual inspection of the exhaust manifold and gaskets.
OEM Part Supersession History
3-bolt PCV Valve (specific PN not consistently available)→68083202AC or 05184834AC (2-bolt design)— The original 3-bolt design used on early Pentastar engines was prone to failure. It was updated to a more reliable 2-bolt design.
Heads up: When upgrading an early (2011-2013) model from the 3-bolt to the 2-bolt PCV valve, the corresponding updated PCV hose (e.g., 05184832AC) must also be used for proper fitment.
Model Year Variations Within This Range
- 2011-2013: These early 3.6L Pentastar engines were more likely to be equipped with the failure-prone 3-bolt PCV valve design.
- 2014+: These models came from the factory with the updated, more reliable 2-bolt PCV valve design.
Diagnostic Flowchart
Other Known Issues on This Vehicle
Issues unrelated to this code that are worth knowing about as an owner of this generation:
- Rocker Arm / Cam Follower Failure ('Pentastar Tick') 🔴 High — Common, especially on earlier 2011-2016 models, often appearing after 100,000 miles but can occur earlier. Results in a distinct ticking noise from the top of the engine. (Ref: No recall, but a known widespread issue. Class action lawsuits have been filed regarding this problem.)
- Cracked Oil Filter Housing / Cooler Assembly 🟠 Medium — Very common across all 3.6L Pentastar applications. The plastic housing, located in the engine valley, cracks from heat cycles, causing significant oil and/or coolant leaks. (Ref: TSB 09-008-15 provides diagnostic aid for identifying oil pooling in the engine valley from this leak on 2014 models. A seal kit is available for repair as an alternative to full replacement.)
- Left Cylinder Head Failure (Early Models) 🔴 High — Primarily affected 2011-2013 models, causing misfires (P0300, P0302, P0304, P0306) and requiring cylinder head replacement. (Ref: FCA issued a warranty extension (X56) for the left cylinder head on some 2011-2013 models to 10 years/150,000 miles.)
- Transmission Problems (62TE) 🟠 Medium — Complaints of stiff or erratic shifting and, in some cases, premature failure are noted. A 2016 model year recall was issued for a transmission pump that could seize. (Ref: Recall S44 for certain 2016 models. Other TSBs exist for shifting irregularities.)
- Water Pump and Thermostat Housing Leaks 🟠 Medium — The plastic thermostat housing and water pump are common failure points, leading to coolant leaks and potential overheating. This is a frequent issue as the vehicle ages.
Used vs. New Parts: Buying Guide for This Vehicle
When a used part is the smart pick: For this repair, used parts are generally not recommended as the primary failure items (gaskets, PCV valve, O2 sensors) are wear items or inexpensive to buy new. A used intake manifold could be a cost-effective option if the original is physically cracked, but it should be thoroughly inspected and cleaned, and must be installed with new gaskets.
Donor-vehicle mileage cap: roughly under 80000 miles for the part to have meaningful remaining life.
What to inspect on the donor part:
- For an intake manifold, check for any cracks, especially around mounting points and seams.
- Ensure all threaded inserts are intact and not stripped.
- Verify the part is from a vehicle with the same engine and has not been sitting exposed to the elements.
OEM-only on this vehicle (don't cheap out):
- PCV Valve: While aftermarket is available, the cost difference is minimal and OEM Mopar parts have the highest likelihood of correct function and fitment, especially with the model year variations.
Aftermarket brands forum-validated for this vehicle:
- Intake Manifold Gaskets: Fel-Pro is a highly reputable aftermarket brand, and their MS 97204 kit is a well-regarded replacement for the OEM gaskets.
- Oxygen Sensors: NTK (part of NGK) and Denso are often the original equipment suppliers and are considered top-tier replacements. Bosch is also a quality option.
Brands owners have reported issues with on this vehicle:
- Unbranded or 'white box' oxygen sensors. Owners report that cheap O2 sensors can fail to read correctly, causing persistent or new codes even if the part is new.
Real Owner Stories
Aggregated from forums and TSBs cited above. Mileages and costs reflect what owners reported in those sources.
2015 Jeep Grand Cherokee 3.6L (Platform Mate)
Symptoms: The vehicle experienced rough idle and stalling at stop lights.
What fixed it: The issue was traced to hairline cracks in the intake manifold near the throttle body.
Source hint: AliExpress Blogs/User Guides
2011-2020 Dodge Journey 3.6L V6 — ~120000 miles
Symptoms: Check engine light with P0171 and P0300, high fuel trim values (SHRTFT1 up to 19.0), and a significant drop in fuel economy.
What fixed it: Repairing a large vacuum leak, often associated with the intake manifold gaskets or PCV system.
Source hint: Reddit r/MechanicAdvice - Thread titled 'P0171 + P0300 Code That Won't Go Away'
2011-2012 Dodge Journey 3.6L V6
Symptoms: Difficulty finding a replacement PCV valve that matches the original three-bolt design.
What fixed it: Installed the newer style two-bolt replacement valve (05184834AC) along with the required updated hose (05184832AC).
Source hint: Dodge Journey Forum
Related OBD-II Codes
Frequently Asked Questions
I have a 2011 Dodge Journey; why is the replacement PCV valve I bought different from the one on my engine?
Is there a specific gasket brand recommended for the 3.6L Pentastar intake manifold?
Does TSB 09-008-15 apply to my Dodge Journey's lean condition?
My mechanic says my oil filter housing is leaking; could this cause my P0171 code?
Where is the Bank 1 Sensor 1 oxygen sensor located on the Dodge Journey 3.6L V6?
What is the most reliable way to check for intake gasket leaks on this specific engine?
Helpful Videos
Used OEM Parts in Stock


New Aftermarket Parts Available



The information in this article is provided for general reference and educational purposes only. Vehicle specifications, procedures, and part compatibility can vary by production date, trim level, and region. Always consult your vehicle's factory service manual and verify part numbers before purchasing or performing repairs. Safety-critical components such as airbags, seat belts, and braking systems should be installed by a qualified professional.
- Dodge Journey:
- 🎬 Helpful Videos
- 🛍️ Shop This Part
- What's Unique About the 2009-2020 Dodge Journey
- Symptoms You May Notice
- Most Likely Causes
- Rare But Worth Checking
- Diagnosis Steps
- Parts You'll Likely Need
- Related Codes That Often Appear With This One
- Technical Service Bulletins (TSBs) & Recalls
- Platform-Specific Known Issues
- Mechanic-Grade Diagnostic Values
- Scan Tool Commands That Help
- Wiring & Ground Locations
- Real Owner Repair Stories
- "I Checked Everything" — The Actual Cause
- OEM Part Supersession History
- Model Year Variations Within This Range
- Diagnostic Flowchart
- Other Known Issues on This Vehicle
- Used vs. New Parts: Buying Guide for This Vehicle
- Real Owner Stories
- 2015 Jeep Grand Cherokee 3.6L (Platform Mate)
- 2011-2020 Dodge Journey 3.6L V6 — ~120000 miles
- 2011-2012 Dodge Journey 3.6L V6
- Related OBD-II Codes
- Frequently Asked Questions
- 🎟️ Get 5% Off