

P0167 on 2013-2016 Land Rover Range Rover: O2 Sensor Heater Fault Causes and Fixes
On a 2013-2016 Range Rover, code P0167 almost always means the rearmost oxygen sensor on the driver's side (Bank 2, Sensor 3) has a failed internal heater. Land Rover issued bulletins stating these sensors are prone to failure from 'thermal shock,' often caused by water splashing onto the hot sensor. Replacing the sensor (Part No. LR035747) is the definitive fix.
- P0167 on a 2013-2016 Range Rover points to a problem with the heater in the rearmost O2 sensor on the driver's side.
- This is a known issue acknowledged by Land Rover; the sensor itself is the most likely part to have failed due to 'thermal shock' from water.
- Driving with this code is safe, but you should get it fixed to pass emissions and maintain optimal fuel economy.
- Before replacing the sensor, always perform a quick visual check of the wiring for obvious damage and verify the relevant fuse is intact.
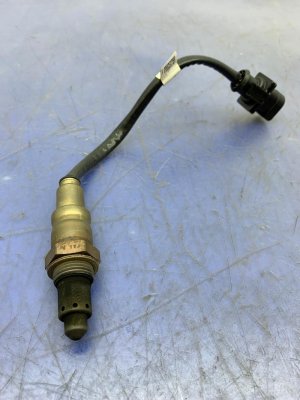
- Ensure you are replacing the correct sensor: Bank 2 (driver's side), Sensor 3 (rearmost). Using a quality Bosch aftermarket sensor is a common, cost-effective repair.
What's Unique About the 2013-2016 Land Rover RANGE ROVER
For the L405 generation Range Rover, Land Rover has specifically acknowledged issues with post-catalyst oxygen sensors. The manufacturer released Technical Service Bulletins (TSBs) indicating that codes like P0167 are often caused by sensor failure due to 'thermal shock' when water from puddles or rain contacts the hot sensor element. The TSBs further note that if the wiring and connectors appear undamaged, the fault is most likely with the sensor itself, making it the primary suspect over other potential causes. In some cases, a PCM software update was also released to address sensor operation and prevent repeat failures.
Diagnostic Flowchart
Tap your situation to follow the diagnostic path that matches what you're seeing on this vehicle.
Symptoms You May Notice
- Check Engine Light is illuminated.
- Failing a vehicle emissions test.
- Potentially a slight decrease in fuel economy over time.
- Rough idle during cold starts, though this is less common.
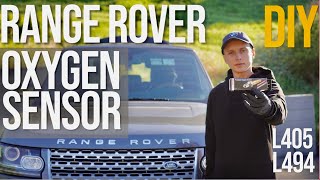
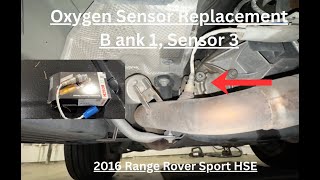
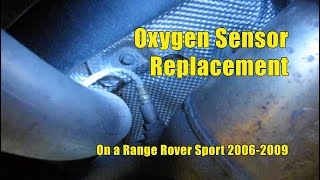
- Replacing the wrong oxygen sensor. The 2013-2016 V8 models can have up to six O2 sensors (three per bank). It is critical to identify Bank 2 (driver's side) and Sensor 3 (the rearmost, post-catalyst sensor) correctly before replacement. 🎬 Watch this complete guide to identifying and replacing all six sensors.
- Assuming an aftermarket sensor won't work. Owners on forums have successfully used high-quality aftermarket sensors, like those from Bosch (who is an OEM supplier), to fix the issue at a lower cost than the dealer part.
Most Likely Causes
- Failed Oxygen Sensor (Bank 2, Sensor 3) 🔴 High Probability As documented in Land Rover TSBs #LTB00671NAS3 and #SSM72448, the post-catalyst oxygen sensors on this platform are highly susceptible to failure from thermal shock. This happens when cold water splashes from the road onto the extremely hot sensor body, causing the internal ceramic heater element to crack. The fault is with the internal heater element.
How to confirm: Unplug the sensor and measure the resistance across the two heater circuit pins (usually same-colored wires) with a multimeter. A typical reading for a good heater is between 2-30 ohms. An infinite reading (OL) indicates an open circuit, while a reading near zero indicates a short. Either confirms a failed sensor. More specifically for post-catalyst sensors on similar Land Rover models, a range of 11.7-14.5 Ohms is cited.
Typical fix: Replace the Bank 2, Sensor 3 oxygen sensor. After replacement, clear the code with a scanner. Some owners report the code returning after a key cycle, which may indicate the need for a software update or further wiring checks.
Est. part cost: $80-$180 - Damaged Wiring or Connector 🟡 Medium Probability The sensor wiring is routed near the hot exhaust system and under the vehicle, making it vulnerable to heat damage, melting, chafing, or corrosion from road salt and moisture. A visual inspection is critical.
How to confirm: Visually inspect the entire wiring harness from the O2 sensor to its connection point. Look for melted plastic, frayed wires, or corroded pins in the connector. Use a multimeter to check for 12V power at the harness-side connector with the key on, engine off.
Typical fix: Repair the damaged section of the wiring harness or replace the connector pigtail.
Est. part cost: $15-$50 - Blown Fuse for Heater Circuit ⚪ Low Probability
How to confirm: Locate the fuse for the O2 sensor heater circuits in the vehicle's fuse box (consult the owner's manual or online diagrams). Visually inspect the fuse or test it for continuity with a multimeter.
Typical fix: Replace the blown fuse. If the new fuse blows immediately, it indicates a short circuit in the wiring or sensor that must be found and rectified.
Est. part cost: $1-$5
Rare But Worth Checking
- Engine Control Module (ECM) Fault: This is extremely rare. The ECM contains driver circuits that control the O2 heaters. While a failure is possible, you must exhaustively rule out the sensor, wiring, and fuses before considering ECM replacement. TSB #SSM72448 specifically points away from this unless all other diagnostics fail, stating if wiring is good, the fault is with the sensor.
Diagnosis Steps
- Confirm the presence of code P0167 with an OBD-II scanner.
- Visually inspect the Bank 2, Sensor 3 oxygen sensor, which is the rearmost sensor on the driver's side exhaust. Check its wiring and connector for any signs of melting, chafing, or corrosion.
- Check the fuse associated with the oxygen sensor heater circuit. Consult the owner's manual for its location and replace if blown.
- If the visual inspection passes, disconnect the sensor's electrical connector.
- Test for power at the harness connector. With the ignition on (engine off), one pin should have battery voltage (approx. 12V).
- Test the resistance of the heater element on the sensor side of the connector (usually across two same-colored wires). A typical reading is 2-30 ohms, with a more specific range for post-catalyst sensors being 11.7-14.5 Ohms. A reading of infinity (OL) or near zero indicates a failed sensor.
- If resistance is out of spec, replace the oxygen sensor. A 22mm O2 sensor socket is recommended. 🎬 See a DIY walkthrough for replacing sensors on the L405 platform.
- If the sensor tests good but there is no power at the harness, trace the wiring back towards the ECM/fuse box to find the break.
- After repair, clear the trouble code and perform a drive cycle, including a key-off/key-on cycle, to ensure the fix was successful and the light does not return. Some systems may require adaptations to be reset with a dealer-level scan tool.
Parts You'll Likely Need
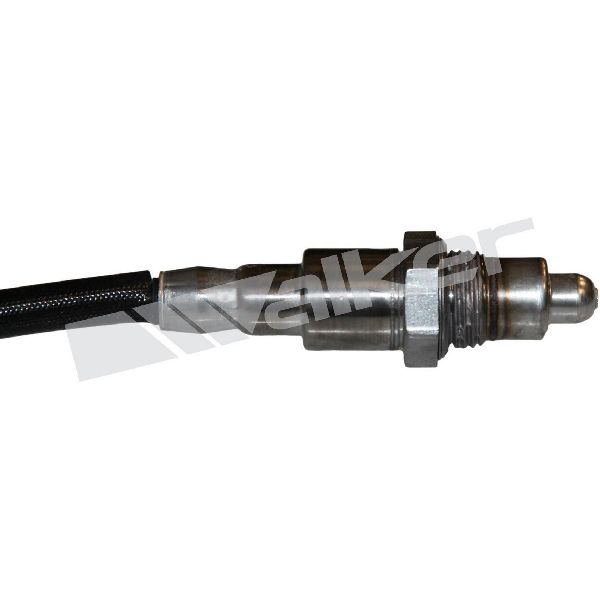
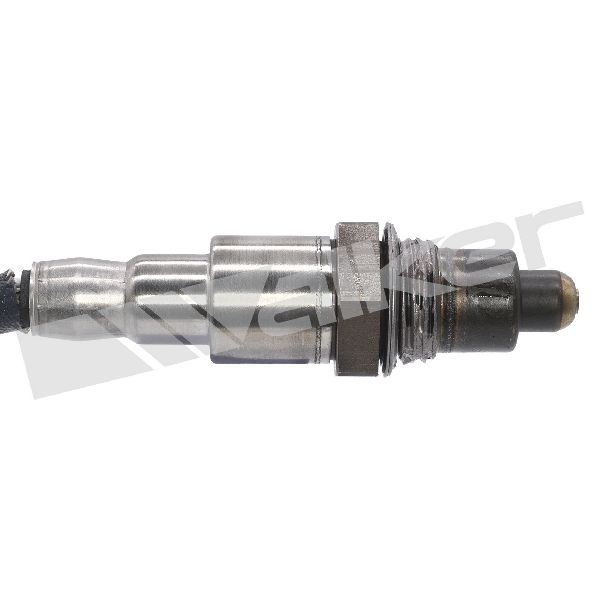
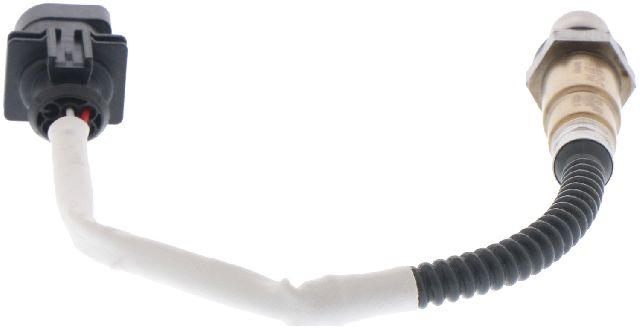
- Rear Oxygen Sensor (Bank 2, Sensor 3)
(OEM #LR035747)— This is the most common failure point for code P0167 on this vehicle, as confirmed by Land Rover TSBs and extensive owner reports.
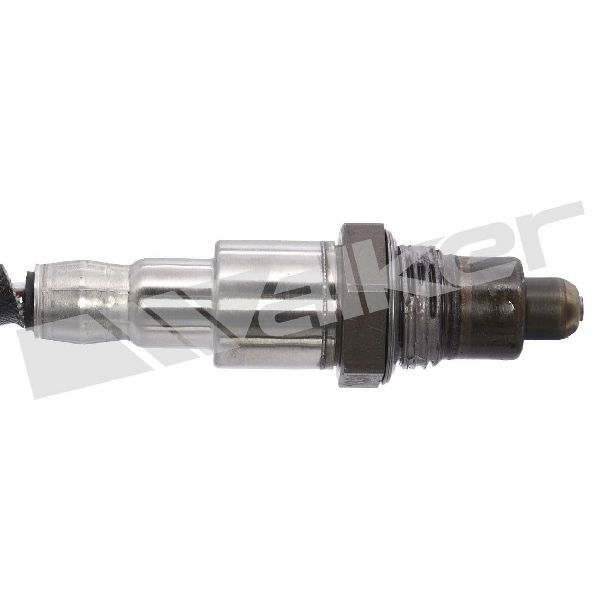
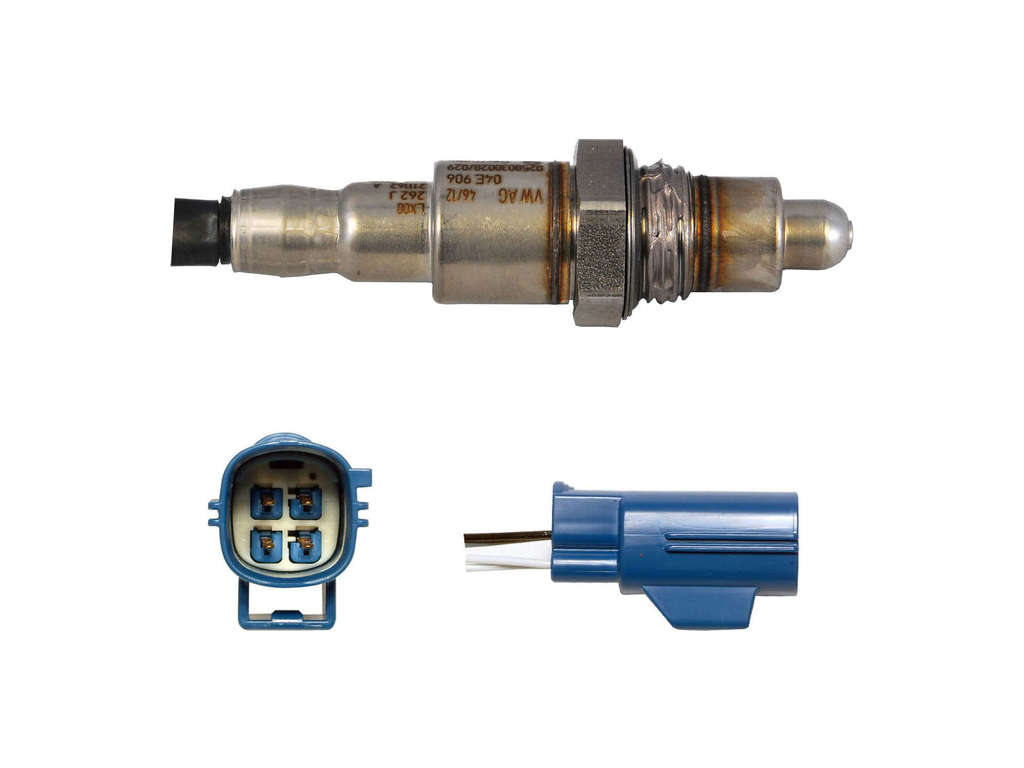
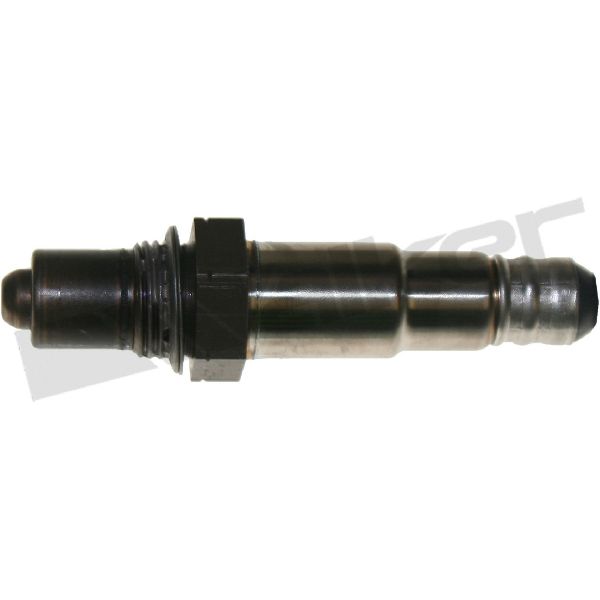
Trusted brands: Bosch (OEM Supplier), Denso, Walker
OEM price range: $100-$180
Aftermarket price range: $40-$120
Related Codes That Often Appear With This One
- P0147 (O2 Sensor Heater Circuit Malfunction Bank 1 Sensor 3)
- P0061, P0062, P0063, P0162, P0163, P0164, P2276, P2277 (Other codes related to Bank 2, Sensor 3).
Technical Service Bulletins (TSBs) & Recalls
- SSM72448 - ENGINE AND ENGINE COOLING (2015-10-15)
- LTB00671NAS3 - ENGINE (2015-04-08)
- LTB00671NAS2 - ENGINE (2013-09-08)
- JTB00392 / K309 (Jaguar Equivalent)
- LTB00873NAS1 (Software Update Service Action)
Platform-Specific Known Issues
- Technical Service Bulletin LTB00671NAS3: Notes that the Malfunction Indicator Lamp (MIL) may be illuminated with code P0167 (and others) stored. The cause is cited as potential 'thermal shock' to the post-catalyst heated oxygen sensors from water contact.
- Technical Service Bulletin SSM72448: States that for a list of O2 sensor codes including P0167, if diagnosis finds no fault with the wiring or connector, the fault is with the sensor itself. It also notes that at the time of writing, the 'root cause' was still under investigation.
- Service Action LTB00873NAS1: A related service action was issued to update the Engine Control Module (ECM) software to improve the operation of the oxygen sensors, which may be required to prevent repeat failures even after sensor replacement.
Mechanic-Grade Diagnostic Values
- O2 Sensor Heater Resistance (Cold) — expected: 11.7-14.5 Ohms for post-catalyst sensors.. Failure: An infinite reading (Open Loop) or near-zero Ohms (short circuit) indicates a failed heater element.
- Heater Circuit Power Supply (Key On, Engine Off) — expected: 11-14 Volts (Battery Voltage). Failure: 0V indicates a blown fuse, bad relay, or an open in the power supply wire.
- Heater Circuit Ground — expected: Good continuity to chassis ground.. Failure: High resistance or an open circuit on the ground wire points to a wiring issue, not a sensor failure.
Scan Tool Commands That Help
- JLR SDD (Symptom Driven Diagnostics): Configure existing module - Powertrain control module — After replacing the physical oxygen sensor, this function may be required to make the Engine Control Module recognize the new component and clear persistent faults, as mentioned in TSBs related to O2 sensor replacement.
- JLR SDD / Pathfinder: Clear Diagnostic Trouble Codes (DTCs) — This is a standard procedure after any repair to turn off the check engine light. The module configuration function will also clear codes as part of its process.
Wiring & Ground Locations
- Bank 2, Sensor 3 Connector — On the driver's side (LHD), the electrical connector for the rearmost O2 sensor is typically attached to a bracket on an underbody crossmember, near the exhaust.. This connector is the primary point for testing voltage, ground, and sensor resistance. Its exposed location under the vehicle makes it susceptible to corrosion and physical damage, which could mimic a sensor failure.
- Heater Circuit Ground Point — While a specific ground point (e.g., Gxxx) for the O2 heater circuit isn't explicitly identified in general searches, Land Rover wiring diagrams show various chassis ground points. The ground for the sensor heater circuit would need to be traced using a specific L405 wiring diagram.. A corroded or loose ground connection for the heater circuit would prevent current flow, causing the heater to fail and triggering code P0167. This would lead to a misdiagnosis if only the sensor is replaced.
OEM Part Supersession History
LR035747→LR098291, then LR140079— Part update/improvement by the manufacturer, likely to address the widespread premature failures from thermal shock and other quality issues mentioned in TSBs.
Heads up: The newer part numbers (LR098291, LR140079) are generally interchangeable with the original for this application.
Helpful Videos

Used OEM Parts in Stock


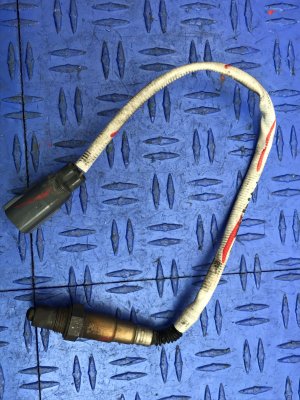


New Aftermarket Parts Available

The information in this article is provided for general reference and educational purposes only. Vehicle specifications, procedures, and part compatibility can vary by production date, trim level, and region. Always consult your vehicle's factory service manual and verify part numbers before purchasing or performing repairs. Safety-critical components such as airbags, seat belts, and braking systems should be installed by a qualified professional.
- Land Rover RANGE ROVER:
- 🎬 Helpful Videos
- 🛍️ Shop This Part
- What's Unique About the 2013-2016 Land Rover RANGE ROVER
- Diagnostic Flowchart
- Symptoms You May Notice
- Most Likely Causes
- Rare But Worth Checking
- Diagnosis Steps
- Parts You'll Likely Need
- Related Codes That Often Appear With This One
- Technical Service Bulletins (TSBs) & Recalls
- Platform-Specific Known Issues
- Mechanic-Grade Diagnostic Values
- Scan Tool Commands That Help
- Wiring & Ground Locations
- OEM Part Supersession History
- 🎟️ Get 5% Off