

P0167 on 2014-2016 Land Rover LR4: O2 Sensor Heater Circuit Fixes
For a 2014-2016 Land Rover LR4, code P0167 almost always means the Bank 2, Sensor 3 oxygen sensor has failed. Manufacturer bulletins confirm this is a common issue, often due to thermal shock from water contacting the hot sensor element. Replacing the sensor, located on the driver's side (North America) after the catalytic converter, is the standard fix.
- P0167 on a 2014-2016 LR4 points directly to the heater circuit for the O2 sensor on Bank 2, Sensor 3.
- Don't waste time on complex wiring diagnostics initially; Land Rover TSBs confirm the sensor itself is the most common failure point.
- The primary cause is often 'thermal shock' from water splashing on the hot sensor, a known issue addressed by Land Rover.
- For 2014-2015 models, replacing the sensor should be paired with an ECM software update to prevent recurrence, per TSB LTB00671NAS3/5.
- The correct sensor is on the driver's side (Bank 2), rearmost in the exhaust (Sensor 3).
What's Unique About the 2014-2016 Land Rover LR4
On this specific Land Rover LR4 platform, the oxygen sensors themselves are the most frequent point of failure for this code. Land Rover issued technical service bulletins (TSBs) indicating that these post-catalyst sensors are susceptible to failure from 'thermal shock,' which can occur when water contacts the hot sensing element. The TSBs also note that when diagnosing P0167, technicians often find no issue with the wiring, leading directly to the conclusion that the sensor itself is faulty. This issue is common across other JLR vehicles using the same 3.0L Supercharged V6 engine. Furthermore, TSB LTB00671NAS3/5 recommends an ECM software update for 2014-2015 3.0L V6 models in conjunction with sensor replacement to prevent the issue from recurring.
Diagnostic Flowchart
Tap your situation to follow the diagnostic path that matches what you're seeing on this vehicle.
Symptoms You May Notice
- Check Engine Light is illuminated.
- Possible failure to pass an emissions test. 🎬 See how to test sensors when monitors aren't ready for smog.
- Slightly increased fuel consumption over time.
- Replacing the wrong oxygen sensor (e.g., Sensor 1 or 2, or a sensor on Bank 1).
- Replacing the ECM without first confirming the sensor and wiring are good.
Most Likely Causes
- Failed Oxygen Sensor (Bank 2, Sensor 3) 🔴 High Probability Manufacturer TSBs #LTB00671NAS3 and #SSM72448 directly state that the sensor itself is the most common failure point, often due to thermal shock, and that wiring or connector faults are rare. Forum discussions with owners of 2016 LR4s confirm experiencing multiple rounds of O2 sensor replacements. Another TSB, SSM63157, identified a specific manufacturing fault described as 'misalignment within the sensor' causing premature failure in this sensor family.
How to confirm: Unplug the sensor and test the resistance of the two heater circuit wires (often the same color). An open circuit (infinite resistance) or a short (very low resistance) confirms the internal heater has failed. The typical resistance specification for a good heater circuit is between 2-15 ohms when cold.
Typical fix: Replace the Bank 2, Sensor 3 oxygen sensor. This requires a 22mm (or 7/8") offset O2 sensor socket. For 2014-2015 models, an ECM software update is also recommended per TSB LTB00671NAS3/5.
Est. part cost: $65-$400 - Damaged Wiring or Connector ⚪ Low Probability While possible due to proximity to the hot exhaust, TSB #SSM72448 explicitly notes that diagnosis often reveals no fault with the wiring, pointing instead to the sensor. Another TSB, #SSM72477, reiterates this for the broader JLR lineup, stating that when these codes appear, diagnosis usually finds no fault with the harness or connector.
How to confirm: Visually inspect the wiring harness and connector leading to the sensor for any signs of melting, chafing, or corrosion. Test for power (approx. 12V) and ground at the connector with the key on. A voltage drop greater than 0.2V between the ECM and the sensor connector can indicate a high-resistance problem in the wiring.
Typical fix: Repair the damaged section of the wiring harness or clean/replace the connector. Wires must be crimped, not soldered.
Est. part cost: $5-$50 - Blown Fuse for O2 Heater Circuit ⚪ Low Probability
How to confirm: Locate the engine compartment fuse box and identify the fuse for the HO2S heaters (Fuse 2 on some models). Visually inspect the fuse to see if it is blown. A blown fuse often indicates a short circuit in the wiring or the sensor itself.
Typical fix: Replace the blown fuse. If it blows again, diagnose the underlying short circuit.
Est. part cost: $1-$5
Rare But Worth Checking
- Engine Control Module (ECM) Fault: This is extremely rare. The ECM should only be considered after all other possibilities, including the sensor, wiring, and fuses, have been thoroughly tested and ruled out. Some TSBs for related Jaguar models mention a potential software error that could cause similar codes, but the primary fix remains sensor replacement and a corresponding software update.
Diagnosis Steps
- Confirm the code P0167 is present using an OBD-II scanner.
- Identify the correct sensor. Bank 2 is the driver's side in North America. Sensor 3 is the downstream (post-catalytic converter) sensor.
- Visually inspect the Bank 2, Sensor 3 oxygen sensor and its wiring harness. Look for any obvious damage like melted wires or a loose connector.
- Check the fuse for the oxygen sensor heater circuit in the engine compartment fuse box (e.g., Fuse 2). Replace if blown.
- If the visual inspection is clear, disconnect the sensor's electrical connector.
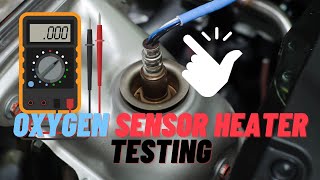
- Using a multimeter set to ohms, measure the resistance across the two heater pins on the sensor side of the connector. A reading of infinity (OL) or near zero indicates a failed heater element, and the sensor must be replaced. A good sensor will typically read between 2-15 ohms.
- If resistance is within spec, test for power at the harness connector. With the ignition on, one pin should have battery voltage (approx. 12V). The other heater pin is a ground path controlled by the ECM.
- If power and sensor resistance are good, the issue may be in the ground-side control from the ECM, but this is highly unlikely given the known issues with these sensors per TSBs.
Parts You'll Likely Need
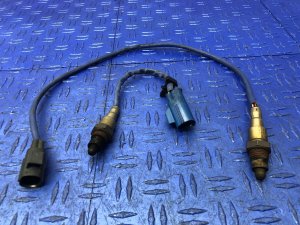
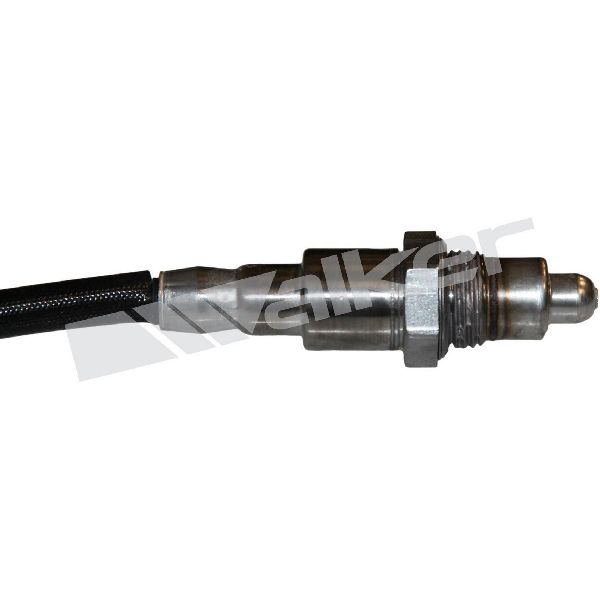
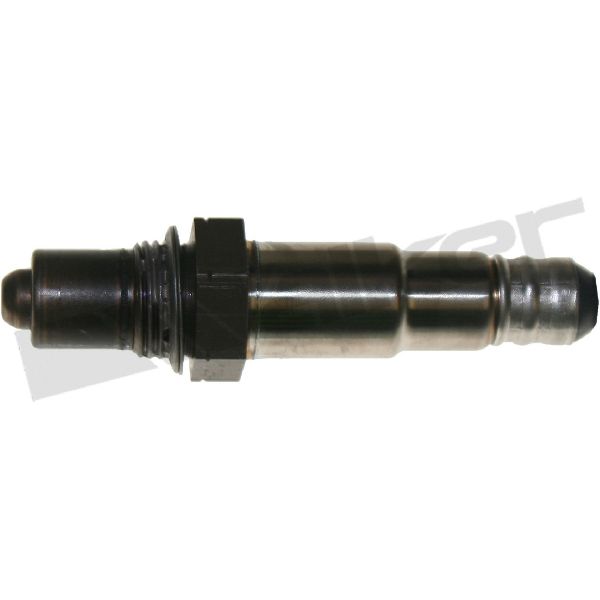
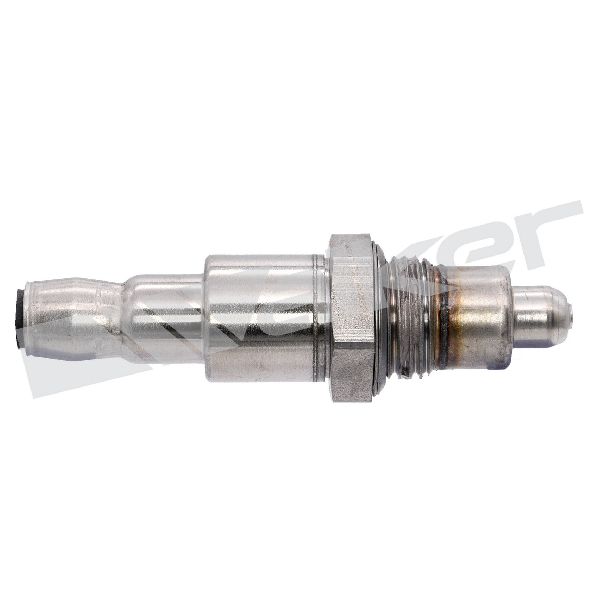
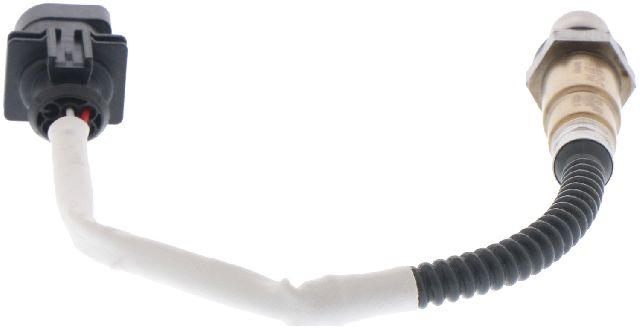
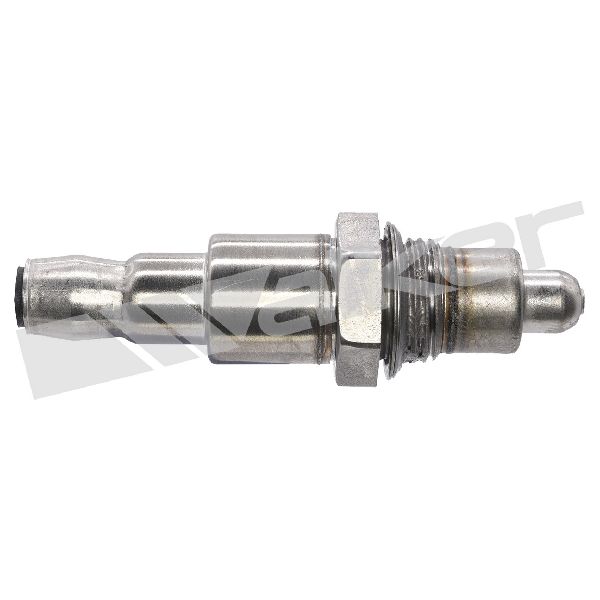
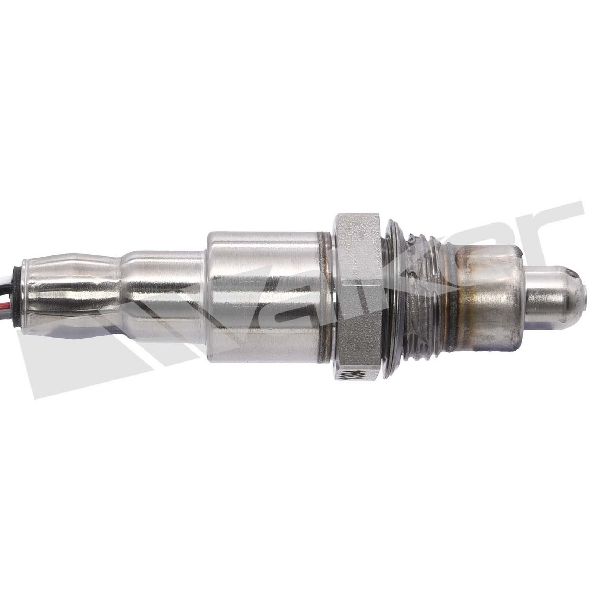
- Oxygen Sensor (Bank 2, Sensor 3)
(OEM #LR140071)— This is the direct cause of code P0167 in the vast majority of cases for this vehicle, as confirmed by manufacturer TSBs.
Trusted brands: Bosch (OEM supplier), Denso, NTK / NGK
OEM price range: $325-$460
Aftermarket price range: $65-$250
Related Codes That Often Appear With This One
- P0162, P0163, P0164 — These codes are also related to the Bank 2, Sensor 3 oxygen sensor (performance, low voltage, high voltage) and may appear alongside P0167 if the sensor is failing in multiple ways.
- P0061, P0062, P0063 — These are the equivalent codes for Bank 2, Sensor 2. The TSBs group these codes together, suggesting a common failure pattern for post-catalyst O2 sensors on this vehicle.
Technical Service Bulletins (TSBs) & Recalls
- SSM72448 - Confirms the sensor is the likely fault when wiring is intact.
- LTB00671NAS3 - Cites 'thermal shock' as a cause for failure of post-catalyst O2 sensors.
- LTB00671NAS2 - An earlier version of the TSB also citing post-catalyst sensor issues.
- SSM72477 - A related TSB for Jaguar models with the same engine, also pointing to the sensor itself as the failure point when wiring is good.
Platform-Specific Known Issues
- TSB LTB00671NAS3 notes that the Check Engine Light may illuminate with P0167 (and other related codes) due to thermal shock to the post-catalyst oxygen sensors.
- TSB SSM72448 confirms that when diagnosing P0167, if no fault is found with the wiring or connector, the fault is with the sensor itself.
- A forum member with a 2016 LR4 reported needing two rounds of oxygen sensor replacements with only 24k miles on the vehicle, corroborating the high failure rate.
Mechanic-Grade Diagnostic Values
- O2 Sensor Heater Element Resistance — expected: 2-15 Ohms (when cold). Failure: Near zero Ohms (short circuit) or infinite/OL (open circuit).
- Voltage at Heater Circuit (Harness Side) — expected: Approximately 12V (battery voltage) on the power supply pin with key on, engine off.. Failure: No voltage indicates a problem with the fuse or wiring from the power source.
- Heater Circuit Ground Control (Harness Side) — expected: The ECM provides a pulse-width modulated (PWM) ground to control the heater. With a multimeter, this may show as a fluctuating voltage; with an oscilloscope, a square wave is visible when the heater is active.. Failure: A constant ground or no ground when the heater should be active points to a wiring or ECM driver issue.
Scan Tool Commands That Help
- JLR SDD (Symptom Driven Diagnostics): Configure existing module – Powertrain control module — After replacing the faulty oxygen sensor on 2014-2015 models, this function is used to apply a software update that adjusts the sensor monitoring strategy to prevent future false codes from thermal shock, as instructed by TSB LTB00671NAS3.
Wiring & Ground Locations
- Engine Compartment Fuse Box - Fuse 2 — Located in the fuse box in the engine bay.. This fuse provides the direct battery supply to the heaters for all four heated oxygen sensors (HO2S). If this fuse is blown, none of the heaters will function.
- ECM Connector C0635, Pin 7 — On the Engine Control Module (ECM).. This is the specific pin the ECM uses to provide the switched ground path for the heater circuit of the downstream LH (Bank 2, Sensor 3) oxygen sensor. A fault in the wire to this pin would cause P0167.
- ECM Connector C0635, Pin 17 — On the Engine Control Module (ECM).. This pin receives the signal voltage from the downstream LH (Bank 2, Sensor 3) oxygen sensor. While not directly related to the P0167 heater code, a short between this wire and the heater circuit wires could cause multiple codes.
Real Owner Repair Stories
- startmycar.com user 'Mikewezzy' (2018 Range Rover V8 (similar system)) — Check engine light with codes P0162 and P0167.
❌ Tried (didn't work) Replacing the Bank 2 Sensor 3 oxygen sensor.
✅ What actually fixed it The user reported the check engine light would return after shutting the car off and turning it back on, even after replacing the sensor. Another user on a 2019 Range Rover Sport with a similar issue stated they needed to change the fuses to clear the error code after sensor replacement, implying a potential blown fuse was the root cause or a necessary reset step.
OEM Part Supersession History
LR052426→LR140071— The supersession is confirmed by multiple Land Rover parts dealers. While the exact reason is not officially stated, parts are typically superseded to improve reliability, change materials, or update the design. Given the known 'thermal shock' issue, the new part likely has improved resistance to this failure mode.
Model Year Variations Within This Range
- 2014: The 2014 model year was the first for the LR4 to feature the 3.0L Supercharged V6 engine, replacing the previous 5.0L V8. This change is significant as the P0167 code and its associated TSBs are specific to this V6 engine.
- 2014-2015: TSB LTB00671NAS3/5 specifically calls for an ECM software update in addition to sensor replacement for these model years to prevent recurrence of O2 sensor faults. This suggests the original software was overly sensitive or did not correctly manage the heater strategy under certain conditions.
Helpful Videos
Used OEM Parts in Stock



New Aftermarket Parts Available

The information in this article is provided for general reference and educational purposes only. Vehicle specifications, procedures, and part compatibility can vary by production date, trim level, and region. Always consult your vehicle's factory service manual and verify part numbers before purchasing or performing repairs. Safety-critical components such as airbags, seat belts, and braking systems should be installed by a qualified professional.
- Land Rover LR4:
- 🎬 Helpful Videos
- 🛍️ Shop This Part
- What's Unique About the 2014-2016 Land Rover LR4
- Diagnostic Flowchart
- Symptoms You May Notice
- Most Likely Causes
- Rare But Worth Checking
- Diagnosis Steps
- Parts You'll Likely Need
- Related Codes That Often Appear With This One
- Technical Service Bulletins (TSBs) & Recalls
- Platform-Specific Known Issues
- Mechanic-Grade Diagnostic Values
- Scan Tool Commands That Help
- Wiring & Ground Locations
- Real Owner Repair Stories
- OEM Part Supersession History
- Model Year Variations Within This Range
- 🎟️ Get 5% Off