

P0142 on 2014-2016 Land Rover LR4: O2 Sensor Circuit Fault Causes and Fixes
For a 2014-2016 LR4, code P0142 typically points to a faulty Bank 1, Sensor 3 oxygen sensor, often due to known manufacturing defects. However, Land Rover has also issued service bulletins indicating a PCM software update may be required. Always check for TSBs before replacing parts, as a software flash can be the correct fix.
- P0142 on a 2014-2016 LR4 refers to an electrical fault with the rearmost oxygen sensor on the passenger side.
- Before replacing any parts, check for TSBs. The official fix from Land Rover may be a PCM software update, not a new sensor.
- The most common physical part to fail is the O2 sensor itself, often due to known manufacturing defects or thermal shock from water.
- Always inspect the wiring and connector for damage before buying a new sensor, as its location under the vehicle makes it vulnerable.
- This code will cause an automatic failure of an emissions test.
What's Unique About the 2014-2016 Land Rover LR4
On this specific platform, P0142 is not just a simple 'replace the sensor' code. Land Rover has issued multiple Technical Service Bulletins (TSBs) acknowledging that the cause could be a manufacturing defect within the sensor itself (TSB SSM63157), a software sensitivity requiring a PCM update (TSB LTB00671NAS3), or even thermal shock to the sensor from water contact, a notable risk for an off-road capable vehicle. This makes checking for TSBs a critical first step, as a software update could be the prescribed fix instead of a part replacement.
Diagnostic Flowchart
Tap your situation to follow the diagnostic path that matches what you're seeing on this vehicle.
Symptoms You May Notice
- Check Engine Light (Malfunction Indicator Lamp) is on.
- Failure to pass an emissions inspection.
- Potentially reduced fuel economy.
- In rare cases, a rough or unstable idle.
- Replacing the oxygen sensor when a PCM software update was the required fix.
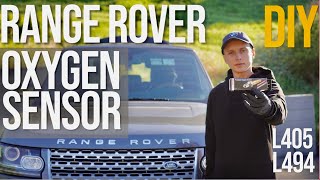
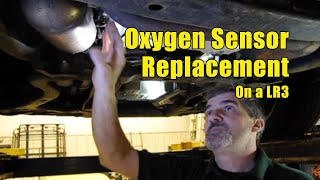
- Replacing the wrong sensor (e.g., Sensor 1 or 2, or the correct sensor on the wrong bank). Bank 1 is the passenger side in North America. 🎬 See this video to help identify oxygen sensor locations.
- Assuming a sensor is bad when the true fault lies in a corroded connector or chafed wire further up the harness.
Most Likely Causes
- Faulty Bank 1, Sensor 3 Oxygen Sensor 🔴 High Probability Multiple TSBs (LTB00671NAS3, SSM72556) address issues with these post-catalyst sensors. Specifically, TSB SSM63157 points to a 'manufacturing fault at the supplier' causing internal misalignment and failure of the sensor.
How to confirm: After checking wiring, use a scan tool to monitor the B1S3 voltage. A healthy post-catalyst sensor should show a relatively stable voltage, typically between 0.6V and 0.8V. A sensor reading that is stuck (e.g., at 0V or 1.25V), unresponsive, or shows erratic voltage compared to the equivalent sensor on Bank 2 points to a failed sensor. The sensor's internal heater resistance can also be tested with a multimeter and should be between 3-20 Ohms when cold.
Typical fix: Replace the Bank 1, Sensor 3 oxygen sensor. This requires a special 22mm (or 7/8") oxygen sensor so 🎬 Watch this DIY walkthrough for replacing the sensor on your LR4.cket.
Est. part cost: $70-$200 - Outdated Powertrain Control Module (PCM) Software 🔴 High Probability TSB LTB00671NAS3 explicitly provides instructions for reprogramming the PCM to address a range of O2 sensor codes, including P0142, on the 3.0L Supercharged V6 engine. This update was released to change the PCM's sensitivity and prevent false codes from being set, particularly after events like thermal shock.
How to confirm: A Land Rover dealer or a specialized shop with the SDD (Symptom Driven Diagnostics) system can check the current software version against available updates for your vehicle's VIN.
Typical fix: Update the PCM software using the Land Rover SDD system. This is a dealer or specialist-only repair.
Est. part cost: $0 - Damaged Wiring or Connector 🟡 Medium Probability The sensor and its wiring are located underneath the vehicle, exposed to road debris, moisture, and extreme exhaust heat. The harness often runs up and over a crossmember where it can chafe or burn if not secured in its retaining clips, leading to corrosion or physical damage.
How to confirm: Visually inspect the entire wiring harness for the Bank 1, Sensor 3 O2 sensor from the sensor itself to the main harness connector. Check for frayed wires, melted insulation, and corrosion inside the connector pins. The connector is often clipped to a bracket above the exhaust.
Typical fix: Repair the damaged section of wiring or replace the connector pigtail.
Est. part cost: $15-$50 - Thermal Shock to Sensor ⚪ Low Probability TSB LTB00671NAS3 identifies that water contacting the hot sensor element can cause it to fail. This is a higher risk on the LR4 due to its off-road use or even driving through deep puddles. The TSB was issued specifically because this was a recurring issue on the platform.
How to confirm: This is difficult to confirm directly but should be considered if the failure occurred immediately after driving through water or in heavy rain.
Typical fix: Replace the oxygen sensor and ensure the PCM has the latest software per TSB LTB00671NAS3 to prevent recurrence.
Est. part cost: $70-$200
Rare But Worth Checking
- Exhaust Leak: An exhaust leak before the O2 sensor can introduce outside oxygen into the exhaust stream, causing inaccurate readings and potentially triggering a circuit code if the readings are out of range. This is less common for a Sensor 3 code but still possible.
- Faulty Powertrain Control Module (PCM): This is extremely rare. Before condemning the PCM, all other possibilities (sensor, wiring, software) must be exhaustively ruled out. TSB SSM72448 notes that diagnosis often finds no fault with the wiring, pointing towards an intermittent sensor or software issue before the PCM itself.
Diagnosis Steps
- Connect a scan tool and confirm P0142 is the primary code. Check for other related O2 sensor codes, especially P0162 for the opposite bank.
- Check with a dealer or authorized repair facility for any open recalls or applicable Technical Service Bulletins (TSBs) like LTB00671NAS3 or SSM72556. A PCM software update may be the first recommended step.
- Perform a thorough visual inspection of the Bank 1, Sensor 3 oxygen sensor (passenger side, rearmost sensor near the transfer case), its connector, and wiring harness. Look for any signs of melting, corrosion, or physical damage, paying close attention to where the harness passes over chassis crossmembers.
- Using a scan tool with live data capability, monitor the voltage from 'O2S13' (Oxygen Sensor Bank 1 Sensor 3). A healthy post-catalyst sensor should show a relatively stable voltage between 0.6V and 0.8V. If the voltage is stuck high (e.g., 1.25V), low (near 0V), or is completely absent, the sensor or its circuit is faulty.
- If the wiring is intact and the sensor is suspected, test the sensor's internal heater circuit with a multimeter. Disconnect the sensor and measure the resistance between the two heater pins. A reading far outside the typical 3-20 Ohm range indicates a failed sensor.
- Check for exhaust leaks between the catalytic converter and the Sensor 3 location.
- If wiring, the sensor, and software are all confirmed to be good, the issue may be with the PCM, but this is highly unlikely and should be the absolute last consideration.
Parts You'll Likely Need
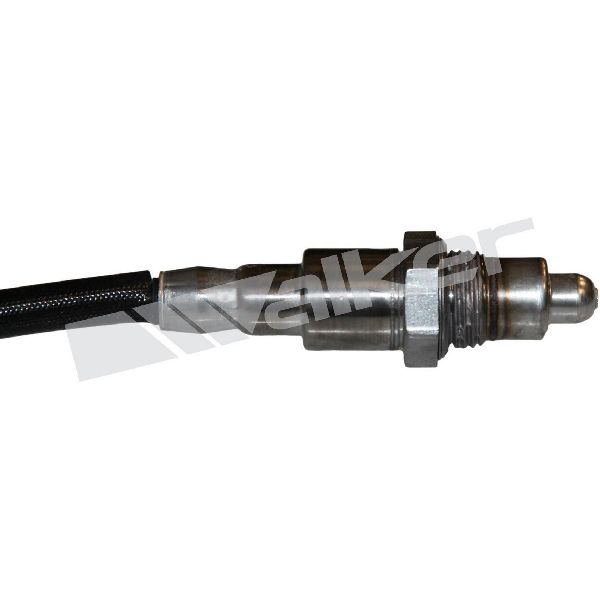
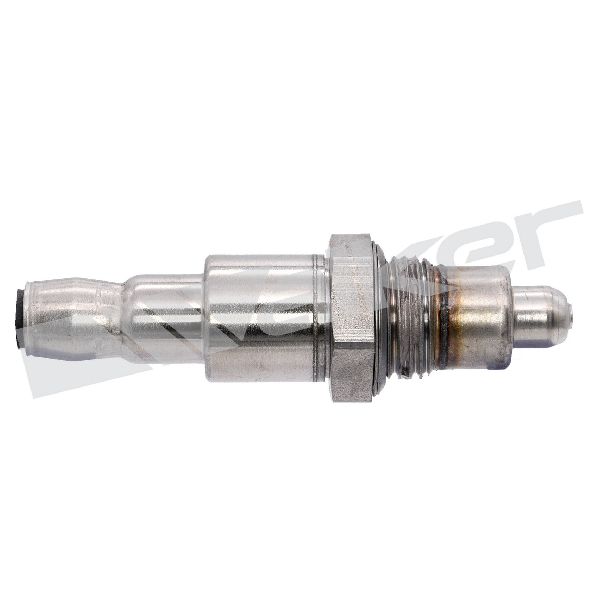
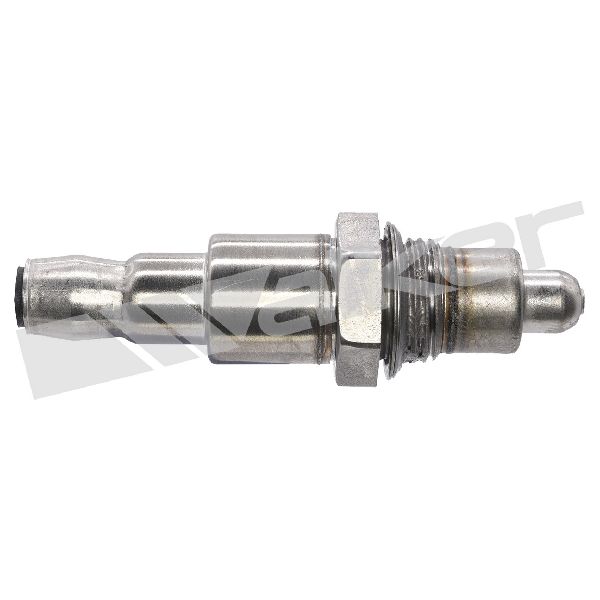
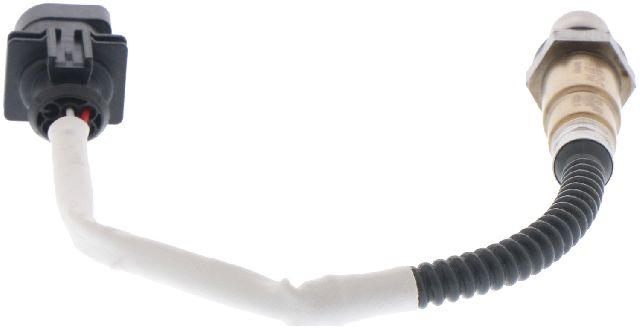
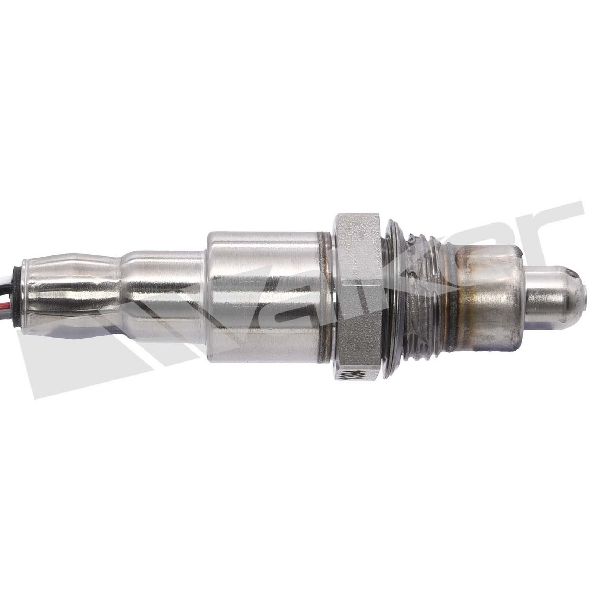
- Oxygen Sensor (Bank 1, Sensor 3)
(OEM #LR035750, superseded by LR098290 and LR136928)— This is the most common component to fail for this code, often due to internal manufacturing defects or thermal shock as noted in TSBs. It is the rearmost sensor on the passenger side exhaust.
Trusted brands: Bosch (often the OEM supplier), Denso, NTK, Genuine Land Rover
OEM price range: $150-$250
Aftermarket price range: $70-$180
Related Codes That Often Appear With This One
- P0162 — This is the identical 'O2 Sensor Circuit Malfunction' code but for Bank 2, Sensor 3. TSBs group them together, and owners often report them appearing simultaneously, suggesting a common cause like a manufacturing defect or software sensitivity can trigger faults on both banks. [SSM72556, 2]
- P0042, P0043, P0044, P0143, P0144, P0147 — These are all related codes for the post-catalyst oxygen sensors (Banks 1 and 2, Sensor 3) and are listed together in TSBs LTB00671NAS2 and LTB00671NAS3, indicating they share a common diagnostic and repair path due to systemic issues like thermal shock or software logic.
Technical Service Bulletins (TSBs) & Recalls
- SSM72556: Links P0142 and P0162 for O2 Sensor 3 circuit faults.
- LTB00671NAS3: Details that the MIL may illuminate with various O2 sensor DTCs (including P0142) due to thermal shock, and the fix may be a PCM software update.
- SSM72448: Notes that for a wide range of O2 codes, including P0142, diagnosis may find no hard fault with wiring.
- LTB00671NAS2: An earlier version of the TSB also grouping post-catalyst O2 sensor codes together.
- SSM63157: Identifies a specific supplier manufacturing defect as a root cause for sensor failure.
Platform-Specific Known Issues
- TSB LTB00671NAS3 notes that on the 3.0L SC V6, a range of O2 sensor codes including P0142 can be caused by thermal shock when water hits the hot sensor. The fix can be a software update to the PCM.
- TSB SSM72556 directly links P0142 (Bank 1 Sensor 3) with P0162 (Bank 2 Sensor 3), indicating a systemic issue rather than a random one-off failure.
- TSB SSM72448 acknowledges that diagnosis may find no fault with the wiring or sensor, pointing towards intermittent or software-related issues for a host of O2 codes including P0142.
- TSB SSM63157 details a specific manufacturing fault from a supplier causing 'misalignment within the sensor leading to side load on the ceramic internal to the sensor,' making sensor failure a highly probable root cause.
Mechanic-Grade Diagnostic Values
- O2 Sensor Heater Circuit Resistance (cold) — expected: 3 to 20 Ohms. Failure: An open circuit (infinite resistance) or a short circuit (near zero resistance) indicates a failed heater element.
- Bank 1 Sensor 3 Live Data Voltage (warm engine, idle) — expected: Relatively stable voltage between 0.6V and 0.8V. Failure: Voltage is stuck high (e.g., 1.25V), stuck low (near 0V), or does not change.
- O2 Sensor Heater Circuit Power Supply (at harness, key on) — expected: ~12V (Battery Voltage). Failure: No voltage or significantly low voltage points to a wiring or fuse issue upstream of the sensor.
Hidden / Shadow Codes Worth Checking
- P0142-00: The '-00' suffix with the description 'NO SUB TYPE INFORMATION' indicates a general electrical failure within the sensor circuit. The PCM has detected the fault but has not defined a more granular sub-type (like short-to-ground or open circuit) for this specific code. (see via JLR-specific diagnostic tools like SDD or Pathfinder, or other advanced professional scan tools.)
Scan Tool Commands That Help
- Land Rover SDD / Pathfinder: Data Logger / Live Data — To monitor the real-time voltage signal from Bank 1 Sensor 3. This is the primary method to confirm if the sensor is responding correctly or is stuck at a fixed voltage, which indicates a fault.
- Land Rover SDD / Pathfinder: Update Engine Control Module (ECM) software — To be performed when TSB LTB00671NAS3 applies. This function reprograms the PCM with updated software to change sensor sensitivity and prevent false codes, particularly after thermal shock events.
- Land Rover SDD / Pathfinder: Clear All Stored Diagnostic Trouble Codes — After a repair (like sensor replacement or software update) is completed, this function is used to clear the P0142 code and turn off the Check Engine Light.
Wiring & Ground Locations
- Bank 1 Sensor 3 Connector — The connector for the rearmost passenger-side O2 sensor is typically clipped to a bracket on a chassis crossmember, located above the exhaust pipe and near the transfer case.. This connector is a common point for corrosion or damage due to its exposed location underneath the vehicle. A bad connection here will cause a circuit fault code like P0142.
- Main Engine/Chassis Grounds — While specific diagrams are complex, key grounding points are from the battery negative terminal to the chassis and from the chassis to the engine block. These are critical for all sensor circuits.. A poor ground connection can introduce electrical noise and voltage offsets, causing the PCM to misinterpret the O2 sensor's signal and set a circuit fault code. Verifying ground integrity is a key step in diagnosing elusive electrical faults.
Real Owner Repair Stories
- YouTube user 'Fixty' (2016 Range Rover Sport L494 (similar platform and engine)) — Check Engine Light with a code for Bank 1, Sensor 3.
✅ What actually fixed it The user replaced the Bank 1, Sensor 3 oxygen sensor, which was located near the transfer case. The video shows the replacement process and confirmed this resolved the code. - LandyZone Forum user 'russ22' (2014 Range Rover 5.0 Supercharged) — Check Engine Light with codes P0142 (Bank 1 Sensor 3) and P0162 (Bank 2 Sensor 3).
✅ What actually fixed it The user noted that live data showed both sensors were stuck at a high voltage of 1.25V, confirming sensor failure. The implied fix was the replacement of both post-catalyst O2 sensors.
OEM Part Supersession History
LR052424→LR137778, then LR140062— Standard part updates for improved reliability or manufacturing changes.
Heads up: The part number LR035750 is for the UPSTREAM (pre-catalyst) sensor and is often confused with the downstream sensor. P0142 requires the downstream Sensor 3, which has a different part number chain. Always verify the correct sensor position before ordering.
Helpful Videos
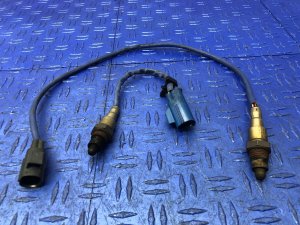
Used OEM Parts in Stock



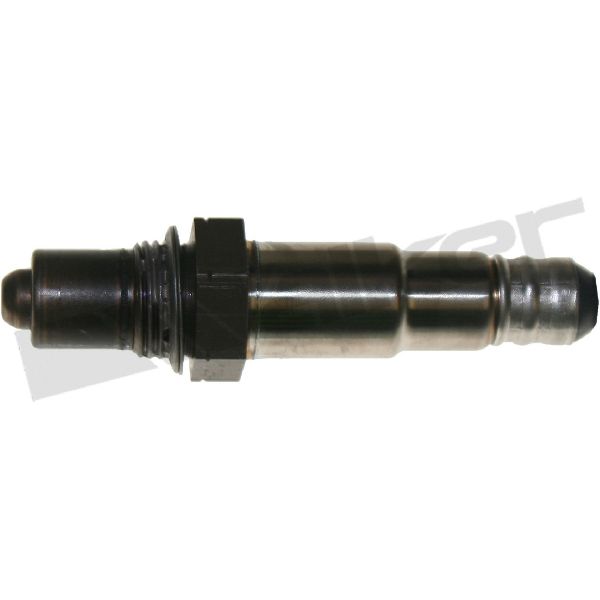
New Aftermarket Parts Available

The information in this article is provided for general reference and educational purposes only. Vehicle specifications, procedures, and part compatibility can vary by production date, trim level, and region. Always consult your vehicle's factory service manual and verify part numbers before purchasing or performing repairs. Safety-critical components such as airbags, seat belts, and braking systems should be installed by a qualified professional.
- Land Rover LR4:
- 🎬 Helpful Videos
- 🛍️ Shop This Part
- What's Unique About the 2014-2016 Land Rover LR4
- Diagnostic Flowchart
- Symptoms You May Notice
- Most Likely Causes
- Rare But Worth Checking
- Diagnosis Steps
- Parts You'll Likely Need
- Related Codes That Often Appear With This One
- Technical Service Bulletins (TSBs) & Recalls
- Platform-Specific Known Issues
- Mechanic-Grade Diagnostic Values
- Hidden / Shadow Codes Worth Checking
- Scan Tool Commands That Help
- Wiring & Ground Locations
- Real Owner Repair Stories
- OEM Part Supersession History
- 🎟️ Get 5% Off