

P0137 on 2013-2018 Toyota RAV4: O2 Sensor Low Voltage Causes and Fixes
On a 2013-2018 RAV4, code P0137 almost always means the downstream oxygen sensor (Bank 1, Sensor 2) has failed. Replacing this sensor is the most common fix. Expect to pay $70-$120 for a quality aftermarket sensor (like Denso) or $125-$180 for an OEM part. It's a DIY-friendly job with the right tools, primarily a 22mm O2 sensor socket and possibly a torch or penetrating oil to loosen the old sensor.
- P0137 on a 2013-2018 RAV4 almost always points to a bad downstream O2 sensor (Bank 1, Sensor 2).
- Before buying parts, do a quick visual check of the sensor's wiring for obvious damage and use a scan tool to confirm the voltage is stuck low (near 0.1V).
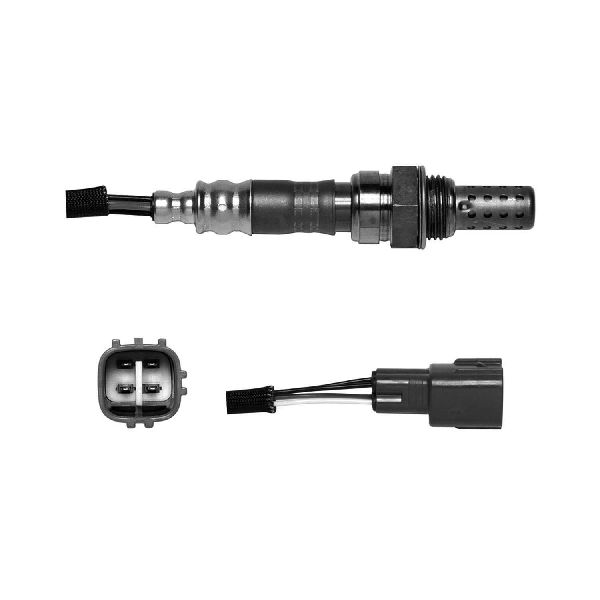
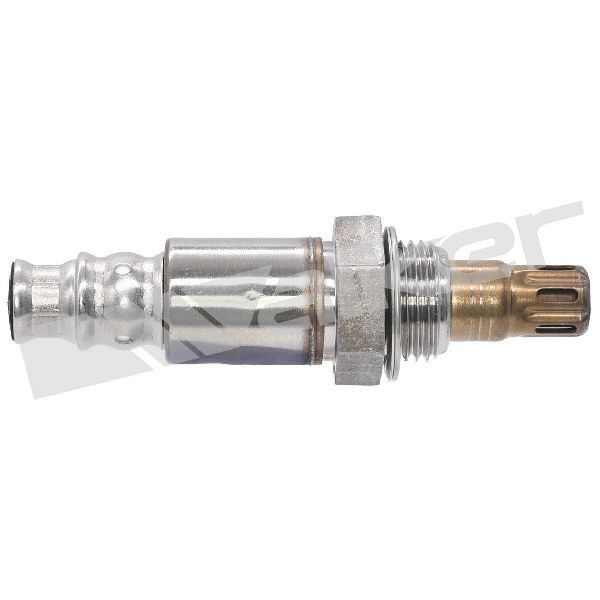
- The correct OEM part is 89465-0R040. The recommended aftermarket replacement is Denso 234-4757, as Denso is the original equipment manufacturer.
- This is a DIY-friendly repair, but the sensor can be seized. You will need to safely raise the vehicle and must have a 22mm (7/8") O2 sensor socket. Be prepared with penetrating oil and possibly a torch to get the old one out.
- Don't be alarmed if the 4WD and VSC lights come on with the Check Engine Light; this is a common pattern for this fault code on a RAV4 and will be resolved when the sensor is replaced.
What's Unique About the 2013-2018 Toyota RAV4

For the fourth-generation RAV4 with the 2.5L 2AR-FE engine, this code is a very common and straightforward issue. Unlike some vehicles where this code might point to complex fuel trim or catalytic converter problems, on this platform, the cause is overwhelmingly a simple failure of the downstream O2 sensor due to age and wear. Toyota's O2 sensors, often made by Denso, are generally reliable, but they are a wear item that eventually fails. There are no widespread factory defects, TSBs, or recalls specifically for this P0137 code on this RAV4 generation, reinforcing that it's typically a standard maintenance/repair issue.
Symptoms You May Notice
- Check Engine Light is on.
- 4WD and VSC (Vehicle Stability Control) lights may also illuminate along with the Check Engine Light.
- Failure to pass an emissions inspection.
- Slightly decreased fuel economy.
- Rough or unstable idle in some cases.
- Replacing the upstream Air/Fuel Ratio sensor (Sensor 1) instead of the downstream Oxygen Sensor (Sensor 2). They are not interchangeable and have different functions.
- Replacing the catalytic converter. A P0137 code indicates a problem with the sensor circuit, not necessarily the converter itself. A failing converter typically sets a P0420 code.
Most Likely Causes

- Failed Downstream Oxygen Sensor (Bank 1, Sensor 2) 🔴 High Probability Oxygen sensors are wear-and-tear items that degrade over time from heat and contaminants. After 80,000-100,000 miles, failure is common. The sensor's heating element can fail, or the sensing element can become contaminated.
How to confirm: Use an OBD-II scanner to monitor live data for 'O2S B1S2'. If the voltage is stuck low (e.g., at or near 0.1V) and does not fluctuate when the engine is warm and running, the sensor has likely failed. A healthy downstream sensor should show a relatively stable voltage, typically between 0.5V and 0.8V.
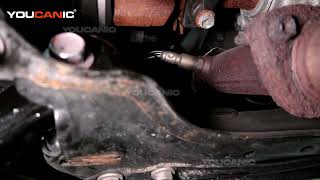
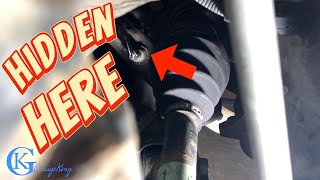
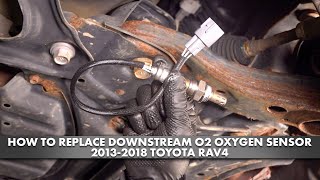
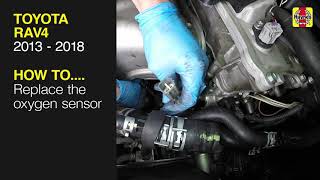
Typical fix: Replace the Bank 1, Sensor 2 oxygen sensor. The sensor is located underneath the vehicle, after the catalytic converter. 🎬 See this step-by-step downstream sensor replacement walkthrough It may be seized in the exhaust pipe, requiring penetrating oil (like PB Blaster) or heat from a torch to remove.
Est. part cost: $70-$180 - Damaged Wiring or Connector 🟡 Medium Probability The sensor's wiring harness runs under the car and is exposed to road debris, moisture, and extreme heat from the exhaust. This can cause wires to chafe, melt, or break, and the connector pins can corrode.
How to confirm: Visually inspect the entire wiring harness from the O2 sensor to its connection point. Look for any signs of burnt, frayed, or corroded wires. Unplug the connector and check for dirt, oil, or bent/corroded pins.
Typical fix: Repair the damaged section of wire or clean/replace the connector. In severe cases, a new sensor with its pigtail may be needed.
Est. part cost: $5-$20 for repair materials - Exhaust Leak ⚪ Low Probability Rust can cause leaks at exhaust pipe flanges or gaskets, particularly in regions that use road salt. A leak before the sensor can allow outside air into the exhaust stream, which the sensor reads as a lean condition (low voltage).
How to confirm: Listen for a ticking or hissing sound from the exhaust, especially when the engine is cold. A mechanic can perform a smoke test to pinpoint the exact location of a leak. You can also sometimes feel for escaping air with your hand (be careful of hot surfaces).
Typical fix: Replace the leaking gasket or repair the section of the exhaust pipe. Exhaust putty can be a temporary fix for small pinholes.
Est. part cost: $20-$100
Rare But Worth Checking
- Blown A/F Heater Fuse: The oxygen sensor has an internal heater that helps it warm up quickly. This heater circuit is protected by a fuse, often labeled 'A/F Heater' or similar in the fuse box. While rare, a blown fuse will prevent the sensor from operating correctly and can set a P0137 code.
- Faulty Engine Control Module (ECM): This is extremely rare. The ECM itself can fail, but this should only be considered after all other possibilities, including the sensor, wiring, and fuses, have been exhaustively ruled out by a professional.
Diagnosis Steps

- Read the code: Use an OBD-II scanner to confirm P0137 is the primary code. Note any other codes present, especially P0136 or P0606.
- Inspect the wiring: Get under the vehicle and visually inspect the O2 sensor's wiring harness and connector for obvious damage like burns from the exhaust, chafing, or corrosion. Ensure the connector is securely plugged in.
- Check for exhaust leaks: With the engine running (and cool, for safety), listen and feel for any hissing or ticking sounds from the exhaust system between the engine and the rear O2 sensor. A leak can allow extra oxygen in and cause a false low voltage reading.
- Analyze live data: Use a scan tool to view the live data stream for the Bank 1 Sensor 2 voltage ('O2S B1S2'). A healthy downstream sensor on a warm, running engine should show a relatively stable voltage, typically above 0.5V. If the voltage is stuck at or near 0.1V and doesn't respond to changes in engine RPM, it confirms a low voltage condition and strongly points to a bad sensor.
- Test the sensor (Optional but recommended): For a more thorough diagnosis, you can test the sensor's heater circuit for resistance with a multimeter. Compare the reading to the manufacturer's specification. However, given the high failure rate and low cost, many DIYers proceed to replacement if live data is conclusive.
- Replace the sensor: If the sensor is confirmed to be faulty, replace it. You will likely need a special 22mm (7/8") offset oxygen sensor socket to fit over the wire. The old sensor can be very tight; apply penetrating oil (like PB Blaster) and let it soak, or use a propane/MAPP gas torch to heat the exhaust bung (not the sensor itself) to help break it free. 🎬 Watch: How to replace the 2.5L downstream oxygen sensor
- Clear codes and test drive: After replacement, clear the trouble codes with the scanner. Drive the vehicle for 10-15 minutes. The check engine light should remain off. In many cases, the light may even go off on its own after a few drive cycles without being manually cleared.
Parts You'll Likely Need
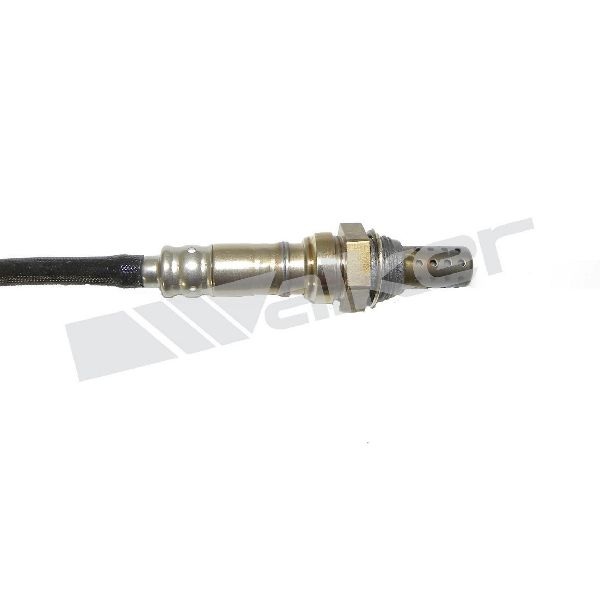
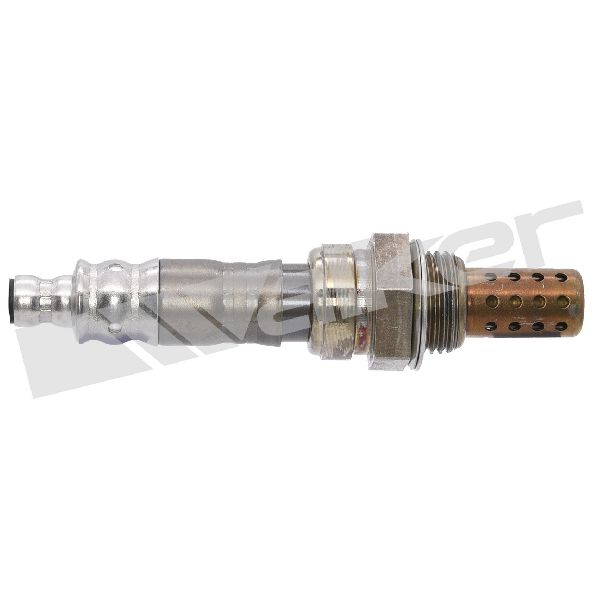
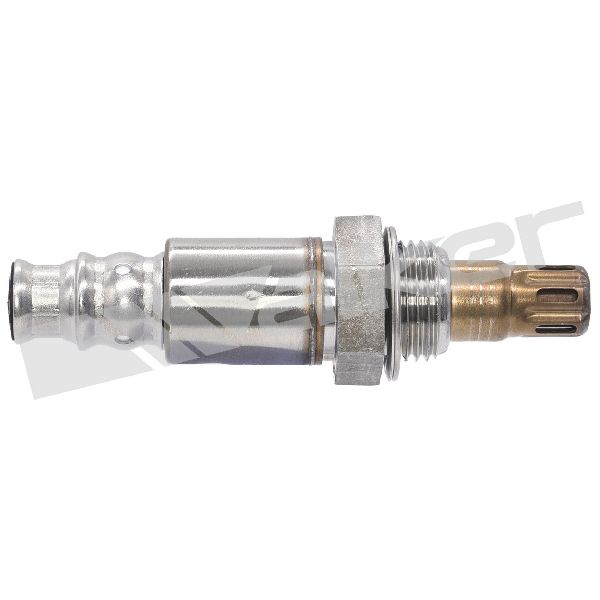
- Downstream Oxygen Sensor (Bank 1, Sensor 2)
(OEM #89465-0R040)— This is the most common failure point for code P0137 on this vehicle. It is a standard wear item that fails from age and heat cycles.
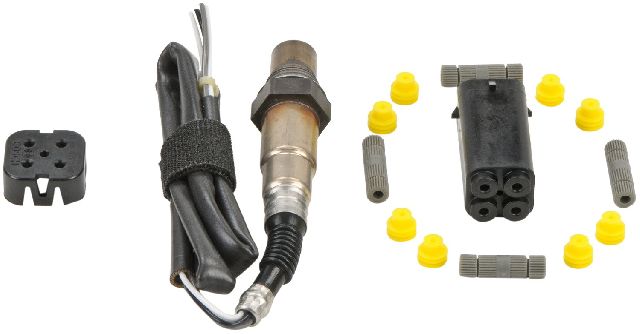
Trusted brands: Denso (OEM supplier, part #234-4757), NGK/NTK, Bosch (part #13355)
OEM price range: $125-$180
Aftermarket price range: $70-$120 - 22mm (7/8") Oxygen Sensor Socket — This special tool has a slot for the sensor's wire, allowing the socket to fit over the sensor body for removal and installation. It is highly recommended for this job.
Trusted brands: Lisle, OEMTOOLS, GearWrench
Aftermarket price range: $10-$25
Related Codes That Often Appear With This One
- P0606 — In some Toyota models, a failing O2 sensor can intermittently cause the ECM to report a P0606 (ECM/PCM Processor Fault) code. This is a known pattern; replacing the faulty O2 sensor often resolves both codes.
- P0136 — This code for 'O2 Sensor Circuit (Bank 1, Sensor 2)' is a more general fault for the same sensor. It is very common to see P0136 and P0137 appear together, both pointing to a problem with the downstream O2 sensor. 🎬 Watch: Diagnosing P0136 and P0137 low voltage codes
Mechanic-Grade Diagnostic Values
- Downstream O2 Sensor (B1S2) Voltage at Idle (Warm Engine) — expected: Relatively stable voltage between 0.4V and 0.6V.. Failure: Voltage is stuck low, near 0.1V - 0.2V, or is erratic.
- Downstream O2 Sensor (B1S2) Voltage during Techstream 'A/F CONTROL' Active Test — expected: When forcing a rich mixture (+25% fuel), voltage should rise above 0.55V. When forcing a lean mixture (-12.5% fuel), voltage should drop below 0.4V.. Failure: Sensor voltage does not respond accordingly or responds very slowly to the commanded changes, indicating a lazy or failed sensor.
Scan Tool Commands That Help
- Toyota Techstream: Active Test: A/F CONTROL (or 'control injection volume for A/F sensor') — This is the definitive professional test for a suspected bad O2 sensor. It allows the technician to command the engine to run rich or lean and directly observe if the sensor's voltage responds as expected. This isolates the sensor and confirms its functionality without relying on normal driving conditions.
Wiring & Ground Locations

- Engine Harness Ground Points — The 2AR-FE engine harness has primary ground points on the cylinder head/valve cover area, which then connect to the chassis near the strut towers.. While not the direct ground for the O2 sensor circuit, a poor engine-to-chassis ground can introduce electrical noise and voltage offsets, potentially causing incorrect readings for multiple sensors, including the oxygen sensor. This should be checked if sensor replacements don't solve the issue.
- B1S2 Connector — The downstream O2 sensor connector is located inside the vehicle's cabin, under the center console area near the floor. The sensor wire passes through a grommet in the floor pan.. Unlike sensors whose connectors are exposed under the vehicle, this location protects the connection from road debris and moisture. However, it requires interior trim removal to access for testing, which is an important diagnostic step before replacing the sensor.
Real Owner Repair Stories
- Reddit user 'rdhamm' in r/MechanicAdvice (2010 Toyota RAV4 (Previous generation but uses a similar system)) — Check Engine Light and 4WD light were both illuminated. Scan tool showed code P0137.
❌ Tried (didn't work) Checked for exhaust leaks, none were found.
✅ What actually fixed it Replacing the downstream (Bank 1, Sensor 2) oxygen sensor resolved the P0137 code and caused both the Check Engine Light and the 4WD light to turn off.
OEM Part Supersession History
89465-42230→89465-0R040— Standard part revision and consolidation by the manufacturer.
Model Year Variations Within This Range
- 2013-2018: No significant variations have been identified for the 2.5L (2AR-FE) gasoline engine concerning code P0137. The same downstream oxygen sensor (89465-0R040) and diagnostic principles apply across the entire generation, including pre-facelift (2013-2015) and post-facelift (2016-2018) models.
Diagnostic Flowchart
Other Known Issues on This Vehicle
Issues unrelated to this code that are worth knowing about as an owner of this generation:
- Torque Converter Shudder 🔴 High — Common on 2013-2015 models, typically occurs between 25-50 mph under light throttle. (Ref: Toyota issued TSB T-SB-0023-15 and a Warranty Enhancement Program (ZH1) to address this by replacing the torque converter and updating the ECM software.)
- Infotainment System Glitches 🟡 Low — Owners report issues like the screen freezing, becoming unresponsive to touch, rebooting randomly, or having Bluetooth connectivity problems. (Ref: TSB T-TT-0578-19 addresses some Bluetooth connectivity concerns. Often resolved by a system reboot or software update.)
- Excessive Oil Consumption 🟠 Medium — Some earlier 2AR-FE engines can consume oil due to piston ring design. It is less of an issue than the prior 2AZ-FE engine but still documented. Owners may need to add oil between changes.
- Loud or Squeaking Brakes 🟡 Low — Some owners report grinding or squeaking noises from the brakes. (Ref: Toyota issued a TSB in 2016 to replace front brake pads and resurface rotors under warranty to address noise. TSB T-TT-0636-20 also relates to brake noise from certain pads.)
- Water Pump Leaks 🟠 Medium — The water pump on the 2AR-FE engine can be prone to leaking, with failures sometimes occurring every 50,000-75,000 miles.
Used vs. New Parts: Buying Guide for This Vehicle
When a used part is the smart pick: For an oxygen sensor, buying used is strongly discouraged. It is a consumable part with a finite lifespan, similar to a spark plug or filter. The labor involved in replacing the sensor is often more costly than the part itself, making it a poor economic choice to install a used sensor with an unknown amount of life remaining.
OEM-only on this vehicle (don't cheap out):
- While not strictly 'OEM-only', it is highly recommended to use either the genuine Toyota part or a part from the original equipment manufacturer, which is typically Denso for this vehicle.
Aftermarket brands forum-validated for this vehicle:
- Denso (OEM supplier)
- NGK / NTK
Brands owners have reported issues with on this vehicle:
- Universal sensors that require cutting and splicing wires should be avoided as they are a common source of failure.
- Some forum users report mixed or poor results with Bosch sensors on Toyota applications, recommending sticking to Denso or NGK for best compatibility and longevity.
Real Owner Stories
Aggregated from forums and TSBs cited above. Mileages and costs reflect what owners reported in those sources.
2015 Toyota RAV4
Symptoms: The owner experienced a P0137 code indicating O2 Sensor Circuit Low Voltage for Bank 1 Sensor 2.
What fixed it: Replacing the downstream O2 sensor with a Denso 234-4757 unit.
Source hint: RAV4World - 'P0137 O2 Sensor Circuit Low Voltage Bank 1 Sensor 2'
2013-2018 Toyota RAV4
Symptoms: The Check Engine, 4WD, and VSC/slip indicator lights all came on at the same time.
What fixed it: Replacing the downstream O2 sensor.
Source hint: ToyotaNation Forum - 'Check Engine, 4WD, and slip indicator lights on'
Toyota RAV4 (2AR-FE engine)
Symptoms: P0137 code present; the sensor was difficult to access and seized in the exhaust pipe.
What fixed it: Replacement of the downstream O2 sensor using a propane torch and a cheater bar to break it loose.
Source hint: YouTube - 'Toyota P0137/Oxygen Sensor Replacement RAV4/Camry'
Related OBD-II Codes
Frequently Asked Questions
Why are my 4WD and VSC lights on when the problem is just an O2 sensor?
Is there a specific O2 sensor part number recommended for the 2015 RAV4?
Where is the Bank 1 Sensor 2 connector located on this generation of RAV4?
My 2013 RAV4 has a shuddering feeling at 30 mph; is this related to the P0137 code?
What tools are needed to remove a seized O2 sensor on a RAV4?
Helpful Videos
We Have This Part in Stock

The information in this article is provided for general reference and educational purposes only. Vehicle specifications, procedures, and part compatibility can vary by production date, trim level, and region. Always consult your vehicle's factory service manual and verify part numbers before purchasing or performing repairs. Safety-critical components such as airbags, seat belts, and braking systems should be installed by a qualified professional.
- Toyota RAV4:
- 🎬 Helpful Videos
- 🛍️ Shop This Part
- What's Unique About the 2013-2018 Toyota RAV4
- Symptoms You May Notice
- Most Likely Causes
- Rare But Worth Checking
- Diagnosis Steps
- Parts You'll Likely Need
- Related Codes That Often Appear With This One
- Mechanic-Grade Diagnostic Values
- Scan Tool Commands That Help
- Wiring & Ground Locations
- Real Owner Repair Stories
- OEM Part Supersession History
- Model Year Variations Within This Range
- Diagnostic Flowchart
- Other Known Issues on This Vehicle
- Used vs. New Parts: Buying Guide for This Vehicle
- Real Owner Stories
- 2015 Toyota RAV4
- 2013-2018 Toyota RAV4
- Toyota RAV4 (2AR-FE engine)
- Related OBD-II Codes
- Frequently Asked Questions
- 🎟️ Get 5% Off