

P0137 on 2013-2017 Chevrolet Malibu: O2 Sensor Low Voltage Causes and Fixes
On a 2013-2017 Malibu, code P0137 almost always points to a failing downstream oxygen sensor (Bank 1, Sensor 2). Other common causes include exhaust leaks or wiring issues. The ECM triggers this code when the sensor's voltage stays below ~0.2V for an extended period. Expect to pay $40-$90 for an aftermarket sensor and $100-$180 for an OEM part; it's a straightforward DIY replacement for many owners.
- P0137 on your Malibu points to the downstream O2 sensor (Bank 1, Sensor 2) reporting low voltage.
- The most common fix is replacing the downstream O2 sensor, which is a manageable DIY job for many.
- Before replacing the sensor, always check for exhaust leaks between the engine and the sensor, as this is a frequent cause.
- If multiple other engine codes are present, check for loose intake manifold bolts, a known issue on this vehicle per TSB #PIP5529B.
- Do not confuse Sensor 2 (downstream, after the catalytic converter) with Sensor 1 (upstream, before the converter).
What's Unique About the 2013-2017 Chevrolet MALIBU

The 2013-2017 Malibu spans two generations (8th and 9th), but the P0137 code's primary causes are consistent. A notable issue for this platform, documented in GM Technical Service Bulletin #PIP5529B, is that loose intake manifold bolts can cause a vacuum leak, creating a lean condition that triggers P0137 along with a host of other seemingly unrelated codes (P0171, P0101, P0106, etc.). This is a specific mechanical fault to check for if other codes are present, which might otherwise lead to a misdiagnosis of the O2 sensor itself. The TSB explicitly lists the 2013-2017 Malibu with LCV, LKW, and LTG engines as affected.
Diagnostic Flowchart
Tap your situation to follow the diagnostic path that matches what you're seeing on this vehicle.
Generation note: This range covers the end of the 8th generation (2013-2016 "Limited" models) and the beginning of the 9th generation (2016-2017). The 8th gen commonly used 2.5L (LKW) and 2.0L Turbo (LTG) engines, while the 9th gen introduced a 1.5L Turbo (LFW). While the engines differ, the function and common failures related to the P0137 code (downstream O2 sensor) are largely the same across these powertrains, as they all use a similar emissions control strategy.
Symptoms You May Notice
- Check Engine Light is on.
- Increased fuel consumption.
- Rough or unstable idle.
- Vehicle may fail an emissions test.
- Hesitation during acceleration.
- Noticeable odor of exhaust fumes or fuel.
- Replacing the upstream O2 sensor (Sensor 1) instead of the downstream one (Sensor 2). P0137 specifically refers to the sensor located after the catalytic converter.
- Replacing the O2 sensor without checking for exhaust leaks first. An exhaust leak can introduce oxygen into the system, causing the sensor to read low voltage even when it is functioning correctly.
- Replacing the O2 sensor when the actual fault is loose intake manifold bolts as per TSB #PIP5529B, especially if other lean or sensor codes are present.
Most Likely Causes

- Failing Downstream Oxygen Sensor (Bank 1, Sensor 2) 🔴 High Probability O2 sensors are wear-and-tear items that degrade over time from extreme heat and exhaust contaminants. Their internal heating element can fail, or the sensing element can become contaminated, leading to slow or no voltage generation.
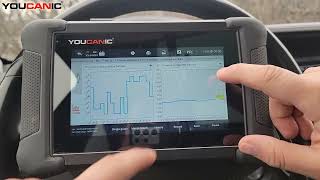
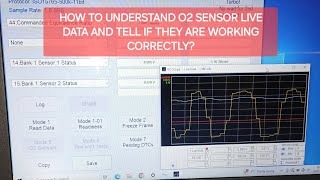
How to confirm: Use an OBD-II scanner to monitor live data for the B1S2 sensor. A healthy downstream sensor should show a relatively steady voltage (typically around 0.45V to 0.7V). If the voltage is stuck low (e.g., under 0.2V) and doesn't respond to changes in engine RPM or induced rich conditions (like with a propane torch), the sensor is likely bad.
Typical fix: Replace the Bank 1, Sensor 2 oxygen sensor. It is located on the exhaust pipe after the catalytic converter. Ensure you use a direct-fit sensor, not a universal one that requires splicing wires.
Est. part cost: $40-$180 - Exhaust Leak 🟡 Medium Probability Corrosion can cause leaks at exhaust pipe flanges, welds, or flex pipes, especially in regions that use road salt. A leak before the B1S2 sensor allows outside air (oxygen) into the exhaust stream, which the sensor reads as a lean condition, causing the voltage to drop.
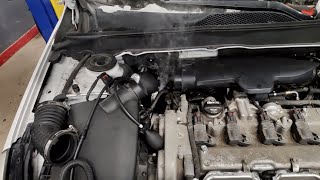
How to confirm: Visually inspect the exhaust system from the engine to the tailpipe for black soot marks, cracks, or holes. Listen for a ticking or hissing sound that gets louder with engine RPM. A smoke test is the most effective way to find small leaks. You can also use soapy water on a cold exhaust and look for bubbles when the engine starts.
Typical fix: Repair the leak by replacing the gasket, patching the pipe with exhaust putty or wrap for small leaks, or replacing the affected exhaust component.
Est. part cost: $10-$300 - Damaged Wiring or Connector ⚪ Low Probability The sensor wiring is routed under the vehicle and is exposed to road debris, heat, and moisture, which can cause corrosion, chafing, or physical damage over time. Wires can melt on hot exhaust components or pins can corrode inside the connector.
How to confirm: Visually inspect the wiring harness and connector for the downstream O2 sensor. Look for frayed wires, melted insulation, corrosion on the connector pins, or a loose connection. Use a multimeter to check for continuity to the ECM and for proper voltage/ground at the connector itself.
Typical fix: Repair the damaged section of the wiring harness or replace the connector pigtail. Secure the harness away from heat sources and moving parts.
Est. part cost: $15-$50 - Loose Intake Manifold Bolts ⚪ Low Probability As identified in TSB #PIP5529B, the intake manifold bolts on certain GM engines, including the 2.0L (LTG), 2.5L (LCV/LKW) in the Malibu, can become loose, creating a vacuum leak. This unmetered air causes a lean condition throughout the system, which the downstream O2 sensor detects as excess oxygen, resulting in a low voltage reading.
How to confirm: This is more likely if P0137 is accompanied by other codes like P0171 (System Too Lean), P0101 (MAF), or P0106 (MAP). Check the intake manifold bolts to see if they can be tightened. The TSB specifies a procedure for removal, applying medium-strength threadlocker, and re-torquing to 0.4 hour labor time.
Typical fix: Following the procedure in TSB #PIP5529B, remove, apply medium-strength threadlocker to, and torque the intake manifold bolts to specification. Do not replace the gasket unless it's proven to be leaking after torquing the bolts.
Est. part cost: $5-$15 (for threadlocker)
Rare But Worth Checking
- Failing Catalytic Converter: While a bad catalytic converter more commonly causes a P0420 code, a clogged or inefficient converter can sometimes lead to abnormal O2 sensor readings, including P0137. This should be considered after other causes are ruled out.
- Engine Control Module (ECM) Malfunction: In very rare cases, the ECM itself can be the source of the problem, misinterpreting a correct sensor signal due to internal faults. This is an unlikely cause and should only be considered after all other possibilities, including wiring, have been exhaustively checked.
Diagnosis Steps
- Read the code with an OBD-II scanner and confirm it is P0137. Note any other codes present, as they can provide critical clues (e.g., P0171).
- Using the scanner's live data function, monitor the voltage for 'O2 Bank 1 Sensor 2'. It should be relatively stable. If it's stuck below 0.2V, the sensor or its circuit is the primary suspect.
- Perform a thorough visual inspection of the exhaust system for any signs of leaks (soot, cracks, rust holes) between the engine and the downstream O2 sensor.
- Inspect the wiring and connector for the downstream O2 sensor. Look for any signs of damage, melting, corrosion, or contamination from oil or coolant leaks.
- If other codes like P0171 are present, inspect the intake manifold bolts for tightness as described in TSB #PIP5529B.
- If wiring and exhaust are okay, test the sensor's response. You can create a rich condition by introducing propane into the intake and watch for a voltage spike on the scanner. No response indicates a bad sensor.
- If the sensor, wiring, and exhaust are all confirmed to be good, the issue could be a failing catalytic converter or, in very rare cases, the ECM.
- After the repair, clear the codes with the scanner and perform a complete drive cycle to ensure the code does not return.
Parts You'll Likely Need

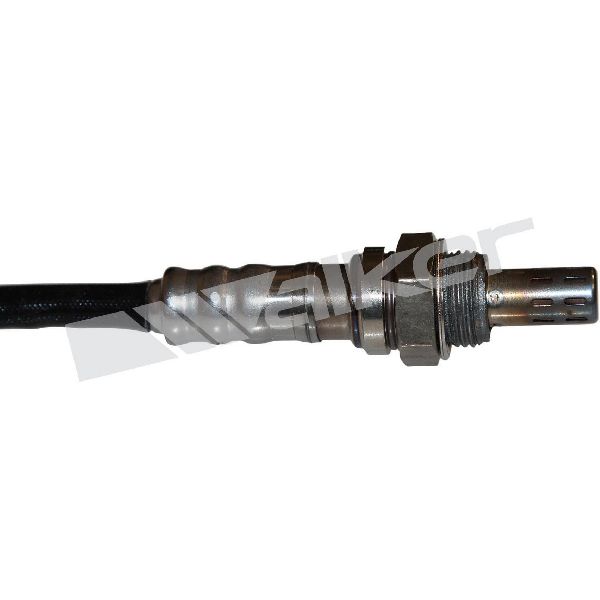
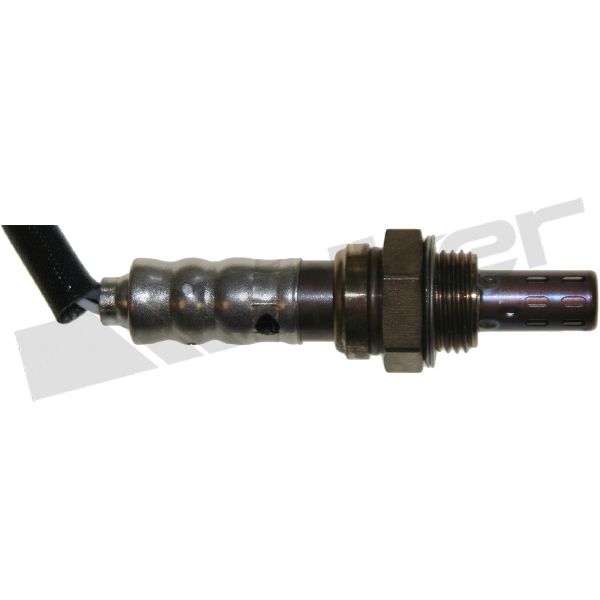
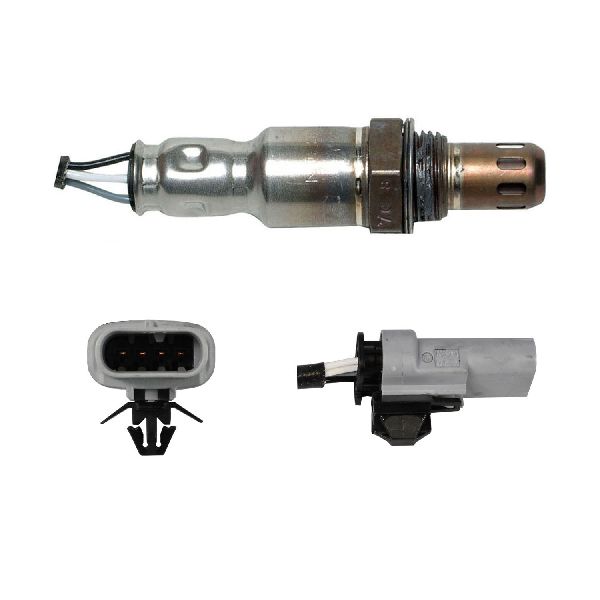
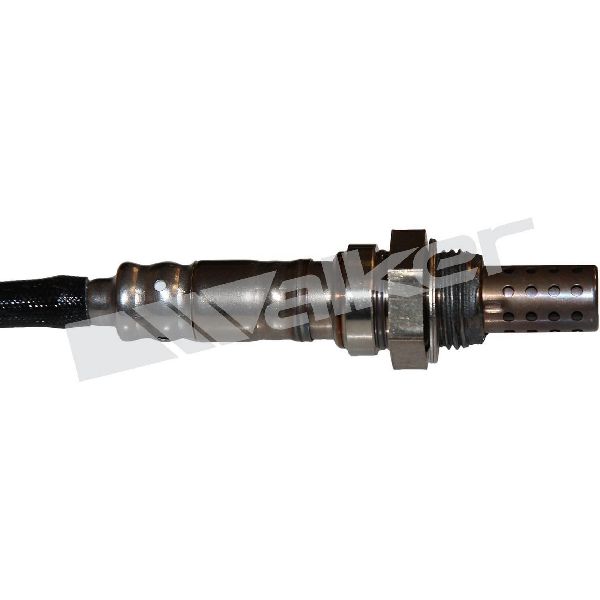
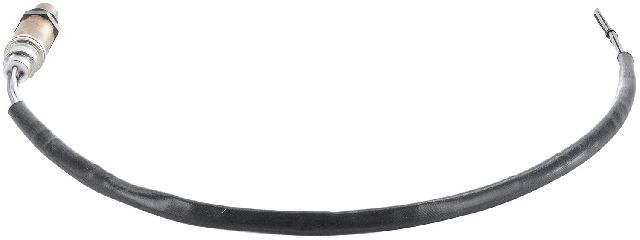
- Downstream Oxygen Sensor (Bank 1, Sensor 2)
(OEM #ACDelco 213-4768 (GM 12639692) for 2.5L engines; check specific VIN for 1.5L/2.0L engines.)— This is the most common failure point for a P0137 code. The sensor's ability to generate voltage degrades over time.
Trusted brands: ACDelco, Denso, Bosch, NTK
Related Codes That Often Appear With This One
- P0171 — System Too Lean (Bank 1). An unmetered air leak, such as from loose intake manifold bolts, can cause both a lean condition (P0171) and a low voltage reading on the downstream O2 sensor (P0137).
- P0420 — Catalyst System Efficiency Below Threshold. P0137 and P0420 are closely related. A failing downstream O2 sensor can't properly monitor the catalytic converter, which can sometimes trigger a P0420, or vice-versa. A failing converter can also cause P0137.
- P0131, P0101, P0106, etc. — As per TSB #PIP5529B, a single root cause like loose intake manifold bolts can trigger a wide array of codes including those for MAF, MAP, O2 sensors, and engine stability.
- P0138, P0141, P0036, P0054 — These codes are also related to the Bank 1 Sensor 2 circuit. P0138 is for high voltage, while the others relate to the sensor's heater circuit. Seeing these together can point to a wiring or sensor connector problem common to all functions of the sensor.
Technical Service Bulletins (TSBs) & Recalls
- PIP5529B: Addresses a potential stall, hesitation, and MIL illumination with a combination of codes including P0137, caused by loose intake manifold bolts on LCV, LKW, and LTG engines. The fix is to remove, apply threadlocker, and re-torque the bolts.
- PIP5529A: An earlier version of the same bulletin, indicating the same issue. [MANUFACTURER TSB — highest authority]
Platform-Specific Known Issues
- TSB #PIP5529B points to loose intake manifold bolts as a potential cause for a group of DTCs including P0137 on 2013-2017 Malibus. This can create a vacuum leak that leads to a lean condition and low O2 sensor voltage. The fix involves re-torquing the bolts with threadlocker.
Mechanic-Grade Diagnostic Values
- ECM Bias Voltage — expected: ~450 mV. Failure: This voltage is supplied by the ECM on the signal circuit. It should be present on the harness-side connector with the key on, engine off, and sensor unplugged. A missing or incorrect bias voltage points to an ECM or wiring issue.
- O2 Sensor Heater Circuit Resistance — expected: 5-25 Ohms. Failure: An open circuit (infinite resistance) or a dead short (near zero resistance) indicates a failed internal heater. This test is performed on the sensor itself, not the harness.
- O2 Sensor Heater Circuit Voltage Supply — expected: ~12V (Battery Voltage). Failure: No voltage at the heater power pin on the harness-side connector (with key on) indicates a blown fuse or a break in the power supply wire.
- DTC Trigger Condition — expected: Relatively steady voltage above 0.45V. Failure: The ECM will set code P0137 if the sensor voltage remains below a threshold, typically ~0.21V, for more than 20 seconds.
Scan Tool Commands That Help

- OBD-II Scan Tool (Live Data): Bias Voltage Wiring Integrity Test — To definitively rule out a wiring problem between the ECM and the sensor connector without checking the full length of the harness. With the sensor unplugged and key on, monitor the B1S2 voltage PID (~450mV). Use a test light connected to battery ground to probe the signal pin on the harness-side connector. A good wiring harness will show the voltage on the scan tool drop to near 0V. If the voltage does not change, there is an open in the signal wire.
Wiring & Ground Locations
- O2 Sensor Harness at Passenger Axle Shaft — The wiring pigtail for the downstream O2 sensor may be routed near the passenger side axle shaft.. A GM service bulletin notes that the harness can make contact with the rotating axle shaft, causing chafing and damage to the wires, leading to a short or open circuit and triggering P0137. The fix involves replacing the sensor and carefully routing the new harness away from the axle, sometimes by tying a loose knot in the pigtail to take up slack.
- O2 Sensor Harness below Power Steering Hose — On some models, the power steering gear inlet hose is routed above the engine wiring harness that contains the O2 sensor circuits.. According to GM bulletin PIP5516, a leak from the power steering hose can drip fluid onto the O2 sensor harness, contaminating the connector and wicking into the wires. This contamination skews the sensor's voltage reading, causing P0137. The fix requires replacing the leaking hose, the O2 sensor, and potentially the entire engine harness.
- B1S2 Connector Wires — At the 4-wire connector for the Bank 1 Sensor 2.. While colors can vary, common GM configurations use specific colors for testing. Typically, there are two white wires for the heater circuit, a black wire for the sensor signal, and a gray wire for the sensor ground. Knowing this helps in correctly probing for voltage and resistance.
"I Checked Everything" — The Actual Cause
- A technician may perform an exhaust smoke test and find no leaks, leading them to replace a good O2 sensor. However, GM bulletin PIP5516 points to a scenario where a leaking power steering hose drips fluid onto the O2 sensor harness. This external fluid contamination can corrupt the voltage signal, causing code P0137, even with a perfectly sealed exhaust and a functional sensor.
Helpful Videos


We Have This Part in Stock


The information in this article is provided for general reference and educational purposes only. Vehicle specifications, procedures, and part compatibility can vary by production date, trim level, and region. Always consult your vehicle's factory service manual and verify part numbers before purchasing or performing repairs. Safety-critical components such as airbags, seat belts, and braking systems should be installed by a qualified professional.
- Chevrolet MALIBU:
- 🎬 Helpful Videos
- 🛍️ Shop This Part
- What's Unique About the 2013-2017 Chevrolet MALIBU
- Diagnostic Flowchart
- Symptoms You May Notice
- Most Likely Causes
- Rare But Worth Checking
- Diagnosis Steps
- Parts You'll Likely Need
- Related Codes That Often Appear With This One
- Technical Service Bulletins (TSBs) & Recalls
- Platform-Specific Known Issues
- Mechanic-Grade Diagnostic Values
- Scan Tool Commands That Help
- Wiring & Ground Locations
- "I Checked Everything" — The Actual Cause
- 🎟️ Get 5% Off