

P0137 on 2014-2017 Cadillac CTS: Causes and Fixes for O2 Sensor Low Voltage
This code most often means the downstream oxygen sensor (Bank 1, Sensor 2) has failed. It's a common DIY repair involving a part that costs between $40 for an aftermarket sensor and $90 for an OEM ACDelco part. An exhaust leak near the sensor is the second most likely cause. In some cases, especially on the 2.0L LTG engine, this code can appear with others due to loose intake manifold bolts, as noted in a GM TSB.
- P0137 on your CTS almost always points to the downstream oxygen sensor on Bank 1 (the side with cylinder #1).
- The most likely fix is replacing the Bank 1, Sensor 2 O2 sensor, which is an accessible and affordable DIY job for many.
- Before buying parts, always perform a visual inspection of the exhaust system for leaks and check the sensor's wiring for damage.
- While driving is possible, you should fix the issue promptly to avoid failing an emissions test and prevent potential damage to your catalytic converter.
What's Unique About the 2014-2017 Cadillac CTS
For the third-generation Cadillac CTS (2014-2017), P0137 is a straightforward code that usually points to a bad sensor or an exhaust leak. However, it's notable that General Motors issued Technical Service Bulletin #PIP5529B, which specifically applies to the 2.0L LTG engine in these models. The TSB groups P0137 with a wide array of other codes, pointing to a potential root cause of loose intake manifold bolts creating an air leak. This suggests that in some cases, the code may be a symptom of a more complex air/fuel mixture issue rather than a primary sensor failure. [⭐ MANUFACTURER TSB — highest authority]
Diagnostic Flowchart
Tap your situation to follow the diagnostic path that matches what you're seeing on this vehicle.
Symptoms You May Notice
- Check Engine Light (Malfunction Indicator Lamp) is on.
- Reduced fuel economy.
- Rough or unstable idle.
- Vehicle may not pass an emissions test.
- Hesitation or lack of power during acceleration.
- In some cases, no noticeable symptoms other than the Check Engine Light.
- Replacing the catalytic converter when only the oxygen sensor is faulty. The P0137 code indicates a problem with the sensor circuit, not necessarily the converter itself. A failing converter usually sets a P0420 code.
- Replacing the O2 sensor without checking for exhaust leaks first. An exhaust leak will cause the new sensor to read low voltage as well, making the problem return. 🎬 Watch: Why you shouldn't replace the sensor without testing first.
Most Likely Causes
- Faulty Downstream Oxygen Sensor (Bank 1, Sensor 2) 🔴 High Probability Oxygen sensors are wear-and-tear items that operate in a harsh exhaust environment. They have a finite lifespan (often recommended for inspection/replacement after 90,000+ miles) and failure is common across all vehicles, including the CTS.
How to confirm: Use an OBD-II scanner to monitor the live voltage data for Bank 1, Sensor 2. A healthy downstream sensor shows a relatively stable voltage (typically between 0.5V and 0.8V). If the voltage is stuck low (e.g., below 0.2V) and does not respond, the sensor is likely faulty.
Typical fix: Replace the Bank 1, Sensor 2 oxygen sensor. It is highly recommended to use a direct-fit OEM or high-quality aftermarket brand (like ACDelco, Denso, NTK) rather than a universal, splice-in sensor.
Est. part cost: $40-$90 - Exhaust Leak 🟡 Medium Probability Exhaust components like gaskets, flex pipes, and manifold welds can develop leaks from corrosion or stress fractures. A leak before the Sensor 2 location allows outside air into the exhaust stream, which contains excess oxygen, causing the sensor to read a false low voltage (lean condition).
How to confirm: Visually inspect the exhaust system from the engine to the catalytic converter for cracks, holes, or black soot marks indicating a leak. A common failure point can be the flex pipe or manifold gaskets. A smoke machine is the most effective tool to pressurize the exhaust and pinpoint the exact leak source. 🎬 See how to find any exhaust leak in under five minutes.
Typical fix: Repair the leak. This may involve replacing a gasket, welding a crack, or replacing a section of the exhaust like the flex pipe.
Est. part cost: $10-$300 - Damaged Wiring or Connector ⚪ Low Probability The wiring harness for the O2 sensor is located under the vehicle and is exposed to road debris, moisture, and heat. Wires can become frayed, melted on the exhaust, or corroded at the connector pins.
How to confirm: Visually inspect the wiring and connector for the Bank 1, Sensor 2 for any signs of melting, corrosion, chafing, or breaks. Use a multimeter to check for proper voltage, ground, and continuity between the sensor connector and the ECM.
Typical fix: Repair or replace the damaged section of the wiring harness or the connector pigtail.
Est. part cost: $20-$150
Rare But Worth Checking
- Loose Intake Manifold Bolts (2.0L LTG Engine): This is a very specific cause identified in GM TSB #PIP5529B. On the 2.0L Turbo engine, loose intake manifold bolts can cause a significant vacuum leak. This unmetered air creates a lean condition across the board, which can manifest as a P0137 code, often accompanied by other codes like P0171 (System Too Lean), P0106 (MAP Sensor), and P0101 (MAF Sensor). The fix involves applying threadlocker and re-torquing the intake manifold bolts 🎬 Watch this walkthrough on how to access the LTG intake manifold. to spec. [⭐ MANUFACTURER TSB — highest authority]
- Engine Control Module (ECM) Issue: This is very rare, but a faulty ECM can misinterpret the sensor's signal. The existence of TSB #PIP5529B, which lists P0137 among many other codes, hints at complex diagnostic scenarios that could, in extreme cases, point toward a control module or software issue. Always exhaust all other possibilities before considering ECM replacement.
- Low Fuel Pressure: An engine running lean due to a weak fuel pump or clogged filter can cause this code, but it will almost always be accompanied by other codes related to the lean condition (like P0171) and likely cause noticeable drivability issues.
Diagnosis Steps
- Read the code with an OBD-II scanner and confirm P0137 is present. Note any other codes, as they are crucial for diagnosis (especially if P0171 or others from TSB #PIP5529B are present).
- Visually inspect the exhaust system for any obvious leaks, especially around manifold gaskets, the flex pipe, and welds between the engine and the catalytic converter. Look for soot or listen for hissing sounds.
- Inspect the Bank 1, Sensor 2 oxygen sensor's wiring harness and connector for damage, melting, corrosion, or being soaked in oil/coolant.
- Use the live data function on your scanner to observe the voltage of Bank 1, Sensor 2 with the engine warm and running. It should be relatively stable. If it's stuck below 0.2-0.3 volts, the sensor or its circuit is the likely problem.
- If you have a 2.0L engine and other codes like P0171, P0101, or P0106 are present, inspect the intake manifold bolts for looseness as per TSB #PIP5529B before proceeding. This could be the root cause.
- If the sensor signal appears faulty, test the sensor's heater circuit with a multimeter to ensure it has proper resistance. A failed heater can affect sensor performance.
- If the wiring and sensor test good, definitively check for exhaust leaks using a smoke machine. This is the most reliable method.
- If no leaks are found and the sensor/wiring are confirmed good, the issue could be a lean running condition caused by fuel delivery problems or, in very rare cases, the ECM itself.
Parts You'll Likely Need
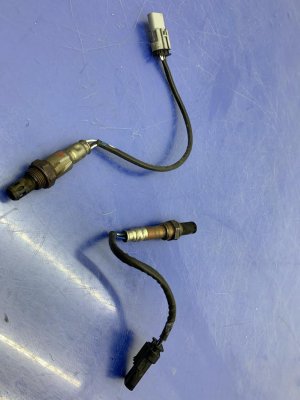
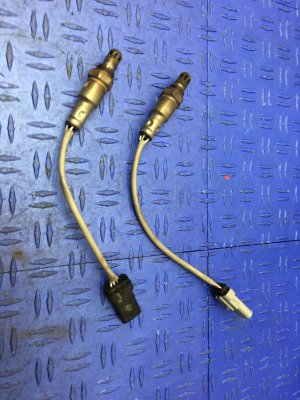
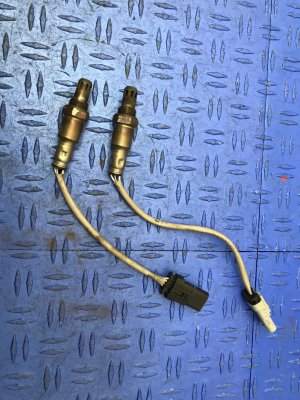
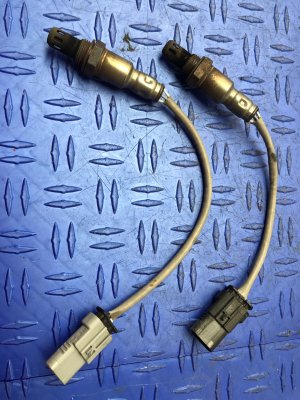
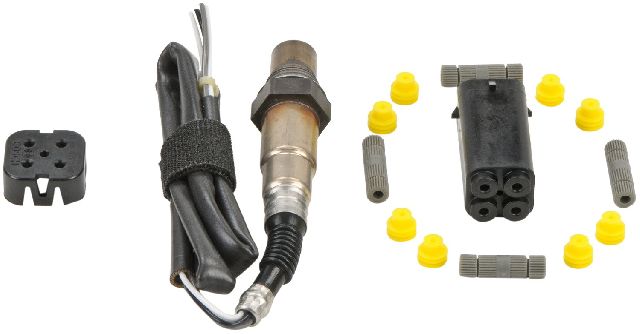
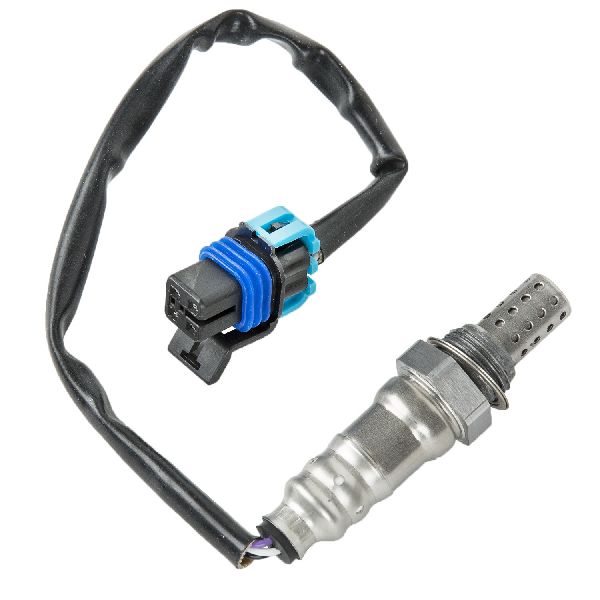
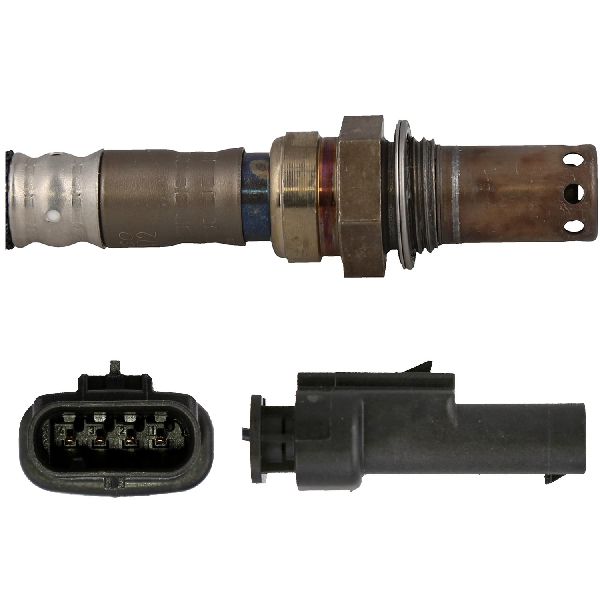
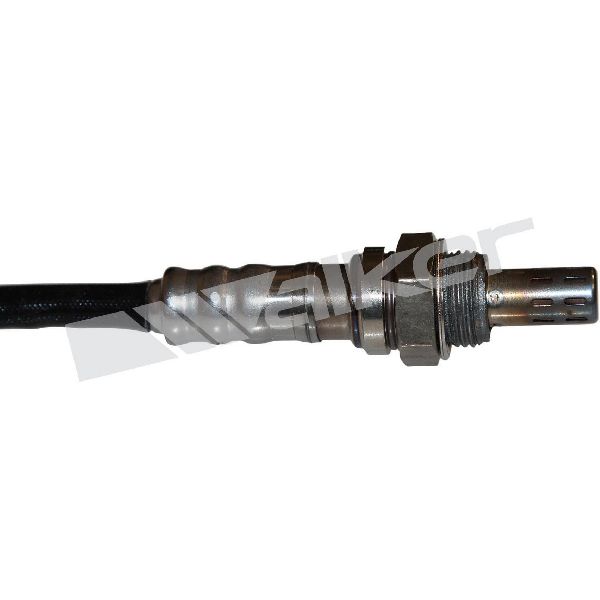
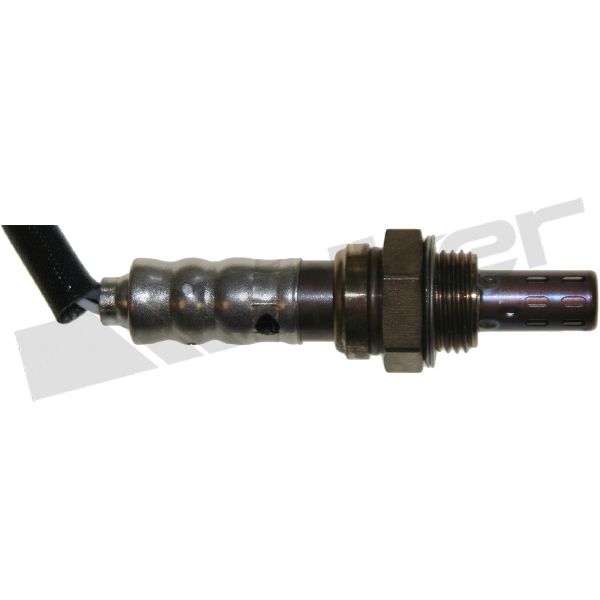
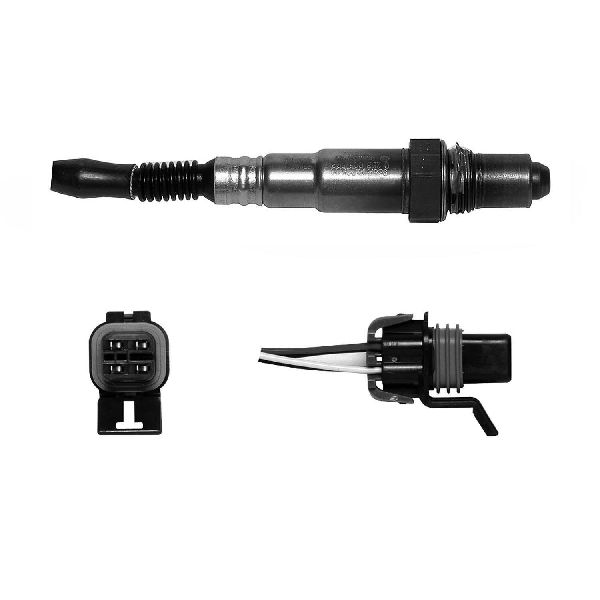
- Oxygen Sensor (Bank 1, Sensor 2)
(OEM #12666729, alternate 12676221)— This is the most common failure point for code P0137. The sensor degrades over time and stops sending a correct voltage signal. Part number can vary by engine and specific emissions package, always verify with VIN.
Trusted brands: ACDelco (OEM), Denso, Bosch, NTK
OEM price range: $70-$90
Aftermarket price range: $40-$65
Related Codes That Often Appear With This One
- P0131 — This code is for low voltage on the upstream O2 sensor (Bank 1, Sensor 1). Seeing both may indicate a widespread issue like a major vacuum or exhaust leak affecting the entire bank.
- P0171 — This code indicates a System Too Lean (Bank 1) condition. An exhaust leak, or a vacuum leak from sources like loose intake manifold bolts, can cause both P0171 and P0137 to appear together.
- P0068, P0101, P0106, P0324, P0326, P0331, P0506 — GM Technical Service Bulletin #PIP5529B groups P0137 with these codes, suggesting a potential shared root cause on the 2.0L LTG engine related to loose intake manifold bolts causing a significant air leak. [⭐ MANUFACTURER TSB — highest authority]
- P0141 — This code is for a malfunction in the heater circuit of the same sensor (Bank 1, Sensor 2). Seeing them together strongly points to a faulty sensor assembly or a wiring issue affecting the entire sensor.
Technical Service Bulletins (TSBs) & Recalls
- PIP5529B: For 2.0L LTG engines, explicitly links P0137 with a group of other codes (P0068, P0101, P0106, P0171, etc.) and points to loose intake manifold bolts as a potential cause. Recommends adding threadlocker and re-torquing bolts. [⭐ MANUFACTURER TSB — highest authority]
- PIP5529A: An earlier version of the same bulletin with similar information. [⭐ MANUFACTURER TSB — highest authority]
Platform-Specific Known Issues
- GM has issued Technical Service Bulletin #PIP5529B for various models, including the 2014-2017 CTS with the 2.0L LTG engine. It notes that a combination of codes, including P0137, can be set. The bulletin explicitly suggests inspecting for loose intake manifold bolts and, if found, removing them one by one to apply threadlocker and re-torquing them to specification. This indicates the root cause is often a vacuum leak, not a sensor failure. [⭐ MANUFACTURER TSB — highest authority]
Mechanic-Grade Diagnostic Values
- Downstream O2 sensor (B1S2) voltage at warm idle — expected: Relatively stable voltage between 0.4V and 0.8V.. Failure: Voltage is consistently below 0.4V, often stuck below 0.2V for an extended period (e.g., 20+ seconds).
- O2 Sensor Heater Circuit Voltage — expected: Approximately 12V (battery voltage) at the sensor connector with the key on, engine off.. Failure: No voltage at the connector, which could indicate a blown fuse or a wiring issue.
Wiring & Ground Locations
- G102 — Right front of the engine compartment.. This is a primary ground location for the Engine Control Module (ECM). A poor ground here can cause erratic behavior and incorrect readings from any sensor reporting to the ECM, including the O2 sensor.
- G106 — Right rear of the engine compartment.. This is another ground point in the engine compartment that provides a ground path for the ECM. Verifying the integrity of these main grounds is a crucial step in diagnosing any electronic sensor fault.
- HO2S B1S2 Connector — On the exhaust pipe, after the catalytic converter on the passenger side (3.6L) or the only bank (2.0L). The wiring harness runs under the vehicle.. This is the primary point of failure for wiring issues. The connector and nearby harness are exposed to heat, moisture, and road debris, making them susceptible to corrosion, melting, or physical damage.
"I Checked Everything" — The Actual Cause
- On 2.0L LTG engines, a technician may perform an exhaust smoke test to check for leaks and find none. However, the P0137 code (especially with P0171) may actually be caused by unmetered air from loose intake manifold bolts, as detailed in TSB #PIP5529B. This is a vacuum leak, not an exhaust leak, and would not be found with a standard exhaust smoke test.
Helpful Videos


Used OEM Parts in Stock
New Aftermarket Parts Available

The information in this article is provided for general reference and educational purposes only. Vehicle specifications, procedures, and part compatibility can vary by production date, trim level, and region. Always consult your vehicle's factory service manual and verify part numbers before purchasing or performing repairs. Safety-critical components such as airbags, seat belts, and braking systems should be installed by a qualified professional.
- Cadillac CTS:
- 🎬 Helpful Videos
- 🛍️ Shop This Part
- What's Unique About the 2014-2017 Cadillac CTS
- Diagnostic Flowchart
- Symptoms You May Notice
- Most Likely Causes
- Rare But Worth Checking
- Diagnosis Steps
- Parts You'll Likely Need
- Related Codes That Often Appear With This One
- Technical Service Bulletins (TSBs) & Recalls
- Platform-Specific Known Issues
- Mechanic-Grade Diagnostic Values
- Wiring & Ground Locations
- "I Checked Everything" — The Actual Cause
- 🎟️ Get 5% Off