

P0137 on 2016-2017 Buick Envision: O2 Sensor Low Voltage Causes and Fixes
P0137 on a 2016-2017 Buick Envision most often means the downstream oxygen sensor (Bank 1, Sensor 2) has failed. Replacing this sensor is the most common fix. However, if other codes like P0171 are present, the root cause could be a vacuum leak from loose intake manifold bolts, a known issue covered by a GM TSB. Expect to pay around $100 for the part and about an hour of labor if done at a shop.
- P0137 points to a low voltage signal from the downstream oxygen sensor (Bank 1, Sensor 2).
- The most common fix is replacing the downstream oxygen sensor itself.
- Before replacing the sensor, always inspect its wiring and connector for damage.
- Check for exhaust leaks, as they can trick the sensor into sending a low voltage signal.
- If P0137 appears with other codes like P0171 or P0106, suspect a vacuum or intake air leak as suggested by GM TSBs.
What's Unique About the 2016-2017 Buick ENVISION
For the Buick Envision and many other GM vehicles from this era sharing the 2.5L LCV and 2.0L LTG engines, P0137 is a straightforward code that often points to a faulty sensor or wiring. 🎬 Watch: Understanding the causes and fixes for code P0137 However, GM has issued a critical Technical Service Bulletin (TSB #PIP5529B) that connects P0137 with a larger group of seemingly unrelated codes (like P0171, P0106, P0101, etc.). The TSB identifies that loose intake manifold bolts can cause unmetered air leaks (vacuum leaks), leading to a lean condition that triggers multiple codes at once. Therefore, while a solo P0137 code likely points to the O2 sensor, its appearance with other codes warrants a broader diagnostic approach, starting with an inspection of the intake manifold bolts for proper torque before replacing any sensors.
Diagnostic Flowchart
Tap your situation to follow the diagnostic path that matches what you're seeing on this vehicle.
Symptoms You May Notice
- Check Engine Light is on
- Failing an emissions inspection
- Decreased fuel economy (less common with only a downstream sensor fault)
- Rough or unstable idle (more likely if other codes, like P0171, are present)
- Engine hesitation or lack of power (unlikely unless other codes are present)
- Replacing the upstream (Sensor 1) oxygen sensor instead of the downstream (Sensor 2) sensor.
- Replacing the O2 sensor without first checking for exhaust leaks or wiring damage, especially if other codes are present.
- Replacing the O2 sensor when the actual cause is loose intake manifold bolts as described in TSB #PIP5529B, particularly when P0171 is also present.
Most Likely Causes
- Failed Downstream Oxygen Sensor (Bank 1, Sensor 2) 🔴 High Probability Oxygen sensors are consumable parts that operate in a harsh exhaust environment. Their lifespan is typically 70,000-100,000 miles, after which the internal sensing element or heater can fail from contamination and constant heat cycling.
How to confirm: Use an OBD-II scanner to monitor the live voltage data from 'O2S B1S2' (Bank 1, Sensor 2). A healthy downstream sensor should show a relatively steady voltage, typically between 0.4V and 0.8V on a warm engine. If the voltage is stuck low (e.g., below 0.2V) and doesn't respond when the throttle is blipped, the sensor is likely bad.
Typical fix: Replace the downstream oxygen sensor. This requires a 22mm or 7/8" oxygen sensor socket. Apply anti-seize compound to the threads of the new sensor before installation.
Est. part cost: $40-$125 - Damaged Wiring or Corroded Connector 🟡 Medium Probability The wiring harness for the downstream O2 sensor is located under the vehicle and is exposed to heat from the exhaust, moisture, and road debris. This can cause wires to become brittle, melt, or chafe, and the connector pins can corrode, leading to a poor signal.
How to confirm: Visually inspect the entire wiring harness and connector leading to the Bank 1, Sensor 2 for any signs of melting, chafing, corrosion, or loose pins. Use a multimeter to check for continuity on the signal wire and ground, and verify voltage on the heater circuit wires at the connector.
Typical fix: Repair the damaged section of the wiring harness or clean the connector terminals. If corrosion is severe, the connector pigtail may need to be replaced.
Est. part cost: $10-$50 - Exhaust Leak ⚪ Low Probability Exhaust system components like gaskets or pipe welds can fail from rust or stress, creating leaks. If a leak occurs before the downstream O2 sensor, it can draw in outside air, which contains more oxygen. This causes the sensor to read a false low voltage (lean) signal.
How to confirm: Listen for unusual hissing or ticking sounds from the exhaust, especially when the engine is cold. A visual inspection may reveal cracks or soot trails near gaskets or welds. A smoke test is the most effective way to pinpoint small leaks.
Typical fix: Repair or replace the leaking section of the exhaust system, which could involve replacing a gasket or welding a crack.
Est. part cost: $50-$300+
Rare But Worth Checking
- Loose Intake Manifold Bolts (Engine Running Lean): This is a significant issue for this platform, as detailed in TSB #PIP5529B. Loose intake manifold bolts cause a vacuum leak, forcing the engine to run lean. This lean condition can trigger P0137, but it will almost always be accompanied by other codes like P0171 (System Too Lean), P0106, P0068, or P0131. The fix is to re-torque the intake manifold bolts to specification, applying medium-strength threadlocker one bolt at a time.
- Failing Catalytic Converter: A physically damaged or chemically degraded catalytic converter can fail to properly process exhaust gases. This can sometimes result in an incorrect reading from the downstream sensor, although it more commonly triggers a P0420 (Catalyst System Efficiency Below Threshold) code.
- Powertrain Control Module (PCM) Issue: In very rare cases, the PCM itself may have a software glitch or internal fault, causing it to misinterpret the sensor's signal. This should only be considered after all other possibilities have been exhaustively ruled out.
Diagnosis Steps
- Connect an OBD-II scanner and confirm P0137 is present. Check for any other codes. If codes like P0171, P0106, P0068, or P0131 are also stored, immediately suspect a vacuum leak and refer to TSB #PIP5529B.
- If P0137 is the only code, use the scanner's live data function to monitor the voltage of 'O2S B1S2' (Bank 1, Sensor 2).
- Observe the voltage on a fully warmed-up engine. It should be relatively stable between 0.4V and 0.8V. If the voltage is stuck low (e.g., < 0.2V) and does not respond to changes in engine RPM, it confirms the fault condition.
- If multiple codes are present, inspect the intake manifold bolts to ensure they are torqued to specification before proceeding. This is a 15-minute check that can save you from replacing unnecessary parts.
- Perform a thorough visual inspection of the Bank 1, Sensor 2 wiring harness and connector. Look for any signs of melting, corrosion, or physical damage from road debris.
- Inspect the exhaust system for leaks between the catalytic converter and the downstream O2 sensor. Listen for hissing noises and look for soot trails or cracks. A smoke test is the most definitive method.
- If the wiring and exhaust system are intact, and no other codes point to a systemic issue, the oxygen sensor itself is the most likely culprit and should be replaced.
Parts You'll Likely Need
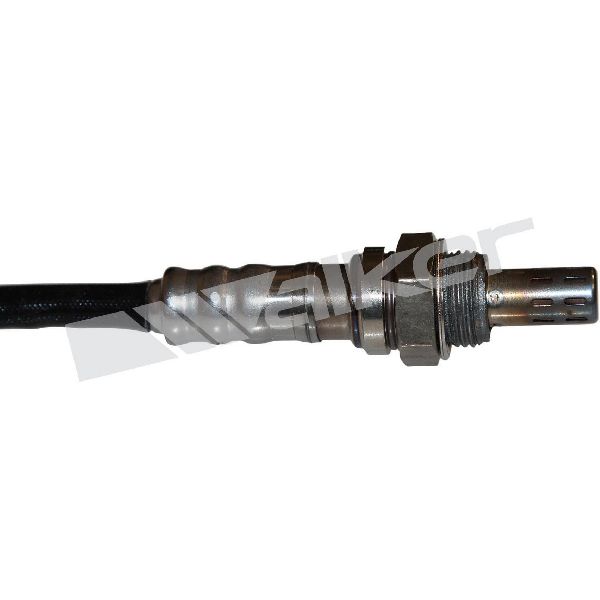
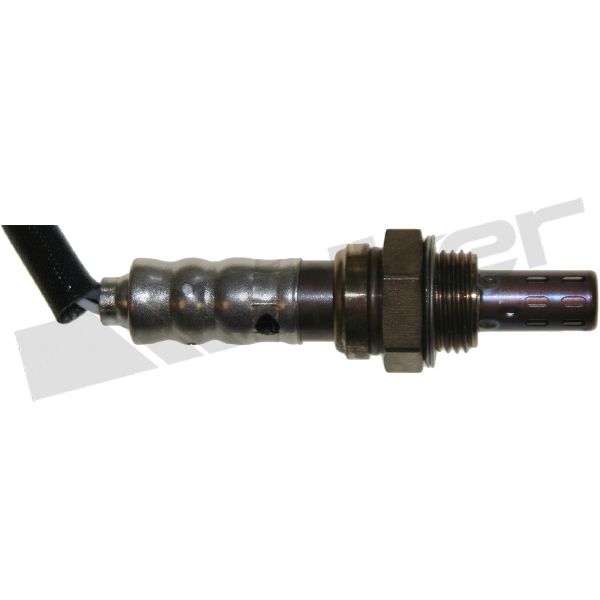
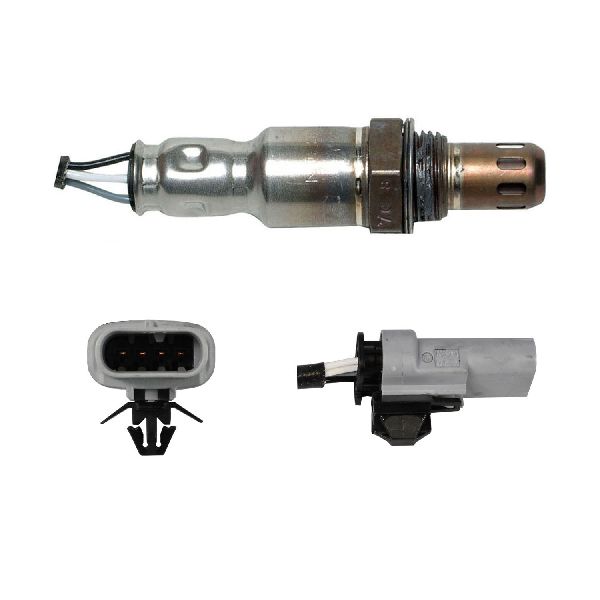
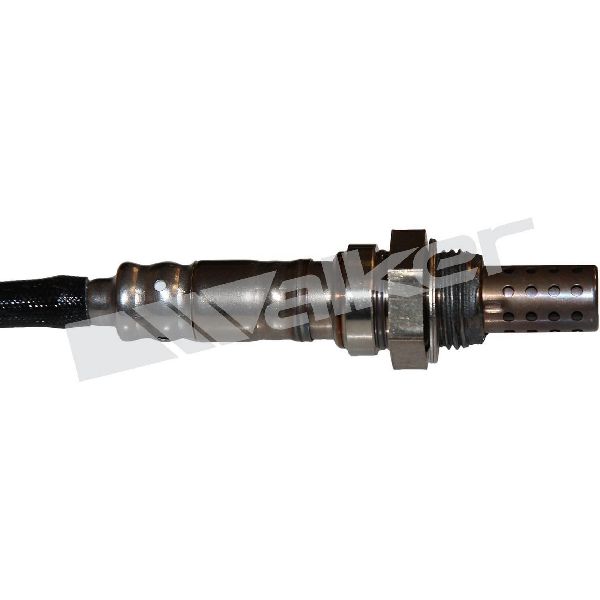
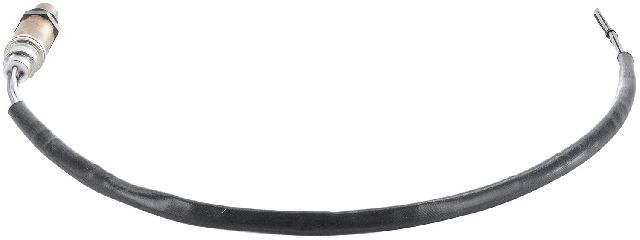
- Downstream Oxygen Sensor (Bank 1, Sensor 2)
(OEM #12639692)— This sensor is the most common point of failure for an isolated P0137 code when no other issues like wiring damage or exhaust leaks are found. It is a wear item.
Trusted brands: ACDelco (GM Genuine), Denso, NGK/NTK, Bosch
OEM price range: $80-$140
Aftermarket price range: $40-$100
Related Codes That Often Appear With This One
- P0171 — Indicates a lean running condition. This code appearing with P0137 is a strong indicator of a vacuum leak. TSB #PIP5529B specifically points to loose intake manifold bolts as a common cause for this combination.
- P0106 — Relates to the MAP sensor. TSB #PIP5529B groups this code with P0137, suggesting a common cause like a significant vacuum leak can affect both manifold pressure and exhaust oxygen content.
- P0420 — Indicates low catalyst efficiency. A P0137 code can sometimes be a precursor to a P0420 if the sensor is failing to monitor the catalyst correctly, or the catalyst itself is failing.
- P0131 — This is a low voltage code for the *upstream* O2 sensor (Bank 1, Sensor 1). Seeing both P0131 and P0137 together could point to a large exhaust leak affecting both sensors, a shared wiring issue, or a systemic problem like the vacuum leak mentioned in TSB #PIP5529B.
Technical Service Bulletins (TSBs) & Recalls
- PIP5529B: The most relevant TSB. It lists P0137 as one of several DTCs that can be caused by loose intake manifold bolts creating an unmetered air leak. It applies to both the 2.5L LCV and 2.0L LTG engines in the 2016-2017 Envision. The fix is to apply threadlocker and re-torque the bolts.
- PIP5529A: An earlier, superseded version of the same bulletin with similar information.
Platform-Specific Known Issues
- TSB #PIP5529B: Loose Intake Manifold Bolts: This is the most critical vehicle-specific issue. P0137 appearing with codes like P0171, P0106, P0101, P0068, or P0131 strongly suggests a vacuum leak caused by loose intake manifold bolts on both the 2.5L LCV and 2.0L LTG engines. The official fix is to remove one bolt at a time, apply medium strength threadlocker, and torque to specification. The labor time for this is estimated at just 0.4 hours.
- Cracked PCV Hoses (2.0L LTG Engine): On the 2.0L Turbo engine specifically, brittle or cracked plastic PCV ventilation tubes are a common source of vacuum leaks that can trigger P0171 and, by extension, potentially contribute to a P0137 reading.
Mechanic-Grade Diagnostic Values
- Downstream O2 Sensor (B1S2) Voltage at Idle/Steady Cruise — expected: Relatively stable voltage between 0.4V and 0.8V on a warm engine.. Failure: Voltage is stuck low, below 0.2V - 0.3V, and does not change with engine RPM.
- O2 Sensor Heater Circuit Resistance — expected: Typically between 4 and 20 ohms, with many GM sensors reading around 5-6 ohms.. Failure: An open circuit (infinite resistance) or a short (near-zero resistance) when measured across the two heater wires (often the same color, e.g., two white wires) on the sensor's connector.
Scan Tool Commands That Help
- GDS2 / High-End OBD-II Scanner: Live Data Graphing for O2 Sensor B1S2 — This is the primary diagnostic step to visually confirm if the sensor's voltage is flat-lined low, which is the main trigger for P0137. A healthy downstream sensor should have a lazy, slow-moving voltage, while a bad one will often be stuck near 0V.
- GDS2 (GM Dealer Tool): Special Setup Procedures / Programming — Some genuine GM replacement oxygen sensors may require a programming or setup procedure after installation to ensure proper operation with the vehicle's ECM. This is noted in some OEM part descriptions.
Wiring & Ground Locations
- B1S2 O2 Sensor Connector — On the exhaust pipe, after the catalytic converter, underneath the vehicle. The connector is a 4-pin male connector, often gray, that connects the sensor to the main engine wiring harness.. This connector is a common point for corrosion, moisture intrusion, or physical damage from road debris, which can cause a short or open in the signal circuit, directly leading to a P0137 code.
- Engine Ground Points (e.g., G103, G104, G106) — Key engine grounds are typically located on the cylinder head and engine block, bolted to the chassis or firewall. Specific locations vary between the 2.5L and 2.0L engines.. A poor engine ground can affect the reference voltage for multiple sensors, including the oxygen sensors. While not a direct cause, checking major grounds is a good practice if multiple, seemingly unrelated electrical codes are present.
OEM Part Supersession History
ACDelco 12663317→ACDelco 12701634— Part updated by the manufacturer.
Heads up: This supersession was noted for a related GM vehicle (GMC Canyon) but may apply to shared platforms. Always verify the part number with the vehicle's VIN before purchasing.
Model Year Variations Within This Range
- 2016: For the 2016 model year, the Envision was only available in the US with the 2.0L turbo engine.
- 2017: For the 2017 model year, new trim levels were introduced that used a 2.5L LCV four-cylinder engine as the standard powertrain, with the 2.0L turbo as an option. This is significant because TSB #PIP5529B regarding loose intake manifold bolts is highly relevant to the 2.5L LCV engine.
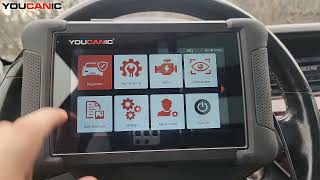
Helpful Videos

We Have This Part in Stock


The information in this article is provided for general reference and educational purposes only. Vehicle specifications, procedures, and part compatibility can vary by production date, trim level, and region. Always consult your vehicle's factory service manual and verify part numbers before purchasing or performing repairs. Safety-critical components such as airbags, seat belts, and braking systems should be installed by a qualified professional.
- Buick ENVISION:
- 🎬 Helpful Videos
- 🛍️ Shop This Part
- What's Unique About the 2016-2017 Buick ENVISION
- Diagnostic Flowchart
- Symptoms You May Notice
- Most Likely Causes
- Rare But Worth Checking
- Diagnosis Steps
- Parts You'll Likely Need
- Related Codes That Often Appear With This One
- Technical Service Bulletins (TSBs) & Recalls
- Platform-Specific Known Issues
- Mechanic-Grade Diagnostic Values
- Scan Tool Commands That Help
- Wiring & Ground Locations
- OEM Part Supersession History
- Model Year Variations Within This Range
- 🎟️ Get 5% Off