

P0135 on 2006-2010 Dodge Charger 6.1L SRT-8: O2 Sensor Heater Failure Causes and Fixes
This code almost always means the internal heater in the Bank 1, Sensor 1 (driver's side, upstream) oxygen sensor has failed. Replacing the sensor is the most common fix. Expect to pay $40-$80 for an aftermarket sensor or $100-$150 for an OEM part. It's a straightforward DIY job for most.
- P0135 points directly to a problem with the heater inside the driver's side upstream O2 sensor.
- The most common fix by far is to replace the sensor itself.
- Before buying a new sensor, take a moment to check the fuse and inspect the wiring near the exhaust for any visible damage.
- You can continue to drive with this code, but you'll get worse gas mileage and may cause more expensive damage to your catalytic converter over the long term.
- Ensure you are replacing the correct sensor: Bank 1 is the driver's side, and Sensor 1 is upstream (before the catalytic converter).
What's Unique About the 2006-2010 Dodge Charger
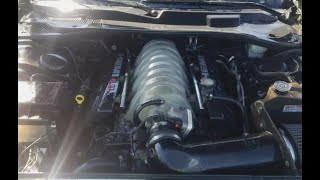
On the 6.1L Hemi engine, like many V8s, identifying the correct sensor is the main challenge for a DIYer. Bank 1 is always the side with cylinder #1, which on this Hemi is the driver's side. Sensor 1 is the upstream sensor, before the catalytic converter. 🎬 See this guide to finding O2 sensor locations While the code itself is generic, some Chrysler vehicles can be sensitive to aftermarket sensors, so using a quality replacement from a brand like NTK (a division of NGK) or Bosch is often recommended by owners to avoid compatibility issues. In some cases, using an incorrect or low-quality aftermarket sensor can cause the P0135 code to persist.
Symptoms You May Notice
- Check Engine Light is on.
- Reduced fuel economy.
- Rough idle or slight hesitation, especially when the engine is cold.
- Failing an emissions test.
- Vehicle may enter "BATTERY SAVER MODE" in some instances due to electrical system monitoring, although this is less common for a single sensor failure.
- Replacing the wrong O2 sensor (e.g., Bank 2 instead of Bank 1, or the downstream sensor instead of upstream).
- Replacing the O2 sensor without first checking the fuse and inspecting the wiring harness for damage.
- Using a cheap, incompatible aftermarket sensor that does not meet OEM specifications, causing the code to return.
Most Likely Causes
- Failed O2 Sensor Internal Heater 🔴 High Probability The heating element inside the sensor is a common failure point due to age and constant extreme heat cycles. It's the most frequent reason for a P0135 code, with some estimates suggesting it accounts for 60% of cases.
How to confirm: Disconnect the sensor and use a multimeter to measure the resistance between the two heater circuit wires (often the two wires of the same color, e.g., two white wires). A healthy sensor typically has a low resistance, often between 2.5 and 20 ohms depending on the specific part. An infinite resistance reading (open) or zero resistance (short) confirms the heater has failed.
Typical fix: Replace the Bank 1, Sensor 1 (driver's side, upstream) oxygen sensor. An O2 sensor socket is highly recommended for removal.
Est. part cost: $40-$150 - Damaged Wiring or Connector 🟡 Medium Probability The wiring harness is routed close to hot exhaust components and can become brittle, melted, or chafed over time. The connector pins can also suffer from corrosion due to moisture and road salt. This accounts for a significant portion of P0135 issues, estimated at around 25%.
How to confirm: Visually inspect the wiring harness and connector leading to the O2 sensor for any signs of melting, chafing, or corrosion on the pins. Use a multimeter to check for 12V power and a good ground at the vehicle-side connector with the key on, engine off. The ground is often controlled by the PCM via Pulse Width Modulation (PWM).
Typical fix: Repair the damaged section of the wiring harness or clean/replace the connector. Use heat-resistant loom to protect the new repair.
Est. part cost: $5-$50 - Blown Fuse or Faulty Relay ⚪ Low Probability While less common, a short in the sensor or wiring can cause the associated fuse to blow, cutting power to the heater circuit. This is estimated to be the cause in about 10% of cases. Power for the O2 sensor heaters is often supplied by the Auto Shutdown (ASD) relay.
How to confirm: Locate the fuse for the O2 sensor heater circuit in the vehicle's fuse box (Front Power Distribution Center). Consult the owner's manual or the fuse box diagram for the specific location, often labeled 'O2 Heater' or similar. Visually inspect the fuse to see if it is blown and test for continuity. If a relay is used, it should also be tested. The ASD relay, which powers the heaters, is also located in the Power Distribution Center.
Typical fix: Replace the blown fuse. If the new fuse blows immediately, it indicates a persistent short circuit in the wiring or the sensor itself that must be found and fixed.
Est. part cost: $1-$5
Rare But Worth Checking
- Faulty Powertrain Control Module (PCM): This is very uncommon, estimated at 5% of cases. The PCM's internal driver for the heater circuit can fail, but all other possibilities (sensor, wiring, fuse) should be exhaustively ruled out before considering PCM replacement.
Diagnosis Steps
- Read the code with an OBD-II scanner to confirm P0135 is the primary code present.
- Visually inspect the Bank 1, Sensor 1 (driver's side, upstream) O2 sensor wiring and connector for any signs of melting, fraying, or corrosion.
- Check the fuse for the O2 sensor heater circuit, typically in the front power distribution center. Replace if blown.
- If the fuse and wiring appear intact, disconnect the O2 sensor connector.
- Test the resistance of the heater circuit on the sensor itself using a multimeter. Set the meter to ohms and measure between the two heater pins (often same-colored wires). A reading outside the typical 2.5-20 ohm range confirms a bad sensor.
- If sensor resistance is good, test the vehicle-side connector. With the ignition on, engine off, check for battery voltage (approx. 12V) on the power supply wire and check for continuity to ground on the ground wire. Lack of power or ground points to a wiring or PCM issue.
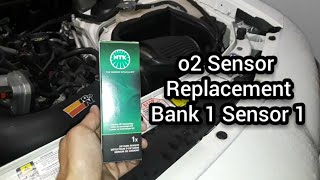
- If the sensor's heater has failed, replace the Bank 1, Sensor 1 O2 sensor. Using an O2 sensor socket is highly recommended. Apply anti-seize compound to the threads of the new sensor if not pre-applied. 🎬 Watch: Step-by-step Bank 1 Sensor 1 replacement walkthrough
- Clear the code with the OBD-II scanner and perform a complete drive cycle to ensure the light does not return.
Parts You'll Likely Need
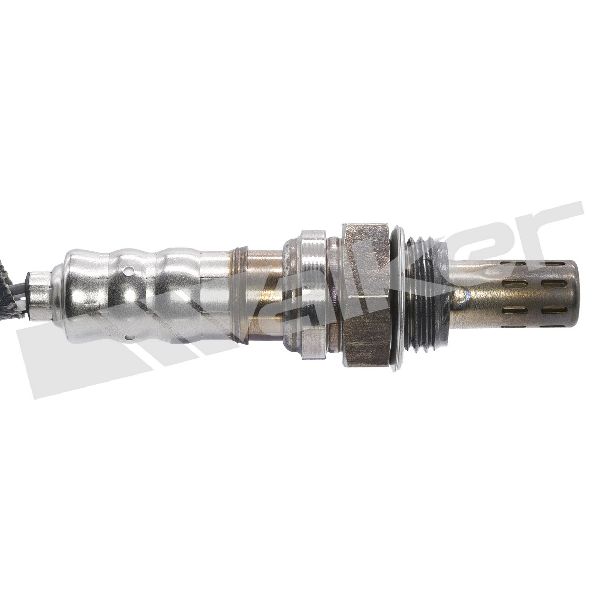
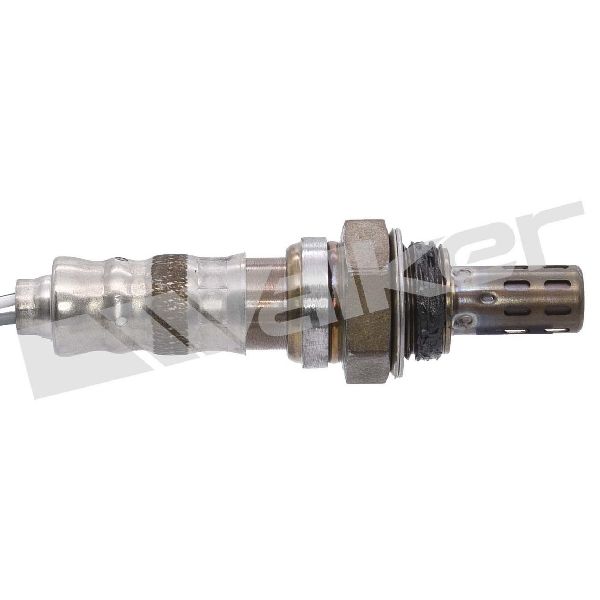
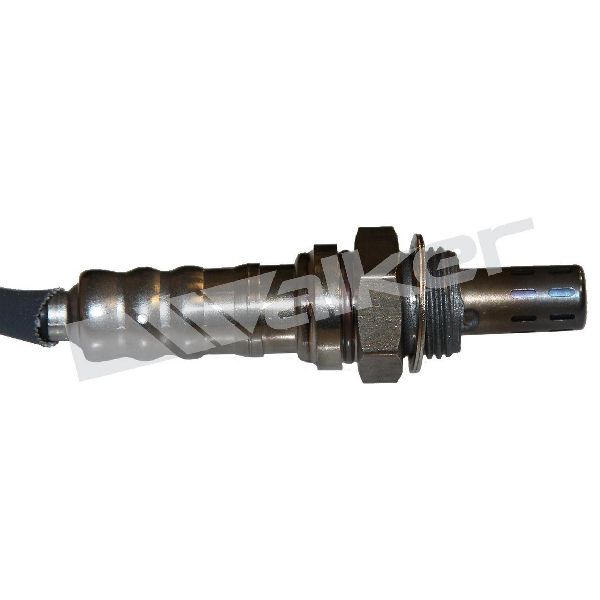
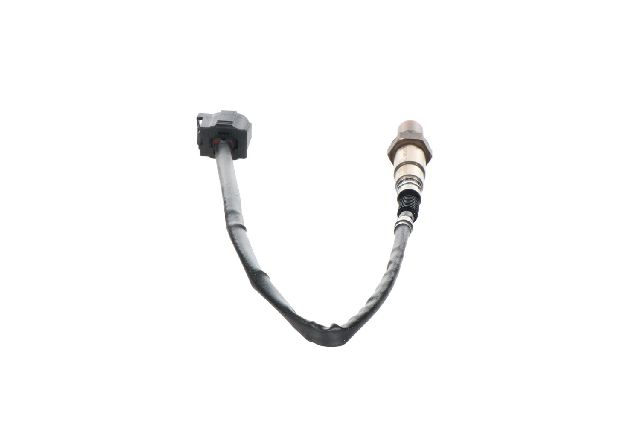
- Upstream Oxygen Sensor (Bank 1, Sensor 1)
(OEM #56029049AA)— This is the component that contains the heater element that fails, triggering the P0135 code. It is located on the driver's side, before the catalytic converter.
Trusted brands: Mopar, NTK (NGK), Bosch, Denso
OEM price range: $100-$150
Aftermarket price range: $40-$80
Related Codes That Often Appear With This One
- P0155 (O2 Sensor Heater Circuit Malfunction Bank 2, Sensor 1): If both upstream sensor heaters fail simultaneously, it could point to a shared power or ground issue, like a blown fuse.
Technical Service Bulletins (TSBs) & Recalls
- TSB Bulletin #25-002-14: This manufacturer bulletin identifies P0135 as "O2 Sensor 1/1 Heater Performance" and notes it can be related to internal control module O2 sensors processor performance.
- TSB Bulletin #25-003-13: Similar to other Chrysler/Dodge platforms, this bulletin lists P0135 as a heater performance issue that may involve the internal control module's ability to process O2 sensor data.
- TSB Bulletin #25-004-12: This record further confirms that P0135 indicates O2 Sensor 1/1 Heater Performance issues within the fuel and electrical monitoring systems of the manufacturer's vehicles.
Platform-Specific Known Issues
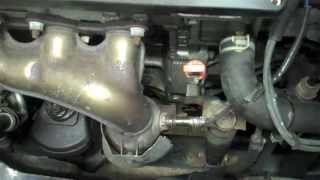
- Access to Sensor: On the 6.1L Hemi, the upstream O2 sensors are located on the exhaust manifolds. Access can be tight, especially from above. Using a proper 7/8" or 22mm O2 sensor socket with a slit for the wire is crucial for getting enough leverage without damaging the new or old sensor. Soaking the old sensor with penetrating oil beforehand can help with removal.
Mechanic-Grade Diagnostic Values
- O2 Sensor Heater Element Resistance — expected: 4 to 10 Ohms at ambient temperature. Some sources state a wider range of 2.5 to 30 Ohms is acceptable depending on the specific sensor.. Failure: An infinite resistance (OL on multimeter) indicates an open circuit/burned-out element. A reading near zero ohms indicates an internal short.
- O2 Sensor Heater Power Supply Voltage — expected: 10 to 12 Volts DC (Battery Voltage) with Key On, Engine Off (KOEO).. Failure: 0 Volts indicates a blown fuse, faulty Auto Shutdown (ASD) relay, or an open in the power supply wire from the relay.
- O2 Sensor Heater Control Circuit — expected: This circuit is a Pulse Width Modulated (PWM) ground controlled by the PCM. A static voltage check may show a bias voltage (e.g., ~4.4V), but the definitive test is with a scope or by using a scan tool to command the heater on.. Failure: A constant ground or a complete open on this circuit when the heater should be active points to a wiring or PCM driver issue.
Scan Tool Commands That Help
- Professional Scan Tool (e.g., wiTECH, StarSCAN): O2 Heater Test or Bidirectional Control — After verifying the sensor's resistance and power/ground at the connector are good. This command allows the technician to manually activate the heater circuit from the scan tool. If the heater does not activate despite good wiring, it strongly suggests a faulty PCM driver.
Wiring & Ground Locations
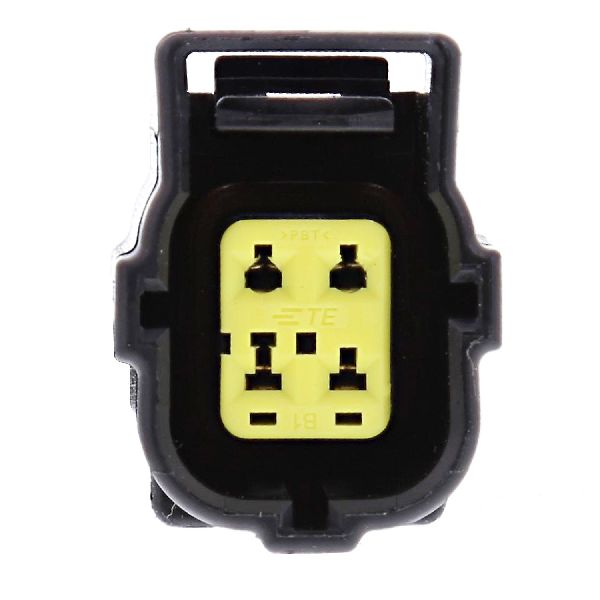
- B1S1 Connector (Harness Side) — On the 6.1L Hemi, the Bank 1 Sensor 1 connector is located on the driver's side, attached to the transmission bell housing area, above the sensor itself.. This is the primary test point. A 2008 Charger SRT-8 service manual shows the 4-pin connector pinout as: Pin 1 (BR/LG) - Heater Control (PCM Ground), Pin 2 (BK) - Ground, Pin 3 (BR/DG) - O2 Return (Up), Pin 4 (DB/LB) - O2 Signal. Note: Wire colors can vary by year. Always verify power and ground paths.
- Auto Shutdown (ASD) Relay — Located in the Power Distribution Center (PDC), which is the main fuse and relay box in the engine compartment.. The ASD relay supplies the 12V power to the O2 sensor heaters. A failure of this relay or its control circuit will kill power to the heaters, often triggering codes for multiple sensors (e.g., P0135 and P0155).
- Heater Circuit Ground (Z1) — A service manual for a similar vintage Chrysler vehicle indicates the heater circuit ground path (Z1) terminates at the right frame rail.. While the PCM controls the heater via a separate control wire, a poor main ground can cause erratic voltage and current, potentially leading to a P0135 code. Checking and cleaning main chassis grounds is a good practice when electrical issues are suspected.
Real Owner Repair Stories
- 2CarPros Forum User (2001 Dodge Caravan 3.3L (Similar Chrysler electrical architecture)) — Check Engine Light with code P0135 would appear after 500-1,000 miles of driving, often after a hot restart (e.g., at a gas station).
❌ Tried (didn't work) Replaced the O2 sensor three times with both Mopar and Denso parts.
✅ What actually fixed it The final diagnosis pointed towards an intermittent wiring issue or a failing PCM driver that was burning out the heater elements in the sensors over time. The user was advised to check the harness for melting near hot components and to use an advanced scan tool to monitor the heater operation in real-time to see if the control signal from the PCM was erratic. - NHTSA ODI #10577984: An owner reported a persistent P0135 code for an O2 sensor heater that remained even after replacing the sensor. In this case, the owner noted that a service bulletin suggested the actual repair was to flash the body controller.
OEM Part Supersession History
Not specified, but multiple revisions exist.→56029049AA— Standard part updates for reliability and manufacturing improvements.
Heads up: The OEM part 56029049AA is listed for a wide range of Chrysler/Dodge/Jeep vehicles from 2005-2012, including the 6.1L Charger. While physically similar, using a sensor intended for a different engine family (e.g., a 2.7L V6 sensor on a 6.1L V8) can cause compatibility issues even if it plugs in, leading to persistent codes. It is crucial to use the correct part number for the specific engine.
Diagnostic Flowchart
Other Known Issues on This Vehicle
Issues unrelated to this code that are worth knowing about as an owner of this generation:
- Dropped Valve Seats 🔴 High — A known, though not universal, failure on 6.1L (and 5.7L) Hemis, especially after 100,000 miles or if the engine has overheated. Can cause catastrophic engine damage.
- Shifter Stuck in Park ('Pink Thingy' Failure) 🟠 Medium — Extremely common on 2005-2007 models. A small plastic piece in the shift interlock mechanism breaks, preventing the shifter from moving out of Park. (Ref: No recall, but aftermarket metal replacement parts are widely available and recommended.)
- Alternator Failure 🟠 Medium — Premature alternator failure is a common complaint on the LX platform. Symptoms include dimming lights, battery warning light, and whining noises. (Ref: Multiple recalls (e.g., NHTSA 14V-634, 17V-435) were issued for later model years/different engines, but the issue is still noted by owners of this generation.)
- Front Suspension Clunk/Noise 🟡 Low — Often caused by worn tension strut bushings or sway bar end links. A very common issue leading to clunking or popping sounds from the front end, especially over bumps.
- Broken Exhaust Manifold Bolts 🟡 Low — The bolts securing the exhaust manifold to the cylinder head can break, causing an exhaust leak that sounds like a 'tick' when the engine is cold (the 'Hemi tick').
Used vs. New Parts: Buying Guide for This Vehicle
When a used part is the smart pick: For this repair, a used part is only recommended for the wiring harness pigtail if the original connector is damaged. Buying a used oxygen sensor is strongly discouraged as its remaining lifespan is unknown and they are wear items.
Donor-vehicle mileage cap: roughly under 50000 miles for the part to have meaningful remaining life.
What to inspect on the donor part:
- For a wiring pigtail, inspect for any signs of melting, brittleness, or corrosion on the pins.
- Ensure the locking tab on the connector is intact.
- Verify the wires are flexible and not cracked.
OEM-only on this vehicle (don't cheap out):
- While not strictly 'OEM-only', using a sensor from the original equipment manufacturer (OEM) is highly recommended. For this vehicle, that is NTK (a brand of NGK).
Aftermarket brands forum-validated for this vehicle:
- NTK (NGK)
- Denso
- Bosch
Brands owners have reported issues with on this vehicle:
- Unnamed or generic 'white-box' brands from online marketplaces are frequently reported on forums as being incompatible or failing prematurely, causing the P0135 code to return.
Real Owner Stories
Aggregated from forums and TSBs cited above. Mileages and costs reflect what owners reported in those sources.
2006 Dodge Charger 6.1L Hemi V8
Symptoms: Check engine light for P0135; advised that if new sensors don't fix it, the wiring is the next logical culprit.
What fixed it: Inspection of the wiring harness and PCM control via Pulse Width Modulation (PWM).
Source hint: Dodge-Forum.eu
2006-2010 Dodge Charger SRT-8
Symptoms: P0135 code present; warned not to 'cheap out' on sensors because the Hemi is picky.
What fixed it: Replacing the driver's side upstream O2 sensor with an NTK brand sensor.
Source hint: LXForums.com / ChargerForums.com
2006 Dodge Charger R/T
Symptoms: Experienced the 'pink thingy' shifter failure where the car was stuck in Park.
What fixed it: Using an aftermarket metal replacement part for the shift interlock mechanism.
Source hint: Reddit r/Dodge
Related OBD-II Codes
Frequently Asked Questions
Which oxygen sensor is responsible for the P0135 code on my 6.1L Hemi?
Are there specific brands of O2 sensors recommended for the SRT-8 to avoid compatibility issues?
Can I use a standard wrench to replace the sensor on my 6.1L Charger?
Could my Charger's 'Battery Saver Mode' be related to this O2 sensor code?
Is there a fuse I should check before replacing the sensor?
Does the PCM control the heater circuit directly on the 2006-2010 models?
Helpful Videos
We Have This Part in Stock


The information in this article is provided for general reference and educational purposes only. Vehicle specifications, procedures, and part compatibility can vary by production date, trim level, and region. Always consult your vehicle's factory service manual and verify part numbers before purchasing or performing repairs. Safety-critical components such as airbags, seat belts, and braking systems should be installed by a qualified professional.
- Dodge Charger:
- 🎬 Helpful Videos
- 🛍️ Shop This Part
- What's Unique About the 2006-2010 Dodge Charger
- Symptoms You May Notice
- Most Likely Causes
- Rare But Worth Checking
- Diagnosis Steps
- Parts You'll Likely Need
- Related Codes That Often Appear With This One
- Technical Service Bulletins (TSBs) & Recalls
- Platform-Specific Known Issues
- Mechanic-Grade Diagnostic Values
- Scan Tool Commands That Help
- Wiring & Ground Locations
- Real Owner Repair Stories
- OEM Part Supersession History
- Diagnostic Flowchart
- Other Known Issues on This Vehicle
- Used vs. New Parts: Buying Guide for This Vehicle
- Real Owner Stories
- 2006 Dodge Charger 6.1L Hemi V8
- 2006-2010 Dodge Charger SRT-8
- 2006 Dodge Charger R/T
- Related OBD-II Codes
- Frequently Asked Questions
- 🎟️ Get 5% Off