

P0135 on 2010-2012 Audi S5: O2 Sensor Heater Fault Causes and Fixes
P0135 on a 2010-2012 Audi S5 indicates a failure in the heater circuit of the upstream oxygen sensor on Bank 1 (passenger side). The most common fix is to replace the sensor itself. Expect to pay $70-$150 for an OEM-quality sensor (like Bosch) and 1-2 hours of labor.
- P0135 points to a bad heater in the passenger-side upstream O2 sensor.
- The most likely fix is replacing the sensor itself. Bosch is the OEM supplier and a recommended brand.
- Before buying a new sensor, use a multimeter to confirm you have power and ground at the sensor's connector to avoid misdiagnosis.
- Be aware of your engine type (4.2L V8 or 3.0L V6), as the part location and replacement difficulty vary significantly.
- Ignoring this code will hurt your fuel economy and can lead to more expensive catalytic converter damage down the road.
What's Unique About the 2010-2012 Audi S5
The 2010-2012 Audi S5 is unique because it was offered with two different engines within the same B8 generation: a 4.2L V8 in the Coupe and a 3.0L Supercharged V6 in the Cabriolet. While the P0135 code means the same for both, the physical location of the Bank 1 Sensor 1 and the difficulty of replacement are notably different. The issue is common enough that Audi issued a Technical Service Bulletin (TSB) referencing this specific fault code. [⭐]
Diagnostic Flowchart
Tap your situation to follow the diagnostic path that matches what you're seeing on this vehicle.
Symptoms You May Notice
- Check Engine Light (MIL) is illuminated
- Noticeably reduced fuel economy
- Rough idle or hesitation, particularly on cold starts
- Potential to fail an emissions test
- Replacing the oxygen sensor without first testing the circuit. If the new sensor doesn't fix the code, the problem is likely in the wiring or fuse supplying power and ground to the sensor.
Most Likely Causes
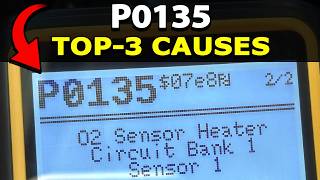
- Failed Oxygen Sensor Heater Element 🔴 High Probability The internal heating element is a common wear item that burns out over time due to constant heat cycles and exposure to exhaust gases. This is the most frequent reason for a P0135 code. 🎬 Watch: How to diagnose and fix the P0135 heater circuit code.
How to confirm: After verifying power and ground at the sensor connector, use a multimeter to measure the resistance between the two heater pins on the sensor itself. An open circuit (infinite resistance) or a reading far outside the manufacturer's spec confirms the heater has failed.
Typical fix: Replace the Bank 1, Sensor 1 oxygen sensor.
Est. part cost: $70-$150 - Damaged Wiring or Corroded Connector 🟡 Medium Probability The wiring harness is close to hot exhaust components and can become brittle, frayed, or melted. Connectors can also accumulate moisture and corrode, leading to a poor connection.
How to confirm: Visually inspect the entire wiring harness from the sensor to its connection point for any signs of damage. Check the connector pins for corrosion, moisture, or being pushed out. Use a multimeter to check for battery voltage and a good ground at the connector with the ignition on.
Typical fix: Repair the damaged section of wire or clean/replace the connector.
Est. part cost: $5-$50 - Blown Fuse for Heater Circuit ⚪ Low Probability A short in the wiring or a faulty sensor can sometimes cause the corresponding fuse to blow as a protective measure.
How to confirm: Locate the fuse for the oxygen sensor heaters in your vehicle's fuse box (consult the owner's manual). Visually inspect the fuse or test it for continuity with a multimeter.
Typical fix: Replace the blown fuse. If it blows again immediately, a short circuit is present that must be diagnosed.
Est. part cost: $1-$5
Rare But Worth Checking
- Faulty Engine Control Module (ECM): This is very rare. The driver circuit within the ECM that controls the sensor heater can fail. This should only be considered after the sensor, wiring, and fuses have all been confirmed to be in good working order.
Diagnosis Steps
- Read the code with an OBD-II scanner to confirm P0135 is the primary fault.
- Identify your engine (4.2L V8 or 3.0L V6) and locate the Bank 1 Sensor 1 (upstream, passenger side).
- Inspect the sensor's wiring harness and electrical connector for any visible signs of melting, fraying, or corrosion.
- Check the vehicle's fuse panel for a blown fuse related to the oxygen sensor heaters. Replace if necessary.
- Disconnect the sensor. With the ignition ON (engine OFF), use a multimeter to test the vehicle-side connector. Verify you have battery voltage at the heater power pin and continuity to ground on the ground pin.
- If power and ground are good, turn the ignition OFF. Measure the resistance across the two heater pins on the O2 sensor itself. A reading of infinite resistance (open circuit) means the sensor's heater is broken and the sensor must be replaced.
- If power or ground is missing at the connector, trace the wiring back to the ECM/power source to find the break or short.
- After repair, clear the code and perform a drive cycle to ensure the fault does not return.
Parts You'll Likely Need
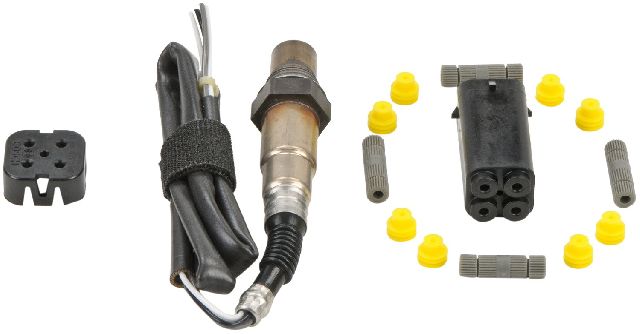
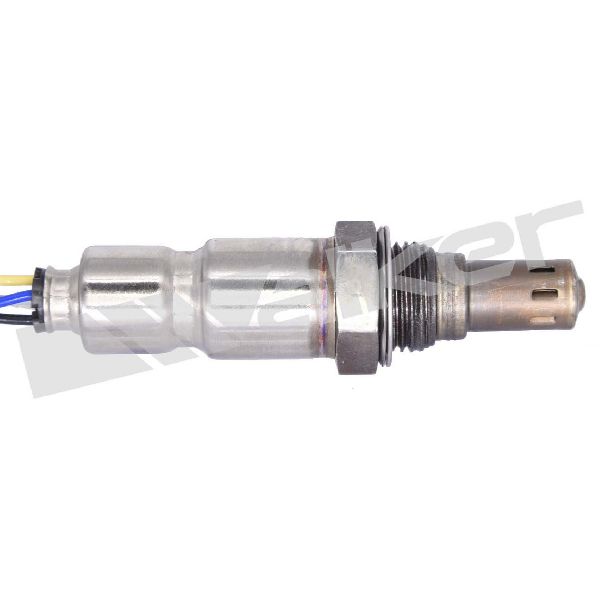
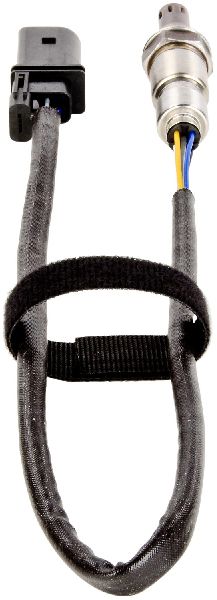
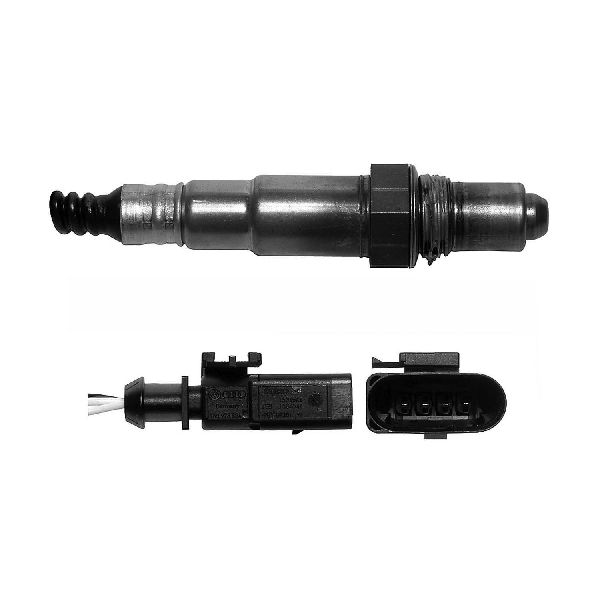
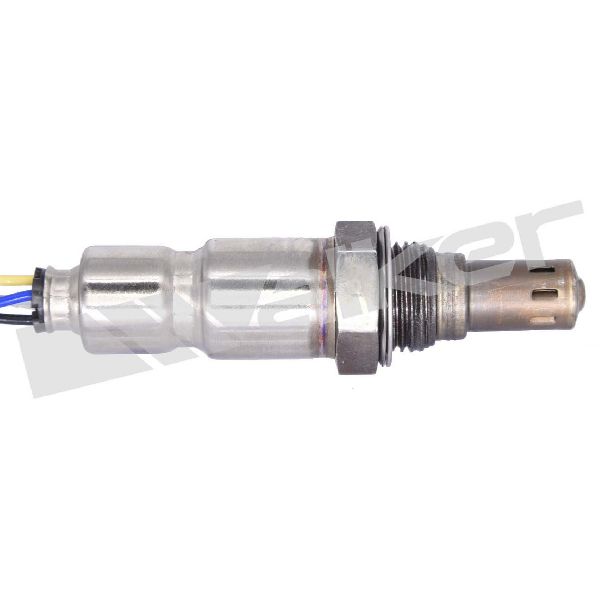
- Upstream Oxygen Sensor (Bank 1)
(OEM #07L906262K (for 4.2L V8))— This is the component that contains the heating element that fails, which is the direct cause of the P0135 code in most cases.
Trusted brands: Bosch, NTK, Denso
OEM price range: $120-$180
Aftermarket price range: $70-$150 - Upstream Oxygen Sensor (Bank 1)
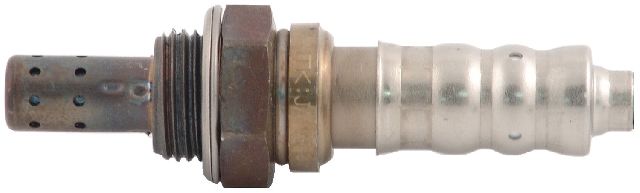
(OEM #06E906265S (for 3.0L V6))— This is the component that contains the heating element that fails, which is the direct cause of the P0135 code in most cases.
Trusted brands: Bosch, NTK, Denso
OEM price range: $130-$190
Aftermarket price range: $80-$160
Related Codes That Often Appear With This One
- P0134 — O2 Sensor Circuit No Activity Detected (Bank 1 Sensor 1). If the heater fails, the sensor may not reach operating temperature, leading the ECM to report no signal activity.
- P0155 — O2 Sensor Heater Circuit Malfunction (Bank 2 Sensor 1). It's common for oxygen sensors to fail around the same time due to age. If you have P0135, it's not unusual to see the code for the driver's side sensor as well.
Technical Service Bulletins (TSBs) & Recalls
- 01139020337671: '01 MIL on (DTC P1196/P1197/P0135, heater circuit fault lambda sensor) - Repair Authorization'
Platform-Specific Known Issues
- Audi issued Technical Service Bulletin #01139020337671 which specifically mentions DTC P0135 related to a lambda sensor heater circuit fault, indicating this is a recognized issue by the manufacturer. [⭐]
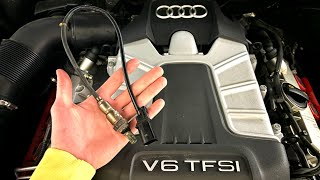
- For the 4.2L V8 Coupe, the sensor is notoriously difficult to access, located deep at the back of the engine. 🎬 Watch: How to access and replace the sensor on the 4.2L V8. Replacement often requires removing the airbox and working by feel.
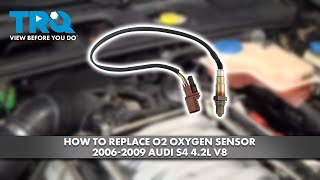
- For the 3.0L V6 Cabriolet, the sensor is more accessible but requires removing the coolant expansion tank and possibly the air intake box to gain clearance to the sensor and its connector. 🎬 See this walkthrough for replacing the upstream sensor on Audi V6 engines.
Mechanic-Grade Diagnostic Values
- O2 Sensor Heater Element Resistance — expected: 2 to 15 Ohms when measured at room temperature across the two heater pins (typically the two wires of the same color).. Failure: A reading of infinite resistance (open circuit) or a value significantly outside the 2-15 Ohm range indicates a failed heater element.
- Voltage at Heater Circuit Connector — expected: Battery voltage (approx. 12V) should be present at the power supply pin on the vehicle's harness connector with the key on, engine off.. Failure: No voltage indicates a problem upstream, such as a blown fuse, faulty relay, or a break in the power wire.
Scan Tool Commands That Help
- VCDS (VAG-COM) / ODIS: Output Diagnostic Test Mode (DTM) / Guided Fault Finding — After confirming the sensor itself has correct resistance, a technician can use this function to command the ECM to activate the heater circuit. This directly tests the integrity of the wiring and the ECM's driver circuit, confirming if they can deliver power to the sensor.
Wiring & Ground Locations
- Heater Circuit Wires — Within the O2 sensor's own pigtail and the corresponding vehicle-side harness connector.. The two wires for the heater circuit are typically the same color (e.g., both black or both white). Resistance must be tested across these specific pins on the sensor side of the connector.
- Heater Circuit Ground Control — The ground for the heater circuit is typically controlled (switched on and off) by a driver within the Engine Control Module (ECM).. This means a simple continuity test to chassis ground on the ground pin may not be sufficient. The circuit's integrity is best tested by checking for voltage drop or using a scan tool to command the heater on. A failure of the ECM's driver is a rare but possible cause for P0135.
Model Year Variations Within This Range
- 2010-2012: No significant mechanical or electrical system changes related to the P0135 fault code were made between these model years for a given engine. The primary difference remains the engine type: 4.2L V8 in the Coupe and 3.0L V6 in the Cabriolet.
Helpful Videos


Used OEM Parts in Stock


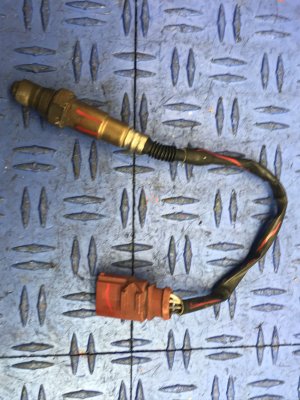
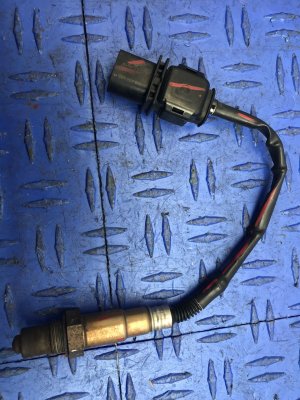
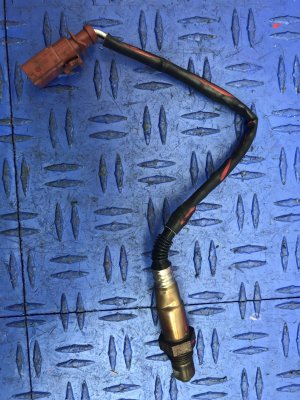
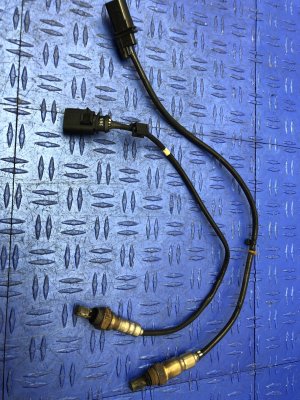
New Aftermarket Parts Available

The information in this article is provided for general reference and educational purposes only. Vehicle specifications, procedures, and part compatibility can vary by production date, trim level, and region. Always consult your vehicle's factory service manual and verify part numbers before purchasing or performing repairs. Safety-critical components such as airbags, seat belts, and braking systems should be installed by a qualified professional.
- Audi S5:
- 🎬 Helpful Videos
- 🛍️ Shop This Part
- What's Unique About the 2010-2012 Audi S5
- Diagnostic Flowchart
- Symptoms You May Notice
- Most Likely Causes
- Rare But Worth Checking
- Diagnosis Steps
- Parts You'll Likely Need
- Related Codes That Often Appear With This One
- Technical Service Bulletins (TSBs) & Recalls
- Platform-Specific Known Issues
- Mechanic-Grade Diagnostic Values
- Scan Tool Commands That Help
- Wiring & Ground Locations
- Model Year Variations Within This Range
- 🎟️ Get 5% Off