

P0133 on 2010-2015 Chevrolet Camaro 3.6L V6: Slow O2 Sensor Causes and Fixes
On a 2010-2015 Camaro V6, code P0133 almost always points to a failing upstream oxygen sensor (Bank 1, Sensor 1). It's a common wear-and-tear item. Expect to pay around $50-$90 for an aftermarket sensor and $120-$180 for an OEM ACDelco part. DIY replacement is straightforward for those with basic tools.
- P0133 on your Camaro V6 almost always means the passenger-side upstream O2 sensor is failing.
- Before replacing the sensor, do a quick check for obvious exhaust leaks (ticking noise, soot) near the manifold.
- Use a quality OEM-style replacement sensor from brands like ACDelco, Denso, or NGK for the best results.
- If you have aftermarket headers, the code might be a tuning issue, not a bad part.
- This is a DIY-friendly repair; the main challenge is often just getting access to the sensor and having the right tool (an O2 sensor socket) to remove it.
What's Unique About the 2010-2015 Chevrolet Camaro
For the V6 Camaro, the P0133 code is a very common and straightforward issue, typically indicating the original O2 sensor has simply worn out. Bank 1 on these V6 engines is the passenger side. While the root cause is usually the sensor itself, owners who have installed aftermarket long-tube headers will almost certainly experience this code. The sensor is relocated further downstream where exhaust gases are cooler, causing it to heat up slower and respond sluggishly, failing the ECM's response time test. A custom ECU tune is required to either disable the test for this specific code or adjust the sensor's expected response parameters.
Symptoms You May Notice
- Check Engine Light is on
- Reduced fuel economy
- Rough or unstable idle
- Hesitation during acceleration
- In some cases, no noticeable symptoms other than the Check Engine Light
- Replacing the catalytic converter. A P0133 code points to the sensor *before* the converter. A bad converter would typically set a P0420 code.
- Replacing the wrong oxygen sensor. This code is for Bank 1, Sensor 1, which is the *upstream* sensor on the passenger side. Do not replace the downstream (post-catalyst) sensor or the sensors on the driver's side (Bank 2).
Most Likely Causes
- Failing or Contaminated Bank 1, Sensor 1 Oxygen Sensor 🔴 High Probability Oxygen sensors are wear items that degrade over time due to constant exposure to high temperatures and exhaust gases. After 80,000-100,000 miles, their response time naturally slows down, triggering the P0133 code.
How to confirm: Use a diagnostic scan tool with live data capability to graph the Bank 1 Sensor 1 voltage. A healthy sensor will show rapid fluctuations (switching from rich to lean, ~0.1V to ~0.9V) multiple times per second. A slow sensor will have lazy, delayed voltage changes that look more like a gentle sine wave than a sharp square wave. 🎬 Watch: Understanding P0133 causes and how to test sensor response.
Typical fix: Replace the Bank 1, Sensor 1 (upstream, passenger side) oxygen sensor. Applying anti-seize compound to the new sensor's threads is recommended, but avoid getting any on the sensor tip. 🎬 Watch: A helpful guide on swapping out Camaro oxygen sensors.
Est. part cost: $50-$180 - Exhaust Leak 🟡 Medium Probability Exhaust manifold gaskets or flange connections before the O2 sensor can develop leaks over time, allowing outside air to enter the exhaust stream.
How to confirm: A leak is often audible as a ticking or puffing noise, especially when the engine is cold. The most reliable method is a cold engine visual inspection. Look for fine black soot trails radiating from gasket surfaces on the exhaust manifold or collector flanges. These soot marks are definitive proof of a leak. A smoke test can also be used to pinpoint the location.
Typical fix: Replace the leaking gasket or tighten the loose connection. The exhaust manifold-to-head gasket is a common culprit.
Est. part cost: $10-$50 for gaskets - Damaged Wiring or Connectors ⚪ Low Probability The wiring harness for the O2 sensor is located in a high-heat area. Owners on forums report instances where the harness has melted from contact with the exhaust manifold or headers, or wires have become frayed. A manufacturer service bulletin for another GM model, TSB Bulletin #PIP4699A, notes that P0133 can also be triggered if the pre- and post-oxygen sensor connectors are accidentally swapped during maintenance.
How to confirm: Visually inspect the entire wiring harness leading to the Bank 1 Sensor 1 O2 sensor for any signs of melting, chafing, or corrosion at the connector pins. Use a multimeter to check for continuity and proper voltage at the connector.
Typical fix: Repair the damaged section of the wiring harness or replace the connector pigtail.
Est. part cost: $15-$40 for a pigtail
Rare But Worth Checking
- Dirty or Failing Mass Airflow (MAF) Sensor: An incorrect reading from the MAF sensor can cause the engine to run lean or rich, which the ECM might misinterpret as a slow O2 sensor response. Cleaning the MAF sensor with a dedicated cleaner is a simple and inexpensive diagnostic step.
- Low Fuel Pressure or Leaking Injectors: If the engine has an underlying fuel delivery issue causing a lean condition, it can sometimes trigger a P0133. This is less common and would typically be accompanied by other fuel-related trouble codes.
- Failing PCV System: A clogged or malfunctioning Positive Crankcase Ventilation (PCV) system can lead to unmetered air entering the intake and affecting the air/fuel ratio, which can indirectly trigger O2 sensor codes. This is more common on higher mileage vehicles.
Diagnosis Steps
- Verify the Code: Use an OBD-II scanner to confirm that P0133 is the active code. Check for any other pending or stored codes.
- Inspect for Exhaust Leaks: With the engine cool, visually inspect the passenger-side exhaust manifold and downpipe for any signs of black soot trails or cracks. Start the engine and listen for any ticking or hissing sounds that would indicate a leak.
- Analyze Live Data: Using a capable scan tool, monitor the live data stream for the Bank 1, Sensor 1 O2 sensor. The voltage should fluctuate rapidly between approximately 0.1V and 0.9V. If the switching is slow, lazy, or flat, the sensor is likely bad.
- Inspect Wiring: Visually inspect the O2 sensor's wiring harness for any signs of damage, such as melting on the exhaust pipe or frayed wires. Ensure the connector is clean and secure.
- Check for Vacuum Leaks: Inspect all vacuum hoses connected to the intake manifold for cracks, splits, or loose connections. A vacuum leak can introduce unmetered air and affect O2 sensor readings.
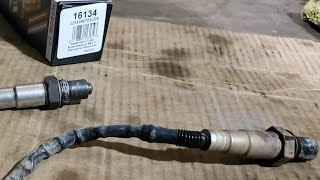
- Replace the Sensor: If the steps above do not reveal another cause, the oxygen sensor itself is the most probable culprit. 🎬 See this walkthrough on replacing the sensor to fix P0133. Replace the Bank 1, Sensor 1 (upstream) sensor.
- Clear Codes and Test Drive: After the repair, clear the DTC with the scanner and perform a test drive to ensure the code does not return.
Parts You'll Likely Need
- Oxygen Sensor (Bank 1, Sensor 1)
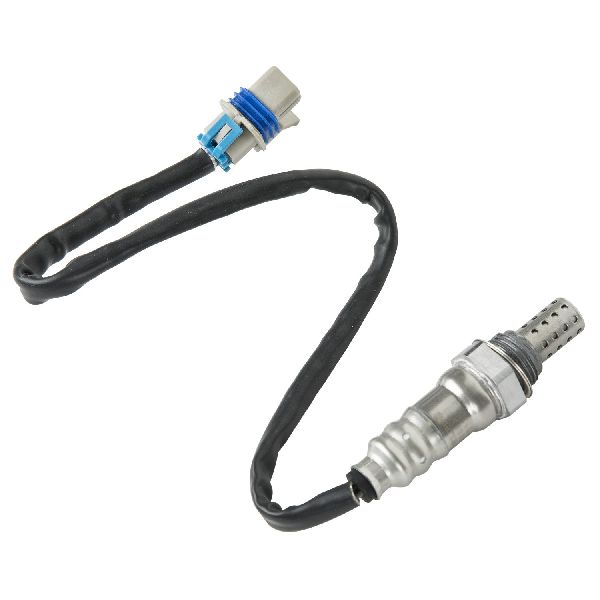
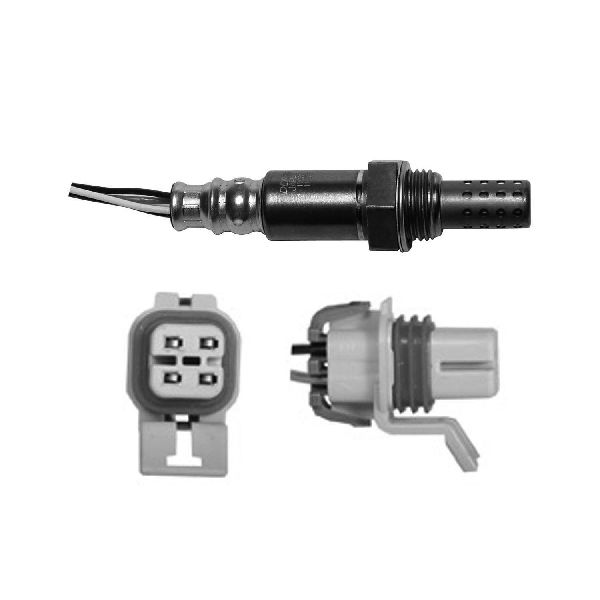
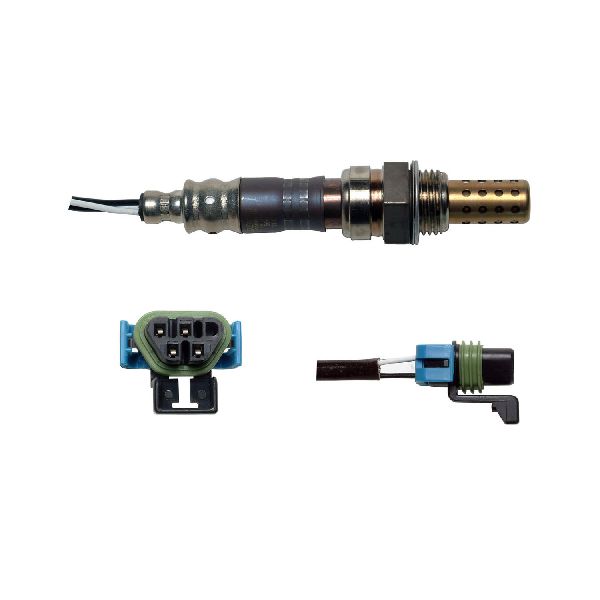
(OEM #ACDelco 12612459 (also listed as 213-4229))— This is the upstream sensor on the passenger side. It is a wear-and-tear component and the most frequent cause of a P0133 code.
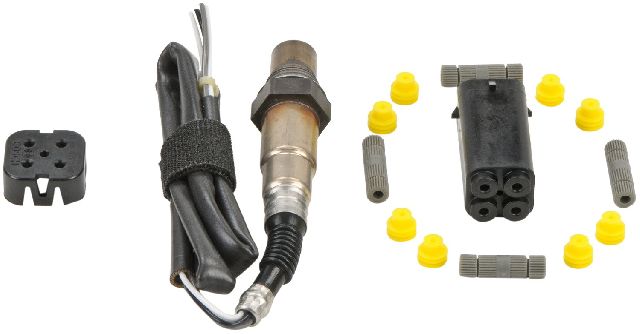
Trusted brands: ACDelco (OEM), Denso (P/N: 234-4816), Bosch, NGK/NTK
OEM price range: $120-$180
Aftermarket price range: $50-$90
Related Codes That Often Appear With This One
- P0171 — A P0171 (System Too Lean Bank 1) code can appear with P0133 if an exhaust or vacuum leak is the root cause, as the unmetered air makes the sensor read a lean condition.
- P0153 — This is the same 'Slow Response' code but for Bank 2 (driver's side). If both P0133 and P0153 appear together, it suggests a systemic issue like a dirty MAF sensor or a problem common to both cylinder banks, though it could also just be both sensors failing around the same time.
Technical Service Bulletins (TSBs) & Recalls
- TSB 12-06-01-009F: While not directly for P0133, this TSB addresses premature timing chain wear on LLT engines. A stretched timing chain can affect cam timing, leading to poor combustion and a variety of engine codes, including those related to O2 sensor performance.
- TSB Bulletin #PI0968: This bulletin provides preliminary information regarding the Malfunction Indicator Lamp (MIL) being on specifically when a P0133 set condition is present.
- TSB Bulletin #PI1484B: Manufacturer records indicate that P0133 may set alongside other codes like P0128 or P20EE, sometimes coinciding with a "DEF Fluid Quality Poor" message or cruise control interrupts at low speeds on related GM platforms. Similar symptoms were also documented in TSB Bulletin #PI1484A and TSB Bulletin #PI1485.
Platform-Specific Known Issues
- Owners with aftermarket long-tube headers may find this code persists even with new sensors. This is because the sensor is relocated further downstream, causing it to heat up slower and respond sluggishly. A custom tune is often required to adjust the sensor's expected response parameters or disable the code check entirely.
Mechanic-Grade Diagnostic Values
- O2 Sensor Heater Circuit Resistance — expected: ~5 ohms. Failure: An open circuit (infinite resistance) or significantly higher resistance indicates a failed heater, which will cause the sensor to warm up too slowly.
- ECM Bias Voltage (Harness Integrity Test) — expected: ~450 mV. Failure: With the sensor unplugged and ignition on, the scan tool should show a steady ~450 mV on the B1S1 signal PID. If this voltage is missing or incorrect, there is a wiring issue between the ECM and the connector.
- O2 Sensor Response Time — expected: Voltage should swing between ~0.1V and ~0.9V in less than 1 second.. Failure: If the voltage change from lean to rich (or vice versa) takes more than 2 seconds, the ECM will flag a slow response.
- Exhaust Back Pressure — expected: Under 1.25 PSI at idle; under 3.0 PSI at 2000 RPM.. Failure: Higher readings indicate a restriction, such as a clogged catalytic converter, which can overheat and damage the O2 sensor.
Hidden / Shadow Codes Worth Checking
- Mode $06: Mode $06 is a diagnostic function that provides access to the results of the ECM's self-tests for various emissions components, including the oxygen sensors. For P0133, a technician can view the specific test results for 'O2 Sensor Response Time'. This allows them to see the actual measured response time value and compare it against the manufacturer's maximum allowable limit. Seeing a value that is just barely failing can point towards a minor issue like a small exhaust leak, while a value that is grossly out of range suggests a dead sensor or major wiring fault. (see via A professional-grade scan tool that can access Generic OBD-II functions and display Mode $06 data. The specific Test ID (TID) and Component ID (CID) for the B1S1 response time test are manufacturer-specific but will be listed in the scan tool's menu.)
Scan Tool Commands That Help
- GDS2 / Tech2 / Pro-level Scanner: Harness Integrity Check (Bias Voltage Test) — Use this test after confirming the sensor itself is good, or before replacing it, to rule out a wiring problem. Disconnect the B1S1 O2 sensor. With the key on, engine off, monitor the B1S1 voltage PID. It should read a steady ~450mV (the ECM's bias voltage). Then, use a fused jumper wire to momentarily ground the signal wire terminal in the harness-side connector. The voltage on the scan tool should drop to near 0V. This confirms the signal wire to the ECM is intact.
- GDS2 / Pro-level Scanner: CAN Bus Diagnostic Test — In the extremely rare event that the sensor, wiring, and exhaust system are all confirmed to be good, a CAN bus test can be performed. This checks for communication errors, high latency, or data packet loss on the network that the ECM uses. A fault here could indicate an internal ECM problem, causing it to perceive the sensor's signal as slow.
Wiring & Ground Locations
- O2 PRE FUSE 10A — Located in the underhood fuse block.. This fuse supplies power to the heater circuit for the upstream (pre-catalyst) oxygen sensors. If this fuse is blown, the B1S1 sensor heater will not operate, causing it to warm up too slowly and trigger a P0133 code.
- G106 / G107 — Both are located on the left (driver's side) rear of the engine block on LLT models.. These are primary engine grounds. A loose or corroded ground connection can introduce electrical noise and resistance into the sensor circuits, potentially affecting the O2 sensor signal that the ECM receives and leading to incorrect readings or fault codes.
- B1S1 Connector (Harness Side) — On the passenger side of the engine, connected to the sensor that is upstream of the catalytic converter.. This is the primary point for testing. The connector and its wiring are prone to melting or chafing from contact with hot exhaust components. Testing for power, ground, and signal integrity should be done at this connector.
Real Owner Repair Stories
- Camaro5.com forum user 'Artt' (2010 Camaro SS (V8, but wiring principle is identical for V6)) — Car was taken for a dyno tune, where it was discovered the front O2 sensors were not working at all.
❌ Tried (didn't work) Initial diagnosis was simply 'no signal' from the sensors.
✅ What actually fixed it The previous owner, who bracket-raced the car, had physically cut the upstream O2 sensor connectors off the main engine harness. The final fix was to purchase new connector pigtails and splice them back into the engine harness using the correct wiring color code/pinout for the vehicle year.
"I Checked Everything" — The Actual Cause
- A P0133 code appearing immediately after disconnecting and reconnecting the vehicle's battery can be a misleading symptom. When the battery is disconnected, the ECM loses its long-term fuel trim adaptations. Upon restart, the ECM runs a series of strict, baseline emissions self-tests. A very small exhaust leak (at a gasket or flange) that the ECM had previously learned to compensate for may now cause the strict O2 response time test to fail, triggering the P0133 code. The root cause is still the leak, but the event that made it visible was the memory reset, which can confuse diagnosis by making the problem seem sudden and electronic in nature.
OEM Part Supersession History
ACDelco 213-4229→ACDelco 12612459— Part number consolidation and updates by GM.
Heads up: Both part numbers refer to the same correct OEM sensor for this application. The part is also cross-referenced with Denso P/N 234-4816.
Model Year Variations Within This Range
- 2010-2011 (LLT Engine): These models use the LLT V6 engine, which has traditional bolt-on aluminum exhaust manifolds. For P0133 diagnosis, a common location for an exhaust leak is the gasket between the exhaust manifold and the cylinder head. These models also use a Bosch ECM.
- 2012-2015 (LFX Engine): These models use the updated LFX V6 engine, which features exhaust manifolds that are integrated directly into the cylinder heads. This design eliminates the manifold-to-head gasket, so leaks cannot occur there. Instead, a leak would have to be a crack in the manifold casting itself (rare) or further downstream at the collector flange. These models use a Delphi ECM.
Diagnostic Flowchart
Other Known Issues on This Vehicle
Issues unrelated to this code that are worth knowing about as an owner of this generation:
- Premature Timing Chain Wear (LLT Engine) 🔴 High — Common on 2010-2011 LLT engines, often appearing between 70,000-120,000 miles. Caused by a combination of long oil change intervals allowed by the original Oil Life Monitor (OLM) calibration and chain design. (Ref: GM issued Special Coverage Adjustment 11340C and TSB 12-06-01-009F, extending the warranty on timing chains for some affected vehicles.)
- Intake Valve Carbon Buildup (LFX Engine) 🟠 Medium — As a direct-injection engine, the LFX (2012-2015) is prone to carbon accumulation on the back of the intake valves over time, as fuel is not sprayed over them to provide a cleaning effect. This can cause rough idle, hesitation, and misfires, typically noticeable after 50,000+ miles. (Ref: GM TSB PIP5029H (later superseded by 16-NA-383) describes the condition and recommends a chemical cleaning procedure.)
- Torque Converter Shudder 🟠 Medium — Some owners of automatic transmission models report a shudder or vibration at low speeds (around 40-50 mph) under light load. This is often attributed to issues with the torque converter clutch or contaminated transmission fluid.
- Key Stuck in Ignition 🟡 Low — A common annoyance where the key cannot be removed from the ignition after placing the car in Park. This is often due to a faulty shifter interlock solenoid or a problem with the shifter assembly's microswitch. (Ref: A recall was issued for the ignition key being bumped out of the 'Run' position, but the 'stuck key' issue is a separate, well-documented problem.)
Used vs. New Parts: Buying Guide for This Vehicle
When a used part is the smart pick: For this repair, buying a used part is almost never a smart choice. The primary cause of P0133 is a worn-out oxygen sensor, which is a consumable part with a finite lifespan. A used sensor has unknown remaining life and may fail shortly after installation.
Donor-vehicle mileage cap: roughly under 10000 miles for the part to have meaningful remaining life.
What to inspect on the donor part:
- If forced to use a used sensor in an emergency, source it from the lowest-mileage donor vehicle possible.
- Inspect the sensor tip for heavy carbon deposits, oil fouling, or white, chalky contamination, all of which indicate it is likely compromised.
- Ensure the wiring and connector are not brittle, melted, or damaged.
OEM-only on this vehicle (don't cheap out):
- No parts for this specific repair are considered 'OEM-only', as high-quality aftermarket alternatives are widely available and trusted.
Aftermarket brands forum-validated for this vehicle:
- Denso: Often the original equipment manufacturer for GM; highly recommended on owner forums.
- NGK / NTK: Another top-tier brand with a strong reputation for reliability in this application.
Brands owners have reported issues with on this vehicle:
- Bosch: While a major brand, some owners on Camaro-specific forums have reported compatibility issues or premature failures when using Bosch sensors on this platform, recommending to stick with Denso or NGK/NTK instead.
Real Owner Stories
Aggregated from forums and TSBs cited above. Mileages and costs reflect what owners reported in those sources.
2010-2015 Chevrolet Camaro LLT/LFX
Symptoms: Slow response codes P1133 and P1153 (similar to P0133) after installing long tube headers.
What fixed it: A custom tune to adjust the sensor's expected response parameters or set the code to 'No Error Reported' in the ECU.
Source hint: Camaro5.com: Thread 'P1133 and P1153'
2010-2015 Chevrolet Camaro LLT/LFX
Symptoms: Getting both P0133 and P0153 simultaneously.
What fixed it: Checking for mechanical issues and wiring damage, as sensors and wires have been known to burn on the headers.
Source hint: Camaro5.com: Thread 'What usually causes this? Tune or hardware issue'
2010-2011 Chevrolet Camaro LLT — ~95000 miles
Symptoms: Check engine light with codes related to O2 sensor performance and potential timing issues.
What fixed it: Addressing timing chain wear under TSB 12-06-01-009F or Special Coverage Adjustment 11340C.
Source hint: TSB 12-06-01-009F
Related OBD-II Codes
Frequently Asked Questions
I have long-tube headers on my Camaro and keep getting P0133. Is the sensor bad?
Could the timing chain issues mentioned in TSB 12-06-01-009F cause my P0133 code?
Which specific oxygen sensor do I need to replace for a P0133 code on my 3.6L V6?
Is there a common mechanical failure on the LLT/LFX engine that mimics a bad O2 sensor?
My 2013 Camaro LFX has a rough idle and P0133; could this be related to carbon buildup?
Can I just clean the wiring harness if it's melted near the exhaust?
Helpful Videos

Used OEM Parts in Stock
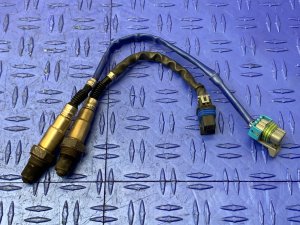
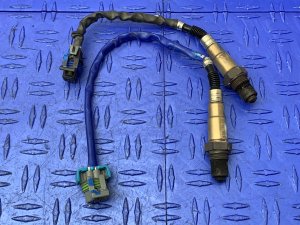
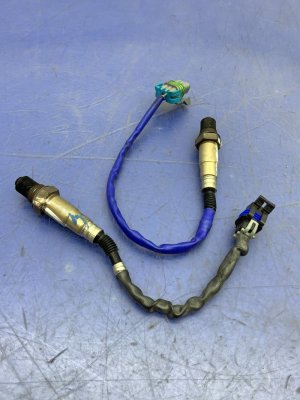
New Aftermarket Parts Available
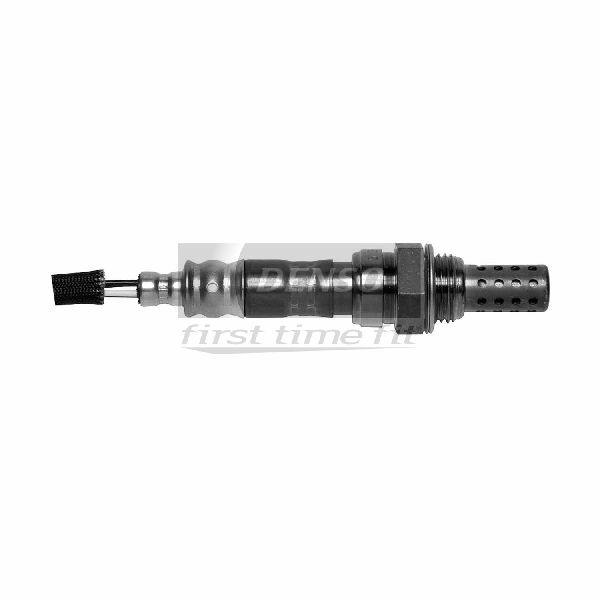
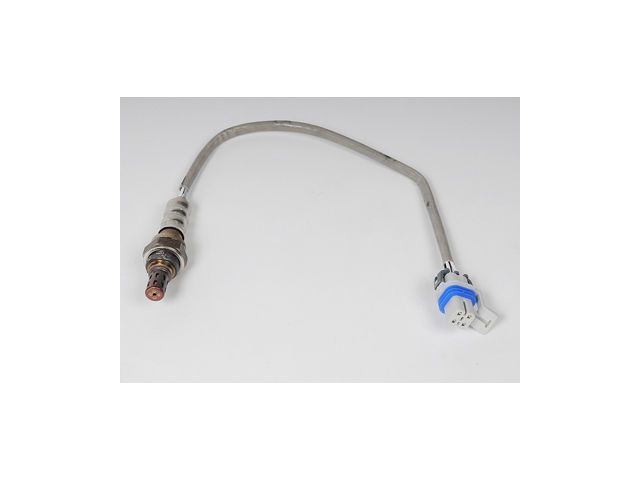

The information in this article is provided for general reference and educational purposes only. Vehicle specifications, procedures, and part compatibility can vary by production date, trim level, and region. Always consult your vehicle's factory service manual and verify part numbers before purchasing or performing repairs. Safety-critical components such as airbags, seat belts, and braking systems should be installed by a qualified professional.
- Chevrolet Camaro:
- 🎬 Helpful Videos
- 🛍️ Shop This Part
- What's Unique About the 2010-2015 Chevrolet Camaro
- Symptoms You May Notice
- Most Likely Causes
- Rare But Worth Checking
- Diagnosis Steps
- Parts You'll Likely Need
- Related Codes That Often Appear With This One
- Technical Service Bulletins (TSBs) & Recalls
- Platform-Specific Known Issues
- Mechanic-Grade Diagnostic Values
- Hidden / Shadow Codes Worth Checking
- Scan Tool Commands That Help
- Wiring & Ground Locations
- Real Owner Repair Stories
- "I Checked Everything" — The Actual Cause
- OEM Part Supersession History
- Model Year Variations Within This Range
- Diagnostic Flowchart
- Other Known Issues on This Vehicle
- Used vs. New Parts: Buying Guide for This Vehicle
- Real Owner Stories
- 2010-2015 Chevrolet Camaro LLT/LFX
- 2010-2015 Chevrolet Camaro LLT/LFX
- 2010-2011 Chevrolet Camaro LLT — ~95000 miles
- Related OBD-II Codes
- Frequently Asked Questions
- 🎟️ Get 5% Off