

P0132 on 2011-2016 Ford F-150 3.5L EcoBoost: High Voltage O2 Sensor Causes and Fixes
On a 2011-2016 F-150, P0132 almost always means the passenger-side upstream oxygen sensor has failed. Replacing it is the most common fix. Expect to pay $80-$150 for an OEM Motorcraft sensor and 1-2.5 hours of labor, with the job being significantly harder on 2011-2014 models due to a hard-to-reach connector. If a new sensor doesn't fix it, suspect a wiring short.
- P0132 points to the passenger side, upstream O2 sensor.
- The most likely fix is replacing the sensor with an OEM Motorcraft part (8F9Z-9F472-H or BL3Z-9F472-A).
- If a new sensor doesn't fix the code, the problem is almost certainly a damaged wire or connector.
- Be prepared for a difficult repair on 2011-2014 models due to the sensor connector being on top of the transmission.
- Do not ignore this code, as it will hurt your fuel economy and can lead to catalytic converter damage.
What's Unique About the 2011-2016 Ford F-150
The 2011-2016 year range covers two F-150 generations, and the primary difference for this repair is accessibility. On the 12th generation (2011-2014), the Bank 1 Sensor 1 electrical connector is notoriously difficult to reach, as it's located on top of the transmission housing, often requiring access from underneath near the driveshaft. This can make what should be a simple sensor swap a frustrating job. For the 13th generation (2015-2016), the connector is typically in a more accessible location near the transmission bellhousing, making the repair more straightforward.
Generation note: This range covers the 12th generation (2011-2014) and the 13th generation (2015-2016) F-150. The main difference for this code is the location and accessibility of the O2 sensor's electrical connector. On 2011-2014 models, the connector is on top of the transmission and very difficult to access. On 2015-2016 models, access is generally easier.
Symptoms You May Notice
- Check Engine Light is on
- Reduced fuel economy
- Rough idling or engine hesitation
- Black smoke from the exhaust in severe cases
- Smell of raw fuel
- Replacing the O2 sensor without first inspecting the wiring harness. If a new sensor does not fix the code, the problem is very likely in the wiring.
- Replacing the wrong sensor. P0132 specifically refers to Bank 1 (passenger side) and Sensor 1 (upstream/pre-catalytic converter).
- Assuming an aftermarket sensor will work as well as OEM. Many F-150 owners report that only Motorcraft sensors solve the problem permanently.
Most Likely Causes
- Failed Bank 1, Sensor 1 Oxygen Sensor 🔴 High Probability Oxygen sensors are wear-and-tear parts that degrade over time from heat and exhaust contaminants. This is the most common cause of P0132 and a very common failure on the 3.5L EcoBoost.
How to confirm: Using a scan tool, watch the live data for the B1S1 voltage. If it is stuck high (e.g., >0.9V) and not fluctuating while the engine is warm, the sensor has likely failed. An easy test is to swap the electrical connectors for the Bank 1 and Bank 2 upstream sensors; if the code changes to P0152 (Bank 2 High Voltage), the sensor is confirmed bad.
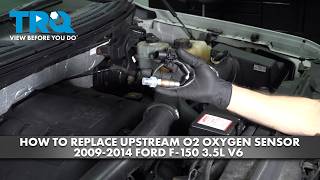
Typical fix: Replace the upstream oxygen sensor on the passenger side. 🎬 Watch: A quick walkthrough of the Bank 1 Sensor 1 replacement. It is highly recommended to use an OEM Motorcraft sensor, as many owners report that only Motorcraft sensors solve the problem permanently.
Est. part cost: $80-$150 - Wiring or Connector Issue 🟡 Medium Probability The sensor wiring harness is routed close to the hot exhaust manifold and turbocharger components, making it susceptible to melting, chafing, or becoming brittle over time. This can cause a short circuit to a power source, resulting in a constant high voltage signal. A recurring P0132, especially one that appears after the engine warms up, strongly suggests a wiring issue.
How to confirm: Visually inspect the entire wiring harness from the O2 sensor to its connector for any signs of melting, fraying, or physical damage. Check the connector itself for corrosion, moisture, or pushed-out pins. With the sensor unplugged and ignition on, use a multimeter to check for voltage on the signal wire in the harness-side connector. If battery voltage is present, there is a short to power in the harness.
Typical fix: Repair the damaged section of the wiring harness or replace the connector pigtail. Secure the harness away from heat sources to prevent future damage.
Est. part cost: $20-$50 - Engine Running Rich ⚪ Low Probability While less common for this specific code, any issue that causes excess fuel to enter the cylinders will be accurately reported by the O2 sensor as a high voltage (rich) condition. Leaking fuel injectors are a possible cause on direct-injection engines like the EcoBoost.
How to confirm: Look for other diagnostic trouble codes, particularly P0172 (System Too Rich Bank 1). Use a scan tool to check long-term fuel trims; a significantly negative number (e.g., -15% or more) indicates the PCM is trying to compensate for a rich condition. This could be caused by a leaking fuel injector, faulty fuel pressure regulator, or a contaminated MAF sensor.
Typical fix: Diagnose the root cause of the rich condition. This may involve testing fuel injectors, checking fuel pressure, or inspecting the mass airflow (MAF) sensor.
Est. part cost: $100-$500+
Rare But Worth Checking
- Exhaust Leak: An exhaust leak before the O2 sensor can sometimes disrupt airflow and cause erratic readings, though it more commonly causes a low voltage (lean) code.
- PCM Fault: A failure of the Powertrain Control Module is extremely rare but possible. This should only be considered after all other possibilities, especially the sensor and its wiring, have been definitively ruled out.
Diagnosis Steps
- Read the code with an OBD-II scanner and confirm P0132 is active.
- Use the scanner's live data function to monitor the voltage of 'O2S11' (Bank 1, Sensor 1). A healthy warm sensor will fluctuate rapidly between ~0.1V and ~0.9V. If it is stuck above 0.9V, the fault is confirmed. 🎬 See this complete guide on O2 sensor diagnostics and testing.
- Perform a thorough visual inspection of the Bank 1 Sensor 1 wiring harness, from the sensor up to the main connector. Look for any signs of melting, chafing, or corrosion, paying close attention to areas near the exhaust manifold and turbo.
- Inspect the electrical connector for damage, moisture, or backed-out pins. For 2011-2014 models, this connector is on top of the transmission and difficult to access.
- If wiring appears intact, the sensor itself is the most likely cause. Replace the Bank 1, Sensor 1 oxygen sensor. Using an OEM Motorcraft part is strongly recommended. A specialized crow's foot O2 sensor socket and long extensions may be required.
- If a new sensor does not resolve the code, re-examine the wiring harness for a short-to-power. Unplug the sensor and test the signal wire in the harness-side connector with a multimeter; it should not have voltage with the key on.
- If the sensor and wiring are confirmed good, investigate potential rich-running conditions by checking fuel trims for large negative values and looking for other codes like P0172.
Parts You'll Likely Need
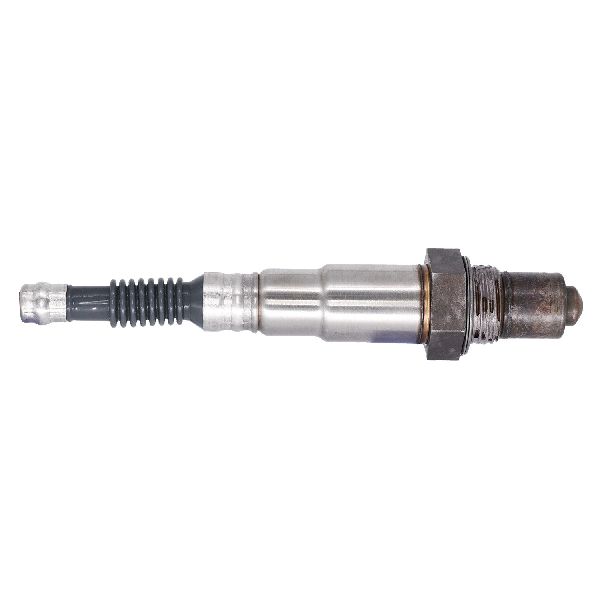
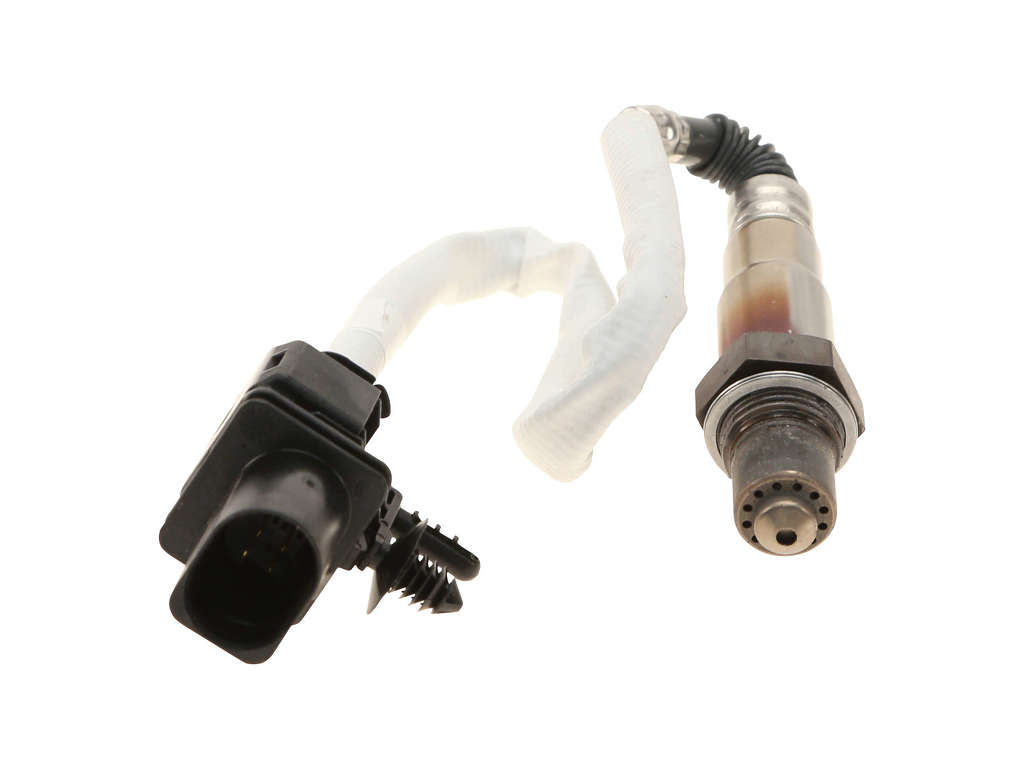
- Upstream Oxygen Sensor (Bank 1, Sensor 1)
(OEM #BL3Z-9F472-A (Motorcraft DY-1178) for 2011-2014 models. 8F9Z-9F472-H (Motorcraft DY-1185) is often listed for 2015-2016 models.)— This is the component that has most likely failed. The part numbers differ between the 12th and 13th generation F-150s. Always verify with your VIN before purchasing.
Trusted brands: Motorcraft, Bosch, Denso, NGK
OEM price range: $110-$150
Aftermarket price range: $50-$100
Related Codes That Often Appear With This One
- P0172 — System Too Rich (Bank 1). This code confirms that the PCM agrees with the O2 sensor's reading that the fuel mixture is too rich, pointing towards a fuel delivery issue rather than a sensor electrical fault.
- P2196 — O2 Sensor Signal Stuck Rich (Bank 1, Sensor 1). This is a very similar code to P0132 and points to the exact same set of failures.
- P0135 — O2 Sensor Heater Circuit Malfunction (Bank 1, Sensor 1). A problem with the sensor's internal heater can cause incorrect readings, sometimes triggering P0132 as a secondary code.
Technical Service Bulletins (TSBs) & Recalls
- TSB 20-2380: While for 2020 Super Duty trucks, this TSB addresses P0132 and other O2 codes caused by water intrusion into harness connectors, highlighting a known potential failure point on Ford trucks.
Platform-Specific Known Issues
- On 2011-2014 models, the Bank 1 Sensor 1 electrical connector is located on top of the transmission housing and is extremely difficult to access without reaching up from near the driveshaft, significantly increasing the difficulty and labor time for replacement. 🎬 Watch: Step-by-step upstream sensor replacement for 2011-2014 models.
- Real-world owner story: A user on F150forum.com with a 2020 F-150 (different engine, but relevant principle) reported a recurring P0132 code that only appeared on warm restarts. This behavior points strongly toward a wiring issue that manifests with heat-soak, causing a temporary short circuit.
Mechanic-Grade Diagnostic Values
- O2 Sensor Heater Circuit Resistance — expected: 3 to 30 Ohms, with many Ford sensors measuring between 4.5 to 5.0 Ohms.. Failure: A reading of infinite resistance (Open Loop / OL) or near-zero Ohms indicates a failed internal heater element.
- B1S1 O2 Sensor Signal Voltage (KOER, warm engine) — expected: Rapidly fluctuating between 0.1V and 0.9V.. Failure: Voltage is stuck above 0.9V. Readings as high as 1.25V have been observed in failure cases.
- Harness-Side Signal Wire Voltage (Sensor Unplugged, KOEO) — expected: 0 Volts.. Failure: Presence of any steady voltage, especially battery voltage, indicates a short-to-power in the wiring harness.
Scan Tool Commands That Help
- Ford IDS (Integrated Diagnostic System): Datalogger & Bidirectional Controls — To actively monitor specific Ford PIDs (Parameter IDs) like 'O2 sensor warm and ready to operate' status, which can confirm heater circuit functionality. The bidirectional controls allow a technician to command circuits on and off to isolate faults, which is a step beyond passively reading codes and data.
Wiring & Ground Locations
- Engine Block to Firewall Ground Strap — A braided ground strap typically runs from a stud on the back of the cylinder head to a point on the vehicle's firewall.. A poor engine ground can cause erratic sensor readings and create voltage offsets. This is a primary ground path for the PCM and its sensors.
- Passenger Fender Ground Point — On the passenger side inner fender, there is a grounding bolt where multiple wires from the main harness connect.. A user reported finding this bolt tight, but the cable lug beneath it was still loose, causing a poor ground connection and various electrical issues. This ground is part of the O2 sensor's circuit path.
- Passenger Kick Panel / BCM Ground — Inside the cab, near the passenger side kick panel, there is a major ground point next to the Body Control Module (BCM).. This is a primary chassis ground. While less likely to be the direct cause, a poor connection here can cause a wide range of difficult-to-diagnose electrical problems that could affect sensor reference voltages.
Real Owner Repair Stories
- F150forum.com user 'rounded-nut' (Ford F-150 (5.4L 3v, not EcoBoost, but identical code and principle)) — Multiple O2 sensor codes at once (P2196, P0171, P2195, P0132, P0133), rough idle, and intermittent power loss.
❌ Tried (didn't work) Initial diagnosis pointed to a bad sensor based on live data showing a flatlined voltage.
✅ What actually fixed it Upon removing the sensor, the user found green corrosion on the pins in the truck-side wire harness connector. Cleaning the connector with electronics cleaner and a nylon brush, then installing a new O2 sensor, resolved all codes and drivability issues.
OEM Part Supersession History
BL3Z-9F472-A→DY-1178 (Motorcraft Service Number)— Standard part number supersession from production to service part.
Heads up: This part is generally for 2011-2014 models. While it may physically fit other years, the harness length or calibration may be incorrect. Always verify by VIN.
Model Year Variations Within This Range
- 2011-2014: The PCM software on these early 12th gen models received over 60 updates from Ford to fix bugs ranging from engine performance to minor electrical issues. An outdated software calibration can cause diagnostic headaches or conflict with aftermarket tunes. It is a best practice to have a Ford dealer update the PCM to the latest TSB before extensive diagnosis.
- 2015-2016: While the main Manifold Absolute Pressure (MAP) sensor is the same as the 2011-2014 models, the Throttle Inlet Pressure (TIP) sensor has a different part number (DV2A-9F479-BB vs AA5A-9F479-AB). This reflects a change in the turbocharging control system between the first and second generation 3.5L EcoBoost.
Diagnostic Flowchart
Other Known Issues on This Vehicle
Issues unrelated to this code that are worth knowing about as an owner of this generation:
- Timing Chain Stretch and Phaser Rattle 🔴 High — Very common on 2011-2015 models, often noticeable as a loud rattle from the front of the engine for 2-5 seconds on a cold start. Can occur as early as 60,000-80,000 miles. (Ref: TSB 18-2305 (supersedes earlier versions). The fix involves replacing the primary timing chain and all four VCT phasers.)
- Intercooler Condensation Misfire 🟠 Medium — Common on 2011-2012 models, especially in humid climates. Causes engine stumbling or misfiring during hard acceleration after a period of steady highway driving. (Ref: TSB 13-8-1 (and others like 12-6-4) involved installing a deflector plate or a redesigned intercooler (CAC). Some owners drill a small 'weep hole' in the intercooler as a DIY fix.)
- Vacuum Pump Oil Leak 🟠 Medium — A very frequent oil leak on 2011-2016 models. The pump is on the rear of the passenger-side cylinder head and leaks oil down onto the starter and exhaust, causing a burning oil smell in the cab. (Ref: No TSB, but a widely known issue. The fix is replacing the pump (Part: DL3Z-2A451-B) or its seal (Part: DL3Z-2A572-A).)
- Cracked Exhaust Manifolds / Broken Studs 🟠 Medium — Fairly common across the 2011-2016 range. Presents as a ticking noise from the engine bay, especially when cold, that may quiet down as the engine warms up. Caused by warping of the thin factory manifolds. (Ref: No specific TSB, but aftermarket heavy-duty manifolds are a common upgrade.)
- Coolant Leaks at Turbo Fittings 🟡 Low — Can occur over time as o-rings and fittings age. A leak of coolant near the turbochargers can cause a sweet smell and require replacement of small coolant lines or connectors.
Used vs. New Parts: Buying Guide for This Vehicle
When a used part is the smart pick: Never for the oxygen sensor itself, as it is a wear item with a finite lifespan. A used part is a smart choice for the wiring harness connector pigtail if the original is melted or corroded.
Donor-vehicle mileage cap: roughly under 50000 miles for the part to have meaningful remaining life.
What to inspect on the donor part:
- For a connector/pigtail, inspect for any signs of melting on the plastic body.
- Check that the wire insulation is not brittle, cracked, or oil-soaked.
- Look inside the connector to ensure pins are not green with corrosion or physically bent.
- Ensure the connector's locking tab is intact and clicks securely.
OEM-only on this vehicle (don't cheap out):
- Oxygen Sensor: Forum consensus is overwhelmingly in favor of using only OEM Motorcraft sensors. Aftermarket sensors, even from known brands, are frequently reported to cause persistent or recurring codes on Ford vehicles.
Aftermarket brands forum-validated for this vehicle:
- NTK and Denso are widely considered to be the original equipment manufacturers for many Ford sensors and are the most trusted alternatives if a Motorcraft part is not available.
Brands owners have reported issues with on this vehicle:
- Bosch: While a major brand, numerous forum posts from Ford owners report their sensors being 'lazy' or not responding correctly for the PCM's strategy, leading to codes.
- Walker: A specific repair story cited a Walker-branded sensor being faulty out of the box.
- Generic/No-Name (e.g., from eBay, AliExpress): These are strongly advised against due to poor quality control, incorrect specifications, and high failure rates.
Real Owner Stories
Aggregated from forums and TSBs cited above. Mileages and costs reflect what owners reported in those sources.
2020 Ford F-150
Symptoms: A recurring P0132 code that only appeared on warm restarts.
What fixed it: The behavior pointed toward a wiring issue manifesting with heat-soak, causing a temporary short circuit.
Source hint: f150forum.com: Thread 'P0132 O2 Sensor Issue' (2022)
2013 Ford F-150 3.5L EcoBoost
Symptoms: P0132 code triggered; confirmed as Bank 1 Sensor 1.
What fixed it: Replacement of the oxygen sensor, noting that sensor failure is a common problem on the EcoBoost.
Source hint: f150forum.com: Thread '02 sensor 2013 3.5 eco' (2018)
2011-2014 Ford F-150 3.5L EcoBoost
Symptoms: Difficulty accessing the sensor for replacement due to its location.
What fixed it: Using a crow's foot socket to reach the sensor and connector located over the transmission.
Source hint: f150forum.com: Thread 'bank 1 sensor 1 O2 sensor location' (2018)
Related OBD-II Codes
Frequently Asked Questions
Where is the Bank 1 Sensor 1 electrical connector located on my 2011-2014 F-150 3.5L EcoBoost?
Should I use an aftermarket oxygen sensor to fix P0132 on my F-150?
My P0132 code only appears after the engine is warm or on warm restarts. What does this mean?
Does TSB 20-2380 apply to my F-150?
Can I test if the sensor is actually bad before buying a new one?
What tools are recommended for replacing the O2 sensor on the passenger side?
Helpful Videos
Used OEM Parts in Stock
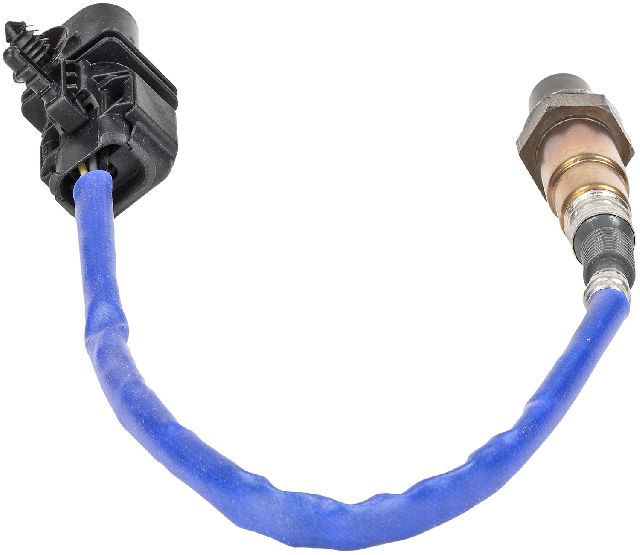
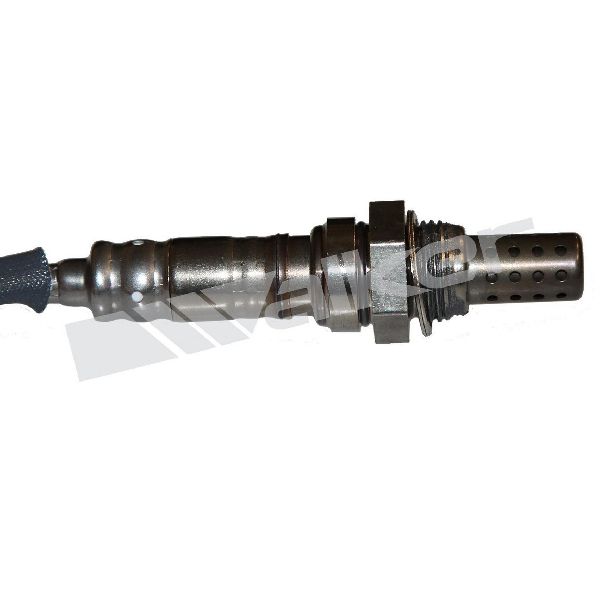
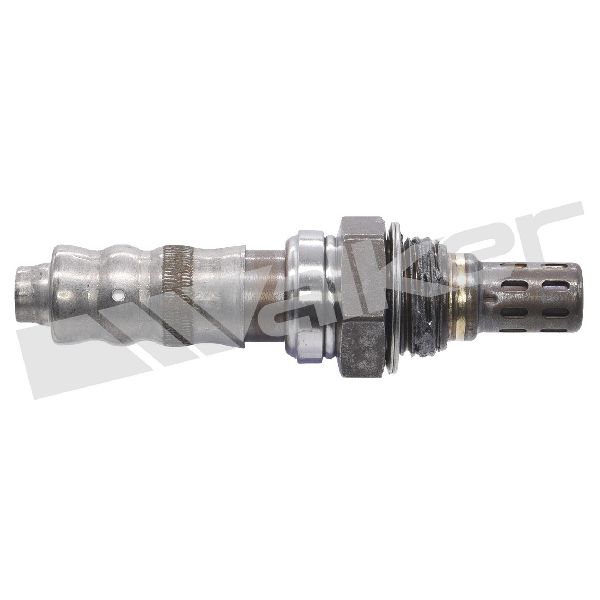
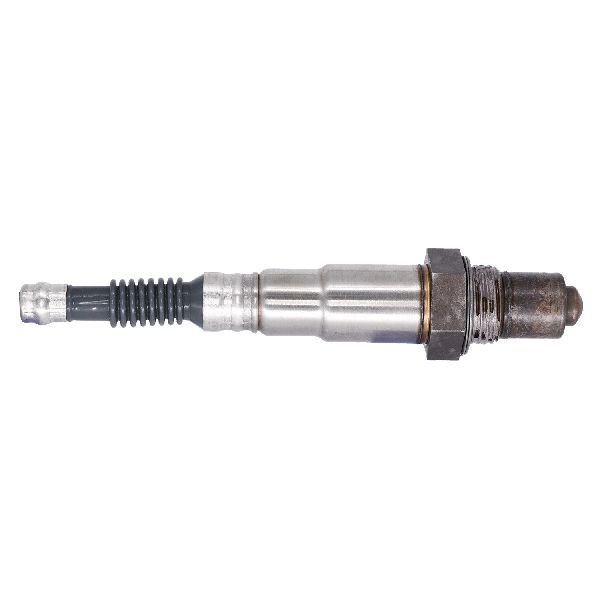
New Aftermarket Parts Available

The information in this article is provided for general reference and educational purposes only. Vehicle specifications, procedures, and part compatibility can vary by production date, trim level, and region. Always consult your vehicle's factory service manual and verify part numbers before purchasing or performing repairs. Safety-critical components such as airbags, seat belts, and braking systems should be installed by a qualified professional.
- Ford F-150:
- 🎬 Helpful Videos
- 🛍️ Shop This Part
- What's Unique About the 2011-2016 Ford F-150
- Symptoms You May Notice
- Most Likely Causes
- Rare But Worth Checking
- Diagnosis Steps
- Parts You'll Likely Need
- Related Codes That Often Appear With This One
- Technical Service Bulletins (TSBs) & Recalls
- Platform-Specific Known Issues
- Mechanic-Grade Diagnostic Values
- Scan Tool Commands That Help
- Wiring & Ground Locations
- Real Owner Repair Stories
- OEM Part Supersession History
- Model Year Variations Within This Range
- Diagnostic Flowchart
- Other Known Issues on This Vehicle
- Used vs. New Parts: Buying Guide for This Vehicle
- Real Owner Stories
- 2020 Ford F-150
- 2013 Ford F-150 3.5L EcoBoost
- 2011-2014 Ford F-150 3.5L EcoBoost
- Related OBD-II Codes
- Frequently Asked Questions
- 🎟️ Get 5% Off