

P0131 on 2013-2017 Chevrolet Malibu: O2 Sensor Low Voltage Causes and Fixes
On a 2013-2015 Malibu with the 2.5L engine, this code is very often caused by loose intake manifold bolts creating a vacuum leak, not a bad oxygen sensor. Before buying parts, check the bolt torque (108 in-lbs). GM issued TSB PIP5529B for this exact problem. For other engines or the 2016-2017 models, a failed upstream oxygen sensor is the most likely cause, costing around $40-$90 for an aftermarket part.
- For 2013-2015 Malibus with the 2.5L engine, check for loose intake manifold bolts before you even consider buying an O2 sensor. This is a known issue and a free fix.
- P0131 is often paired with P0171 (System Too Lean). When you see both, a vacuum leak is a very high probability.
- If the intake bolts are tight (or you have a different engine), the upstream O2 sensor (Bank 1, Sensor 1) is the next most likely cause.
- Driving with this code can lead to poor performance, bad fuel economy, and potential damage to the expensive catalytic converter over time.
What's Unique About the 2013-2017 Chevrolet MALIBU

The 2013-2017 Malibu range spans two vehicle generations with different engines. For the 8th generation (2013-2015) equipped with the 2.5L LCV engine, this code is frequently a symptom of a different mechanical problem: loose intake manifold bolts. This specific issue is documented in GM Technical Service Bulletin (TSB) PIP5529B. It creates a vacuum leak that the O2 sensor correctly reports as a lean condition, often tricking owners into replacing a perfectly good sensor. One owner spent over $1,000 before discovering the loose bolts were the true cause.
Diagnostic Flowchart
Tap your situation to follow the diagnostic path that matches what you're seeing on this vehicle.
Generation note: The 2013-2017 year range covers the end of the 8th generation and the beginning of the 9th generation Malibu. - 8th Generation (2013-2015): Primarily used a 2.5L (LCV/LKW) and an optional 2.0L Turbo (LTG) engine. The loose intake manifold issue is well-documented for the 2.5L engine and also noted on the 2.0L LTG per TSB PIP5529B. 🎬 Watch: How to identify and tighten those loose intake bolts. - 9th Generation (2016-2017): Introduced a standard 1.5L Turbo (LFV) and an optional 2.0L Turbo (LTG). For these models, particularly the 1.5L, a failed sensor is more likely than a vacuum leak from the intake, though the TSB for loose bolts does extend to the 2017 model year for the LTG engine.
Symptoms You May Notice
- Check Engine Light is on
- Message on dash like "Reduced Engine Power".
- Rough or uneven idle
- Poor acceleration and hesitation
- Decreased fuel economy
- Stuttering or loss of power while driving.
- Replacing the oxygen sensor when the actual problem is loose intake manifold bolts on a 2.5L engine. This is the most common and costly mistake for this specific platform, as confirmed by TSB PIP5529B and numerous owner accounts.
Most Likely Causes

- Loose Intake Manifold Bolts 🔴 High Probability This is a widely documented issue specifically on the 2.5L LCV engine used in the 2013-2015 Malibu and other GM vehicles. GM released TSB PIP5529B to address this. The bolts can back out over time, breaking the intake gasket seal and creating a significant vacuum leak. An owner of a 2014 Malibu reported this exact failure was the root cause of codes P0131, P2097, and P0171.
How to confirm: With the engine off and cool, attempt to move the plastic intake manifold by hand. If it wiggles, the bolts are loose. For a definitive check, remove the engine cover and use a socket to check the torque on the bolts securing the manifold to the cylinder head. They are often found to be only finger-tight and may take one or two full turns to tighten. A smoke test will definitively show a leak from the gasket area.
Typical fix: Per TSB PIP5529B, the official fix is to remove one bolt at a time, apply medium strength threadlocker, reinstall, and torque all bolts in sequence to 108 in-lbs (12 Nm). The gasket usually does not need to be replaced. This can be done in about 0.4 hours according to the TSB's labor operation time.
Est. part cost: $0 - $10 (for threadlocker) - Failed Upstream Oxygen Sensor (Bank 1, Sensor 1) 🟡 Medium Probability Oxygen sensors are a wear item and typically fail after 70,000-100,000 miles due to heat and contamination. This is the most common cause on models without the 2.5L engine (e.g., 1.5L Turbo) or on 2.5L models where the intake bolts are confirmed to be tight.
How to confirm: Use a scan tool to monitor the live data for the B1S1 O2 sensor. A healthy sensor's voltage should fluctuate rapidly between approximately 0.1V and 0.9V. A failed sensor will often be stuck at a very low voltage (under 0.2V) or respond very slowly.
Typical fix: Replace the Bank 1, Sensor 1 oxygen sensor. A special slotted oxygen sensor socket is recommended for removal.
Est. part cost: $40-$120 - Damaged Sensor Wiring or Connector ⚪ Low Probability The wiring harness for the O2 sensor is located under the vehicle and can be damaged by road debris, heat from the exhaust, or corrosion. A short to ground or an open in the signal wire will cause a low voltage reading.
How to confirm: Visually inspect the entire wiring harness from the O2 sensor to its connection point. Look for melted plastic, frayed wires, or corrosion inside the connector pins. Check for blown fuses related to the heater circuit.
Typical fix: Repair the damaged section of the wire or replace the connector pigtail.
Est. part cost: $10-$30 - Exhaust Leak ⚪ Low Probability Leaks can develop at the exhaust manifold gasket or the flex pipe, allowing outside air to be drawn into the exhaust stream before the sensor. This extra oxygen passes over the O2 sensor, causing it to send a false lean (low voltage) signal.
How to confirm: Visually inspect the exhaust manifold and downpipe for black soot marks, which indicate a leak. You can also use a smoke machine to feed smoke into the exhaust system (with the engine off) and watch for where it escapes.
Typical fix: Replace the leaking gasket or repair the cracked section of the exhaust pipe.
Est. part cost: $20-$200
Rare But Worth Checking
- Low Fuel Pressure: A weak fuel pump or clogged filter can cause a genuine lean condition, which the O2 sensor will accurately report. This would typically be accompanied by other symptoms like hard starting or hesitation under load.
- Faulty Mass Airflow (MAF) Sensor: A dirty or failing MAF sensor can under-report the amount of air entering the engine, causing the ECM to inject too little fuel and creating a lean condition that triggers P0131.
Diagnosis Steps
- Scan for other codes. The presence of P0171 and/or P0106 strongly suggests a vacuum leak, not just a sensor failure.
- (For 2.5L & 2.0L Engines) Prioritize checking the intake manifold. This is the most likely cause. Visually inspect and physically check if the manifold is loose. Use a torque wrench to verify the bolts are tightened to 108 in-lbs (12 Nm). Per TSB PIP5529B, consider applying threadlocker. This step alone solves the problem for many owners.
- Inspect for exhaust leaks. Look for soot trails near gaskets and listen for hissing or ticking sounds from the exhaust manifold and downpipe, especially when the engine is cold.
- Inspect the O2 sensor wiring. Check for any signs of melting, chafing, or corrosion on the harness and connector from the sensor to the main harness.
- Analyze O2 sensor data. Use a scan tool's live data feature to observe the Bank 1 Sensor 1 voltage. If it is stuck low (e.g., <0.2V) and does not fluctuate after the engine is warm, and all previous steps have been checked, the sensor itself is likely faulty.
- If the sensor appears to be working correctly, consider a smoke test to find hard-to-see vacuum leaks or test fuel pressure to rule out a weak fuel pump.
Parts You'll Likely Need

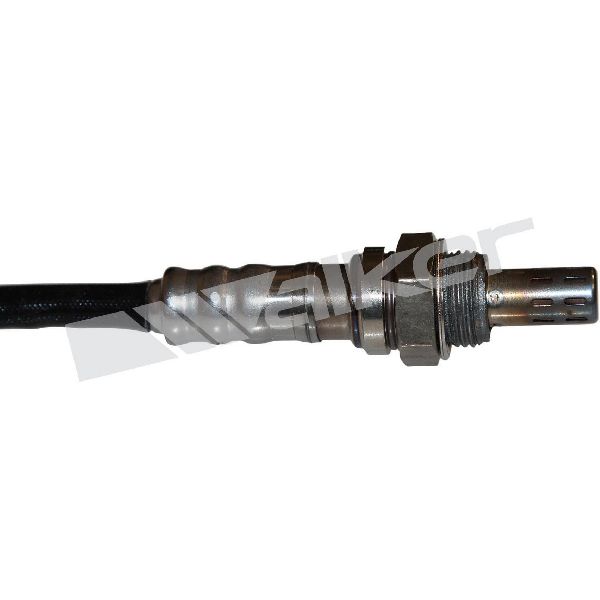
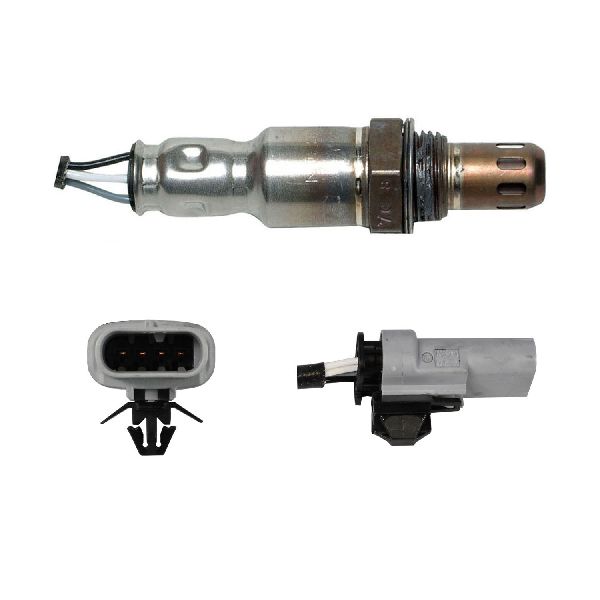
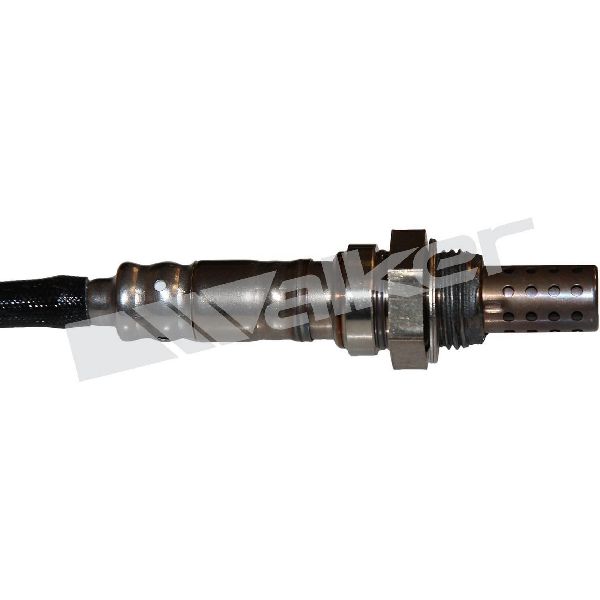
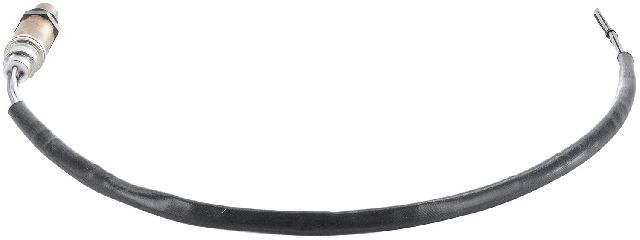
- Upstream Oxygen Sensor (Bank 1, Sensor 1)
(OEM #GM 12643707 (For 2.5L LCV & 2.0L LTG, supersedes 12627139))— This is the most commonly replaced part for P0131 when a vacuum leak is not present. It is a wear-and-tear item that eventually fails from exposure to exhaust gases.
Trusted brands: ACDelco (GM Genuine), Denso (e.g., 234-4285), Bosch, NGK/NTK
OEM price range: $80-$150
Aftermarket price range: $40-$90 - Intake Manifold Bolt
(OEM #GM 11610955)— Rarely needed, but a bolt can snap if over-torqued during re-installation. The original bolts are generally considered reusable and not torque-to-yield (TTY).
Trusted brands: ACDelco (GM Genuine)
OEM price range: $5-$10 per bolt
Aftermarket price range: $3-$7 per bolt
Related Codes That Often Appear With This One
- P0171 — System Too Lean (Bank 1). This code is frequently triggered alongside P0131 because they both indicate a lean condition. TSB PIP5529B lists both codes as being caused by loose intake manifold bolts.
- P2097 — Post Catalyst Fuel Trim System Too Rich. This can appear with P0131 and P0171 in a vacuum leak scenario. The ECM detects the lean condition from the upstream sensor (P0131/P0171) and adds excessive fuel to compensate, causing the downstream sensor to report a rich condition.
- P0106 — Manifold Absolute Pressure (MAP) Sensor Performance. A large vacuum leak from the intake manifold creates a conflict between the MAP sensor's readings and the expected engine load, often triggering this code along with the lean codes.
Technical Service Bulletins (TSBs) & Recalls

- PIP5529B (Supersedes PIP5529A): This is the key document for this issue. It addresses a list of DTCs including P0131, P0171, P0106, and others on 2.5L (LCV, LKW) and 2.0L (LTG) engines across many GM models including the Malibu. The cause is identified as loose intake manifold bolts. The official correction is to remove one bolt at a time, apply medium strength threadlocker, and torque in sequence to spec (108 in-lbs / 12 Nm).
Platform-Specific Known Issues
- 2013-2015 models with the 2.5L LCV engine are known for having intake manifold bolts that loosen over time. This is officially recognized by GM in TSB PIP5529B. This creates a vacuum leak that is a primary cause for P0131 and P0171 codes. This should be the first item checked before replacing any parts.
Mechanic-Grade Diagnostic Values
- High-Pressure Fuel Rail Pressure (at idle, 2.5L/2.0L) — expected: 2.96 - 3.24 MPa (429 - 470 psi).. Failure: Significantly lower pressure at idle may indicate a weak high-pressure fuel pump.
- Low-Pressure Fuel System Pressure — expected: Greater than 250 kPa (36 psi); a forum user reported 43 PSI at idle was considered acceptable.. Failure: Pressure dropping under load can indicate a failing in-tank fuel pump.
- Upstream O2 Sensor (B1S1) Voltage — expected: Rapidly fluctuating between ~0.1V (lean) and ~0.9V (rich) on a warm, closed-loop engine.. Failure: Voltage is stuck low (consistently below 0.2V), indicating a failed sensor or a large vacuum/exhaust leak.
- Long-Term Fuel Trim (LTFT) — expected: Within +/- 10% at steady RPM.. Failure: A persistently high positive value (e.g., > +15%) indicates the ECM is adding significant fuel to compensate for a lean condition, strongly suggesting a vacuum leak, exhaust leak, or fuel delivery issue. A value over +25% will typically set a P0171 code.
Scan Tool Commands That Help
- GDS2 (GM Dealer Tool): ECM Reprogramming — If a Technical Service Bulletin indicates a software update is available to fix a false diagnostic code. For example, TSBs for related codes on this platform have resolved issues without part replacement.
- GDS2 or advanced scan tool: Fuel Trim Reset — After performing a repair for a vacuum leak or fuel system fault, resetting the learned fuel trim values forces the ECM to relearn immediately, which can confirm the fix.
Wiring & Ground Locations

- G103 — On the cowl at the left rear of the engine compartment, above the brake booster.. This is a primary ground for the Engine Control Module (ECM). A poor connection here can cause erratic sensor readings and false codes, including P0131.
- G121 — On the right front side of the engine block.. This is a signal ground location. A faulty ground here could interfere with the low-voltage signal from the oxygen sensor, causing an incorrect reading.
- B1S1 O2 Sensor Connector — On the 2.5L engine, the upstream (B1S1) connector is typically black and located near the thermostat housing, above the often-white downstream sensor connector.. Knowing the physical location and color is critical for inspecting the correct connector for damage, corrosion, or performing voltage/resistance tests on the right sensor circuit.
Real Owner Repair Stories
- NHTSA Owner Complaint (2014 Chevrolet Malibu) — Stuttering and complete loss of power while driving 60 MPH.
❌ Tried (didn't work) Unknown repairs costing over $1,000 over a one-month period.
✅ What actually fixed it The intake manifold bolts were found to be loose. Tightening them resolved the issue that was causing codes P0131, P2097, and P0171.
When the Usual Fixes Don't Work
- The most significant counter-evidence to immediately replacing the O2 sensor is documented in both TSBs and owner complaints. In the case of NHTSA ODI #11581909, a 2014 Malibu owner spent over $1,000 on diagnostics and parts for codes P0131, P2097, and P0171. After a month, the actual root cause was identified as loose intake manifold bolts, a fix that costs virtually nothing in parts. This highlights the importance of checking for the TSB-documented vacuum leak before assuming sensor failure.
OEM Part Supersession History
12627139→12643707— Standard part revision and update by the manufacturer.
Heads up: GM documentation notes that part 12643707 may require 'programming and/or special setup procedures' after installation, which is an unusual requirement for an O2 sensor and critical for technicians to know.
Model Year Variations Within This Range
- 2016-2017: Models with the 1.5L LFV turbo engine have a completely different primary failure point for lean conditions compared to the earlier 2.5L. A ruptured PCV diaphragm inside the valve cover assembly is a very common cause of vacuum leaks, often triggering P0171 and associated codes like P0131.
Helpful Videos

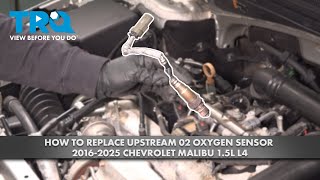
![How to Fix P0131 Engine Code in 4 Minutes [3 DIY Methods / Only $9.65]](https://img.youtube.com/vi/5a64xpdcVY0/mqdefault.jpg)

Used OEM Parts in Stock
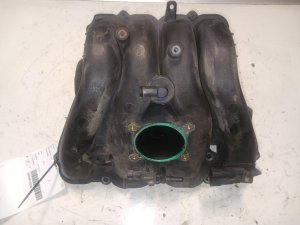
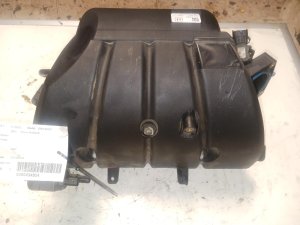
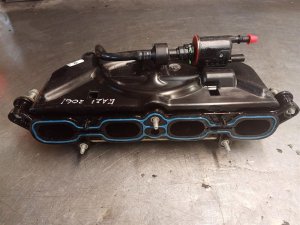
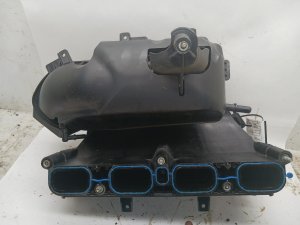

New Aftermarket Parts Available

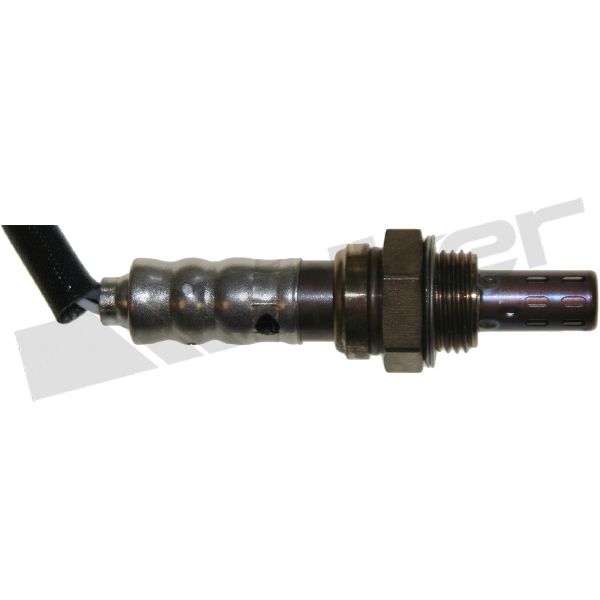

The information in this article is provided for general reference and educational purposes only. Vehicle specifications, procedures, and part compatibility can vary by production date, trim level, and region. Always consult your vehicle's factory service manual and verify part numbers before purchasing or performing repairs. Safety-critical components such as airbags, seat belts, and braking systems should be installed by a qualified professional.
- Chevrolet MALIBU:
- 🎬 Helpful Videos
- 🛍️ Shop This Part
- What's Unique About the 2013-2017 Chevrolet MALIBU
- Diagnostic Flowchart
- Symptoms You May Notice
- Most Likely Causes
- Rare But Worth Checking
- Diagnosis Steps
- Parts You'll Likely Need
- Related Codes That Often Appear With This One
- Technical Service Bulletins (TSBs) & Recalls
- Platform-Specific Known Issues
- Mechanic-Grade Diagnostic Values
- Scan Tool Commands That Help
- Wiring & Ground Locations
- Real Owner Repair Stories
- When the Usual Fixes Don't Work
- OEM Part Supersession History
- Model Year Variations Within This Range
- 🎟️ Get 5% Off