

P0131 on 2014-2017 Buick Regal: O2 Sensor Low Voltage Causes and Fixes
On a 2014-2017 Buick Regal, code P0131 is most often caused by a failing upstream oxygen sensor (Bank 1, Sensor 1). Expect to pay between $40 for an aftermarket part and $120+ for an OEM sensor. Before replacing it, check for exhaust leaks, damaged wiring, and, as per a GM TSB, loose intake manifold bolts.
- P0131 on your Buick Regal points to a low voltage signal from the upstream O2 sensor. While the sensor itself is the most frequent culprit, do not replace it without first investigating other common causes specific to this platform.
- Check for vacuum leaks by inspecting intake manifold bolt torque, as specified in GM TSB #PIP5529B.
- Visually inspect the O2 sensor wiring harness for any signs of heat damage or chafing.
- If you have a 2.4L engine, be aware that excessive oil consumption could be the root cause, fouling the sensor.
- The code is often paired with P0171 (System Too Lean), reinforcing the need to check for unmetered air leaks before buying parts.
What's Unique About the 2014-2017 Buick REGAL
For the 2014-2017 Buick Regal, which primarily uses 2.0L and 2.4L four-cylinder engines, the P0131 code is fairly straightforward. However, GM has issued Technical Service Bulletins (TSBs) like #PIP5529B that list P0131 among a large group of other codes. This TSB specifically points to loose intake manifold bolts as a potential cause, leading to a vacuum leak that the O2 sensor correctly reports as a lean condition. This suggests that on this platform, P0131 may not always be an isolated sensor failure but could be a symptom of a mechanical issue affecting air intake.
Diagnostic Flowchart
Tap your situation to follow the diagnostic path that matches what you're seeing on this vehicle.
Symptoms You May Notice
- Check Engine Light is on
- Reduced fuel economy
- Rough or unstable idle, sometimes surging
- Engine hesitation or sluggish performance on acceleration
- A strong smell of exhaust or rotten eggs
- Engine may stall, especially when coming to a stop
- Replacing the O2 sensor without first checking for vacuum leaks (especially loose intake manifold bolts), exhaust leaks, or wiring damage.
- Replacing the catalytic converter when the problem is an upstream sensor or a lean running condition.
- Replacing the Mass Airflow (MAF) sensor when a vacuum leak downstream of the throttle body is the true cause of the lean reading.
Most Likely Causes
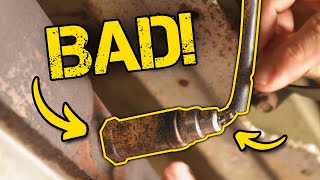
- Faulty Upstream Oxygen Sensor (Bank 1, Sensor 1) 🔴 High Probability Oxygen sensors are wear-and-tear items that degrade over time from heat and contaminants. They typically have a lifespan of 60,000 to 90,000 miles. On 2.4L models, excessive oil consumption covered under TSB 13-06-01-003F can foul the sensor, causing premature failure.
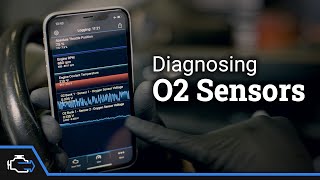
How to confirm: Use an OBD-II scanner to monitor the live voltage data from the Bank 1 Sensor 1. A healthy sensor's voltage should fluctuate rapidly between approximately 0.1 and 0.9 volts. If it is stuck below 0.2 volts, the sensor is likely faulty.
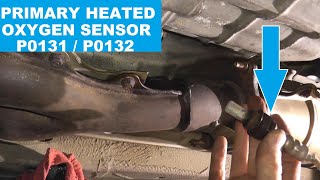
Typical fix: Replace the Bank 1, Sensor 1 oxygen sensor. This is the upstream sensor, located before the catalytic converter.
Est. part cost: $40-$120 - Engine Vacuum Leak 🟡 Medium Probability TSB #PIP5529B specifically identifies loose intake manifold bolts as a cause for a group of codes including P0131 on these vehicles. Other common leak sources include cracked hoses or faulty intake manifold gaskets, which allow unmetered air into the engine, causing a genuinely lean condition.
How to confirm: Perform a smoke test on the intake system. Per TSB #PIP5529B, specifically check the torque of the intake manifold bolts. Listen for hissing sounds around the engine bay at idle.
Typical fix: Torque intake manifold bolts to specification, applying threadlocker as advised in the TSB. Replace any other leaking vacuum hoses or gaskets.
Est. part cost: $10-$200 - Damaged Wiring or Connector 🟡 Medium Probability The sensor wiring is located in a high-heat area and can become brittle, melted, or corroded. On some platforms, the plastic engine cover has been known to rub through the wiring harness, severing the O2 sensor signal wire.
How to confirm: Visually inspect the wiring harness and connector leading to the O2 sensor for any signs of damage, melting, or chafing against other components. Check for continuity with a multimeter. If live data shows 0.00 volts but the sensor has voltage at its connector, a wiring break is likely.
Typical fix: Repair the damaged section of the wiring harness or replace the connector pigtail.
Est. part cost: $15-$50 - Exhaust Leak 🟡 Medium Probability Leaks can develop at gaskets or from corrosion in the exhaust manifold or flex pipes. A leak before the O2 sensor allows outside air to enter the exhaust stream, tricking the sensor into reading a lean condition.
How to confirm: Visually inspect the exhaust manifold and downpipe for cracks or black soot trails. A common DIY method is to use a shop vacuum in reverse to blow air into the tailpipe and spray soapy water on the exhaust components to look for bubbles.
Typical fix: Repair the leak by replacing the faulty gasket, flex pipe, or exhaust component. Exhaust putty can be a temporary fix for small leaks.
Est. part cost: $20-$300
Rare But Worth Checking
- Low Fuel Pressure: A weak fuel pump or faulty fuel pressure regulator can cause a lean condition, triggering P0131. This should be investigated if other fuel-related codes are present or if fuel trims are high across the board.
- Faulty Charcoal Canister Purge Solenoid: A known issue on some GM vehicles is a purge solenoid that sticks open, creating a vacuum leak that introduces unmetered air from the fuel tank. This can cause a P0171 (System Too Lean) code, which often accompanies P0131.
- Faulty Powertrain Control Module (PCM): In very rare cases, the PCM itself may be unable to correctly read the sensor's voltage. This should only be considered after all other possibilities, including wiring and sensors, have been exhaustively ruled out.
Diagnosis Steps
- Connect an OBD-II scanner to confirm P0131 and check for any other stored codes, especially P0171.
- View the live data stream for the Bank 1, Sensor 1 O2 sensor. The voltage should fluctuate rapidly between ~0.1V and ~0.9V. If it's stuck below 0.2V, it indicates a problem.
- Observe Short-Term and Long-Term Fuel Trims. High positive numbers (e.g., >10%) suggest the engine is compensating for a lean condition, pointing towards a vacuum leak, exhaust leak, or fuel delivery issue.
- Thoroughly inspect the O2 sensor's wiring harness and connector for any signs of melting, corrosion, or physical damage, paying close attention to where it might rub against the engine cover or other components.
- Inspect the exhaust system from the engine manifold to the O2 sensor for any cracks, holes, or gasket leaks.
- Check for engine vacuum leaks. Listen for hissing noises or perform a smoke test. Crucially, check the torque on the intake manifold bolts as per TSB #PIP5529B.
- If no leaks or wiring issues are found, and the sensor's live data is abnormal, the oxygen sensor itself is the most likely cause of the fault.
- After repair, clear the code with the scanner and perform a test drive to ensure the fix was successful and the Check Engine Light does not return.
Parts You'll Likely Need
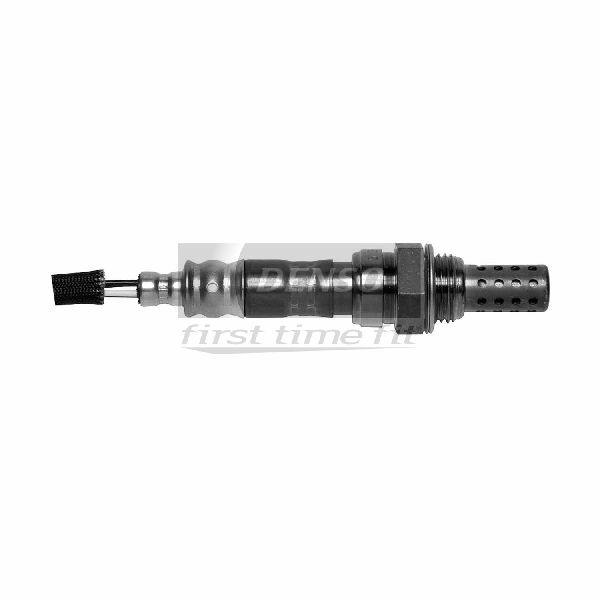
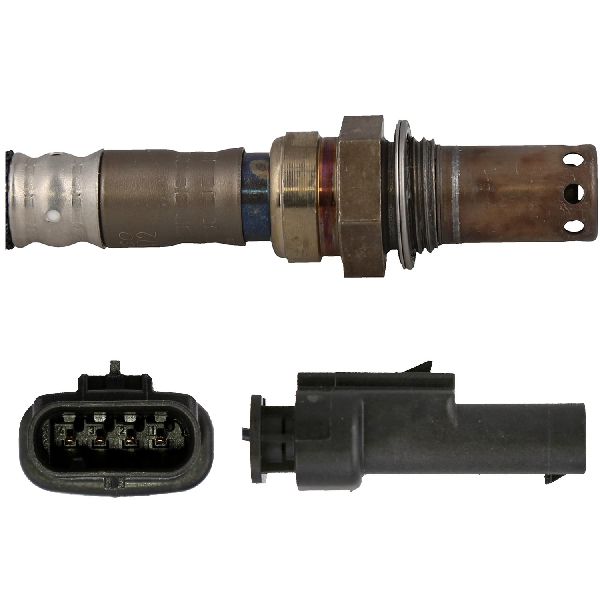
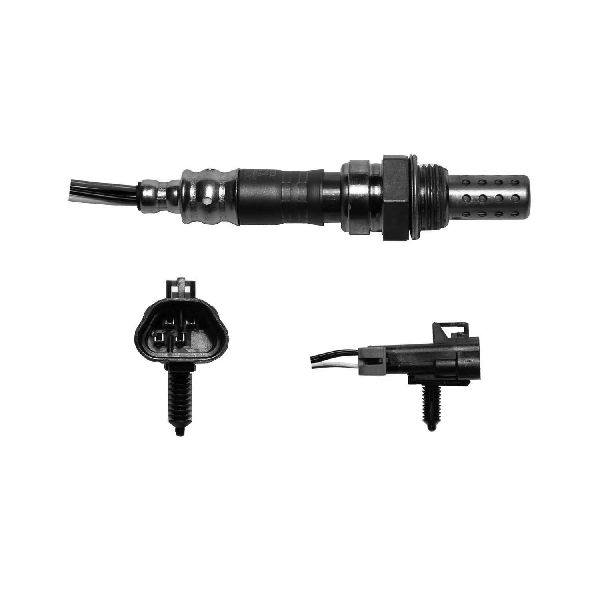
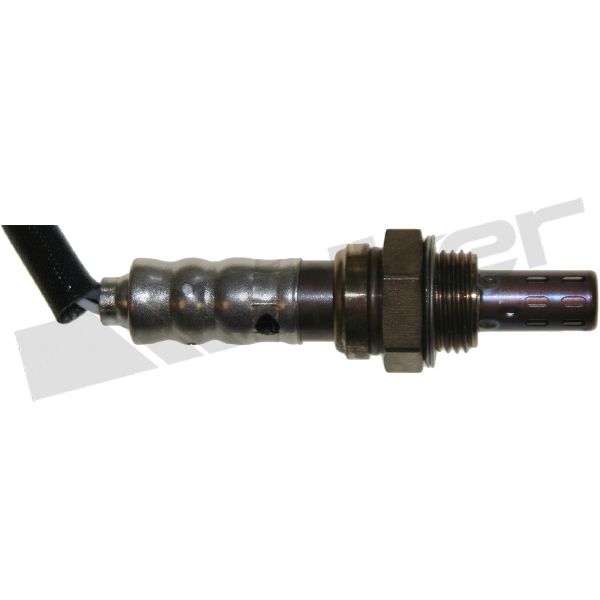
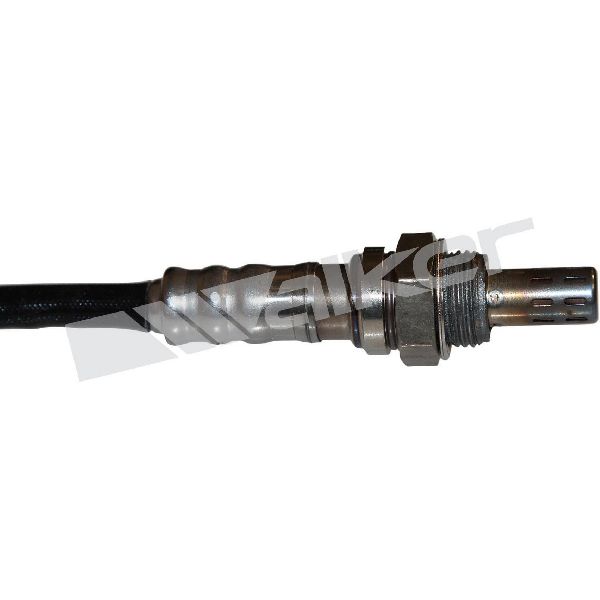
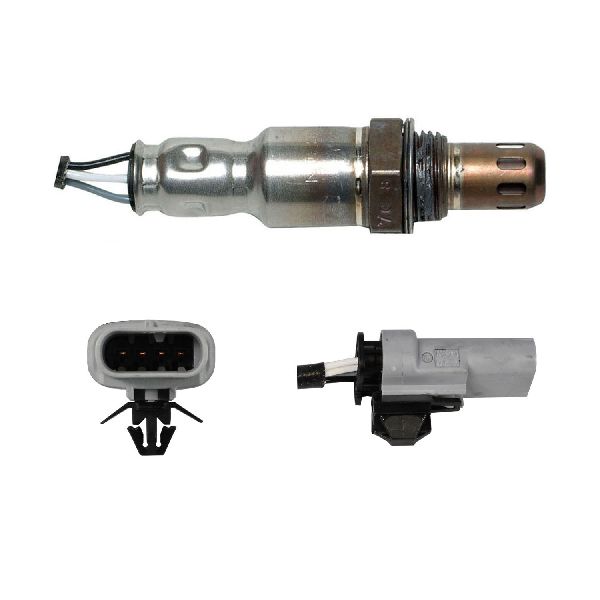
- Upstream Oxygen Sensor (Bank 1, Sensor 1)
(OEM #ACDelco 12643707 (for 2.0L LTG Engine); ACDelco 213-4299 (for 2.4L LEA/LUK Engine))— This is the most common failure point for code P0131. The sensor degrades over time or gets contaminated and provides incorrect voltage readings.
Trusted brands: ACDelco, Denso, Bosch, NTK
OEM price range: $80-$120
Aftermarket price range: $40-$80
Related Codes That Often Appear With This One
- P0171 — System Too Lean (Bank 1). This code is very common with P0131 🎬 See a real-world diagnosis of P0131 and P0171 codes. because a low O2 sensor voltage reading is interpreted by the PCM as a lean condition, or is the result of a true lean condition.
- P0137 — O2 Sensor Circuit Low Voltage (Bank 1, Sensor 2). If both the upstream and downstream sensors show low voltage, it could point to a significant exhaust leak, a major vacuum leak, or a fuel delivery problem.
- P0068, P0101, P0106, P0506 — As cited in TSB #PIP5529B, the appearance of P0131 with these codes (related to MAP/MAF, throttle position, and idle speed) strongly suggests a vacuum leak from loose intake manifold bolts rather than a simple sensor failure.
Technical Service Bulletins (TSBs) & Recalls
- PIP5529B - Lists P0131 as one of many codes that can be caused by loose intake manifold bolts, dated 2019-09-06.
- 13-06-01-003F - Details issues with excessive oil consumption on the 2.4L engine, which can lead to fouled O2 sensors. The fix involves new pistons and rings.
Platform-Specific Known Issues
- Technical Service Bulletin #PIP5529B notes that P0131 can appear with a wide array of other codes (P0068, P0101, P0106, P0171, etc.), pointing towards loose intake manifold bolts as a common root cause. The fix is to re-torque the bolts with threadlocker, not necessarily replace the gasket.
- Some 2.4L engines in this vehicle range were subject to a TSB (#13-06-01-003F) and special coverage for excessive oil consumption. This condition is known to contaminate and foul the oxygen sensor with burnt oil, causing it to fail and trigger a P0131 code.
- On GM platforms, a stuck-open charcoal canister purge solenoid can be a sneaky cause of a lean condition, often throwing a P0171 code first, which can then be accompanied by P0131 as the system struggles to compensate.
Mechanic-Grade Diagnostic Values
- O2 Sensor Signal Circuit Voltage (at ECM connector, key on) — expected: ~450 mV. Failure: Significant deviation from 450 mV may indicate a wiring issue or faulty ECM.
- O2 Sensor Signal Wire to Ground (at ECM connector, key on) — expected: ~720 mV. Failure: If this value is incorrect and other checks pass, it could point to a faulty ECM.
- O2 Sensor Heater Resistance — expected: Varies by manufacturer, but should not be an open circuit (infinite resistance) or a short circuit (zero resistance).. Failure: Infinite or zero ohms reading on a multimeter.
- Live O2 Sensor Voltage (on OBD-II Scanner) — expected: Fluctuating rapidly between 0.1V and 0.9V on a warm engine at idle.. Failure: Stuck below 0.2V or 200mV for an extended period.
Scan Tool Commands That Help
- GDS2/Tech2: O2 Sensor Heater Test — To command the O2 sensor's internal heater on and off to verify the heater circuit is functioning correctly. This can help differentiate between a sensor failure and a wiring/fuse issue.
- GDS2/Tech2: Fuel Trim Reset — After replacing an O2 sensor or fixing a vacuum/exhaust leak, resetting the long-term fuel trims will force the ECM to relearn the fuel strategy immediately with data from the new/repaired components.
Wiring & Ground Locations
- Bank 1 Sensor 1 Connector — On both 2.0L and 2.4L engines, the upstream O2 sensor is located in the exhaust manifold or the exhaust pipe just after the turbocharger (on 2.0L models), before the catalytic converter.. This is the primary connector to inspect for damage, corrosion, or looseness. High heat in this area makes the wiring and connector prone to failure.
- O2 Sensor Heater Fuse — Located in the underhood fuse block. The specific fuse may be labeled 'O2 HTR' or similar.. A blown fuse will disable the sensor's heater, preventing it from reaching operating temperature quickly. While this more commonly sets a heater circuit code, it can contribute to slow sensor response and low voltage readings on a cold engine.
- ECM/PCM Ground — Key engine grounds are typically located on the engine block, cylinder head, or on the chassis near the battery. Specific ground points like G103/G104 are often found on or near the engine.. A poor engine control ground can cause erratic voltage readings from multiple sensors, including the O2 sensor, leading to a false P0131 code.
OEM Part Supersession History
12627139→12643707— GM regularly updates part designs to integrate new materials and technologies.
Heads up: The new part number (12643707) is the correct replacement for the original. Some documentation notes that this part may require programming or special setup procedures, which can be performed with dealer-level scan tools.
Helpful Videos


We Have This Part in Stock

The information in this article is provided for general reference and educational purposes only. Vehicle specifications, procedures, and part compatibility can vary by production date, trim level, and region. Always consult your vehicle's factory service manual and verify part numbers before purchasing or performing repairs. Safety-critical components such as airbags, seat belts, and braking systems should be installed by a qualified professional.
- Buick REGAL:
- 🎬 Helpful Videos
- 🛍️ Shop This Part
- What's Unique About the 2014-2017 Buick REGAL
- Diagnostic Flowchart
- Symptoms You May Notice
- Most Likely Causes
- Rare But Worth Checking
- Diagnosis Steps
- Parts You'll Likely Need
- Related Codes That Often Appear With This One
- Technical Service Bulletins (TSBs) & Recalls
- Platform-Specific Known Issues
- Mechanic-Grade Diagnostic Values
- Scan Tool Commands That Help
- Wiring & Ground Locations
- OEM Part Supersession History
- 🎟️ Get 5% Off