

P0108 on 2011-2012 Dodge Challenger: MAP Sensor and PCM Update Fixes
On a 2011-2012 Challenger, P0108 is most often caused by a faulty Manifold Absolute Pressure (MAP) sensor or outdated engine computer software. For the 3.6L V6, a critical first step is checking for TSB #18-031-12 REV. A, which calls for a PCM software update to fix a false P0108 code. If the software is up to date, a new Mopar MAP sensor (part #05149174AB) costs about $50-$80 and is an easy DIY replacement.
- Before buying any parts for a P0108 code on a 2011-2012 Challenger, investigate if TSB #18-031-12 REV. A has been performed. A simple software update at the dealer may be the correct fix.
- If the software is up to date, the most likely cause is a failed MAP sensor, which is an inexpensive part and relatively easy to replace for a DIYer.
- Symptoms like rough idle, poor gas mileage, and hesitation are common with this code.
- Use a scan tool to watch live MAP sensor data to confirm a failure; the voltage should drop significantly when the engine starts.
What's Unique About the 2011-2012 Dodge CHALLENGER
For this specific Dodge Challenger (and its platform mates like the Charger and 300), a P0108 code doesn't automatically mean the MAP sensor has failed, especially on the 3.6L V6. Dodge issued Technical Service Bulletin (TSB) #18-031-12 REV. A, which explicitly states that for the 3.6L engine, the fix for a P0108 is to reprogram (flash) the PCM with updated software. This is a critical piece of information, as many owners might replace a perfectly good sensor when the root cause is the PCM's original programming being too sensitive. Always checking the vehicle's service history for this update is a crucial first step.
Diagnostic Flowchart
Tap your situation to follow the diagnostic path that matches what you're seeing on this vehicle.
Symptoms You May Notice
- Check Engine Light is on
- Rough or unstable idle
- Poor acceleration and engine hesitation
- Decreased fuel economy
- Black smoke from the exhaust
- Engine may stall, especially when coming to a stop
- Engine backfire on acceleration
- Replacing the MAP sensor on a 3.6L V6 when the actual problem is outdated PCM software that requires a reflash per TSB #18-031-12 REV. A.
- Replacing other fuel or air intake parts without first testing the MAP sensor circuit and checking for TSBs.
- Assuming the MAP sensor is bad when there is a vacuum leak from a cracked hose or bad gasket elsewhere on the intake manifold.
Most Likely Causes
- Outdated Powertrain Control Module (PCM) Software (3.6L V6) 🔴 High Probability Manufacturer TSB #18-031-12 REV. A was released specifically to address this code on the 3.6L engine with a software update. The PCM's logic for interpreting the MAP sensor signal was likely too sensitive in the original programming, leading to false high voltage readings.
How to confirm: A Dodge dealership or a qualified repair shop with a Mopar wiTECH subscription can check if the vehicle's PCM has had the update applied by looking at its calibration ID.
Typical fix: Reprogramming (flashing) the PCM with the updated software. This is a dealer or specialty shop procedure.
Est. part cost: $0 - Faulty Manifold Absolute Pressure (MAP) Sensor 🔴 High Probability The sensor operates in a high-heat engine environment and can fail over time from heat exposure, oil vapor contamination, or internal electronic failure.
How to confirm: With a scan tool, check the MAP sensor voltage with the Key On, Engine Off (KOEO). It should read near 4.5V (at sea level). When the engine is started, the voltage at idle should drop to around 1.0-1.5V. If the voltage is stuck high (near 5V) and doesn't change with engine RPM, or the live data graph is a flat line, the sensor is likely bad.
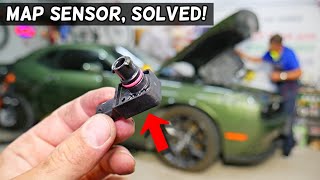
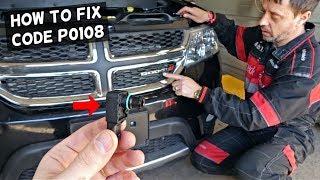
Typical fix: Replace the MAP sensor. This is a simple twist-and-pull part located on the intake manifold, just behind the throttle body. 🎬 Watch: How to locate and replace the Challenger MAP sensor
Est. part cost: $30-$80 - Wiring or Connector Issue 🟡 Medium Probability Engine vibrations and heat can cause wires to fray or the connector to become loose or corroded over time. The plastic locking tab on the connector can also become brittle and break.
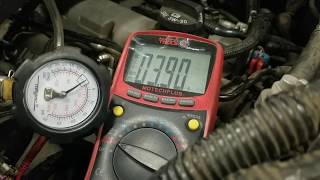
How to confirm: Visually inspect the wiring harness and connector going to the MAP sensor for any signs of damage, melting, or corrosion. Check for a stable 5V reference, good ground, and signal continuity at the connector with a multimeter. 🎬 See this guide on how to test a MAP sensor A forum user on DodgeForum.com reported having to perform a back-probe test to confirm his harness was good after a new sensor didn't fix the issue.
Typical fix: Repair the damaged wiring or clean/replace the connector pigtail.
Est. part cost: $5-$25 - Dirty Throttle Body ⚪ Low Probability Carbon and oil vapor buildup around the throttle plate can disrupt airflow at idle, which may affect the pressure in the manifold enough to contribute to an inaccurate MAP sensor reading.
How to confirm: Visually inspect the throttle body for heavy carbon deposits. The engine may also have an unstable idle.
Typical fix: Clean the throttle body with a dedicated throttle body cleaner and a soft brush or rag.
Est. part cost: $5-$10
Rare But Worth Checking
- Clogged Catalytic Converter: A severely clogged catalytic converter can cause excessive backpressure that backs up into the intake manifold, leading to an abnormally high MAP sensor reading. This will usually be accompanied by other codes and a severe, progressive loss of power, especially at high RPM.
- Faulty Powertrain Control Module (PCM): In very rare cases, the PCM itself can fail internally. This should only be considered after all other possibilities, including the software reflash, sensor replacement, and wiring checks, have been exhausted. A shop in one forum thread suggested this as a next step when they couldn't find another cause.
Diagnosis Steps
- Check for Technical Service Bulletins (TSBs): For 3.6L V6 models, the absolute first step is to determine if TSB #18-031-12 REV. A applies and if the PCM update has been performed. This can prevent unnecessary parts replacement.
- Scan Tool Live Data (KOEO): Connect a scan tool and observe the MAP sensor data with the Key On, Engine Off (KOEO). The reading should be close to the barometric pressure (BARO) reading and the voltage should be around 4.5V at sea level.
- Check Live Data with Engine Running: Start the engine. At idle, the MAP sensor reading should drop significantly (indicating high vacuum) and voltage should fall to 1.0-1.5V. Rev the engine; the voltage should respond smoothly. If the reading stays high and the data graph is a flat line, the sensor is not reading the change in pressure and is likely faulty.
- Inspect Wiring and Connector: Turn the vehicle off. Visually inspect the MAP sensor's electrical connector and wiring for any visible damage, corrosion, loose pins, or oil contamination. Ensure the connector is seated securely and the red locking tab is engaged.
- Test the Circuit: If the wiring looks good, unplug the connector and turn the key on. Use a multimeter to test the terminals in the harness-side connector. You should find a 5-volt reference wire, a ground wire (check for continuity to chassis ground), and a signal wire.
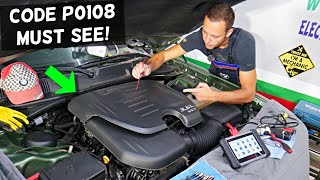
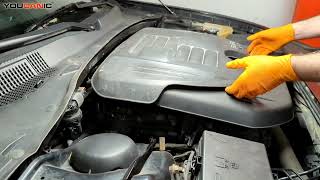
- Test or Replace the MAP Sensor: If the circuit has power and ground, the sensor itself is the most likely culprit. To replace it, remove the plastic engine cover, disconnect the electrical plug, twist the sensor counter-clockwise about 90 degrees, and pull it straight out. Do not pry on it, as this can break the plastic intake manifold.
- Perform PCM Reflash: If a new sensor does not fix the issue, or if a TSB is known to be outstanding, take the vehicle to a dealership or qualified shop to have the PCM reprogrammed.
- Check for Restrictions/Leaks: If the problem persists, check for a restricted air filter, a dirty throttle body, or a significant vacuum leak from a hose or gasket. In severe cases, check for a clogged exhaust/catalytic converter.
Parts You'll Likely Need
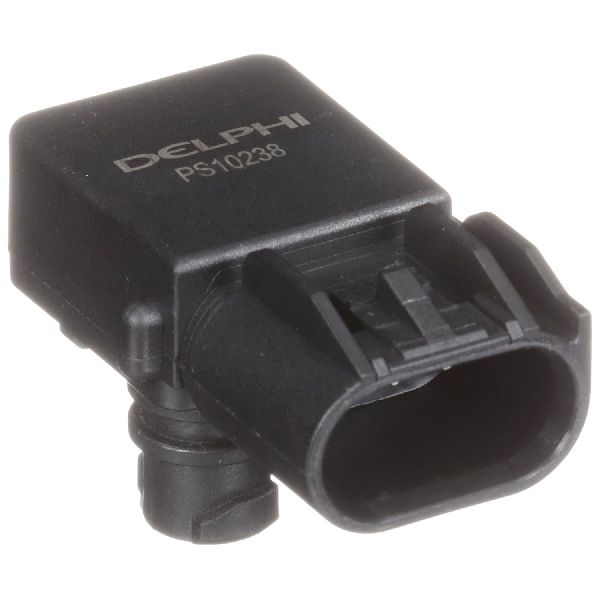
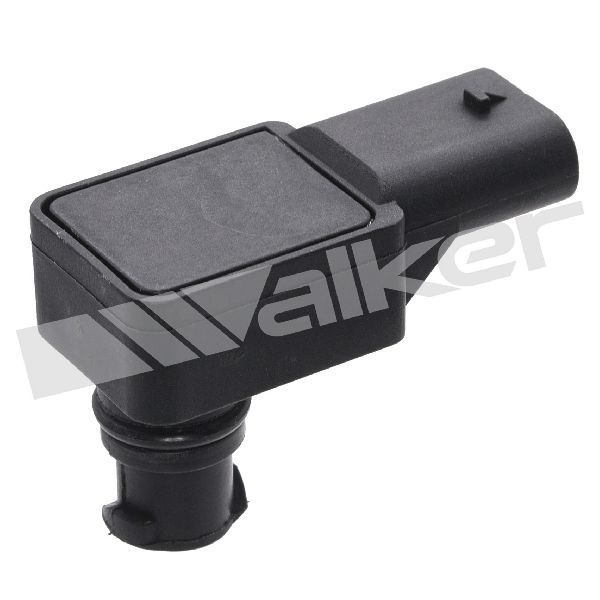
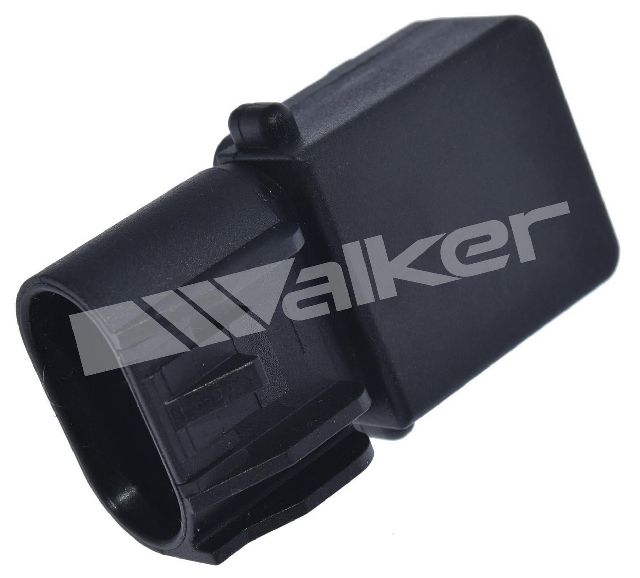
- Manifold Absolute Pressure (MAP) Sensor
(OEM #05149174AB)— This is the most common hardware failure for this code after ruling out software issues. It is responsible for sending the pressure reading to the PCM. Superseded or alternative OEM part numbers may include 05149174AA and 68371847AA.
Trusted brands: Mopar, Bosch, Standard Motor Products, Crown Automotive
OEM price range: $50-$80
Aftermarket price range: $30-$60
Related Codes That Often Appear With This One
- P0106 — This code indicates a MAP sensor performance/rationality issue, which can be caused by the same sensor or circuit faults.
- P0107 — This code for 'MAP Sensor Circuit Low' can sometimes appear with P0108 if the sensor or wiring is failing intermittently, causing the signal to swing between extremes. 🎬 Watch: Understanding P0108 circuit high codes on Dodge vehicles
- P06DD, P0522, P1239, P0298 — TSB #18-085-15 lists P0108 alongside these other seemingly unrelated oil pressure and temperature codes, suggesting they can all be triggered by a single underlying software issue that requires a comprehensive PCM update.
- U0140 — On related platforms like the Dodge Journey, this communication code is sometimes bundled with P0108 in TSBs, pointing to a broader software glitch fixed by a PCM flash.
Technical Service Bulletins (TSBs) & Recalls
- 18-031-12 REV. A: Specifically for the 3.6L engine in the Challenger, Charger, and 300. It involves selectively erasing and reprogramming the Powertrain Control Module (PCM) to resolve a false P0108 code.
- 18-085-15: Includes P0108 in a list of various engine codes (including oil pressure and temperature faults) that may be addressed by a single, comprehensive PCM software update, indicating a potential software glitch can cause multiple unrelated codes.
Platform-Specific Known Issues
- Mandatory TSB Check for 3.6L V6: A primary issue for the 2011-2012 Challenger with the 3.6L engine is the need for a PCM software update to fix erroneous P0108 codes, as documented in TSB #18-031-12 REV. A. This should be the first item checked by a professional to avoid replacing a good sensor.
- MAP Sensor Location and Replacement: On both the 3.6L V6 and the Hemi V8 engines (5.7L, 6.4L), the MAP sensor is located on the t
Mechanic-Grade Diagnostic Values
- MAP Sensor Signal Voltage (Key On, Engine Off) — expected: ~4.5 Volts (at sea level, should match BARO reading). Failure: Voltage is significantly different from BARO reading, or is stuck near 0V or 5V.
- MAP Sensor Signal Voltage (Engine at Idle) — expected: 1.0 - 2.0 Volts. Failure: Voltage remains high (above 2.0V) and does not drop when the engine is running.
- MAP Sensor 5V Reference Wire (at sensor connector) — expected: ~5.0 Volts. Failure: Voltage is significantly lower than 5V or is absent.
- MAP Sensor Ground Circuit Voltage Drop — expected: < 0.1 Volts (100 millivolts). Failure: Voltage is higher than 0.1V, indicating high resistance in the ground circuit.
- MAP Sensor Ground Circuit Resistance — expected: < 5.0 Ohms. Failure: Resistance is above 5.0 Ohms, indicating an open or high-resistance ground wire.
Wiring & Ground Locations
- MAP Sensor Connector — On the intake manifold, typically just behind the throttle body.. This is the primary connection point for the sensor. It is a 3-wire connector containing the 5V reference, ground, and signal wires that are tested during diagnosis.
- PCM C2 Connector — This is one of the main harness connectors for the Powertrain Control Module (PCM).. The MAP sensor's signal, reference, and ground circuits all terminate at the PCM C2 connector. Advanced circuit testing (for opens, shorts, or high resistance) requires checking for continuity and voltage between the sensor connector and this PCM connector.
- Engine Ground Strap — A braided metal strap connecting the engine block to the vehicle's chassis/frame.. While not part of the dedicated sensor circuit, a corroded, loose, or broken main engine ground strap can cause erratic behavior in all engine electronics, including the PCM and its sensors. The PCM may see an unstable ground reference, leading to incorrect voltage readings and false codes like P0108.
OEM Part Supersession History
5149174AA→05149174AB— Standard part revision and update by the manufacturer.
Heads up: 05149174AB is the current recommended replacement for the 2011-2012 Challenger. While the older part may work, using the latest revision is always advisable. An interchange part number from Bosch is 0261230227.
Helpful Videos
We Have This Part in Stock


The information in this article is provided for general reference and educational purposes only. Vehicle specifications, procedures, and part compatibility can vary by production date, trim level, and region. Always consult your vehicle's factory service manual and verify part numbers before purchasing or performing repairs. Safety-critical components such as airbags, seat belts, and braking systems should be installed by a qualified professional.
- Dodge CHALLENGER:
- 🎬 Helpful Videos
- 🛍️ Shop This Part
- What's Unique About the 2011-2012 Dodge CHALLENGER
- Diagnostic Flowchart
- Symptoms You May Notice
- Most Likely Causes
- Rare But Worth Checking
- Diagnosis Steps
- Parts You'll Likely Need
- Related Codes That Often Appear With This One
- Technical Service Bulletins (TSBs) & Recalls
- Platform-Specific Known Issues
- Mechanic-Grade Diagnostic Values
- Wiring & Ground Locations
- OEM Part Supersession History
- 🎟️ Get 5% Off