

P0071 on 2014-2021 Dodge Durango: Causes and Fixes for Ambient Air Temp Sensor
This code almost always points to a failed Ambient Air Temperature (AAT) sensor or its wiring. The sensor is inexpensive and located in a vulnerable spot at the front of the vehicle, making it a common failure point. Expect to pay $20-$50 for a new new sensor. The most common OEM part number is Mopar 5149264AB.
- P0071 on a Durango is most likely caused by a bad Ambient Air Temperature sensor.
- The sensor is located in a vulnerable spot behind the front grille, so check for physical damage to the sensor and its wiring first.
- A simple diagnostic check is to compare the Ambient Air Temp reading with the Intake Air Temp reading on a cold engine; they should be nearly identical.
- This is a straightforward and inexpensive DIY repair for most owners, typically requiring minimal tools.
- If you also have a P0111 code, be aware that a software-related TSB exists, and further diagnosis might be needed if a simple sensor replacement doesn't fix it.
What's Unique About the 2014-2021 Dodge DURANGO
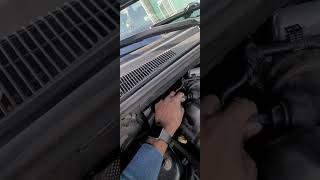
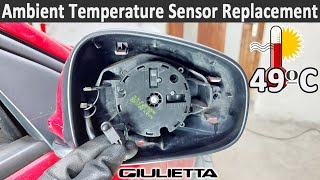
On the 2014-2021 Dodge Durango, the Ambient Air Temperature sensor is typically located in the front lower grille area or on the radiator core support, often on the passenger side. A YouTube video for a 2014 model shows it being accessible from the top after removing the radiator cover, located on the passenger side. 🎬 Watch: How to replace the sensor on a 2014 Durango. This exposed location makes it highly susceptible to damage from road debris, moisture from car washes, and minor front-end impacts, leading to frequent failures of the sensor or its wiring. However, a critical variation exists: on some models, the AAT sensor is located within the driver's side mirror assembly, which drastically changes the diagnostic procedure.
Diagnostic Flowchart
Tap your situation to follow the diagnostic path that matches what you're seeing on this vehicle.
Symptoms You May Notice
- Check Engine Light is on.
- Incorrect outside temperature reading on the dashboard or infotainment display (may be stuck at a default value like -40°F).
- Automatic climate control system may not function correctly, as it relies on an accurate outside temperature reading.
- In some cases, the A/C compressor may not engage or will operate inefficiently. 🎬 See how to test the sensor if your AC stops working.
- Replacing the PCM when the actual fault is in the wiring. A thorough wiring check is crucial to avoid this expensive mistake.
- Replacing the Intake Air Temperature (IAT) sensor. P0071 specifically refers to the Ambient (outside) air sensor, not the IAT sensor which measures air entering the engine.
- Searching for the sensor only in the front grille area, when on some models it may be located in the driver's side mirror.
Most Likely Causes
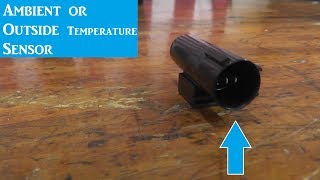
- Faulty Ambient Air Temperature (AAT) Sensor 🔴 High Probability The sensor is a simple thermistor located in a vulnerable position at the front of the vehicle, making it prone to damage from road debris and weather. Internal failure from age or moisture intrusion is also very common.
How to confirm: Use a scan tool to compare the AAT reading to the IAT (Intake Air Temperature) reading on a cold engine. They should be within a few degrees of each other. If the AAT reading is stuck at a default value (e.g., -40°F) or is wildly inaccurate, the sensor has likely failed. A stuck reading indicates an open or shorted circuit, often internal to the sensor itself.
Typical fix: Replace the Ambient Air Temperature sensor. The common Mopar part is 5149264AB.
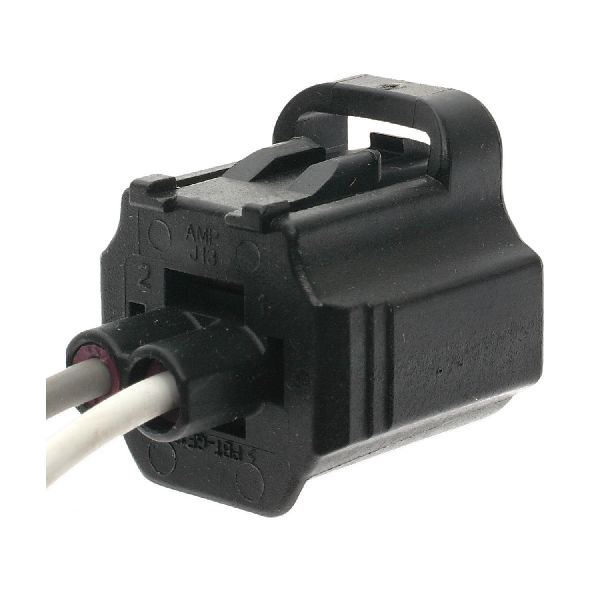
Est. part cost: $20-$50 - Damaged Wiring or Connector 🟡 Medium Probability The sensor's location in the front bumper/grille area exposes the wiring to moisture, corrosion, and physical damage from minor impacts or road debris. The wiring can become frayed, cut, or the connector pins can corrode.
How to confirm: Visually inspect the wiring harness and connector leading to the AAT sensor for any signs of fraying, breaks, corrosion, or pushed-out pins. Perform a continuity test on the wires between the sensor connector and the module it reports to (TIPM or DDM). A forum user on DodgeForum.com reported having to replace the pigtail connector along with the sensor to resolve a persistent P0071.
Typical fix: Repair the damaged section of the wiring harness or replace the connector pigtail.
Est. part cost: $15-$40
Rare But Worth Checking
- Faulty Powertrain Control Module (PCM) or Software Glitch: This is extremely rare. Before condemning the PCM, you must exhaustively rule out any possibility of a bad sensor or wiring issue. In some cases, a software glitch can cause the PCM to misinterpret sensor data; TSB #18-044-26 suggests a PCM reflash may be needed when P0071 appears with other codes.
Diagnosis Steps
- Connect an OBD-II scanner and confirm the presence of P0071. Note any other codes present.
- Using the scanner's live data function, view the readings for both the Ambient Air Temperature (AAT) and Intake Air Temperature (IAT) sensors. With a cold engine (not run for several hours), the readings should be very close to each other and the actual outside temperature.
- If the AAT reading is illogical (e.g., -40°F, 250°F) or doesn't change, the sensor or its circuit is faulty.
- Locate the AAT sensor. FIRST, check behind the front grille or on the radiator core support, often on the passenger side. IF NOT FOUND, inspect the driver's side mirror assembly, as this is a known alternate location.
- Visually inspect the sensor and its connector for physical damage, corrosion, or debris.
- Inspect the wiring harness leading to the sensor for any cuts, chafing, or breaks. Pay close attention to areas where it might rub against the frame or bumper.
- If the wiring looks good, disconnect the sensor and test its resistance with a multimeter. The resistance should change with temperature (a hairdryer can be used to warm it). An open circuit (infinite resistance) or a short (zero resistance) indicates a failed sensor. Expected resistance is typically around 10,000 Ohms at 77°F (25°C).
- If the sensor tests good, the problem is likely in the wiring. Test for a 5V reference and good ground at the connector. The signal wire should have a voltage between 0.5V and 4.5V depending on temperature.
- If wiring and sensor are confirmed to be good, the issue may be a rare PCM fault, but professional diagnosis is recommended at this stage.
Parts You'll Likely Need
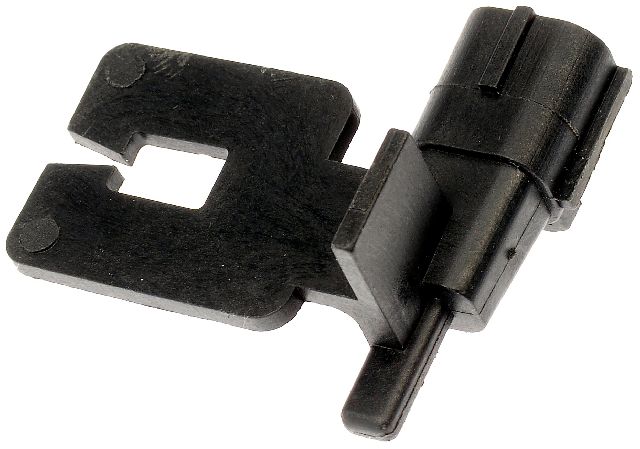
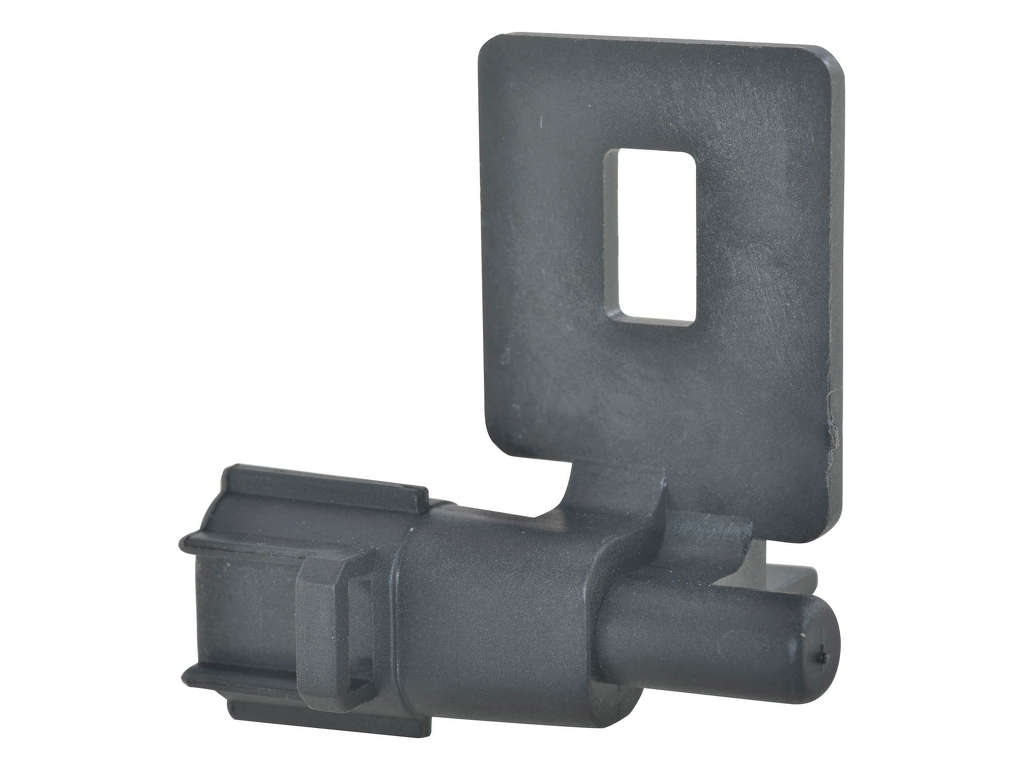
- Ambient Air Temperature Sensor
(OEM #5149264AB)— This is the most common component to fail, either due to internal failure or external damage from its exposed location. This part number supersedes 5149264AA and 5293138AA.
Trusted brands: Mopar, Dorman, Standard Motor Products (SMP), NTK
OEM price range: $30-$50
Aftermarket price range: $20-$40
Related Codes That Often Appear With This One
- P0072 — This code indicates 'Ambient Air Temperature Sensor Circuit Low', suggesting a short to ground in the circuit, which is a specific type of wiring fault that can also cause P0071.
- P0073 — This code indicates 'Ambient Air Temperature Sensor Circuit High', suggesting an open circuit, which could be a broken wire or unplugged sensor, also leading to a P0071.
- P0111 — As noted in TSB #18-044-26, P0071 can appear with P0111 ('Intake Air Temperature Sensor 1 Circuit Range Performance'). When they appear together, it may indicate a broader issue that could require a PCM software update as part of the fix.
Technical Service Bulletins (TSBs) & Recalls
- Bulletin #18-044-26: Notes that P0071-00 can be present in active or stored status on 2014 Durango engines, often alongside other temperature sensor codes like P0111. The fix may involve a PCM software update.
Platform-Specific Known Issues
- A Technical Service Bulletin (TSB #18-044-26) for the 2014 Durango mentions P0071-00 ('Ambient Air Temperature Sensor Performance') as a potential code that may appear alongside others like P0111-00. The presence of multiple, seemingly related sensor codes can indicate that the root cause is not a single bad part, but a software calibration issue. In these cases, the recommended fix from the manufacturer is often to reprogram (flash) the PCM with updated software.
Mechanic-Grade Diagnostic Values
- AAT Sensor Resistance — expected: Approximately 10,000 Ω at 77°F (25°C), 32,650 Ω at 32°F (0°C), and 5,827 Ω at 100°F (38°C). Resistance should decrease smoothly as temperature rises.. Failure: Infinite resistance (open circuit), zero resistance (short circuit), or values that do not correspond to the ambient temperature.
- AAT Sensor Signal Voltage (at connector, key on) — expected: 0.5V to 4.5V, varying with temperature. Higher voltage at colder temps, lower voltage at warmer temps.. Failure: 0V or 5V indicates a circuit fault (short or open). A voltage that does not change with temperature indicates a failed sensor.
- AAT Signal Circuit Short to Ground Test — expected: Resistance between the signal circuit wire and chassis ground should be above 10,000 Ohms (10 kΩ).. Failure: A low resistance reading indicates a short to ground in the signal wire.
Wiring & Ground Locations
- AAT Sensor (Primary Location) — Behind the front grille, mounted to the radiator core support or a nearby bracket, often on the passenger side.. This is the most common location and the first place to check. Its exposed position makes it and its wiring vulnerable to damage.
- AAT Sensor (Alternate Location) — Inside the driver's side exterior mirror housing.. This is a critical and often-missed variation. If the sensor is here, diagnosis must include the Driver's Door Module (DDM) and the wiring passing through the door jamb, which is a common chafe point.
- TIPM (Totally Integrated Power Module) — In the engine bay, typically a large fuse and relay box.. For models with the sensor in the grille, the TIPM often provides the 5V reference and ground, and processes the signal before sending it to the PCM over the CAN bus. A fault could be in the TIPM's sensor circuit.
- G31 / C160 Circuits — Wiring associated with the driver's side mirror.. For the mirror-mounted sensor, service info identifies the signal wire as the '(G31) AAT Signal circuit' and notes it can be shorted to the '(C160) Heated Mirror Return circuit', providing specific wires to test.
Real Owner Repair Stories
- YouTube user 'El G' (2011 Dodge Durango Citadel 5.7L Hemi) — Check Engine Light was on, code read for Ambient Air Temperature Sensor.
✅ What actually fixed it The user replaced the ambient air temperature sensor located behind the front grille, accessible after removing the upper radiator cover. The replacement of the sensor resolved the check engine light.
When the Usual Fixes Don't Work
- While the most common fix for P0071 is replacing the sensor in the front grille, a significant diagnostic trap exists. If a technician replaces the front sensor and the code persists, or if no sensor is found in the grille, the actual cause may be a faulty sensor or wiring related to the driver's side mirror. In this scenario, the signal path runs through the Driver's Door Module (DDM) and Body Control Module (BCM), and fault-finding must focus on the door harness and DDM connectors, not the PCM or TIPM directly.
OEM Part Supersession History
5149264AA, 5293138AA→5149264AB— Standard part revision and consolidation by the manufacturer.
Model Year Variations Within This Range
- 2014-2021: The physical location of the AAT sensor is not consistent. While commonly found behind the front grille, some trim levels or model years may have the sensor located in the driver's side mirror assembly. This is the single most important variation to be aware of during diagnosis, as the wiring path and potential failure points (e.g., door harness vs. front-end harness) are completely different.
Helpful Videos
We Have This Part in Stock


The information in this article is provided for general reference and educational purposes only. Vehicle specifications, procedures, and part compatibility can vary by production date, trim level, and region. Always consult your vehicle's factory service manual and verify part numbers before purchasing or performing repairs. Safety-critical components such as airbags, seat belts, and braking systems should be installed by a qualified professional.
- Dodge DURANGO:
- 🎬 Helpful Videos
- 🛍️ Shop This Part
- What's Unique About the 2014-2021 Dodge DURANGO
- Diagnostic Flowchart
- Symptoms You May Notice
- Most Likely Causes
- Rare But Worth Checking
- Diagnosis Steps
- Parts You'll Likely Need
- Related Codes That Often Appear With This One
- Technical Service Bulletins (TSBs) & Recalls
- Platform-Specific Known Issues
- Mechanic-Grade Diagnostic Values
- Wiring & Ground Locations
- Real Owner Repair Stories
- When the Usual Fixes Don't Work
- OEM Part Supersession History
- Model Year Variations Within This Range
- 🎟️ Get 5% Off