

P0062 on 2013-2016 Jaguar XF: HO2S Heater Circuit Fault Causes and Fixes
This code indicates a fault in the heater circuit for the oxygen sensor at Bank 2, Sensor 3. The most common cause is a failed oxygen sensor, a known issue on these models. Replacing the correct sensor, located on the driver's side after the catalytic converter, is a straightforward DIY job, with parts costing between $50 and $150.
- P0062 specifically points to a fault in the heater circuit for the oxygen sensor on the driver's side, after the catalytic converter (Bank 2, Sensor 3).
- The most likely cause is a failed oxygen sensor due to a known manufacturing/supplier issue, not a wiring problem.
- Replacing the correct sensor is a manageable DIY task that can be done with an O2 sensor socket, though the sensor may be seized.
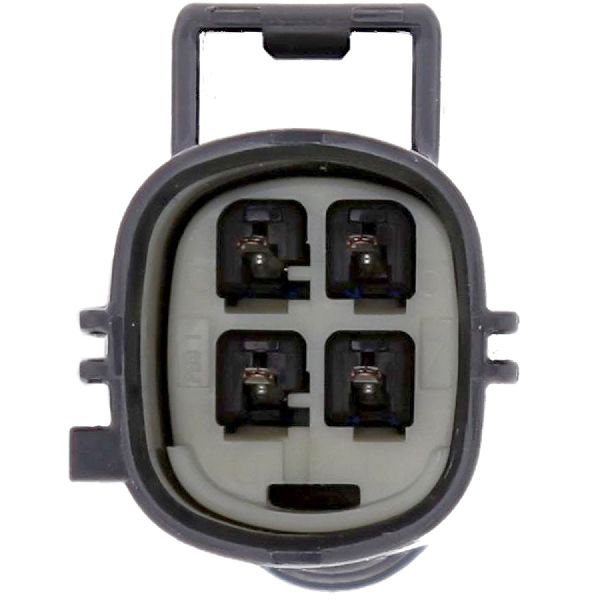
- Ensure you purchase the correct sensor for the correct bank (driver's side for P0062). The left and right downstream sensors have different, non-interchangeable connectors.
What's Unique About the 2013-2016 Jaguar XF
On this generation of Jaguar XF, particularly those with the 3.0L V6 and 5.0L V8 engines, P0062 is frequently tied directly to an internal failure of the oxygen sensor itself, rather than a wiring problem. Manufacturer Technical Service Bulletins (TSBs) note that diagnosis often leads to a 'no fault found' conclusion when checking the wiring harness, pointing towards the sensor as the culprit. [SSM72477] Some Jaguar engines, particularly the 3.0L V6, use three oxygen sensors per bank, with 'Sensor 3' being the final one downstream, located under the car near the driver's seat area. It's also critical to note that the left and right side downstream sensors often have different, keyed connectors and are not interchangeable, even if the sensor body is identical.
Diagnostic Flowchart
Tap your situation to follow the diagnostic path that matches what you're seeing on this vehicle.
Generation note: The 2013-2016 range covers the facelifted first generation (X250, through 2015) and the first model year of the second generation (X260, 2016). While the underlying issue is the same, be aware that part numbers for sensors may differ between these generations and engine types. For example, a user with a 2014 XF 3.0L AWD reported confusion over multiple part numbers before settling on the correct one. Always verify the part number with your vehicle's VIN. The 2016 model year marked a significant redesign (new X260 chassis) with a more modern interior and updated center console, though the underlying engine and sensor architecture remained similar.
Symptoms You May Notice
- Check Engine Light is on
- Slightly reduced fuel economy
- Vehicle will fail an emissions test
- Rough or unstable idle for a few seconds on a cold start.
- Replacing the wrong oxygen sensor. It is crucial to correctly identify Bank 2 (driver's side for US models) and Sensor 3 (the rearmost sensor on that bank).
- Ordering the wrong part. The left and right downstream sensors often have physically keyed connectors that are not interchangeable. One owner on JaguarForums.com noted ordering a sensor for Bank 2 but finding the connector only fit the Bank 1 side. Always verify the part number for the specific side you are replacing.
Most Likely Causes
- Failed Oxygen Sensor (Bank 2, Sensor 3) 🔴 High Probability As noted in Jaguar TSB SSM72477, the fault is often internal to the sensor, even when wiring appears intact. Forum discussions among owners confirm that replacing the sensor is the most common fix. One owner on JaguarForums.com with a P0042 code (the equivalent code for the other bank) tested the faulty sensor and found its heater circuit resistance was way out of spec, confirming internal failure. The issue is common enough that some owners replace both downstream sensors at the same time.
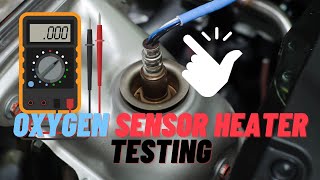
How to confirm: After confirming no visible damage to the wiring, test the resistance of the heater circuit within the sensor itself. Disconnect the sensor and use a multimeter set to Ohms to measure across the two heater circuit pins 🎬 See this quick guide for testing the O2 heater circuit. (often the two same-colored wires). A healthy sensor should have a resistance reading typically between 3 and 15 ohms when cold. A reading of 0 ohms (short circuit) or OL/infinity (open circuit) confirms a bad sensor.
Typical fix: Replace the Bank 2, Sensor 3 oxygen sensor. This is located on the driver's side of the exhaust, after the catalytic converter, roughly under the driver's seat. An O2 sensor socket or a 22mm crow's foot wrench is required. The sensor can be seized, sometimes requiring heat from a torch to remove.
Est. part cost: $50-$150 - Wiring or Connector Issue ⚪ Low Probability While less common according to TSBs, the sensor's location under the vehicle exposes its wiring and connector to road debris, moisture, and heat, which can cause damage over time. The plastic connectors can also become brittle.
How to confirm: Visually inspect the wiring harness and connector for the Bank 2, Sensor 3 O2 sensor. Check for frayed wires, corrosion on the pins, or loose connections. Use a multimeter to check for 12V-13.5V power and a good ground at the harness-side connector with the ignition on.
Typical fix: Repair the damaged section of wiring or clean/replace the corroded connector.
Est. part cost: $5-$50
Rare But Worth Checking
- Faulty Powertrain Control Module (PCM): This is extremely rare. Before condemning the PCM, all other possibilities, including the sensor and its entire circuit, must be exhaustively tested. Some TSBs mention a PCM software update may be required after sensor replacement to prevent future issues.
- Blown Fuse: The O2 sensor heater circuits are typically protected by a fuse. One forum member noted that for an S-Type, fuse #14 (10 amp) in the right-side engine fuse box covers all O2 sensor heaters. While not a common point of failure for this specific code, it's a quick and easy check to perform.
Diagnosis Steps
- Read the code with an OBD-II scanner to confirm P0062 is present.
- Visually inspect the Bank 2, Sensor 3 oxygen sensor and its wiring harness. It is located under the vehicle, roughly below the driver's seat area. Look for any signs of damage, melting, or corrosion.
- Check the fuse for the oxygen sensor heater circuit in the vehicle's fuse box.
- With the ignition on (engine off), disconnect the sensor and use a multimeter to verify that the harness-side connector is receiving battery voltage (12V-13.5V) and has a good ground connection.
- If power and ground are present, measure the resistance across the two heater circuit pins on the sensor itself (these are often the two wires of the same color). A reading outside of the typical 3-15 ohm range 🎬 Watch: A mechanic's guide to testing oxygen sensor heater circuits. (e.g., 0 ohms or an open circuit) indicates a failed sensor.
- If the sensor's resistance is good but power is not present at the harness, trace the wiring back toward the PCM to find the break in the circuit.
- When replacing, be aware the sensor may be seized and require penetrating oil or heat to remove.
Parts You'll Likely Need
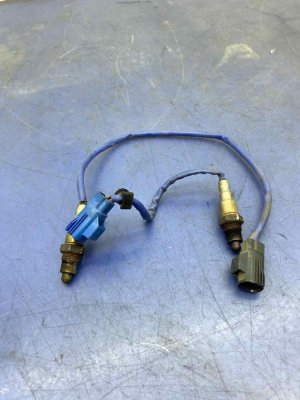
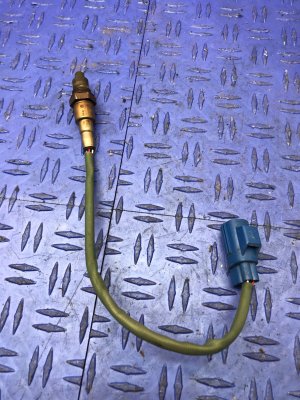
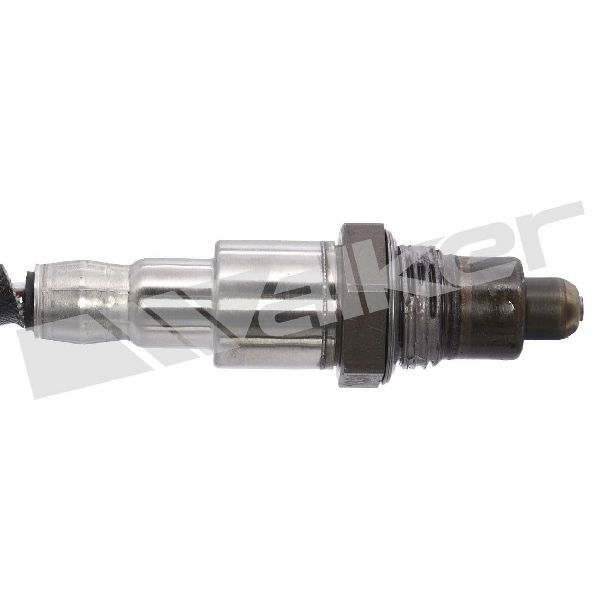
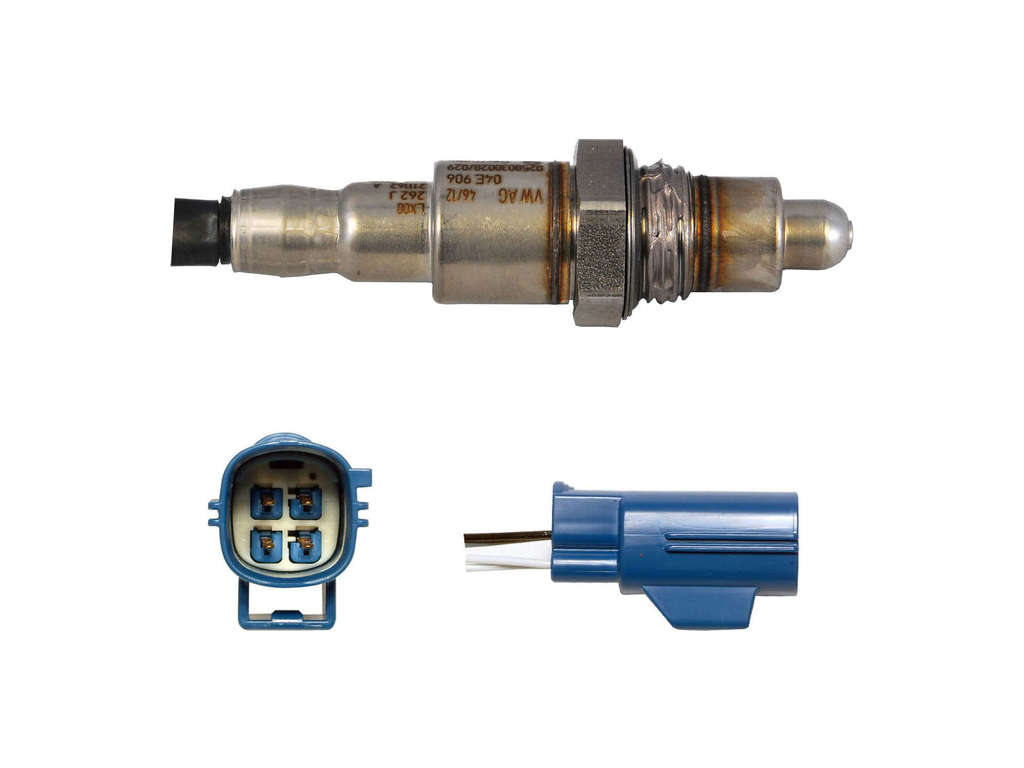
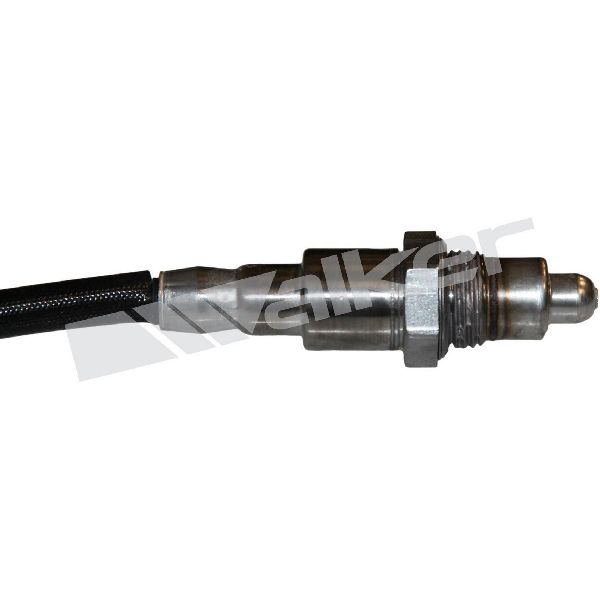
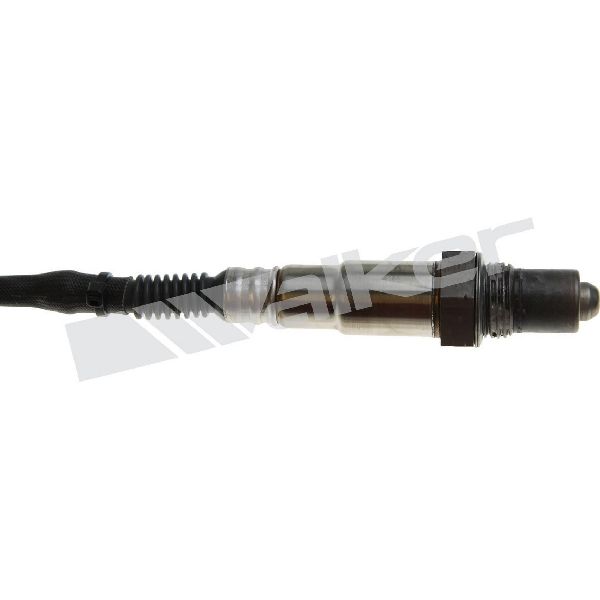
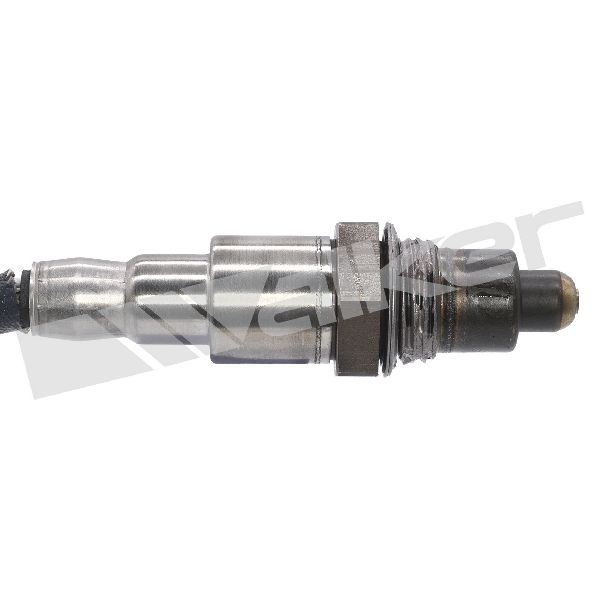
- Oxygen Sensor (Bank 2, Sensor 3)
(OEM #C2D23703 (For V6/V8, Bank 2 - Driver Side). Note: This part number may be superseded. Always verify with VIN. Bank 1 sensor is different.)— This is the most frequent cause of P0062, as the internal heater element fails. TSBs and owner forums point directly to sensor failure. [SSM72477, 16, 22, 37]
Trusted brands: Denso (e.g., 234-4794), Bosch (OEM supplier), NTK/NGK (e.g., 25749 for left side)
OEM price range: $120-$200
Aftermarket price range: $50-$150
Technical Service Bulletins (TSBs) & Recalls
- SSM72477: Mentions P0062 in a list of HO2S codes where diagnosis often finds no fault with wiring, suggesting the component itself is the issue.
- JTB-00392-NAS-3: Groups P0062 with other post-catalyst HO2S codes.
- JTB00392NAS1: An earlier version of the above TSB, also listing P0062 with other HO2S codes.
- K309: A service action issued outside North America for 2013-2015 models requiring a PCM software update to address O2 sensor operation concerns.
Platform-Specific Known Issues
- Jaguar issued Technical Service Bulletin SSM72477 which includes P0062, noting that upon diagnosis, no fault is often found with the wiring or connectors, implying the sensor itself is the root cause.
- TSBs JTB-00392-NAS-3 and JTB00392NAS1 also group P0062 with a wide range of other heated oxygen sensor codes, indicating a known pattern of issues with these components on Jaguar vehicles.
- A key issue noted by owners is that the downstream left (Bank 2) and right (Bank 1) sensors have different electrical connectors, even if the sensor itself is the same. You must order the part for the correct side.
- Some owners have noted that Jaguar extended the warranty on these sensors for certain model years due to the high failure rate. It is worth checking with a dealer.
Mechanic-Grade Diagnostic Values
- O2 Sensor Heater Circuit Resistance — expected: 3 to 15 Ohms (when cold). Failure: A reading of 0 Ohms (short circuit) or infinite/OL (open circuit).
- O2 Sensor Heater Circuit Voltage (Harness Side) — expected: 11 to 14 Volts (or battery voltage) with ignition on, engine off.. Failure: Voltage close to 0V indicates an open in the power feed circuit or a blown fuse.
Scan Tool Commands That Help
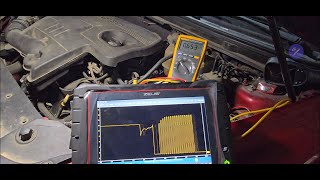
- Jaguar SDD (Symptom Driven Diagnostics): Datalogger - Signal Selection — To monitor live data from the O2 sensors, such as heater current draw and sensor voltage, to confirm a fault. A user on a forum noted that upstream sensors showing current in Amps instead of milliamps indicated a problem.
- Jaguar SDD (Symptom Driven Diagnostics): Recommendations Tab / Extras Tab — After reading DTCs, the SDD software may list relevant Technical Service Bulletins (TSBs) or recommend a software update under these tabs. For some O2 sensor codes, a PCM software update is the first recommended step before replacing parts.
Wiring & Ground Locations
- G1D120 — Right rear of the engine compartment.. This is a primary ground point for the engine management system on the 2.0L Turbo engine. A poor connection here could affect various sensor readings, including O2 sensors.
- G1D108 — Behind the right front wheel arch liner.. This ground point serves multiple systems, including the Engine Control Module (ECM). Corrosion or a loose connection here can cause intermittent and difficult-to-diagnose electrical faults.
- Bank 2 Sensor Heater Circuit Wires — In the O2 sensor connector for Bank 2, Sensor 3.. On a related Jaguar model, the heater power wire was White-Red and the heater ground was Blue with a Yellow stripe. These are the specific wires to test for voltage and continuity.
Real Owner Repair Stories
- JaguarForums.com user 'saajaguarx' (2013 Jaguar XF 3.0 SC) — Check Engine Light with code P0062, "HO2S heater control circuit bank 2 sensor 3".
❌ Tried (didn't work) Initially ordered a DENSO 234-4749 sensor based on a parts manual, but discovered its keyed connector only fit the right side (Bank 1) of the vehicle, not the required left side (Bank 2).
✅ What actually fixed it The user decided to replace both left and right downstream sensors. They successfully installed an NTK 25749 sensor for the left side (Bank 2), which had the correct connector. Replacing the sensor resolved the P0062 code.
OEM Part Supersession History
C2D23703→T2R54607— Standard part update or supplier change.
Heads up: The new part number T2R54607 replaces the original. It is also listed as a replacement for C2D54167.
Model Year Variations Within This Range
- 2015 vs 2016: The 2015 model is the final year of the first generation (X250 facelift), while the 2016 model is the first year of the all-new second generation (X260). The X260 features a completely different interior design, including an updated center console and steering wheel controls, and different exterior styling. While engines were carried over, technicians should be aware they are working on a different chassis, which may affect harness routing and component access.
Helpful Videos
Used OEM Parts in Stock
New Aftermarket Parts Available

The information in this article is provided for general reference and educational purposes only. Vehicle specifications, procedures, and part compatibility can vary by production date, trim level, and region. Always consult your vehicle's factory service manual and verify part numbers before purchasing or performing repairs. Safety-critical components such as airbags, seat belts, and braking systems should be installed by a qualified professional.
- Jaguar XF:
- 🎬 Helpful Videos
- 🛍️ Shop This Part
- What's Unique About the 2013-2016 Jaguar XF
- Diagnostic Flowchart
- Symptoms You May Notice
- Most Likely Causes
- Rare But Worth Checking
- Diagnosis Steps
- Parts You'll Likely Need
- Technical Service Bulletins (TSBs) & Recalls
- Platform-Specific Known Issues
- Mechanic-Grade Diagnostic Values
- Scan Tool Commands That Help
- Wiring & Ground Locations
- Real Owner Repair Stories
- OEM Part Supersession History
- Model Year Variations Within This Range
- 🎟️ Get 5% Off