

P0051 on 2011 Chrysler Town & Country: O2 Sensor Heater Circuit Causes and Fixes
P0051 on a 2011 Town & Country almost always means the upstream oxygen sensor on the front (Bank 2) of the engine has a failed internal heater. Replacing this sensor (Mopar Part #5149171AB) is the most common fix. Expect to pay $40-$90 for an aftermarket part and $100-$180 for an OEM sensor. It's a DIY-friendly repair for many, as the sensor is easily accessible at the front of the engine bay.
- P0051 points to a problem with the heater in the upstream O2 sensor on the front of the engine (Bank 2).
- The most common fix is to replace the Bank 2, Sensor 1 oxygen sensor (Mopar #5149171AB).
- Before replacing parts, always perform a quick visual inspection of the wiring and connector for obvious damage and check the related fuse in the TIPM.
- This is a manageable DIY repair for most home mechanics, as the sensor is relatively easy to access. A special 22mm offset O2 sensor socket is highly recommended.
- If multiple O2 sensor codes are present, be aware of TSB #18-059-16, which may indicate a software update is needed.
What's Unique About the 2011-2011 Chrysler TOWN AND COUNTRY
On the 2011 Town & Country with the 3.6L Pentastar V6, the Bank 2 Sensor 1 is conveniently located at the front of the engine, making it much easier to access than the Bank 1 sensor, which is tucked against the firewall. A Technical Service Bulletin (TSB #18-059-16) for this model year groups P0051 with a wide range of other O2 sensor heater circuit codes. This suggests that while a single sensor failure is common, a broader electrical issue (like a fuse or PCM software) should be considered if multiple O2 heater codes (e.g., P0031, P0037, P0057) are present simultaneously. An isolated P0051 code, however, rarely points to the TSB-related software issue.
Diagnostic Flowchart
Tap your situation to follow the diagnostic path that matches what you're seeing on this vehicle.
Symptoms You May Notice
- Check Engine Light is on
- Decreased fuel economy
- Rough idle, especially when the engine is cold
- Failure to pass an emissions test
- Black smoke from the tailpipe in some cases.
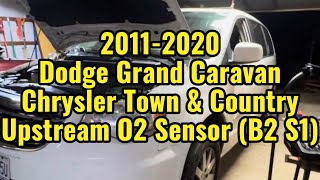
- Replacing the wrong oxygen sensor (e.g., Bank 1 instead of Bank 2, or the downstream Sensor 2 instead of the upstream Sensor 1). Always confirm the location before replacement. 🎬 Watch: Visual guide to all four O2 sensor locations.
Most Likely Causes
- Failed Heated Oxygen Sensor (Bank 2, Sensor 1) 🔴 High Probability Oxygen sensors are wear-and-tear items that have a finite service life, often failing between 75,000 and 150,000 miles due to constant exposure to extreme heat and exhaust gases. The internal heater element is a common point of failure.
How to confirm: After checking wiring and fuses, test the resistance of the sensor's heater element with a multimeter. A healthy sensor should have a resistance between 2 and 30 Ohms when cold, with many new sensors reading between 4-7 Ohms. An open circuit (infinite resistance/OL) or a direct short (near-zero resistance) confirms the heater has failed.
Typical fix: Replace the Bank 2, Sensor 1 (upstream) oxygen sensor. The OEM part is Mopar #5149171AB. 🎬 Watch: Step-by-step Bank 2 Sensor 1 replacement walkthrough.
Est. part cost: $40 - $180 - Wiring or Connector Damage 🟡 Medium Probability The wiring harness is close to hot exhaust components and can become brittle, chafed, or melted over time, leading to a short or open circuit. The connector pins can also corrode.
How to confirm: Visually inspect the wiring harness and connector leading to the Bank 2, Sensor 1 O2 sensor for any signs of melting, chafing, corrosion, or loose pins. Use a multimeter to check for 12V power at the connector with the key on.
Typical fix: Repair the damaged section of the wiring harness or clean/replace the connector.
Est. part cost: $5 - $50 - Blown Fuse ⚪ Low Probability
How to confirm: Locate the fuse for the O2 sensor heater circuit in the under-hood fuse box (Totally Integrated Power Module - TIPM). While fuse labels can be vague, check fuses labeled 'O2 HTR', 'A/F Sensor', or similar. On many Chrysler models of this era, this circuit may be protected by a 20A fuse like M3 or M15.
Typical fix: Replace the blown fuse. If the fuse blows again immediately, it indicates a short circuit in the wiring or the sensor itself that must be found.
Est. part cost: $1 - $5
Rare But Worth Checking
- Faulty Powertrain Control Module (PCM): This is the least likely cause. Before condemning the PCM, all other possibilities (sensor, wiring, fuses) must be exhaustively ruled out. The TSB #18-059-16 for this vehicle does involve PCM software, indicating that software updates can sometimes resolve these codes, especially when multiple O2 heater codes appear together.
- Faulty Totally Integrated Power Module (TIPM): The TIPM (fuse box) contains the relays and driver circuits that send power to the O2 sensor heaters. These TIPMs are a known failure point on many Chrysler/Dodge vehicles of this era and can fail internally, cutting power to the heater circuit. This is a rare cause for an isolated P0051 but should be considered if power is missing at the connector and the fuse is good.
Diagnosis Steps
- Read the code with an OBD-II scanner to confirm P0051 is present.
- Locate the Bank 2, Sensor 1 oxygen sensor. On the 3.6L V6, it is the upstream sensor on the exhaust manifold at the front of the engine, near the radiator.
- Visually inspect the sensor's wiring harness and connector for any obvious damage, such as melting, chafing, or corrosion.
- Check the fuse for the O2 sensor heater circuit, typically located in the under-hood fuse box (TIPM). Check fuses like M3 or M15.
- If the wiring and fuse are okay, disconnect the sensor and allow it to cool. Measure the resistance of the heater element pins on the sensor side (usually the two same-colored wires, e.g., black or white). A reading between 3 and 15 ohms is typical for this platform; infinite resistance (OL) or near-zero resistance indicates a failed sensor.
- With the key on (engine off), use a multimeter to check for ~12V power at the heater circuit power pin in the harness-side connector. If power is not present, there is a fault in the wiring or TIPM.
- If power is present and the sensor's resistance is out of spec, replace the oxygen sensor. Applying penetrating oil to the sensor threads before attempting removal is highly recommended.
- If power is not present at the connector, trace the wiring from the TIPM to the sensor to find the open or short circuit.
Parts You'll Likely Need
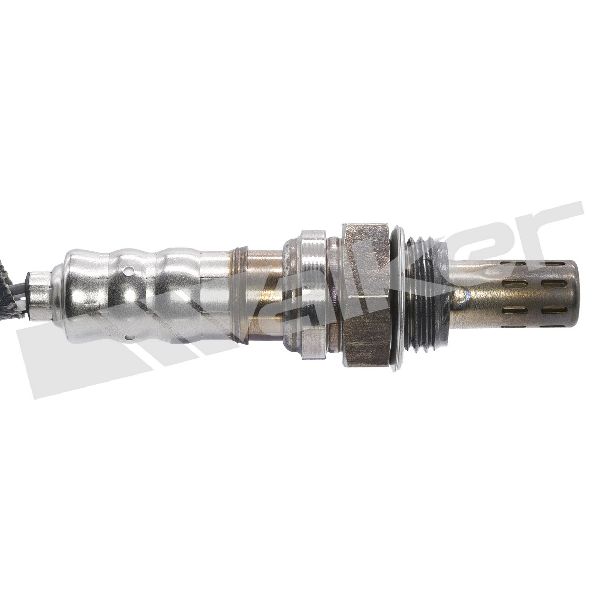
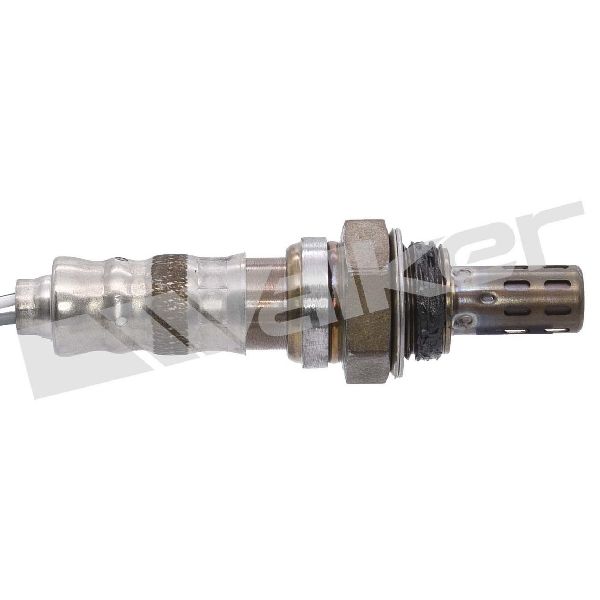
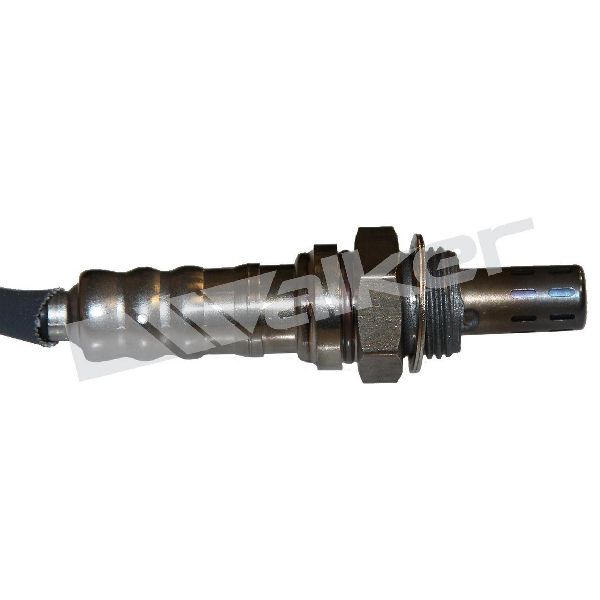
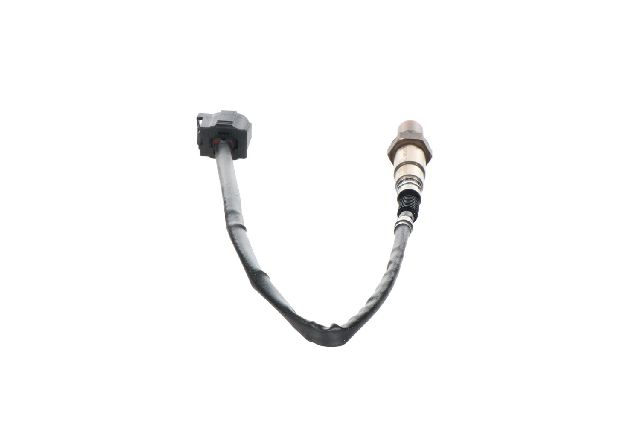
- Upstream Oxygen Sensor (Bank 2, Sensor 1)
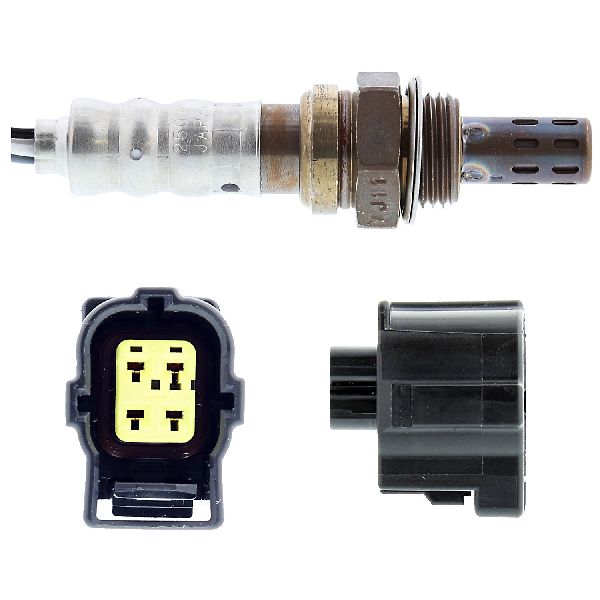
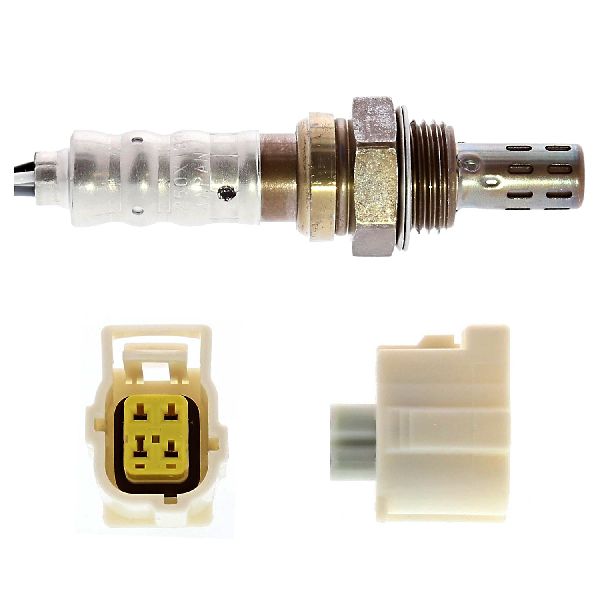
(OEM #5149171AB)— This is the component whose heater circuit has failed, as identified by the code. The internal heating element is the most common point of failure. This part number supersedes 5149171AA and 68066160AA.
Trusted brands: Mopar, NTK, Denso, Bosch
OEM price range: $100-$180
Aftermarket price range: $40-$90
Related Codes That Often Appear With This One
- P0031 — This is the equivalent 'Heater Circuit Low' code for Bank 1, Sensor 1. Seeing both may point to a shared power or ground issue (like a blown fuse), or the PCM software issue mentioned in TSB 18-059-16.
- P0052 — This is for 'Heater Circuit High' on the same sensor (Bank 2, Sensor 1). It's less common to see them together, but it indicates a fault in the same circuit, possibly from intermittent wiring issues.
- P0344 — This code for the Camshaft Position Sensor is listed in the same TSB (#18-059-16) as P0051, suggesting a potential shared electrical issue or that a PCM software update addresses both.
Technical Service Bulletins (TSBs) & Recalls
- 18-059-16: Addresses multiple O2 sensor heater circuit low/high codes (including P0051) and a camshaft position sensor code, potentially resolved by a PCM software update. This is primarily applicable if multiple heater codes are set simultaneously.
Platform-Specific Known Issues
- vehicle_issue: A Technical Service Bulletin (TSB #18-059-16) was issued for the 2011 model year, which includes code P0051 among a list of other O2 sensor and camshaft sensor electrical faults. While the TSB is related to a PCM software update, it is most relevant when multiple O2 heater codes are present at once, not for an isolated P0051.
- vehicle_issue: The early 3.6L Pentastar engines (2011-2013) had known issues, including a left-side cylinder head problem and rocker arm failures, though these are not directly related to the P0051 code itself.
Mechanic-Grade Diagnostic Values
- O2 Sensor Heater Element Resistance — expected: 3 to 15 Ohms at ambient temperature (approx. 70°F / 21°C). Some known-good sensors may read as low as 2.8 Ohms or as high as 30 Ohms depending on the brand.. Failure: A reading of infinite resistance (OL) indicates an open circuit, while a reading near 0 Ohms indicates a shorted circuit.
- Heater Circuit Power Supply Voltage (KOEO) — expected: Approximately 12 Volts (battery voltage) at the power supply pin on the harness-side connector.. Failure: Voltage near zero indicates an open in the power feed from the TIPM, a blown fuse (e.g., M3 or M15), or a faulty ASD relay within the TIPM.
- Heater Circuit Ground Control Signal — expected: When viewed on an oscilloscope with the engine running, this pin should show a square wave as the PCM pulse-width modulates the ground to control heater temperature. A DVOM will show a fluctuating or averaged voltage, not a steady ground.. Failure: A steady 0V or a steady 12V (if back-probing with the sensor connected) indicates a lack of control from the PCM or a wiring short/open.
Scan Tool Commands That Help
- High-End Scan Tool (e.g., wiTECH, Autel): Live Data Monitoring of O2 Heater Duty Cycle — After verifying power supply and sensor resistance, monitoring the heater duty cycle command from the PCM can confirm if the PCM is attempting to activate the heater. If the PCM commands a duty cycle (e.g., 75%) but the circuit voltage doesn't respond, it points to a wiring or sensor issue. If the PCM commands 0% duty cycle, it may indicate the PCM is not enabling the circuit for another reason.
Wiring & Ground Locations
- O2 2/1 Sensor Connector — On the front of the engine (radiator side), where the wiring harness connects to the upstream O2 sensor in the exhaust manifold.. This is the primary point for testing. The heater circuit consists of two same-colored wires (e.g., two black or two white wires). One pin receives ~12V from the TIPM/ASD relay, and the other is the ground-side control from the PCM.
- Totally Integrated Power Module (TIPM) — The main fuse and relay box in the engine compartment, on the left side (driver's side).. The TIPM houses the fuse (e.g., M3 or M15) and the Auto Shutdown (ASD) relay that provides battery voltage to the O2 sensor heater circuit. Internal TIPM failure is a known cause of power loss to this circuit.
- Powertrain Control Module (PCM) — On the left side of the engine compartment, near the TIPM.. The PCM provides the pulsed ground signal to control the O2 sensor heater. A poor connection at the PCM connector or an internal driver failure can cause this code.
- Engine Ground Strap — A braided metal strap connecting the engine block or a component like an engine mount to the vehicle's chassis/frame.. While the heater has a dedicated return wire to the PCM, a poor main engine ground can cause electrical noise and voltage issues that may affect various sensors, including O2 sensors. A broken ground strap on the upper engine mount is a known issue on these vans.
Real Owner Repair Stories
- Chrysler Forum user 'jimwoodward' (2011 Town & Country with 24,500 miles) — Intermittent electrical problems, crank-no-start condition, and engine RPM 'surging' up/down for 1-2 minutes on a warm startup.
❌ Tried (didn't work) The first replacement TIPM caused new, different electrical problems (turn signal activating fog lights).
✅ What actually fixed it The root cause was a failed TIPM. The story highlights the difficulty in getting a known-good replacement TIPM, as multiple 'new' units were also defective, causing different symptoms. This underscores the TIPM as a common and frustrating point of failure. - YouTube video by 'Max's World' (Land Rover (demonstrating a universal principle)) — O2 heater circuit codes present.
❌ Tried (didn't work) The owner had supposedly replaced the O2 sensors already.
✅ What actually fixed it Upon inspection, the downstream O2 sensor connector was not fully clipped in. Simply pushing the connector until it clicked solved the problem for that sensor. For the upstream sensor, a resistance test showed it was open circuit (dead), despite being a replacement part.
"I Checked Everything" — The Actual Cause
- The electrical equivalent of a 'smoke test clean' scenario for P0051 is when the fuse is good and the O2 sensor itself tests good (or has been replaced), yet the code persists. In this case, the fault is almost always in the wiring between the components or, more rarely, the power/control modules. Technicians should check for voltage drop along the power and ground wires, and verify pin fitment/tension at the sensor, TIPM, and PCM connectors. If wiring is confirmed good, a faulty TIPM not providing power via the ASD relay circuit is the next most likely culprit.
OEM Part Supersession History
68066160AA, 5149171AA→5149171AB— Standard part revision and consolidation by the manufacturer.
Heads up: The part is physically interchangeable and used across a wide variety of Chrysler/Dodge/Jeep/Ram vehicles with different engines, serving as both upstream and downstream sensor in different applications.
Helpful Videos

We Have This Part in Stock

The information in this article is provided for general reference and educational purposes only. Vehicle specifications, procedures, and part compatibility can vary by production date, trim level, and region. Always consult your vehicle's factory service manual and verify part numbers before purchasing or performing repairs. Safety-critical components such as airbags, seat belts, and braking systems should be installed by a qualified professional.
- Chrysler TOWN AND COUNTRY:
- 🎬 Helpful Videos
- 🛍️ Shop This Part
- What's Unique About the 2011-2011 Chrysler TOWN AND COUNTRY
- Diagnostic Flowchart
- Symptoms You May Notice
- Most Likely Causes
- Rare But Worth Checking
- Diagnosis Steps
- Parts You'll Likely Need
- Related Codes That Often Appear With This One
- Technical Service Bulletins (TSBs) & Recalls
- Platform-Specific Known Issues
- Mechanic-Grade Diagnostic Values
- Scan Tool Commands That Help
- Wiring & Ground Locations
- Real Owner Repair Stories
- "I Checked Everything" — The Actual Cause
- OEM Part Supersession History
- 🎟️ Get 5% Off