

P0013 on 2013-2014 Chevrolet Malibu: Exhaust Solenoid Causes and Fixes
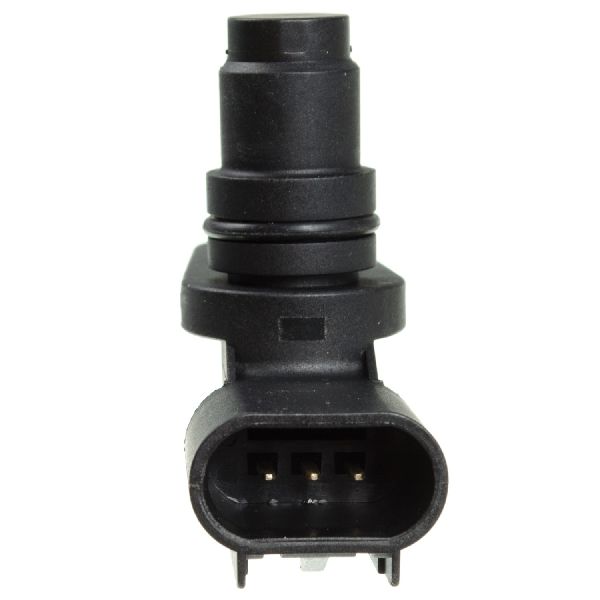
On a 2013-2014 Malibu, code P0013 almost always points to a failed Exhaust Camshaft Position Actuator Solenoid. This is a known issue with a GM special coverage bulletin (#15824) that extended the warranty to 10 years/120,000 miles for this specific failure. Replacing the solenoid is an easy DIY fix, costing about $25-$50 for an aftermarket part or $40-$70 for an OEM ACDelco part. The exhaust solenoid is typically identified by its black electrical connector.
- P0013 on a 2013-2014 Malibu is a very common code, almost always caused by a failed exhaust VVT solenoid.
- Before buying parts, check your engine oil. Low or dirty oil can cause this code.
- This was a known issue covered by GM under Special Coverage program #15824 for 2013 models, which extended the warranty to 10 years/120,000 miles.
- The repair is very simple, requires basic tools (T30 Torx, 10mm socket), and can be completed in under 30 minutes.
- The exhaust solenoid is the rear one and usually has a black connector; the intake solenoid is in the front and is often gray.
What's Unique About the 2013-2014 Chevrolet MALIBU

The 2013-2014 Malibu, particularly with the 2.0L and 2.5L engines, has a well-documented weakness with these VVT solenoids. General Motors issued Technical Service Bulletin #15824 acknowledging that an internal wire in the exhaust solenoid can break. This isn't just a random failure; it's a recognized pattern for this specific vehicle generation, leading GM to offer a "Special Coverage" warranty extension (#15824) for this exact problem on some 2013 models, covering the repair for 10 years or 120,000 miles.
Diagnostic Flowchart
Tap your situation to follow the diagnostic path that matches what you're seeing on this vehicle.
Symptoms You May Notice
- Check Engine Light is on
- Rough engine idle. [TSB #18369]
- Reduced engine power and torque. [TSB #18369]
- Noticeable hesitation when accelerating, sometimes described as a 2-3 second delay.
- Decreased fuel economy.
- Rattling noise from the engine, especially on a cold start.
- Car may stall, especially when cold or at idle.
- Replacing the Camshaft Position Sensor. The code is for the actuator solenoid circuit (P0013), not the position sensor itself. A mechanic on a forum noted a customer had replaced the sensor himself before bringing it in for a proper diagnosis of the solenoid.
- Replacing the wrong solenoid. These engines have two VVT solenoids: one for intake and one for exhaust. P0013 is for the exhaust ('B') solenoid. They often have different colored connectors (e.g., black for exhaust, gray for intake) to help with identification.
Most Likely Causes

- Failed Exhaust Camshaft Position Actuator Solenoid 🔴 High Probability GM TSBs #15824 and #18369 specifically state that an internal wire in the solenoid may break, causing this code. This is a known manufacturing or design flaw for this model.
How to confirm: After checking oil, this is the most likely culprit. The part can be tested by applying 12V power and ground to its terminals; a healthy solenoid will make an audible click. A multimeter can also be used to check for resistance; a reading of 8-13 ohms is expected. A reading of infinite resistance (open circuit) or a very high reading confirms internal failure. 🎬 Watch: How to test a VVT solenoid with a multimeter. However, given the low cost and high failure rate, replacement is often the most efficient diagnostic step.
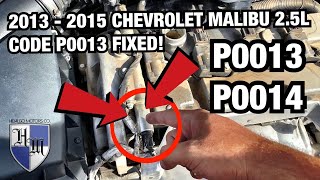
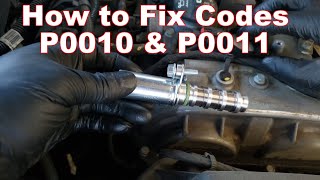
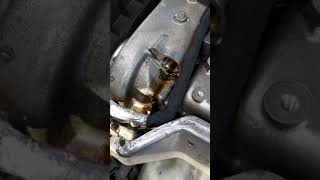
Typical fix: Replace the exhaust VVT solenoid. It is located on the top of the engine under the plastic cover and is held in by a single 10mm bolt. The exhaust solenoid typically has a black electrical connector. 🎬 See this quick walkthrough for replacing the exhaust side solenoid. The bolt should be torqued to 89 in-lbs (about 7.4 ft-lbs). It is highly recommended to clean the area around the solenoid before removal to prevent debris from falling into the engine.
Est. part cost: $25-$70 - Low or Dirty Engine Oil 🟡 Medium Probability The VVT system is hydraulic and highly sensitive to oil quality and pressure. Sludge or low oil levels can clog the fine mesh screens on the solenoids, impeding their function.
How to confirm: Check the engine oil dipstick. If the oil is below the minimum mark or appears dark, gritty, or sludgy, it needs to be changed. This should always be the first check.
Typical fix: Perform an engine oil and filter change using the manufacturer-specified grade of oil (typically 5W-30 full synthetic for these engines). Clear the codes and see if P0013 returns.
Est. part cost: $40-$80 - Faulty Wiring or Connector ⚪ Low Probability The wiring harness runs near hot engine components, and over time, the plastic connector and wire insulation can become brittle and break.
How to confirm: Visually inspect the wiring harness and electrical connector going to the exhaust VVT solenoid. Look for any signs of heat damage, corrosion, or loose pins. The locking tab on the connector is known to become brittle and break. Use a multimeter to check for continuity and proper voltage at the connector with the key on.
Typical fix: Repair the damaged section of wiring or replace the connector pigtail.
Est. part cost: $5-$30
Rare But Worth Checking
- Faulty Powertrain Control Module (PCM): This is very uncommon. Before condemning the PCM, all other possibilities (solenoid, wiring, oil) must be exhaustively ruled out by a professional. A faulty PCM driver could fail to send the correct signal to the solenoid.
Diagnosis Steps
- Check the engine oil level and condition. If low or dirty, perform an oil and filter change using the correct oil grade and clear the code to see if it returns.
- Locate the exhaust camshaft position actuator solenoid on the top of the engine. It is typically the rearmost solenoid (towards the exhaust manifold) and often has a black connector.
- Inspect the electrical connector and wiring for any visible damage, corrosion, or loose connections. Pay attention to the locking tab, which can be brittle.
- If tools are available, disconnect the solenoid and test its resistance with a multimeter. A reading between 8 and 13 ohms is expected. An open circuit (infinite resistance) or a reading outside this range indicates a failed solenoid.
- If the solenoid fails the test or if testing is not possible, replace the exhaust VVT solenoid. This is the most common fix. Ensure the new solenoid's O-ring is lubricated with clean engine oil 🎬 Watch: A fast and easy guide to fixing P0013 and P0014. before installation.
- After replacement, clear the trouble codes with a scan tool and perform a test drive to ensure the issue is resolved.
Parts You'll Likely Need

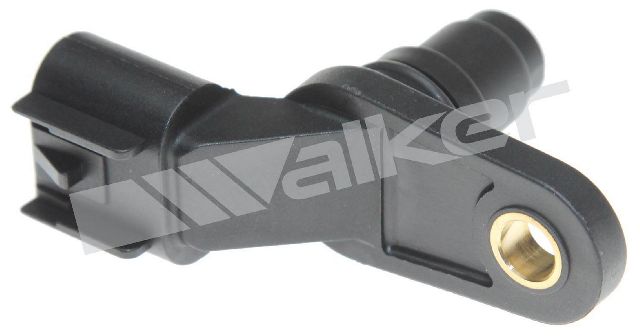
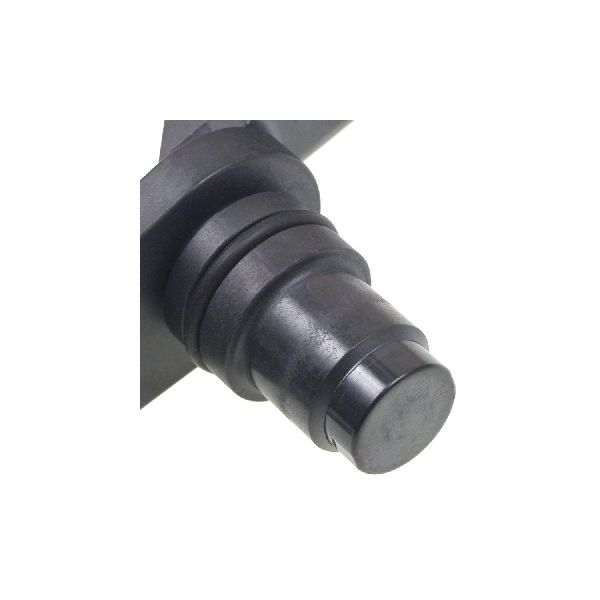
- Exhaust Camshaft Position Actuator Solenoid
(OEM #12655421)— This is the component that fails most frequently, as documented by GM's own service bulletins due to an internal broken wire. This part number is also cross-referenced by aftermarket brands like Dorman (917-216).
Trusted brands: ACDelco (OEM), Dorman (e.g., 917-216), Standard Motor Products (SMP) (e.g., VVT199)
OEM price range: $40-$70
Aftermarket price range: $25-$50
Related Codes That Often Appear With This One
- P0014 — P0014 ('B' Camshaft Position - Timing Over-Advanced) often appears with P0013 because a faulty solenoid circuit (P0013) prevents the ECM from controlling the camshaft's position, causing it to be stuck in a state that is considered over-advanced or not where it's commanded to be, leading to a performance code (P0014).
- P0010 — This is the equivalent code for the intake solenoid ('A' Camshaft Position Actuator Circuit). If both solenoids are failing due to age, oil contamination, or if a technician recommends replacing them in pairs, you might see both codes. TSB #15824 covers both P0010 and P0013.
Technical Service Bulletins (TSBs) & Recalls
- Bulletin #18369: Notes that the solenoid valve may break, causing P0013, rough idle, and reduced torque.
- Bulletin #GCUS-9-2816 / #15824: Confirms that P0013 (or P0010 for intake) may set due to an internal broken wire in the solenoid on 2.0L and 2.5L engines and details a special coverage program for the repair on 2013 models.
Platform-Specific Known Issues
- GM issued Special Coverage bulletin #15824 for some 2013 Malibus (and Cadillac ATS) with 2.0L or 2.5L engines. It addresses P0013/P0010 caused by an internal broken wire in the solenoid. This program extended warranty coverage for this specific repair to 10 years or 120,000 miles from the vehicle's in-service date, whichever came first. Owners should contact a Chevrolet dealer with their VIN to check for eligibility, although most of these vehicles will now be outside the coverage window by age.
Mechanic-Grade Diagnostic Values

- Camshaft Position Actuator Solenoid Resistance — expected: 8-13 Ohms. Failure: A reading outside this range, OL (Open Loop/infinite resistance), or a very high resistance (e.g., megaohms) indicates a failed solenoid.
- Solenoid Low Reference Circuit to Ground — expected: Less than 5 Ohms. Failure: A value greater than 5 Ohms indicates an open or high resistance in the ground circuit for the solenoid.
- Solenoid Control Circuit Voltage (Key On, Engine Off) — expected: A test lamp should NOT illuminate between the control circuit and ground. A multimeter may show a low reference voltage of 1.5-4.5V.. Failure: If a test lamp illuminates, it indicates a short to voltage in the control circuit.
Scan Tool Commands That Help
- GDS2 (or equivalent professional scan tool): Camshaft Position Actuator Active Test — This bidirectional control allows a technician to command the exhaust solenoid ON and OFF (or to a specific angle, e.g., 20°) while the engine is idling. The scan tool's live data for 'Desired Exhaust Cam Position' vs. 'Actual Exhaust Cam Position' should be monitored. If the actual position does not change when commanded, it points to a problem with the solenoid, its circuit, or oil pressure.
Wiring & Ground Locations
- G101 — Located at the left front of the engine, lower block.. This is a primary ground location for the Engine Control Module (ECM). A poor connection here can cause a wide range of engine codes and erratic behavior, including faults in the VVT system.
- G122 — Located on the rear of the engine on the cylinder head.. This is another ground point on the engine block that can affect sensor and actuator performance if corroded or loose.
- Exhaust Camshaft Position Actuator Solenoid Connector — On top of the engine, typically the rearmost of the two VVT solenoids, with a black connector housing.. This is where all circuit tests (resistance, voltage) begin. Pin A is the control circuit from the ECM, and Pin B is the low reference (ground) circuit.
Real Owner Repair Stories
- YouTube channel 'Super Mario Diagnostics' (2012 Chevy Malibu 2.4L Ecotec) — Check Engine Light with codes P0013 and P0014. No drivability concerns were felt by the customer.
❌ Tried (didn't work) Initial diagnosis confirmed the fault was with the exhaust solenoid using a scan tool active test; the intake solenoid responded correctly, but the exhaust did not.
✅ What actually fixed it The technician tested the resistance of the failed exhaust solenoid and found it was reading around 100,000 ohms (100 kOhms), far outside the expected specification of a few ohms. Replacing the exhaust VVT solenoid fixed the issue.
OEM Part Supersession History
12655421→12679100— This is a common supersession for GM parts due to design revisions or supplier changes. The updated part is intended to be a direct replacement.
Helpful Videos


We Have This Part in Stock



The information in this article is provided for general reference and educational purposes only. Vehicle specifications, procedures, and part compatibility can vary by production date, trim level, and region. Always consult your vehicle's factory service manual and verify part numbers before purchasing or performing repairs. Safety-critical components such as airbags, seat belts, and braking systems should be installed by a qualified professional.
- Chevrolet MALIBU:
- 🎬 Helpful Videos
- 🛍️ Shop This Part
- What's Unique About the 2013-2014 Chevrolet MALIBU
- Diagnostic Flowchart
- Symptoms You May Notice
- Most Likely Causes
- Rare But Worth Checking
- Diagnosis Steps
- Parts You'll Likely Need
- Related Codes That Often Appear With This One
- Technical Service Bulletins (TSBs) & Recalls
- Platform-Specific Known Issues
- Mechanic-Grade Diagnostic Values
- Scan Tool Commands That Help
- Wiring & Ground Locations
- Real Owner Repair Stories
- OEM Part Supersession History
- 🎟️ Get 5% Off