

C1503 on 2014-2015 Ram 2500: Tire Pressure Sensor 3 Fault Causes and Fixes
Code C1503 on a 2014-2015 Ram 2500 indicates a fault with Tire Pressure Sensor 3. This is almost always caused by a dead sensor battery or internal failure. The fix involves replacing the faulty sensor inside the tire, which typically costs between $40-$100 for the part plus labor for tire service. It is critical to use a TPMS tool to identify which physical tire contains 'Sensor 3' before replacement, as tires may have been rotated.
- C1503 means the TPMS sensor for tire #3 has failed, most likely due to a dead battery, as these trucks are now at the age where original sensors are failing.
- A TPMS diagnostic tool is essential to identify which physical tire has the faulty sensor before beginning repairs, as tire rotations will move the sensor to a different location than what the dash may indicate.
- The most common fix is to replace the faulty sensor (OEM Part # 68241067AB). This requires professional tire service equipment.
- After replacement, the system should automatically relearn the new sensor after driving at speeds above 15 mph for 10-20 minutes; no manual reset is typically needed.
What's Unique About the 2014-2015 Ram 2500
On these Ram trucks, the TPMS is a self-learning system. Unlike some vehicles that require a specific manual relearn procedure with a scan tool after sensor replacement, Ram trucks will typically recognize the new sensor automatically after driving for about 10-20 minutes at speeds above 15-20 mph. However, identifying which physical tire corresponds to 'Sensor 3' can be tricky if tires have been rotated, as the fault is tied to the sensor's unique ID, not its physical location. A common owner mistake is replacing the sensor on the tire displayed as faulty on the EVIC, without realizing a tire rotation has moved the actual bad sensor to a different corner of the truck. In cases where the auto-relearn fails, a dealer-level scan tool (like wiTECH) or a high-end professional tool can be used to manually program the new sensor ID into the Wireless Control Module (WCM).
🎬 Watch: How to fix the Service Tire Pressure System light.Diagnostic Flowchart
Tap your situation to follow the diagnostic path that matches what you're seeing on this vehicle.
Symptoms You May Notice
- TPMS warning light is illuminated on the dashboard (may flash for ~75 seconds on startup, then stay solid).
- A 'Service Tire Pressure System' message appears in the instrument cluster (EVIC).
- The display for one specific tire's pressure is blank or shows dashes ('--').
- After tire rotation, the tire position indicated as faulty on the dash may not correspond to the actual physical location of the bad sensor.
- Replacing the wrong tire's sensor. Since the code refers to 'Sensor 3' by its registered ID, not a physical location like 'left rear', it's crucial to use a TPMS tool to identify which sensor is actually faulty before dismounting a tire. A user on RamForum.com detailed a frustrating experience where a tire shop rotated the tires during the repair, causing confusion and leading to the replacement of a good sensor.
- Replacing the WCM/RF Hub module when only a single sensor has failed. Module failure is uncommon and typically affects all sensors, not just one.
- Assuming the system needs a manual relearn. Owners may waste time or money trying to perform a manual relearn procedure when the system is designed to auto-relearn by driving.
Most Likely Causes
- Dead or Failing TPMS Sensor Battery 🔴 High Probability TPMS sensors contain a non-replaceable battery with a finite lifespan, typically 7-10 years. Vehicles from the 2014-2015 model years are now at an age where battery failure is very common. Owners on forums report original sensors failing around this age.
How to confirm: Use a dedicated TPMS diagnostic tool to attempt to 'wake' or read the sensor. If the tool cannot get a response, and the sensor ID is known, the sensor is almost certainly dead. The tool may show a 'low battery' status on some models.
Typical fix: Replace the entire TPMS sensor unit for the affected wheel.
Est. part cost: $30-$80 - Internal Sensor Failure or Damage 🟡 Medium Probability Sensors can be damaged during tire mounting/dismounting or from impacts like hitting a large pothole. The TSB mentions 'Mechanical Failure' as a specific fault type. In some cases, the sensor body can break off the valve stem and be loose inside the tire.
How to confirm: A TPMS scan tool may show specific error data like 'Damaged Accel', 'Damaged Press', or 'H/W fail'. Visual inspection after dismounting the tire may reveal physical damage or corrosion.
Typical fix: Replace the damaged TPMS sensor.
Est. part cost: $30-$80 - Incorrect or Incompatible Aftermarket Sensor ⚪ Low Probability Using a universal sensor that hasn't been properly programmed or cloned can prevent the vehicle from recognizing it. Some owners on Ram forums report intermittent issues and premature failure with aftermarket sensors compared to OEM Mopar parts. The system for 2014+ models is different from earlier years, and using a sensor from a 2013 or older truck will not work.
How to confirm: Verify the part number of the installed sensor against OEM or compatible aftermarket specifications. Use a TPMS tool to check if the sensor is transmitting on the correct frequency (433 MHz for this model). Some aftermarket sensors require programming with a tool like an Autel TS508 before they will work.
Typical fix: Replace the incorrect sensor with a compatible OEM or pre-programmed aftermarket sensor. Many owners recommend sticking with OEM Mopar sensors for reliability.
Est. part cost: $30-$80
Rare But Worth Checking
- Wireless Control Module (WCM/SKREEM) Failure: This is the receiver for all TPMS sensors. It's a rare failure, but if multiple sensors show faults simultaneously and are known to be good, the WCM could be the issue. This often requires dealership-level diagnostics. One forum user replaced sensors, the TPMS module, and the WIN module in a frustrating chase to solve a system-wide failure. The WCM (also called the RF Hub) is located on the back wall of the cab, behind the rear seats.
- Radio Frequency (RF) Interference: Aftermarket electronic devices like dash cams, phone chargers, LED lighting, or high-powered audio amplifiers can sometimes interfere with the 433 MHz TPMS signal, causing intermittent faults. Diagnostic procedures note to check for aftermarket accessories before condemning hardware. A common source of interference is the switching power supply in some aftermarket amplifiers, which can emit RF noise very close to the RF Hub module located on the back wall of the cab.
- Faulty Instrument Cluster: In a rare case reported on a forum, a faulty instrument cluster was the root cause of incorrect TPMS readings, even after sensors were replaced. The issue was resolved by replacing the cluster itself.
Diagnosis Steps
- Verify the code C1503 is active using an OBD-II scanner that can read Chassis (C) codes.
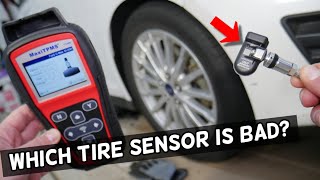
- Use a TPMS-specific diagnostic tool (e.g., Autel, Bartec) to attempt to read the data (ID, pressure, temperature, battery status) from all four sensors directly at each wheel.
- The sensor that does not respond or shows an internal error is the faulty one. This identifies the physical wheel needing service, regardless of what the dashboard display indicates.
- A DIY method to locate the bad sensor without a tool is to lower the pressure significantly in one tire at a time and see which corner does *not* update its pressure reading on the dash after a short drive; this is the faulty sensor's last known location.
- If all sensors fail to respond, investigate potential issues with the WCM receiver or related fuses. Check fuses F46, F51, and F52 in the under-hood fuse box.
- Once the faulty sensor is identified, have the tire dismounted and the sensor replaced.
- Ensure the new sensor is the correct frequency (433 MHz) and part number.
- After the new sensor is installed and the tire is re-inflated to the placard pressure, drive the vehicle for at least 10 minutes at speeds over 15 mph (24 km/h) to allow the system to automatically learn the new sensor ID.
- If the light does not clear, a dealer-level tool like wiTECH may be needed to manually program the new sensor ID into the WCM.
Parts You'll Likely Need
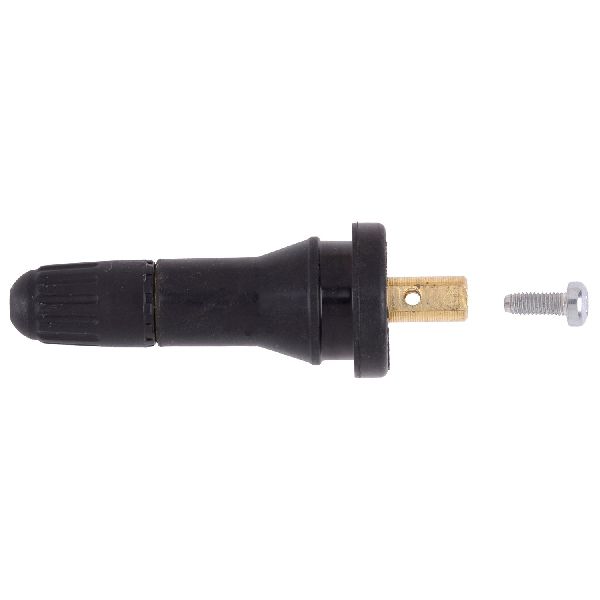
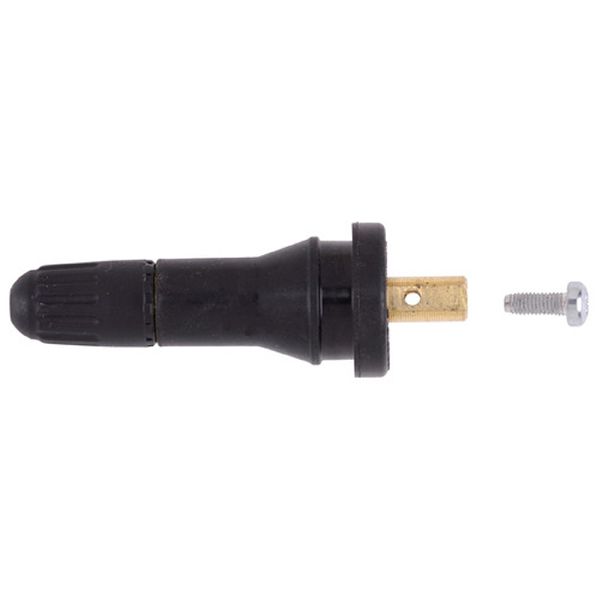
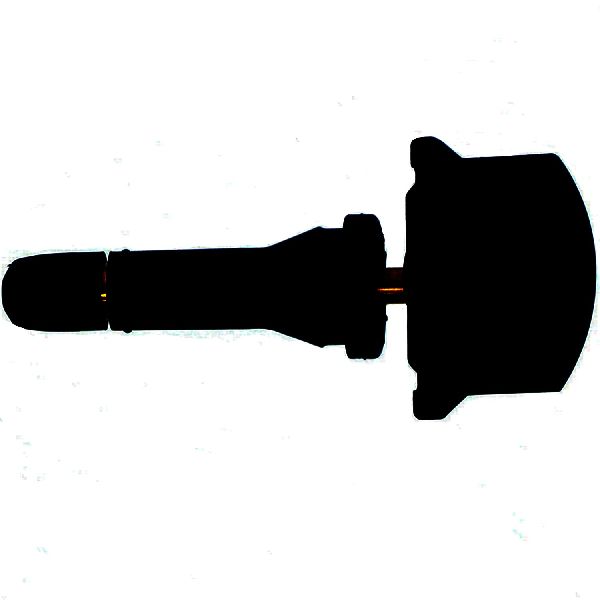
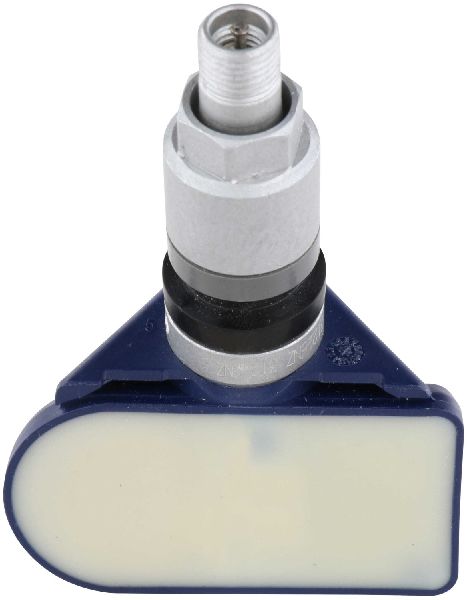
- Tire Pressure Monitoring System (TPMS) Sensor
(OEM #68241067AB)— This is the component that fails, either due to battery depletion or internal damage, directly causing the C1503 code. This part number is a snap-in style sensor with a black rubber valve stem.
Trusted brands: Mopar (OEM), Schrader, VDO, Bosch, Huf, Autel (programmable)
OEM price range: $60-$100
Aftermarket price range: $30-$70
Related Codes That Often Appear With This One
- C1501, C1502, C1504 — These codes correspond to the other three tire pressure sensors. Seeing them together, or in quick succession, often indicates that all sensors are reaching the end of their battery life around the same time. TSB 22-002-15 REV. A lists all four codes as part of the same symptom group.
Technical Service Bulletins (TSBs) & Recalls
- 22-002-15 REV. A: Defines C1503-07 as 'Tire Pressure Sensor 3 - Mechanical Failure' and C1503-31 as 'Tire Pressure Sensor 3 - No Signal'. Applies to 2014-2015 Ram 2500/3500 SRW trucks built before 11/05/2014. The revised TSB recommends replacing all four sensors.
Platform-Specific Known Issues
- Confusion After Tire Rotation: A very common issue discussed on forums is replacing the wrong sensor because the tires had been rotated. The fault code C1503 is linked to a specific sensor ID, but the dashboard display shows a fixed location (e.g., 'Left Rear'). If the tires were rotated, the sensor with ID '3' might now be on the front right, but the dash will still flag the 'Left Rear' position. This leads to replacing a perfectly good sensor. The only way to be sure is to scan each wheel with a TPMS tool to find the non-responsive sensor.
- TSB for Sensor Replacement: TSB 22-002-15 REV. A was issued for the 'Service Tire Pressure System' message on 2014-2015 Ram 2500/3500 trucks built on or before November 5, 2014. The bulletin addresses the C1501, C1502, C1503, and C1504 codes and the repair procedure involves testing and replacing the faulty sensor(s). The revised version of the TSB recommends replacing all four sensors if the vehicle falls under the bulletin's criteria.
Hidden / Shadow Codes Worth Checking
- C1503-07: Tire Pressure Sensor 3 - Mechanical Failure. This indicates an internal hardware error in the sensor, such as a faulty accelerometer, pressure, or temperature element. (see via Dealer-level scan tool (like wiTECH) or high-end scanner that can read manufacturer-specific fault code suffixes. Mentioned in TSB #22-002-15 REV. A.)
- C1503-31: Tire Pressure Sensor 3 - No Signal. This indicates the WCM/RF Hub is not receiving a signal from the sensor, most commonly due to a dead battery or complete sensor failure. (see via Dealer-level scan tool (like wiTECH) or high-end scanner that can read manufacturer-specific fault code suffixes. Mentioned in TSB #22-002-15 REV. A.)
- C1503-64: Tire Pressure Sensor - Signal Plausibility Failure. This sub-type indicates the control module received a signal, but the data within it was illogical or out of expected range. (see via Advanced scan tools capable of reading detailed sub-codes, often seen in Fiat-Chrysler products.)
Scan Tool Commands That Help
- wiTECH (or equivalent professional scanner): Manually Program Sensor ID — This is used when the automatic relearn procedure fails after driving. A technician can use a TPMS tool to read the new sensor's ID and then use the scan tool to write that ID directly to the Wireless Control Module (WCM), forcing the system to recognize the new sensor.
- wiTECH: TPM Sensor Position Parameter Update — This is a miscellaneous function routine used after a software update or module replacement to help the system re-establish communication and sensor locations. It may be required by certain Technical Service Bulletins.
- TPM-RKE Analyzer Tool (in conjunction with wiTECH): LEARN ID — This function is used to trigger and read each sensor's unique ID, which can then be programmed into the vehicle's module via the main scan tool. This is part of the official diagnostic procedure when a sensor is replaced or if the system is having trouble learning IDs automatically.
Wiring & Ground Locations
- Wireless Control Module (WCM) / RF Hub — Located on the back wall of the truck's cab, typically behind the rear seats.. This module is the receiver for the signals from all TPMS sensors. Its location is critical to know when diagnosing RF interference, as aftermarket equipment (like audio amplifiers) installed nearby is a common cause of signal loss.
- Ground Points G301 / G302 — Located on the left front body structure of the truck.. While not directly tied to the RF Hub in most diagrams, poor body grounds can introduce electrical noise and unpredictable issues into various electronic modules. Verifying major chassis grounds is a valid step in chasing persistent, hard-to-diagnose electronic faults.
Real Owner Repair Stories
- YouTube user 'I got my Maxi' (2015 Dodge Ram) — After putting on new tires and rotating them, the TPMS system would not automatically update the tire locations and the warning light stayed on.
❌ Tried (didn't work) Driving the truck for several days and long distances to trigger the auto-relearn function.
✅ What actually fixed it The owner had to use a TPMS tool (Autel) to read the unique ID of each sensor at each wheel. Then, using a professional scan tool (Snap-on Solus), he had to manually enter each sensor's ID into the Tire Pressure Monitor module for each specific wheel position. After programming all four IDs, the code cleared and the system began working correctly. - RamForum.com user 'warehousefinder' (2022 RAM Laramie 2500 (newer model, but same principle and RF Hub location)) — TPMS sensors would not connect (showed dashes), key fob had reduced range, and 'key fob has left the vehicle' message appeared while driving.
❌ Tried (didn't work) Swapping the locations of two aftermarket audio amplifiers mounted on the back cab wall.
✅ What actually fixed it The owner confirmed that the switch-mode power supply in one of the aftermarket audio amplifiers was emitting RF noise and interfering with the RF Hub module, which is mounted in the same location. Disconnecting the remote turn-on wire for the amplifiers caused the TPMS sensors to immediately connect and update. The final fix was to replace the 'noisy' amplifier.
OEM Part Supersession History
56029398AA, 56029398AB, 68142397AA, 68241067AA→68241067AB— Standard part revision and consolidation by the manufacturer.
Heads up: A question on a parts site for 56029398AB was answered stating the part number has changed to 68241067AB, confirming the supersession. Other sources confirm this part number trail.
Model Year Variations Within This Range
- 2014+: The TPMS system was changed around the 2013-2014 model years. The newer system reports to the RF Hub module located behind the rear seat. Sensors from a 2013 or older truck are not compatible with a 2014+ truck, even if they are the same frequency, as the communication protocol with the receiver module is different.
Helpful Videos


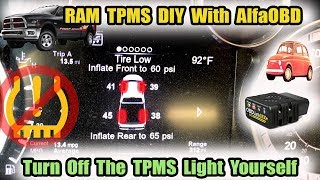

We Have This Part in Stock


The information in this article is provided for general reference and educational purposes only. Vehicle specifications, procedures, and part compatibility can vary by production date, trim level, and region. Always consult your vehicle's factory service manual and verify part numbers before purchasing or performing repairs. Safety-critical components such as airbags, seat belts, and braking systems should be installed by a qualified professional.
- Ram 2500:
- 🎬 Helpful Videos
- 🛍️ Shop This Part
- What's Unique About the 2014-2015 Ram 2500
- Diagnostic Flowchart
- Symptoms You May Notice
- Most Likely Causes
- Rare But Worth Checking
- Diagnosis Steps
- Parts You'll Likely Need
- Related Codes That Often Appear With This One
- Technical Service Bulletins (TSBs) & Recalls
- Platform-Specific Known Issues
- Hidden / Shadow Codes Worth Checking
- Scan Tool Commands That Help
- Wiring & Ground Locations
- Real Owner Repair Stories
- OEM Part Supersession History
- Model Year Variations Within This Range
- 🎟️ Get 5% Off