

C1112 on 2017-2018 Chevrolet Suburban: Service Trailer Brake System Causes and Fixes
This code indicates a fault in the integrated trailer brake control system, often appearing as a "Service Trailer Brake System" message. The most common causes are a weak vehicle battery or corrosion in the Trailer Brake Power Module connector, located above the spare tire. Always test the battery before replacing any parts, as recommended by GM TSBs.
- Do not immediately replace any parts. The first and most important step is to have your vehicle's battery professionally load-tested.
- The second step is to lower the spare tire and carefully inspect the electrical connector at the Trailer Brake Power Module for any signs of corrosion or moisture.
- This code disables your trailer's electric brakes. Do not tow a trailer that relies on this system until the "Service Trailer Brake System" message is gone and the system is confirmed to be working.
- If the Trailer Brake Power Module does need to be replaced, it is not a plug-and-play part and will require programming by a dealer or a properly equipped independent shop.
What's Unique About the 2017-2018 Chevrolet SUBURBAN
On the K2XX platform, which includes the 2017-2018 Suburban, the trailer brake control system is notoriously sensitive to vehicle voltage. GM has issued multiple Technical Service Bulletins (TSBs), including PIT5521A and PIT5529A, acknowledging that a weak battery is a primary cause for this code. Furthermore, the location of the Trailer Brake Power Module (K133) above the spare tire makes its electrical connector highly susceptible to corrosion from road spray and moisture. TSB PIT5529A specifically notes that missing or dislodged cavity plugs in the connector allow for water intrusion and 'connector hydro-locking', leading to terminal corrosion and setting this code.
Diagnostic Flowchart
Tap your situation to follow the diagnostic path that matches what you're seeing on this vehicle.
Symptoms You May Notice
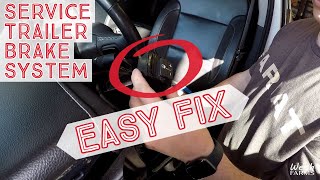
- "Service Trailer Brake System" message on the Driver Information Center (DIC)
- "Check Trailer Wiring" message on the DIC
- Trailer connection not being recognized
- Slow engine crank (indicative of a weak battery).
- Integrated trailer brake controller is inoperative
- Trailer brake gain cannot be adjusted
- Replacing the Trailer Brake Power Module without first testing the battery and inspecting the connector. This is the most common and expensive mistake, as the issue is often a simple power supply or connection problem, as emphasized in multiple GM TSBs.
- Replacing the Trailer Brake Power Module without programming the new part to the vehicle's VIN. The system will not function correctly without this step.
Most Likely Causes
- Weak or Failing Vehicle Battery 🔴 High Probability As stated in TSBs PIT5521A and PIT5529A, the trailer brake control system on this platform is highly sensitive to low voltage. A battery that is starting to fail may have enough power to start the engine (sometimes with a slow crank) but not enough to keep all electronic modules within their required voltage range of 9.5V to 17V.
How to confirm: Perform a load test on the battery using a professional tester like a Midtronics GR8, as recommended by GM in TSB PIT5521A. A simple voltage check with a multimeter is often insufficient to detect a weak battery.
Typical fix: Charge and re-test the battery. If it fails the load test, it must be replaced. Ensure all battery terminals and ground connections are clean and tight.
Est. part cost: $150-$350 - Corroded Trailer Brake Power Module (TBPM) Connector 🔴 High Probability The TBPM (also referred to as K133) is mounted on the driver's side frame rail, directly above the spare tire. This location exposes the connector to water, salt, and dirt kicked up by the tires. TSB PIT5529A specifically notes that missing or dislodged cavity plugs in the connector allow for water intrusion, leading to terminal corrosion and a condition GM calls 'connector hydro-locking'.
How to confirm: Lower the spare tire to gain access. Disconnect the module's electrical connector and visually inspect both the male and female ends for any signs of green or white corrosion ('blue crusties'), moisture, or bent pins. Ensure all cavity plugs are present and fully seated.
Typical fix: If corrosion is found, clean the terminals using an electrical contact cleaner and a small terminal cleaning brush or pipe cleaner. Apply dielectric grease before reconnecting to prevent future moisture intrusion. If corrosion is severe, the connector pigtail or the module itself may need to be replaced.
Est. part cost: $20-$150 - Damaged Wiring or Poor Ground (G401) 🟡 Medium Probability The wiring harness that runs along the frame rail to the rear of the vehicle is susceptible to damage from road debris, improper jacking, or previous repairs. The main frame ground for the system, G401, is also located on the driver's side rear frame rail and is prone to corrosion.
How to confirm: Visually inspect the wiring harness leading to the Trailer Brake Power Module, particularly the dark blue wire (circuit 47), for any cuts, abrasions, or poorly repaired splices. Locate and inspect the main frame ground (G401) 🎬 Watch this walkthrough for a successful repair. for tightness and corrosion.
Typical fix: Repair any damaged sections of wire using heat-shrink butt connectors or solder. Disassemble, clean, and tighten any corroded ground connections.
Est. part cost: $5-$25
Rare But Worth Checking
- Faulty Trailer Brake Power Module (TBPM): This module is often replaced unnecessarily. TSBs from GM state that returned modules are frequently found to be fully functional. This should only be considered after all battery, connector, and wiring issues have been definitively ruled out. A replacement module must be programmed to the vehicle's VIN using GM's Service Programming System (SPS).
- Faulty In-Dash Trailer Brake Control Switch: The switch assembly in the dashboard can fail, but it is much less common than the issues at the rear of the vehicle and often sets different codes, like C1117. In some cases, the switch can become physically jammed in the dash, causing codes.
- Blown Fuse: Check the under-hood fuse box for fuses related to the trailer brake system (often labeled TRLR or similar). A blown 30-amp J-case fuse has been documented as a cause.
Diagnosis Steps
- Address Battery Health First: Per GM TSB PIT5521A and PIT5529A, the first step is to have the vehicle's battery professionally tested under load with a tool like the Midtronics GR8. Charge or replace the battery as needed before proceeding.
- Check Fuses: Inspect the fuses related to the trailer brake system in the under-hood fuse box. On similar trucks, these can include fuses #1, #10, #19, and #34.
- Inspect the Trailer Brake Power Module (TBPM) Connector: Lower the spare tire to gain access to the TBPM on the driver's side frame rail. Disconnect the electrical harness and thoroughly inspect the connector and module pins for corrosion, moisture, or damage. Ensure all cavity plugs are seated.
- Inspect Ground G401: Locate the G401 ground point on the driver's side frame rail, near the rear of the vehicle. Disassemble the connection, clean all surfaces to bare metal, and re-secure it tightly.
- Inspect Wiring: Visually trace the wiring harness from the TBPM connector forward along the frame rail. Look for any signs of physical damage, chafing, or poorly repaired splices, paying close attention to the dark blue wire (circuit 47).
- Advanced Scan Tool Diagnosis: If available, use a scan tool like GM's GDS2 to monitor the 'TBCM Relay Feedback Signal'. A normal reading is between 3.2-4.1 volts. Readings outside this range indicate a short to ground or voltage that needs further investigation. Use the 'Command Trailer Brake Relay ON/OFF' bidirectional function to test the circuit.
- Consider the Module: Only after confirming the battery is good, the connector is clean, and the wiring and grounds are intact should you consider the Trailer Brake Power Module itself as the point of failure. A replacement module requires VIN programming.
Parts You'll Likely Need
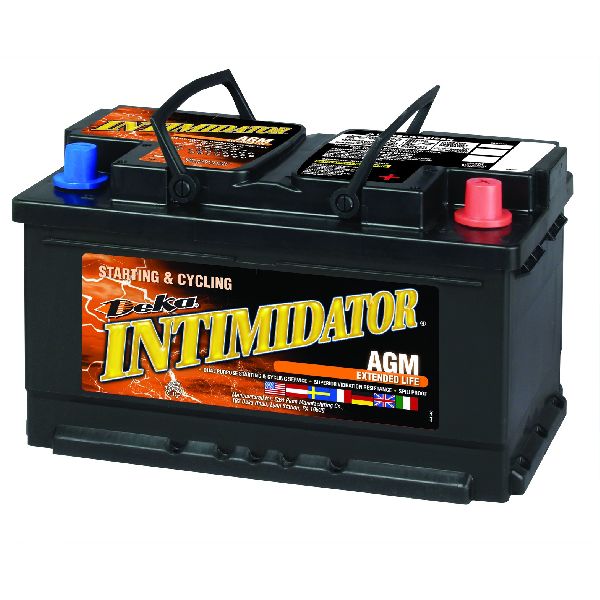
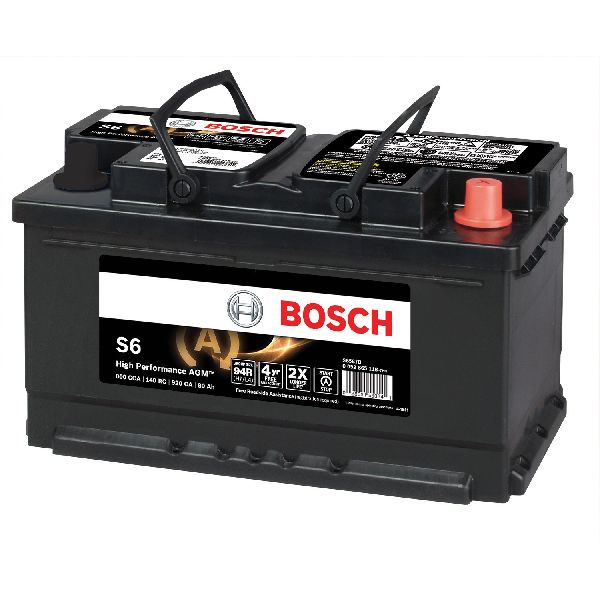
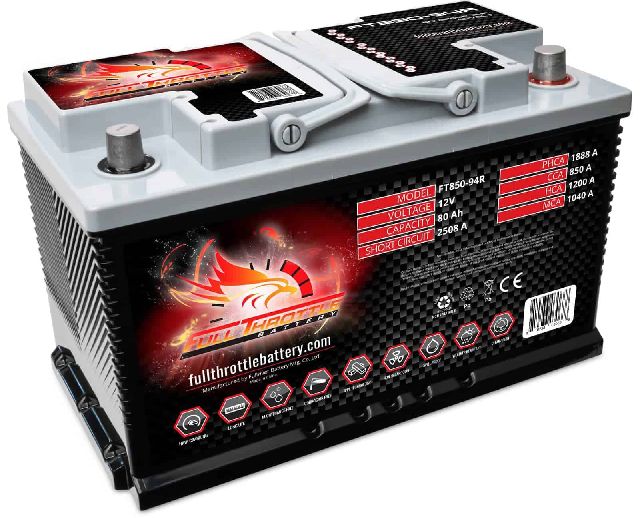
- Vehicle Battery — A weak or failing battery is the most common cause of this code, as specified by multiple GM Technical Service Bulletins.
Trusted brands: ACDelco, Interstate, DieHard
OEM price range: $200-$300
Aftermarket price range: $150-$250 - Trailer Brake Power Module
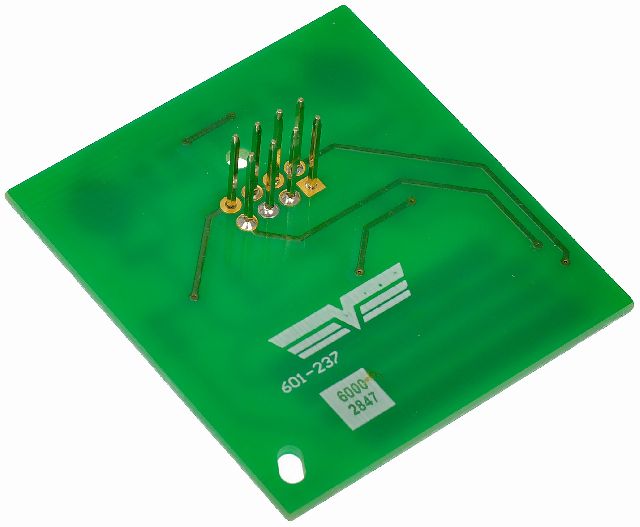
(OEM #85073617)— This module can fail due to internal faults or, more commonly, damage from a corroded connector. It should only be replaced after ruling out battery and wiring issues. Note that this part number supersedes 23337305, 23114650, and 23104453. A replacement module must be programmed to the vehicle's VIN.
Trusted brands: ACDelco (GM Genuine)
OEM price range: $80-$150
Aftermarket price range: $60-$100 - Trailer Brake Power Module Connector Pigtail
(OEM #ACDelco PT2715)— If the connector at the module is severely corroded, cleaning may not be sufficient and the connector itself will need to be cut out and a new pigtail spliced in.
Trusted brands: ACDelco, Dorman
OEM price range: $40-$80
Aftermarket price range: $20-$50
Related Codes That Often Appear With This One
- C1113 — This code is for a related circuit ('Trailer Brake Control Relay High Control Circuit') within the same system and is often triggered by the same root causes, as noted in TSB PIT5529A.
- C1114 — This code relates to the trailer brake output circuit and is often triggered by the same root causes, as noted in TSBs PIT5529A and PIT4595J.
- C111B — This code is for a related circuit within the same Trailer Brake Control system and is often triggered by the same root causes, as noted in TSB PIT5529A.
- U1556 — This is a communication code (LIN Bus) that can be set when the Trailer Brake Power Module loses power or has a poor connection, which is a primary cause of C1112. It is explicitly mentioned in TSB PIT5529A.
- U1505 — This is a communication code that can be set when the Trailer Brake Power Module loses power or has a poor connection, which is a primary cause of C1112. It is also mentioned in TSB PIT5529A.
Technical Service Bulletins (TSBs) & Recalls
- PIT5529A: Service Trailer Brake Message With DTC's C1112 C1113 C1114 C111B U1556 and/or U1505.
- PIT5521A: Diagnostic Tip - Service Trailer Brake Message with DTC C111B C1112 C1113 C1114.
- PIT4595J: Diagnostic Tip for Service Trailer Brake Message with DTC C1112 and C1114.
Platform-Specific Known Issues
- TSB PIT5529A: This bulletin, which supersedes PIT5521A, explicitly identifies low battery voltage and water intrusion into the Trailer Brake Power Module connector (from missing cavity plugs) as the primary causes for C1112 and related codes.
- TSB PIT5521A: This earlier bulletin specifically advises technicians to verify the battery's state of health with a professional tester before performing any other diagnostics for a 'Service Trailer Brake' message.
- TSB PIT4595J: While focused on slightly older models, this TSB provides valuable diagnostic insight, warning that modules are often replaced needlessly and guiding technicians to check the G401 ground and monitor the 'TBCM Relay Feedback Signal' on a scan tool.
Mechanic-Grade Diagnostic Values
- TBCM Relay Feedback Signal (Scan Tool PID) — expected: 3.2 - 4.1 Volts. Failure: A reading lower than 3.2V suggests a short to ground or an open circuit. A reading higher than 4.1V suggests a short to voltage.
- Ground Circuit Resistance at TBCM Relay Connector (Terminal B to Chassis Ground) — expected: < 5.0 Ohms. Failure: A reading higher than 5.0 Ohms indicates high resistance or an open in the ground circuit (G401).
- System Operating Voltage — expected: 9.5 - 17 Volts. Failure: The module will set a fault if the system voltage drops below 9.5V, often during engine cranking.
Hidden / Shadow Codes Worth Checking
- C1112 00: This is the code with a specific symptom byte. '00' specifies the fault as 'Trailer Brake Control Relay Low Control Circuit'. (see via A professional scan tool like a GM GDS2 or Tech 2 is required to view symptom bytes.)
Scan Tool Commands That Help
- GDS2 / Tech 2: Command Trailer Brake Relay ON/OFF — This is a bidirectional control used to manually activate the trailer brake relay. It helps a technician confirm if the relay itself is functional and if the control circuit from the module is working, without needing to physically access the components.
Wiring & Ground Locations
- K133 — The Trailer Brake Power Module, mounted on the driver's side frame rail, directly above the spare tire.. This is the control module for the system. Its connector is the most common point of failure due to corrosion from road spray.
- G401 — The main chassis ground for the trailer brake system, located on the driver's side rear frame rail.. Corrosion or a loose connection at this point will cause high resistance in the module's ground circuit, leading to various electrical faults including C1112.
- Circuit 47 — A Dark Blue wire that runs from the Trailer Brake Power Module (K133) to the 7-pin trailer connector at the bumper.. This is the trailer brake control output wire. The module constantly monitors the voltage on this wire with a test pulse, and a short or open on this specific circuit is a direct cause for C1112 and related codes.
- X411 — A large inline connector for the rear chassis harness, located on the driver's side frame rail, often between the fuel tank and the rear axle.. This connector is a potential point of failure for Circuit 47 and other rear-body wiring. Corrosion can develop inside this connector, causing intermittent issues.
Real Owner Repair Stories
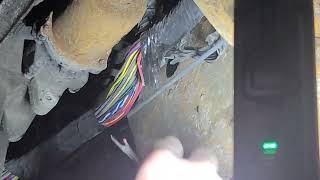
- YouTube channel 'Phillip Bailey' (2008 GM 2500HD (similar K2XX platform architecture)) — "Service Trailer Brake System" message with codes C1112, C1114, C1115.
❌ Tried (didn't work) Replacing the Trailer Brake Control Module (TBCM), Replacing the trailer brake relay, Load testing power and ground wires to the module
✅ What actually fixed it Discovered two wires in the pigtail connector for the trailer brake *relay* had been crossed during a previous repair splice. Correcting the crossed wires resolved the codes.
OEM Part Supersession History
23104453, 23114650, 23337305→85073617— GM regularly updates service parts to integrate new materials or technologies and consolidate part numbers.
Heads up: A new or used module is NOT plug-and-play. It must be programmed to the vehicle's VIN using GM's Service Programming System (SPS) via a tool like Techline Connect. Failure to program the module will result in it not communicating with the vehicle, and the fault will persist.
Helpful Videos
Used OEM Parts in Stock


New Aftermarket Parts Available


The information in this article is provided for general reference and educational purposes only. Vehicle specifications, procedures, and part compatibility can vary by production date, trim level, and region. Always consult your vehicle's factory service manual and verify part numbers before purchasing or performing repairs. Safety-critical components such as airbags, seat belts, and braking systems should be installed by a qualified professional.
- Chevrolet SUBURBAN:
- 🎬 Helpful Videos
- 🛍️ Shop This Part
- What's Unique About the 2017-2018 Chevrolet SUBURBAN
- Diagnostic Flowchart
- Symptoms You May Notice
- Most Likely Causes
- Rare But Worth Checking
- Diagnosis Steps
- Parts You'll Likely Need
- Related Codes That Often Appear With This One
- Technical Service Bulletins (TSBs) & Recalls
- Platform-Specific Known Issues
- Mechanic-Grade Diagnostic Values
- Hidden / Shadow Codes Worth Checking
- Scan Tool Commands That Help
- Wiring & Ground Locations
- Real Owner Repair Stories
- OEM Part Supersession History
- 🎟️ Get 5% Off