

C0696 on 2009-2014 Chevrolet Tahoe: Service Suspension System Causes and Fixes
On a 2009-2014 Tahoe, C0696 almost always means the wiring to the air suspension compressor is damaged or the compressor itself has failed. Inspect the wiring harness near the compressor for chafing before buying any parts. A wiring repair is cheap, while a new compressor assembly costs $250-$600.
- C0696 on a 2009-2014 Tahoe points to an electrical fault in the rear air suspension system.
- Before replacing any parts, you MUST inspect the wiring harness at the air compressor for damage where it can rub against the frame; this is the most common cause and is documented in a TSB.
- If the wiring is good, the next most likely culprit is the air compressor assembly itself.
- Leaking rear air shocks are a frequent root cause of compressor failure, so inspect them for leaks to prevent repeat failures of a new compressor.
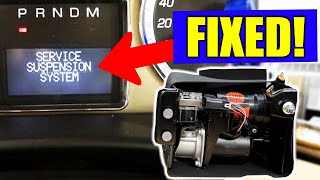
What's Unique About the 2009-2014 Chevrolet TAHOE 🎬 Watch: A mechanic's guide to diagnosing the Service Suspension System error.

The GMT900 platform, which includes the 2009-2014 Tahoe, is well-known for this specific issue. The wiring harness for the air suspension compressor is routed in a way that makes it highly susceptible to being pinched or chafed against the vehicle's frame. This design flaw is so common that General Motors issued a Technical Service Bulletin (TSB #PIT4954D) advising technicians to inspect and repair this wiring before considering replacing the entire compressor assembly. The TSB explicitly notes the wiring can be "pinched between the compressor assembly and frame."
Diagnostic Flowchart

Tap your situation to follow the diagnostic path that matches what you're seeing on this vehicle.
Symptoms You May Notice
- "Service Suspension System" message on the Driver Information Center (DIC).
- Incorrect rear ride height (vehicle sags in the rear).
- Bouncy or harsh ride quality.
- Air compressor does not run at startup or runs continuously.
- A speed limitation of around 83-88 mph may be imposed by the vehicle's computer as a safety measure when a suspension fault is detected.
- Replacing the entire air compressor assembly when only the wiring harness was damaged. TSB #PIT4954D specifically warns against this, as the most common cause is a simple wiring short.
Most Likely Causes

- Damaged Wiring to Air Compressor Assembly 🔴 High Probability The wiring harness is frequently pinched or chafes against the frame near the compressor, a known issue documented in TSB #PIT4954D. The most common failure point is where the harness passes over the top of the compressor mounting bracket, leading to a short-to-ground in the 5-volt reference wire.
How to confirm: Visually inspect the wiring harness leading to the air compressor, located on the driver's side frame rail behind the rear wheel. The TSB notes you may need to remove the compressor to see if wires are pinched between it and the frame. Look for chafed insulation, breaks, or green corrosion. Forum users often mention a white wire as the specific culprit.
Typical fix: Repair the damaged section of wire with solder and heat shrink or a quality weatherproof butt connector. Reroute the harness and protect it with anti-abrasion tape or loom to prevent it from rubbing against the frame again.
Est. part cost: $5-$25 - Failed Air Suspension Compressor Assembly 🟡 Medium Probability Leaking rear air shocks cause the compressor to run excessively, leading to premature burnout. The integrated pressure sensor can also fail internally, sometimes due to moisture intrusion, which can also trigger C0696.
How to confirm: If the wiring and relay are confirmed to be good, but the compressor doesn't run or fails to build pressure, the assembly itself has likely failed. A scan tool can be used to command the compressor on for testing. If power and ground are present at the connector but the compressor is inoperative, it has failed.
Typical fix: Replace the entire air compressor and dryer assembly. It is highly recommended to also replace the compressor relay at the same time. Popular aftermarket brands include Dorman and Arnott.
Est. part cost: $250-$600 - Leaking Rear Air Shocks/Springs 🟡 Medium Probability The rubber air bladders on the shocks are a wear item that degrades over time, developing cracks and leaks. This is a primary root cause of compressor failure due to overwork.
How to confirm: With the system aired up, spray the air shocks and lines with soapy water. Bubbles will form at the site of any leaks. You may also hear a hissing sound or notice the rear of the vehicle sagging after being parked for a few hours.
Typical fix: Replace the rear air shocks, typically in pairs. If converting to non-air shocks, a resistor kit or ECU reprogramming is often needed to prevent the 'Service Suspension' message and associated speed limiter.
Est. part cost: $200-$500
Rare But Worth Checking
- Faulty Air Compressor Relay: A simple and inexpensive part to check. The relay can fail, preventing power from reaching the compressor even if the wiring is good. It's located in the underhood fuse block. Swapping it with a known good relay (like the horn relay) is a quick test.
- Failed Electronic Suspension Control (ESC) Module: While uncommon, the control module itself can fail, sometimes shorting the 5-volt reference line internally. This should only be considered after all wiring, sensor, and compressor issues have been ruled out. The module is typically located above the spare tire.
- Blown Fuse: Check the fuse for the air suspension system (often labeled ECAS, ESC, or ALC) in the underhood fuse block. For 2007+ models, this is often fuse #2 and #54.
Diagnosis Steps
- Scan the Electronic Suspension Control (ESC) module for codes. Confirm C0696 is present, and note any other codes like C0711 or C0660.
- Check the fuse for the air suspension system (often labeled ECAS, ESC, or ALC) in the underhood fuse block.
- Swap the air compressor relay with a known good relay of the same type to rule out a faulty relay.
- Raise and safely support the vehicle on jack stands. Locate the air compressor on the driver's side frame rail, behind the rear wheel.
- Thoroughly inspect the wiring harness connected to the compressor for any signs of chafing, pinching, corrosion, or breaks, especially where it passes over the frame and compressor bracket. This is the most critical step.
- If wiring damage is found, repair it using weatherproof connectors, clear the codes, and test the system.
- If wiring appears intact, unbolt and move the compressor to check for wires pinched between the compressor and the frame, as recommended by TSB PIT4954D.
- If wiring is confirmed good, disconnect the harness and test the 5-volt reference circuit at the connector using a multimeter. It should read between 4.75 and 5.25 volts.
- If the reference voltage is incorrect, the issue lies in the wiring back to the ESC module or the module itself. If the voltage is correct at the harness but the code persists, the problem is likely the pressure sensor within the compressor assembly.
- Inspect the rear air shocks for leaks using soapy water.
Parts You'll Likely Need
- Air Suspension Compressor Assembly
(OEM #19299545)— This is the most common part to replace if the wiring is confirmed to be good. The assembly includes the motor, dryer, and the integrated pressure sensor that triggers the C0696 code. Aftermarket versions often include thermal protection to prevent burnout.
Trusted brands: ACDelco, Arnott, Dorman (P/N: 949-000, 949-001)
OEM price range: $400-$600
Aftermarket price range: $250-$450 - Air Compressor Wiring Pigtail
(OEM #ACDelco PT1231)— If the wiring is corroded or damaged right at the connector, replacing the pigtail is the correct and most durable repair.
Trusted brands: ACDelco, Dorman
OEM price range: $30-$60
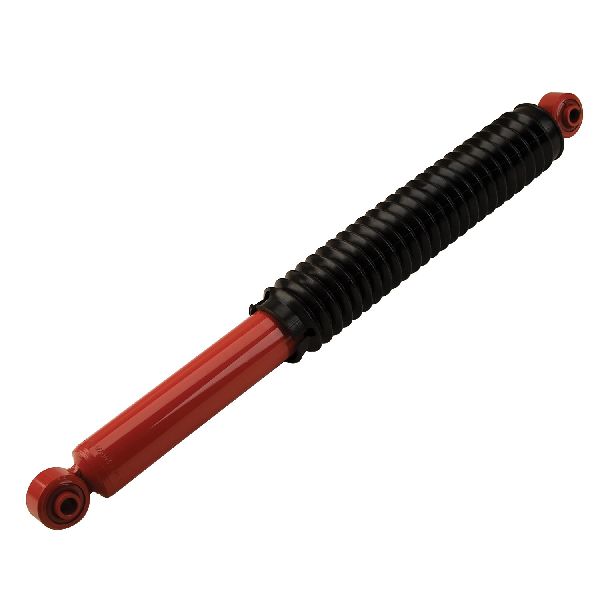
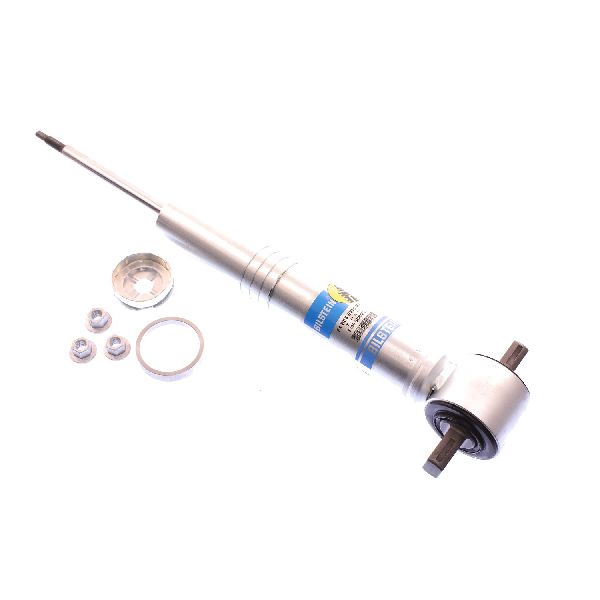
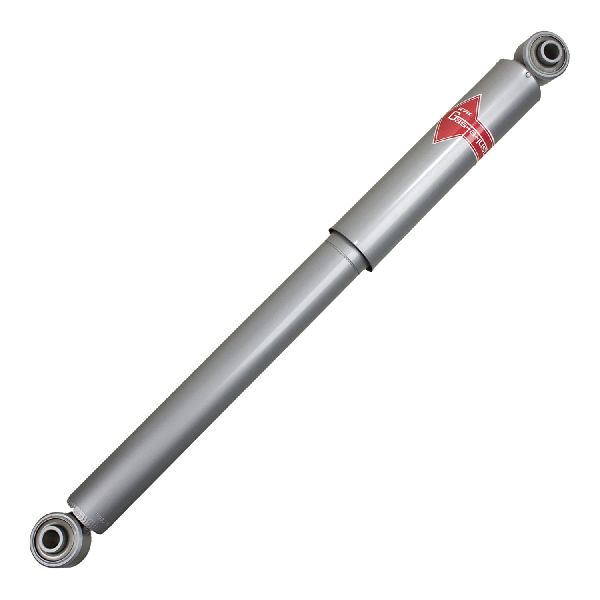
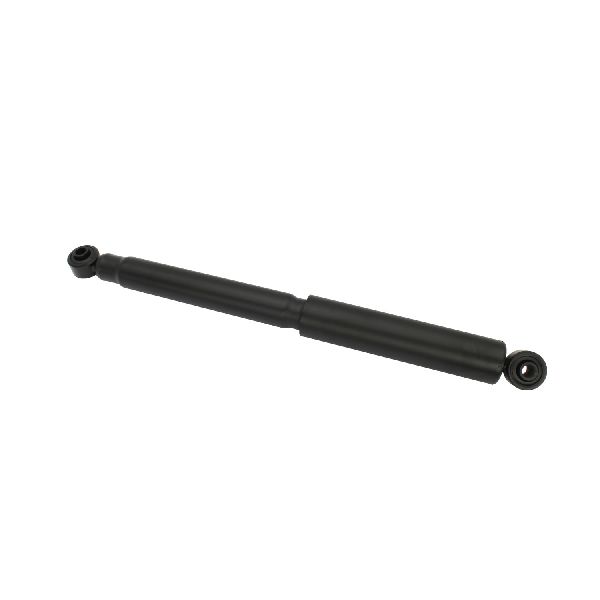
Aftermarket price range: $20-$40 - Rear Air Shock Absorber
(OEM #25979394)— Leaking air shocks are the primary cause of compressor failure due to over-cycling. They are a common wear item and should be inspected whenever compressor issues arise.
Trusted brands: ACDelco, Arnott, Monroe
OEM price range: $350-$500 (per pair)
Aftermarket price range: $200-$400 (per pair)
Related Codes That Often Appear With This One
- C0711 — This code also relates to the Automatic Level Control system. TSB #PIT4954D lists both C0696 and C0711 as codes that can be set by the same wiring fault or faulty pressure sensor.
- C0660 — This code points to a fault in the level control exhaust valve circuit, which is part of the compressor assembly. A failure within the compressor or its wiring can trigger both codes.
Technical Service Bulletins (TSBs) & Recalls

- PIT4954D: Addresses DTCs C0696 or C0711, noting the cause is often wiring to t
Platform-Specific Known Issues
- A GM Technical Service Bulletin (PIT4954D) directly addresses code C0696, identifying the primary cause as a short-to-ground in the wiring for the automatic level control pressure sensor.
- The bulletin explicitly states the wiring is often 'pinched between the compressor assembly and frame' and advises technicians to 'Repair any damaged or shorted circuits' rather than replacing the entire compressor for this fault.
- Owners on forums frequently confirm this wiring issue. One user on TahoeYukonForum noted after clearing the C0696 code, it would "come right back," which is characteristic of a hard short in the wiring.
Mechanic-Grade Diagnostic Values
- 5-Volt Reference Circuit Voltage — expected: 4.75V - 5.25V. Failure: Voltage below 4.75V or above 5.25V indicates a short or open in the circuit. A reading near 0V often points to a short-to-ground.
- Compressor Relay Bypass Test — expected: The compressor motor should run when power is applied directly.. Failure: If the compressor does not run, the motor has failed.
Hidden / Shadow Codes Worth Checking
- C0696-00: The '-00' is a symptom byte indicating 'No Sub Type Information'. This means the main code description is sufficient and there are no more specific details provided by the module. Its presence confirms the fault is active. (see via A professional scan tool like the GM GDS2 or Tech2 that can read manufacturer-specific chassis codes and their symptom bytes.)
Scan Tool Commands That Help
- GM GDS2/Tech2: Electronic Suspension Control Data Display — To view live data from the suspension sensors, such as the left and right rear position sensor voltages, to see if they are providing rational readings.
- GM GDS2/Tech2: Air Suspension Compressor Relay Command — To command the air compressor on and off directly from the scan tool. This bypasses the normal logic and is used to test the functionality of the relay, wiring, and compressor motor after initial checks.
- GM GDS2/Tech2: Suspension Leveling — After a repair, this function can be used to command the system to raise or lower, verifying that the compressor, exhaust valve, and sensors are all working together correctly.
Wiring & Ground Locations
- X317 — The main 8-pin electrical connector at the air suspension compressor assembly on the driver's side frame rail.. This is the primary connector where the 5V reference circuit (typically Pin F, a Gray wire) should be tested. Damage is common at or near this connector.
- G400 / G401 — Located at the left rear body mount, behind the left rear tire on the frame.. These are the primary chassis ground points for components at the rear of the vehicle, including the Electronic Suspension Control Module (ESCM). A poor connection here can cause erratic behavior in the suspension system.
- G305 — Under the vehicle, to the rear of the left B-pillar at the third body mount on the frame.. This is another critical frame ground point in the vicinity of the air compressor and ESC module that can affect system operation if corroded or loose.
- ESC Module Location — Mounted on the frame crossmember, generally above the spare tire.. This is the module that sets code C0696. Technicians need to access its connectors to perform final diagnostic tests, such as checking for 5V output directly from the module if the wiring harness checks out.
Real Owner Repair Stories
- tahoeyukonforum.com user reports (Multiple 2009-2013 Yukon Denali, Tahoe, and Escalade models) — Service Suspension System message, rear of vehicle sagging, C0696 code returns immediately after clearing.
❌ Tried (didn't work) Replacing ALC/RTD fuses., Clearing the code without finding the root cause.
✅ What actually fixed it The majority of owners fixed the issue by unbolting the air compressor from the driver's side frame rail, which exposed the top of the wiring harness. They found several wires (commonly purple and black, or the gray 5V reference wire) chafed through where they were pinched against the frame. Repairing these wires with butt connectors or solder/heat shrink and protecting the harness resolved the code permanently. - Chevrolet Forum user (2007 Chevrolet Tahoe LTZ) — 'Service Suspension System' message, compressor would not turn on, scan tool could not communicate with the Electronic Suspension Control (ESC) module.
❌ Tried (didn't work) Replacing all four shocks (front struts, rear air shocks)., Replacing the air compressor assembly., Using two different professional scan tools which failed to establish communication.
✅ What actually fixed it The ESC module itself, located above the spare tire, had failed due to corrosion from road salt. Unplugging the module allowed the rest of the vehicle's CAN bus network to function. The final fix was replacing the faulty ESC module.
OEM Part Supersession History
10395825, 15056494, 15070878, 15101577, 15254590, 22189134→19299545— Standard part evolution, design updates, and consolidation of previous part numbers into a single service replacement.
Heads up: The primary variation across the broader GMT900 generation is the main electrical connector style. Early models (pre-2007) sometimes used a round connector, while 2007-2014 models typically use a square connector. Aftermarket parts like the Dorman 949-001 are specifically for the 2007-2014 range with the square connector.
Model Year Variations Within This Range
- 2009-2014: While the fundamental issue of wiring chafe remains consistent, the aftermarket compressor assemblies (e.g., Dorman 949-001) are specifically designed for the 2007-2014 model years, indicating a consistent part design during this period. This differs from earlier GMT800 (pre-2007) models which may have different connectors.
Helpful Videos
Used OEM Parts in Stock


New Aftermarket Parts Available


The information in this article is provided for general reference and educational purposes only. Vehicle specifications, procedures, and part compatibility can vary by production date, trim level, and region. Always consult your vehicle's factory service manual and verify part numbers before purchasing or performing repairs. Safety-critical components such as airbags, seat belts, and braking systems should be installed by a qualified professional.
- Chevrolet TAHOE:
- 🎬 Helpful Videos
- 🛍️ Shop This Part
- What's Unique About the 2009-2014 Chevrolet TAHOE
- Diagnostic Flowchart
- Symptoms You May Notice
- Most Likely Causes
- Rare But Worth Checking
- Diagnosis Steps
- Parts You'll Likely Need
- Related Codes That Often Appear With This One
- Technical Service Bulletins (TSBs) & Recalls
- Platform-Specific Known Issues
- Mechanic-Grade Diagnostic Values
- Hidden / Shadow Codes Worth Checking
- Scan Tool Commands That Help
- Wiring & Ground Locations
- Real Owner Repair Stories
- OEM Part Supersession History
- Model Year Variations Within This Range
- 🎟️ Get 5% Off