

B2625 on 2013-2018 Cadillac ATS: Interior Dimming Fault and BCM Reset Guide
On a 2013-2018 Cadillac ATS, code B2625 indicates a short in the interior lighting dimming circuit. After fixing the short, you will likely need to perform a hard reset by disconnecting the battery for 30 seconds to clear the code. Do not replace the Body Control Module (BCM) for this issue.
- B2625 points to a short in the circuit for your interior dimmer lights.
- The most common challenge with this code is not the initial repair, but clearing the code afterward.
- DO NOT replace the Body Control Module (BCM) unless all other possibilities have been exhausted. It is rarely the cause.
- The correct procedure to clear a 'stuck' B2625 code is to first fix the underlying short (often the driver's window switch), then disconnect the car's negative battery cable for at least 30 seconds.
What's Unique About the 2013-2018 Cadillac ATS
The most unique aspect of this code on GM platforms like the Cadillac ATS is a specific software behavior in the Body Control Module (BCM). After the underlying short circuit is repaired, the BCM often 'latches' the fault and will not allow the B2625 code to be cleared with a standard scan tool. This leads many to mistakenly believe the BCM itself is faulty, when in reality it simply needs a hard reset by disconnecting the battery to restore function to the repaired circuit. This protective latching behavior is explicitly documented for the ATS in GM TSB PIC5733C.
Diagnostic Flowchart
Tap your situation to follow the diagnostic path that matches what you're seeing on this vehicle.
Symptoms You May Notice
- Interior backlighting for switches and displays will not illuminate.
- Inability to adjust the brightness of interior lights.
- A flickering 'Lock' indicator light on the driver's door panel.
- Code B2625-02 is present and cannot be cleared with a scan tool, even after a repair.
- A faulty Body Control Module (BCM). GM explicitly warns against this in TSB PIC5733C, stating 'Do not replace the BCM for this concern' as the issue is almost always the BCM's protective latch or an external short on the circuit.
Most Likely Causes
- BCM Logic Latch After a Repair 🔴 High Probability The BCM is programmed to disable the driver circuit to prevent damage when a short is detected. It does not automatically re-enable the circuit once the short is gone, a behavior documented in multiple GM TSBs.
How to confirm: A repair has been made (e.g., a wire fixed or component replaced), but code B2625 remains as a 'Current' DTC and cannot be cleared with a scan tool.
Typical fix: Perform a hard reset of the BCM by disconnecting the negative battery terminal for at least 30 seconds, then reconnecting it. The code should then move to 'History' and can be cleared.
Est. part cost: $0 - Shorted Driver's Side Master Window Switch 🟡 Medium Probability The driver's door switch assembly contains multiple LED backlights for window and lock functions. An internal failure or short circuit within this single component is a very common cause that will bring down the entire dimming circuit.
How to confirm: Disconnect the main electrical connector from the driver's side master window switch. If the short (as measured with a multimeter on the vehicle harness) disappears, that switch is the cause. Reconnecting it should cause the short to return.
Typical fix: Replace the faulty driver's side master window switch assembly. The OEM part number is 20945129 (ACDelco D1954F).
Est. part cost: $70-$180 - Damaged Wiring Harness ⚪ Low Probability
How to confirm: With all components on the circuit disconnected (especially the driver's window switch), test the indicator dimming control circuit wire (often a grey wire on GM vehicles) for a short to ground using a multimeter. If a short is still present, the harness is damaged.
Typical fix: Locate the section of the harness that is chafed or pinched (common areas are in the door jamb boot or under seats) and repair the affected wire.
Est. part cost: $5-$25 for repair materials
Rare But Worth Checking
- Blown 'TBC 2A' Fuse:
Diagnosis Steps
- Scan the BCM for codes. Confirm that B2625 with symptom code 02 is present as a 'Current' or 'Active' DTC.
- Attempt to clear the DTC with a scan tool. If it will not clear and the 'Lock' indicator is flickering, a hard reset will be required *after* the physical short is fixed. Proceed to the next step to find the short.
- Begin diagnosis by checking fuses. Locate the interior fuse panel(s) and check the fuse for the Body Control Module, often labeled 'TBC 2A' on other GM vehicles. If it's blown, the short is confirmed to be on a circuit powered by it.
- Turn the ignition off. Disconnect the main electrical harness from the Driver's Side Master Window Switch, as this is the most common failure point.
- Using a multimeter set to resistance (Ohms), test the indicator dimming control circuit wire in the harness for a short to ground. If the short is gone, the window switch is the faulty part. Replace it.
- If the short persists with the window switch disconnected, continue disconnecting other components on the interior lighting dimming circuit one by one (e.g., passenger door switch, center stack controls) until the short disappears. The last component disconnected is the faulty part.
- If the short remains with all components disconnected, inspect the wiring harness for damage, paying close attention to door jambs and under seats. Repair any found issues.
- Once the physical short has been repaired (component replaced or wire fixed), turn the ignition OFF.
- Disconnect the negative battery terminal. Wait for at least 30 seconds.
- Reconnect the negative battery terminal.
- Turn the ignition ON. Use a scan tool to verify the code has moved to 'History' status, then clear all DTCs.
- Verify the repair by turning on the park lamps and operating the dimmer switch to confirm interior lights now function correctly.
Parts You'll Likely Need
- Driver's Side Master Power Window Switch
(OEM #20945129)— This is the most common failure point. The integrated LED backlighting for the window and lock switches can short internally, bringing down the entire dimming circuit.
Trusted brands: ACDelco (GM Genuine Part D1954F)
OEM price range: $70-$180
Aftermarket price range: $40-$100 - Mini Fuse (e.g., 2A) — In cases where the short is severe, it may blow the BCM/TBC fuse. This is a symptom, not the cause, but will need to be replaced after the short is fixed.
Trusted brands: Bussmann, Littlefuse
OEM price range: $1-$5
Aftermarket price range: $0.50
Technical Service Bulletins (TSBs) & Recalls
- PIC5733C: Lock Indicator Flickers and Unable To Clear DTC B2625 After Repairs are Completed.
- 14-08-117-001: Unable to Clear BCM DTCs After Completing Repair. This bulletin covers a range of BCM codes, including B2625, that exhibit the latching behavior.
- PIC3385E: A TSB for other GM models (Cobalt, G6) that describes the same B2625-02 fault caused by a shorted dimmer circuit and explicitly warns against replacing the BCM.
Platform-Specific Known Issues
- While the BCM's general strategy of shutting down a shorted circuit is common across many GM vehicles, the BCM on the ATS is known to 'latch' this specific B2625 fault. This prevents the code from being cleared by a scan tool until a hard power reset (battery disconnection) is performed, a procedure officially documented in GM Preliminary Information Bulletin PIC5733C.
Mechanic-Grade Diagnostic Values
- Indicator Dimming Control Circuit Voltage — expected: The circuit is controlled by Pulse Width Modulation (PWM). A multimeter set to DC voltage should show a reading that varies as the dimmer switch is adjusted, typically between 0V and 5V or 0V and 12V. A graphing multimeter or oscilloscope is the best tool to visualize the square wave signal.. Failure: A constant 0V reading when the lights should be on, or a constant reading that does not change with the dimmer switch, indicates a problem. A reading of 0 ohms to ground on this wire indicates a short.
Scan Tool Commands That Help
- GDS2 (GM Diagnostic Software): BCM Output Control - 'LED Backlight Dimming Control' — After confirming the B2625 code is present, a technician can use this bidirectional command to directly turn the interior dimming circuit on and off. This bypasses the dimmer switch and input wiring, allowing for a quick verification of whether the BCM, output wiring, and illuminated components are capable of functioning. If the command works, the fault is likely on the input side (dimmer switch); if it fails, the fault is in the output circuit or BCM driver (though the BCM itself is rarely the cause).
Wiring & Ground Locations
- Body Control Module (BCM) — Located behind the glove box.. The BCM is the source of the PWM signal for the dimming circuit ('LED backlight dimg ctrl'). All diagnostic paths for B2625 originate or terminate at the BCM connectors.
- G201 — On the metal body structure in the left kick panel area, near the A-pillar.. This is a major instrument panel ground point. A loose or corroded G201 can cause numerous, difficult-to-diagnose BCM and interior lighting issues. Per GM bulletin 07-08-47-004D, the battery MUST be disconnected before servicing BCM grounds to prevent module damage.
- G302 — On the metal body structure in the right kick panel area.. This is another key ground for body components. A fault here could potentially affect BCM operation or related circuits. The same warning to disconnect the battery before service applies.
- Driver's Window Switch Connectors — Inside the driver's door, connected to the master window switch module (PN 20945129).. To diagnose the most common cause, you must disconnect these. The switch uses two connectors: an 8-way rectangular (mating connector P/N 13587188) and an 8-way square (mating connector P/N 13576542). Knowing the connector types is critical for testing the correct pins on the vehicle harness side for a short to ground.
Real Owner Repair Stories
- YouTube channel 'AutoRex' (GMT900 Platform Truck (e.g., 2007-2014 Silverado/Sierra), which uses the same master window switch (20945129) as the Cadillac ATS.) — Window switches working intermittently or not at all.
❌ Tried (didn't work) Replacing the fuse., Considering immediate replacement of the entire switch assembly.
✅ What actually fixed it The root cause was corrosion on the internal contacts of the switch assembly's circuit board. The fix was to disassemble the switch module, peel back the rubber membrane, and physically scrape the corrosion off the copper contacts on the board and the membrane. This restored function without needing to buy a new part.
OEM Part Supersession History
15873293, 25789692, 25951963→20945129 (ACDelco D1954F)— Standard part consolidation and revision by the manufacturer.
Heads up: When purchasing a replacement Driver's Side Master Window Switch, ensure it is the latest part number (20945129) or a direct cross-reference. Using older, superseded parts from salvage may re-introduce a known failure point.
Model Year Variations Within This Range
- 2013-2014: Early model year ATS vehicles may still have some modules that communicate via the Tech 2 scan tool protocol. However, for diagnosing issues with newer or updated modules like the BCM, the modern GDS2 software is required. A DIYer with an older scan tool may not be able to fully communicate with the BCM.
Used OEM Parts in Stock


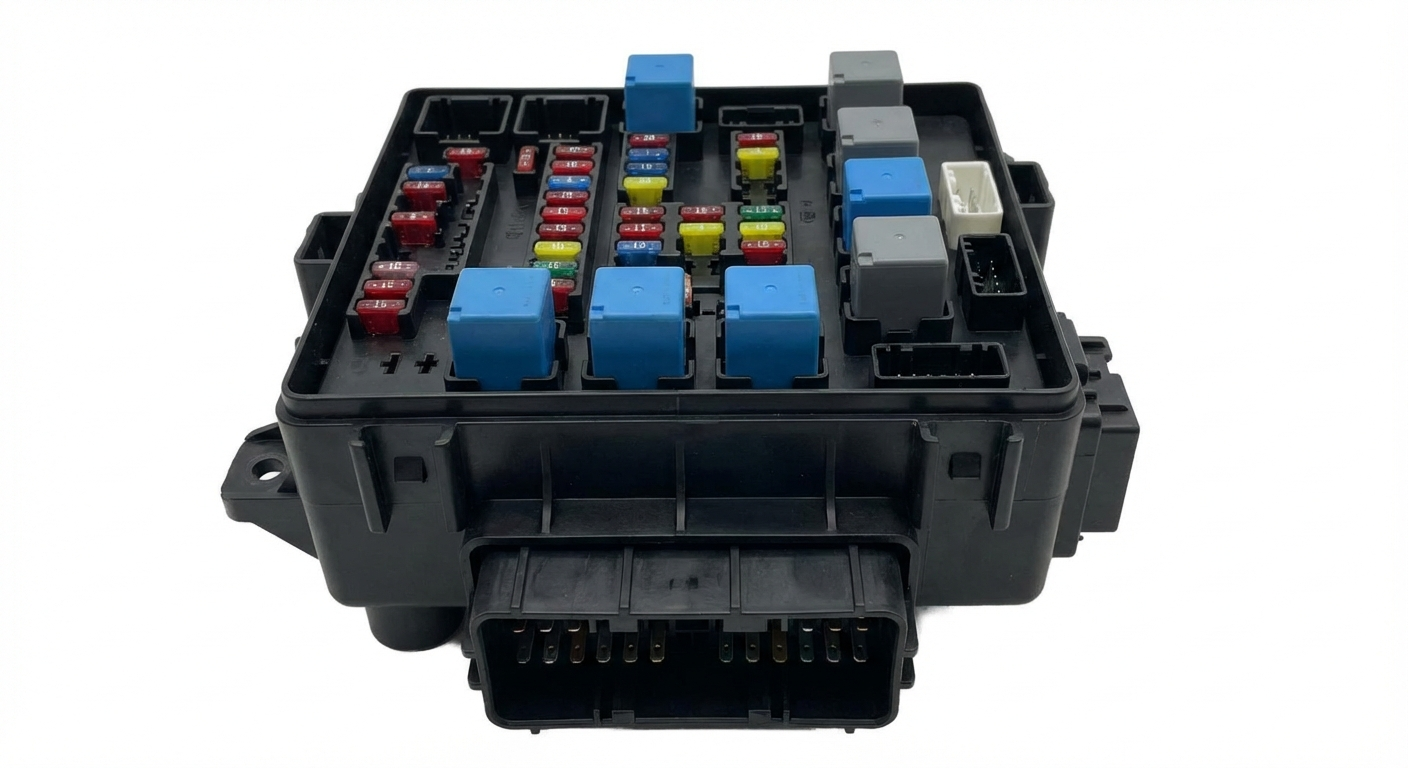
New Aftermarket Parts Available
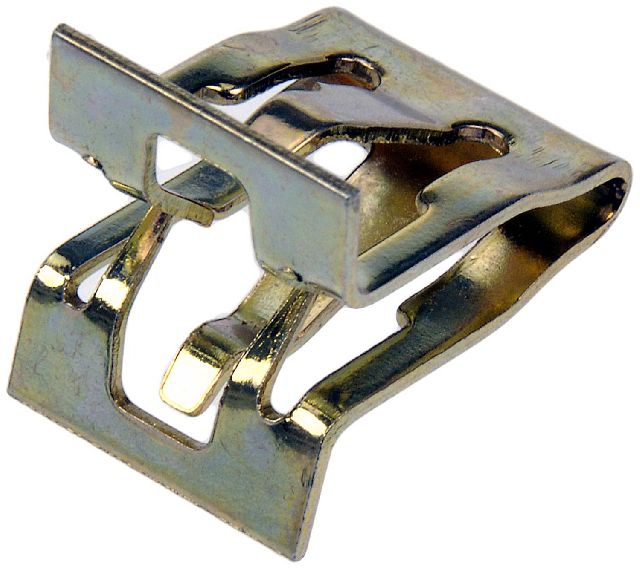
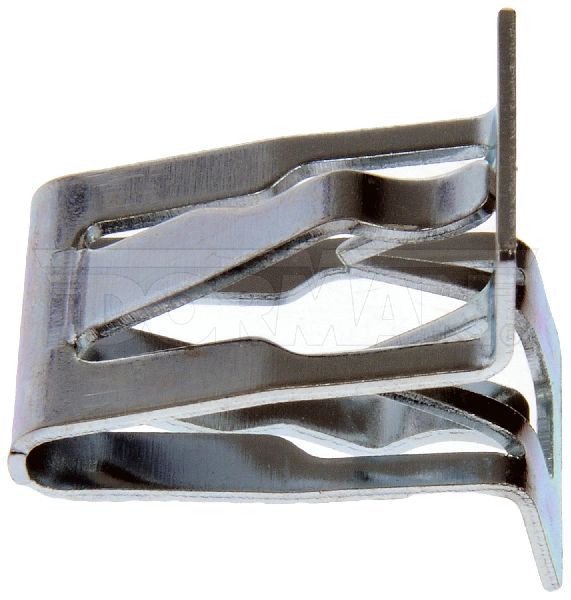

The information in this article is provided for general reference and educational purposes only. Vehicle specifications, procedures, and part compatibility can vary by production date, trim level, and region. Always consult your vehicle's factory service manual and verify part numbers before purchasing or performing repairs. Safety-critical components such as airbags, seat belts, and braking systems should be installed by a qualified professional.
- Cadillac ATS:
- 🛍️ Shop This Part
- What's Unique About the 2013-2018 Cadillac ATS
- Diagnostic Flowchart
- Symptoms You May Notice
- Most Likely Causes
- Rare But Worth Checking
- Diagnosis Steps
- Parts You'll Likely Need
- Technical Service Bulletins (TSBs) & Recalls
- Platform-Specific Known Issues
- Mechanic-Grade Diagnostic Values
- Scan Tool Commands That Help
- Wiring & Ground Locations
- Real Owner Repair Stories
- OEM Part Supersession History
- Model Year Variations Within This Range
- 🎟️ Get 5% Off