

2010-2012 Honda Crosstour Front Knee/Knuckle: Clunks, Noises, and Replacement Guide
This guide explains the common failure points of the 2010-2012 Honda Crosstour front steering knuckle assembly, focusing on noises, known issues, and how to buy a quality used part.
- The most common failures are the wheel bearing (grinding/humming noise) and the lower ball joint (clunking over bumps), not the knuckle itself.
- A known issue (TSB A12-082) exists for a clunking noise from the lower ball joints in hot weather.
- When buying a replacement, a 'loaded' assembly with a pre-pressed bearing and hub is highly recommended to save on labor and avoid the need for a shop press.
- The front axle nut requires a very high torque of 242 ft-lbs, and a wheel alignment is mandatory after the repair.
Symptoms of a Failing Front Knee Assembly

When you hear noises from the front of your Crosstour, it's usually not the knuckle itself that has failed, but a component attached to it. Diagnosing the specific sound is key to identifying the problem.
1. Grinding, Humming, or Growling Noises
A constant grinding, humming, or growling noise that starts around 30-40 MPH and changes pitch or intensity when you turn is a classic sign of a bad wheel bearing. The noise may get louder when turning one direction and quieter when turning the other, which helps pinpoint which side is failing. For example, if the noise gets louder when turning left, the right wheel bearing is likely the culprit as it becomes more loaded. As the bearing wears, you might also feel a vibration in the steering wheel.
2. Clunking or Knocking Over Bumps
A clunking or knocking sound, especially at lower speeds when driving over bumps, driveways, or uneven surfaces, typically points to a worn lower ball joint. This was a known issue on the 2010-2012 Crosstour. Honda issued Technical Service Bulletin (TSB) #A12-082, which notes a front suspension clunk in hot weather over irregular surfaces. The bulletin explains that high temperatures can cause the grease in the original ball joints to redistribute, leading to a 'stick-slip' noise. The fix is to replace the lower ball joints with an updated part.
3. Squealing or Creaking When Turning
A squealing or creaking sound when turning the steering wheel, even when stationary, can also indicate a dry or failing ball joint. This is the sound of metal-on-metal friction as the joint moves without proper lubrication.
4. Steering Wander or Pulling
A feeling of looseness in the steering, or the vehicle pulling to one side, can be caused by a severely worn ball joint or wheel bearing. If the knuckle itself is bent from hitting a curb or a major pothole, it can cause persistent pulling and uneven tire wear that an alignment cannot correct.
Warning: A complete failure of a wheel bearing or ball joint is extremely dangerous. A seized bearing can cause the wheel to lock up, and a separated ball joint can cause the suspension to collapse, leading to a total loss of steering control. Do not ignore these symptoms.
Known Issues, TSBs, and Recalls

While there are no specific recalls for the front steering knuckle on the 2010-2012 Honda Crosstour, there is a key Technical Service Bulletin (TSB) you should be aware of:
- TSB #A12-082 (or SB-12-082): Addresses a clunking noise from the front suspension in hot weather. The cause is identified as the grease in the lower ball joint failing under high ambient temperatures. The official repair is to replace both front lower ball joints with an updated part (P/N 51220-TA0-306). 🎬 Watch this step-by-step video on replacing a Crosstour lower ball joint The TSB also states that if the ball joints have been replaced before, the entire knuckle assembly should be replaced.
The 2010-2012 Crosstour was subject to several recalls, but none directly involve the steering knuckle. Most relate to airbag inflators.
Buying a Used Knee / Steering Knuckle

For the 2010-2015 Crosstour, a used OEM knuckle assembly is often a smart and economical choice, especially since new OEM knuckles come with a high price tag. Here’s what to look for:
1. Identify the Correct Part
First, confirm compatibility. The front knuckles are the same for all 2010-2015 Honda Crosstour models, including both 2.4L and 3.5L engines. However, they are side-specific:
- Right Side (Passenger): 51210-TP6-A00, 51210-TP6-A01
- Left Side (Driver): 51215-TP6-A00
Note that some parts diagrams incorrectly label the sides. Always verify with the seller which side the part is for. The OEM knuckle from Honda typically includes a new lower ball joint pre-installed.
2. Loaded vs. Bare Knuckle
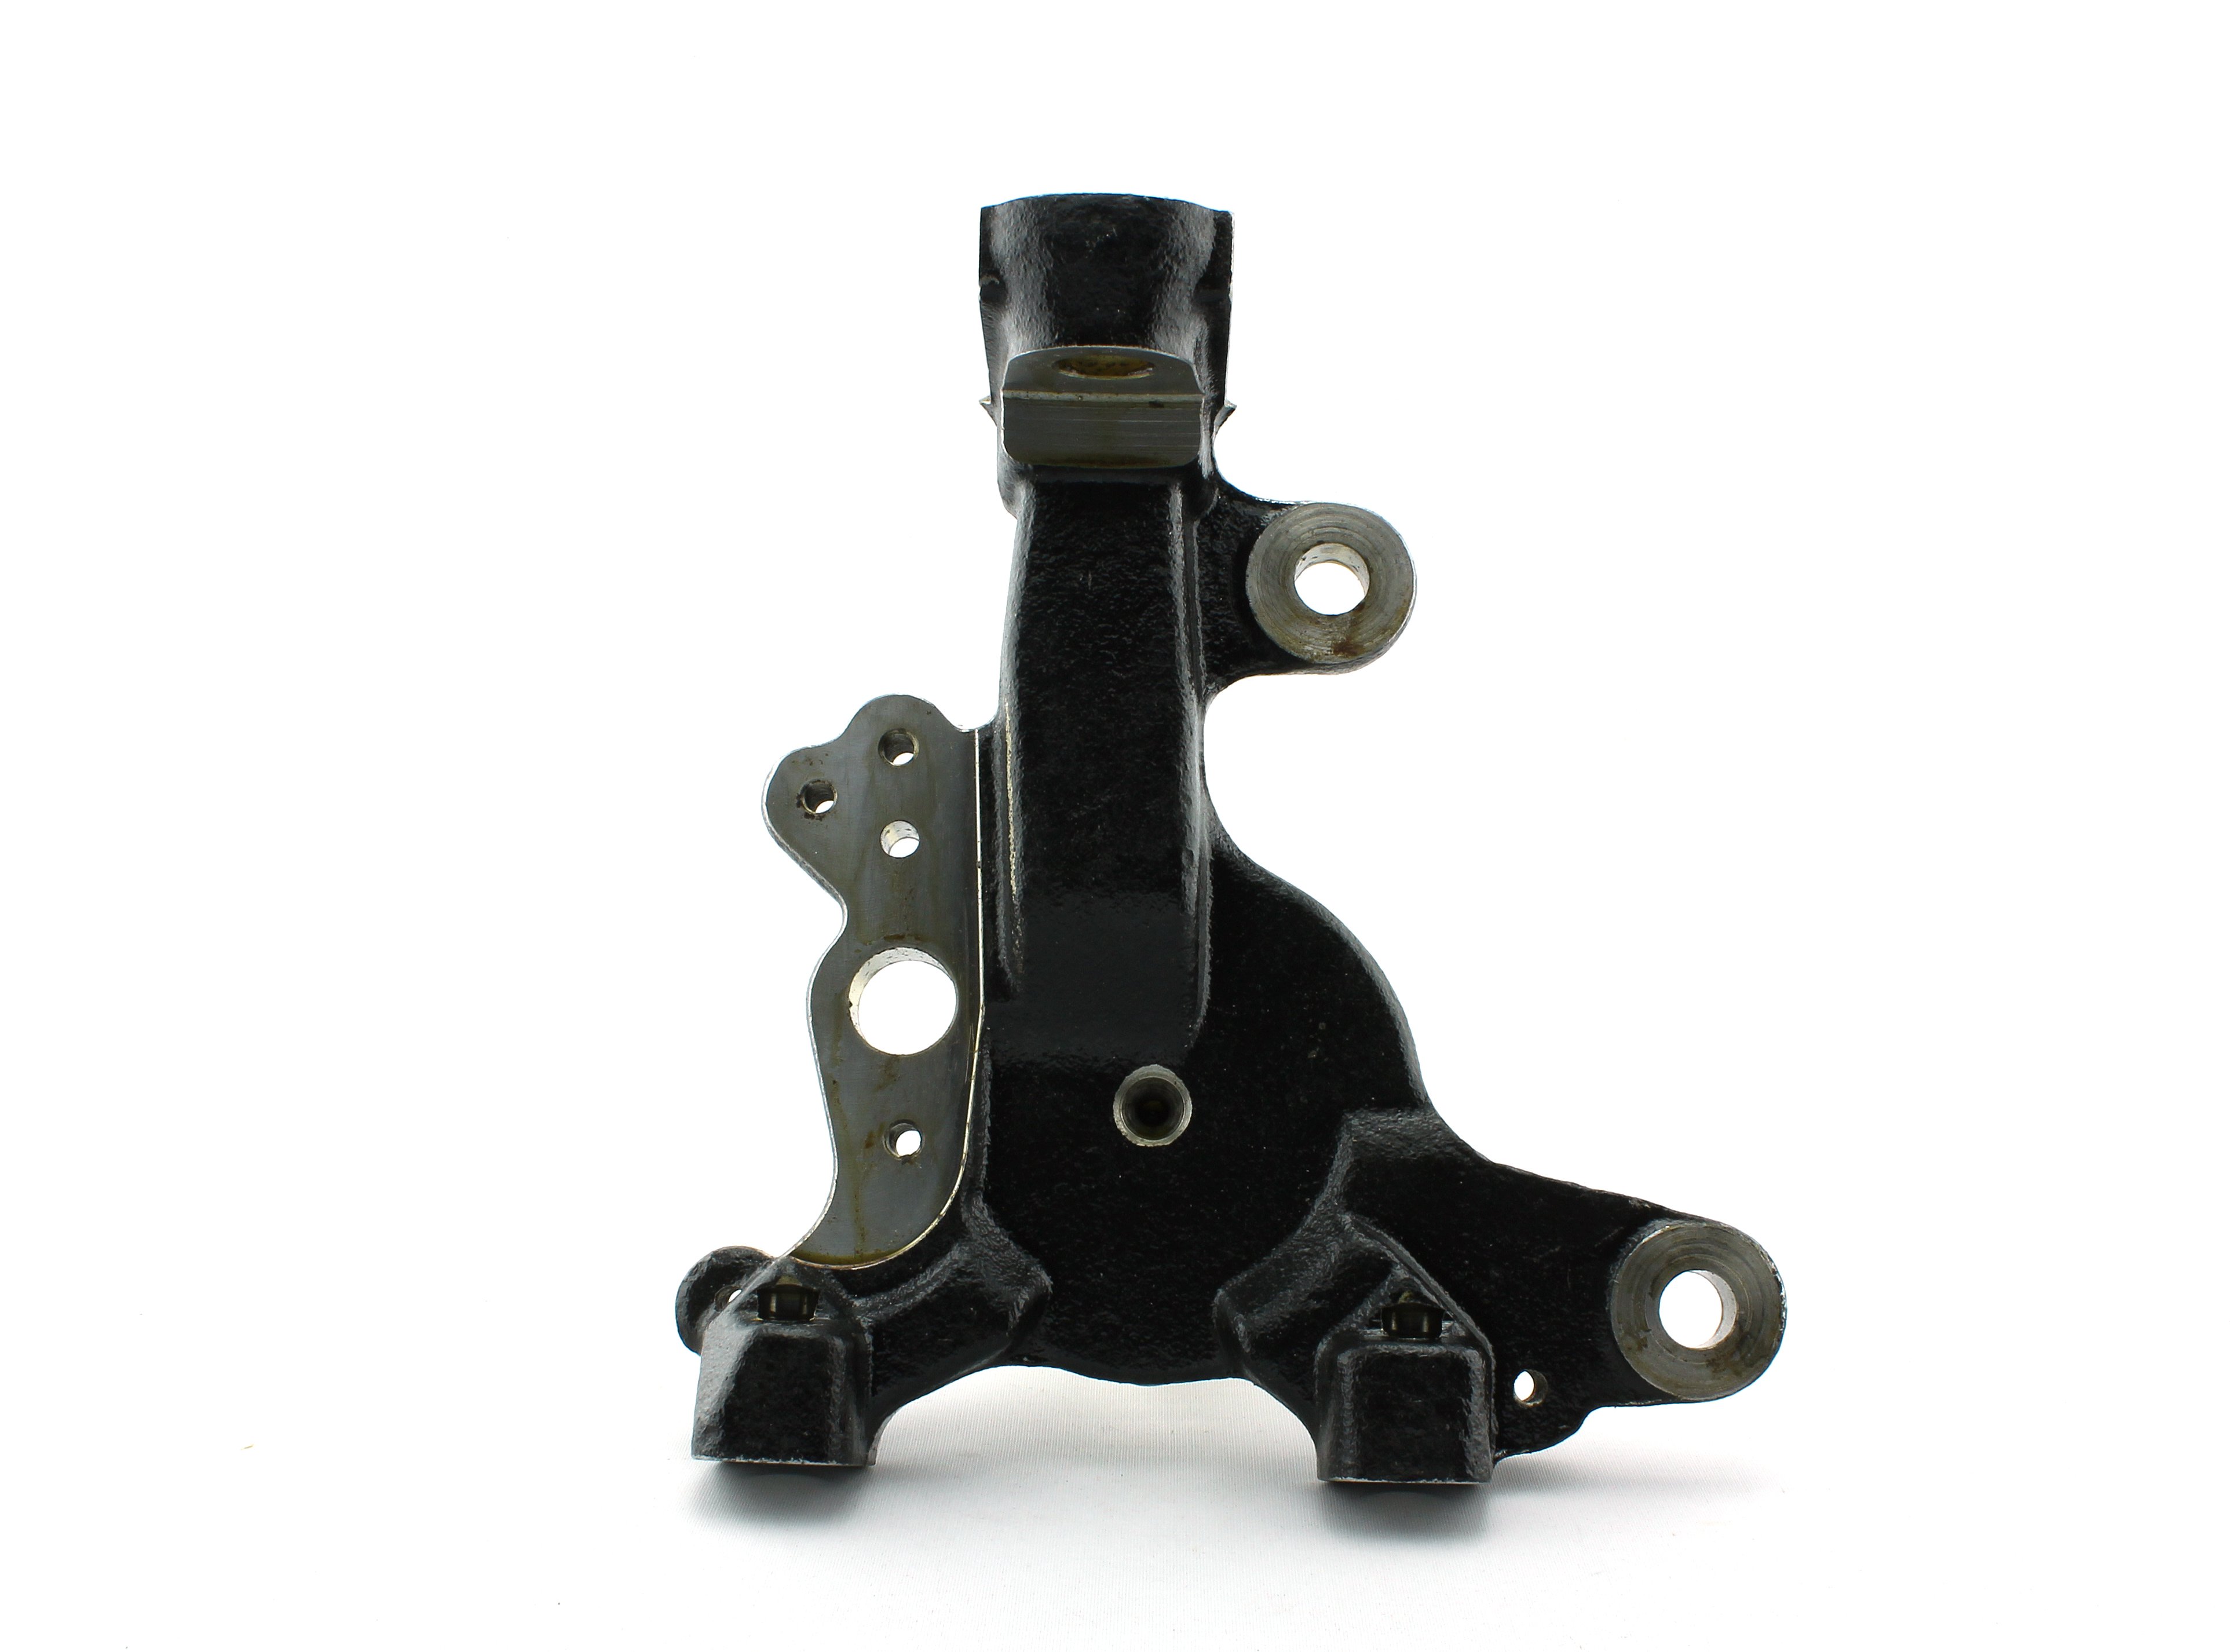
This is the most important consideration. A 'bare' knuckle is just the cast iron part, sometimes with the ball joint. A 'loaded' or 'complete' assembly includes the knuckle, a pre-pressed wheel hub, and a new wheel bearing.
- Buying a Bare Knuckle: This is cheaper upfront, but you will need to have a new wheel bearing and your old hub (or a new one) pressed in by a machine shop. This adds labor cost and time.
- Buying a Loaded Assembly: This is the recommended option for most DIY and professional repairs. It saves significant labor, as you don't need a hydraulic press. It's a direct bolt-on replacement, ensuring the new bearing is installed correctly without risk of damage.
Pro Tip: When buying a used OEM knuckle, ask the seller if it includes the wheel hub and bearing. If it does, consider the mileage of the donor vehicle. If the mileage is high (over 100,000 miles), it's wise to press in a new bearing anyway. If you're buying a used knuckle that's already 'bare', you have the perfect opportunity to install a brand new, high-quality bearing from the start.
3. Physical Inspection
When inspecting a used knuckle, check for:
- No Cracks or Bending: Look for any signs of impact damage, especially around the mounting points for the control arms and tie rod. A bent knuckle will cause alignment issues.
- Clean Mounting Holes: Ensure the threaded holes for the brake caliper bracket are clean and not stripped. Damaged threads may require replacing the entire knuckle.
- Ball Joint Condition: Check the rubber boot on the included ball joint. If it's torn or leaking grease, it will fail soon and should be replaced.
- ABS Sensor: The knuckle has a mounting point for the wheel speed sensor. Make sure this area is not damaged.
Cost of Replacement
Prices can vary significantly based on the type of part and labor rates.
| Part Type | Estimated Cost (Part Only) | Notes |
|---|---|---|
| New OEM (Bare Knuckle w/ Ball Joint) | $360 - $515 | From a Honda dealership. Does not include wheel bearing/hub. |
| New Aftermarket (Loaded Assembly) | $220 - $315 | Includes knuckle, bearing, and hub. Quality can vary. |
| Used OEM (Bare or Loaded) | $50 - $150 | Price depends on whether it includes the hub/bearing. Excellent value. |
| Shop Labor (Knuckle Replacement) | $195 - $286 | This is for one side. An alignment ($80-$150) is required afterward. |
Replacement Overview & Torque Specs

Replacing the steering knuckle is an advanced DIY job that requires heavy-duty tools. If you buy a loaded assembly, you avoid needing a press. A wheel alignment is mandatory after replacement.
Key Steps:
- Raise and support the vehicle, then remove the wheel.
- Remove the brake caliper and rotor. Hang the caliper securely to avoid straining the brake hose.
- Unstake and remove the 36mm axle nut. An impact wrench is highly recommended.
- Disconnect the tie rod end, upper ball joint, and lower ball joint from the knuckle. A ball joint separator (pickle fork) will be necessary.
- Separate the CV axle from the hub. Be careful not to pull the axle out of the transmission. 🎬 See how to safely remove and install the front axle
- Remove the knuckle assembly.
- Installation is the reverse of removal. Use new cotter pins and a new axle nut.
Critical Torque Specifications:
Using a torque wrench is essential for safety and to ensure the longevity of the new parts, especially the wheel bearing.
| Component | Torque Spec | Source |
|---|---|---|
| Axle (Spindle) Nut | 242 ft-lbs (328 Nm) | |
| Lower Ball Joint Castle Nut | 58-65 ft-lbs | |
| Upper Ball Joint Castle Nut | 33-38 ft-lbs | |
| Tie Rod End Castle Nut | 40 ft-lbs (54 Nm) | |
| Brake Caliper Bracket Bolts | 80 ft-lbs | |
| Wheel Lug Nuts | 80 ft-lbs (108 Nm) |
Pro Tip: For castle nuts on the ball joints and tie rod, tighten to the minimum torque spec first. Then, continue tightening only as much as needed to align the slot in the nut with the hole in the stud for the cotter pin. Never loosen a castle nut to align the hole.
Frequently Asked Questions
Do I need to replace both front knuckles at the same time?
No, you only need to replace the side that has failed. However, the TSB for the clunking noise does recommend replacing both lower ball joints at the same time, as they tend to wear at a similar rate.
Is a wheel alignment necessary after replacing a knuckle?
Yes, absolutely. Replacing the steering knuckle will alter the vehicle's camber, caster, and toe settings. Driving without an alignment will cause poor handling and rapid, uneven tire wear.
Can I just replace the wheel bearing instead of the whole knuckle?
Yes, but it requires a hydraulic press to remove the old bearing and press in the new one. This is typically done by a machine shop. For many, buying a 'loaded' knuckle assembly with a pre-installed bearing is faster and easier.
What is the difference between the 2010-2011 'Accord Crosstour' and the 2012-2015 'Crosstour'?
For the purposes of this part, there is no difference. Honda originally marketed the vehicle as the 'Accord Crosstour' for 2010 and 2011 before shortening the name to just 'Crosstour' for the 2012 model year. The front knuckles are interchangeable across all 2010-2015 models.
Helpful Videos
Technical Specifications
OEM Part Numbers: 51210-TP6-A00 51210-TP6-A01 51215-TP6-A00
Fits all 2010-2015 Honda Crosstour models. Axle Nut Size: 36mm. Axle Nut Torque: 242 ft-lbs (328 Nm).
We Have This Part in Stock

The information in this article is provided for general reference and educational purposes only. Vehicle specifications, procedures, and part compatibility can vary by production date, trim level, and region. Always consult your vehicle's factory service manual and verify part numbers before purchasing or performing repairs. Safety-critical components such as airbags, seat belts, and braking systems should be installed by a qualified professional.
- Honda Crosstour:
- 🎬 Helpful Videos
- 🛍️ Shop This Part
- Symptoms of a Failing Front Knee Assembly
- 1. Grinding, Humming, or Growling Noises
- 2. Clunking or Knocking Over Bumps
- 3. Squealing or Creaking When Turning
- 4. Steering Wander or Pulling
- Known Issues, TSBs, and Recalls
- Buying a Used Knee / Steering Knuckle
- 1. Identify the Correct Part
- 2. Loaded vs. Bare Knuckle
- 3. Physical Inspection
- Cost of Replacement
- Replacement Overview & Torque Specs
- Key Steps:
- Critical Torque Specifications:
- Frequently Asked Questions
- 🎟️ Get 5% Off