

2003-2017 Bentley Continental Dash Trim: A Guide to Cracks, Rattles, and Replacement
This definitive guide covers common failures of the wood and metal instrument panel trim in the Bentley Continental GT, GTC, and Flying Spur, with a focus on diagnosis and sourcing used parts.
- The most common failures are cosmetic, such as cracked or yellowing lacquer on wood veneer, and audible rattles from loose clips.
- When buying a used panel, it is critical to match the exact wood/metal finish and verify that all mounting tabs on the back are intact.
- New OEM trim pieces are exceptionally expensive; sourcing a quality used part or having your original part professionally refinished are the most cost-effective solutions.
- Replacing individual panels like the center console surround is a feasible but delicate DIY job; use only plastic pry tools to avoid damage.
Symptoms of a Failing Instrument Panel Trim Panel
Failures in the Bentley Continental's dash trim are almost always cosmetic or audible, and they do not affect the vehicle's drivability. However, they can significantly detract from the interior's appearance and ambiance.
Visual Symptoms
- Cracked or Peeling Lacquer: The most common issue, especially with wood veneer panels, is the clear lacquer finish developing fine cracks or beginning to peel. This is often caused by years of exposure to sunlight and temperature fluctuations. Cracks may appear as fine white lines or a spiderweb pattern on the surface.
- Fading or Yellowing: Over time, UV exposure can cause the clear coat to yellow and the wood veneer beneath it to fade, altering the original color and richness.
- Delamination or Milky Appearance: Moisture getting under the lacquer can cause it to lift away from the wood veneer, creating a milky or cloudy spot. This is often irreversible and requires refinishing.
- Deep Scratches or Gouges: Accidental impacts can cause deep scratches that penetrate the clear coat and damage the underlying veneer.
Audible Symptoms
- Rattling or Buzzing: A persistent rattle or buzz from the dashboard area is often a sign of a loose trim piece. This can be caused by broken or weakened mounting clips, especially after the trim has been removed and reinstalled previously. The sound may be more noticeable when driving over rough surfaces.
- Creaking or Popping: Changes in temperature can cause the different materials of the dashboard to expand and contract at different rates, sometimes resulting in creaking or popping sounds. While sometimes normal, persistent noises can indicate a fitment issue between panels.
Buying a Used Bentley Continental Trim Panel: What to Check
Given the extremely high cost of new OEM trim panels, buying a quality used part is the most practical option for most owners. However, careful inspection is critical to ensure you get a good part that matches your vehicle's interior.
1. Verify the Exact Part and Finish
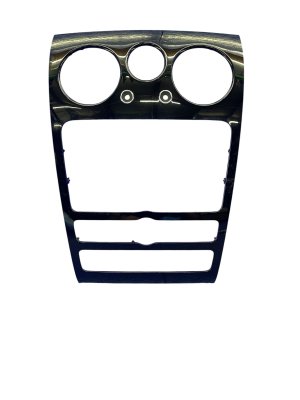
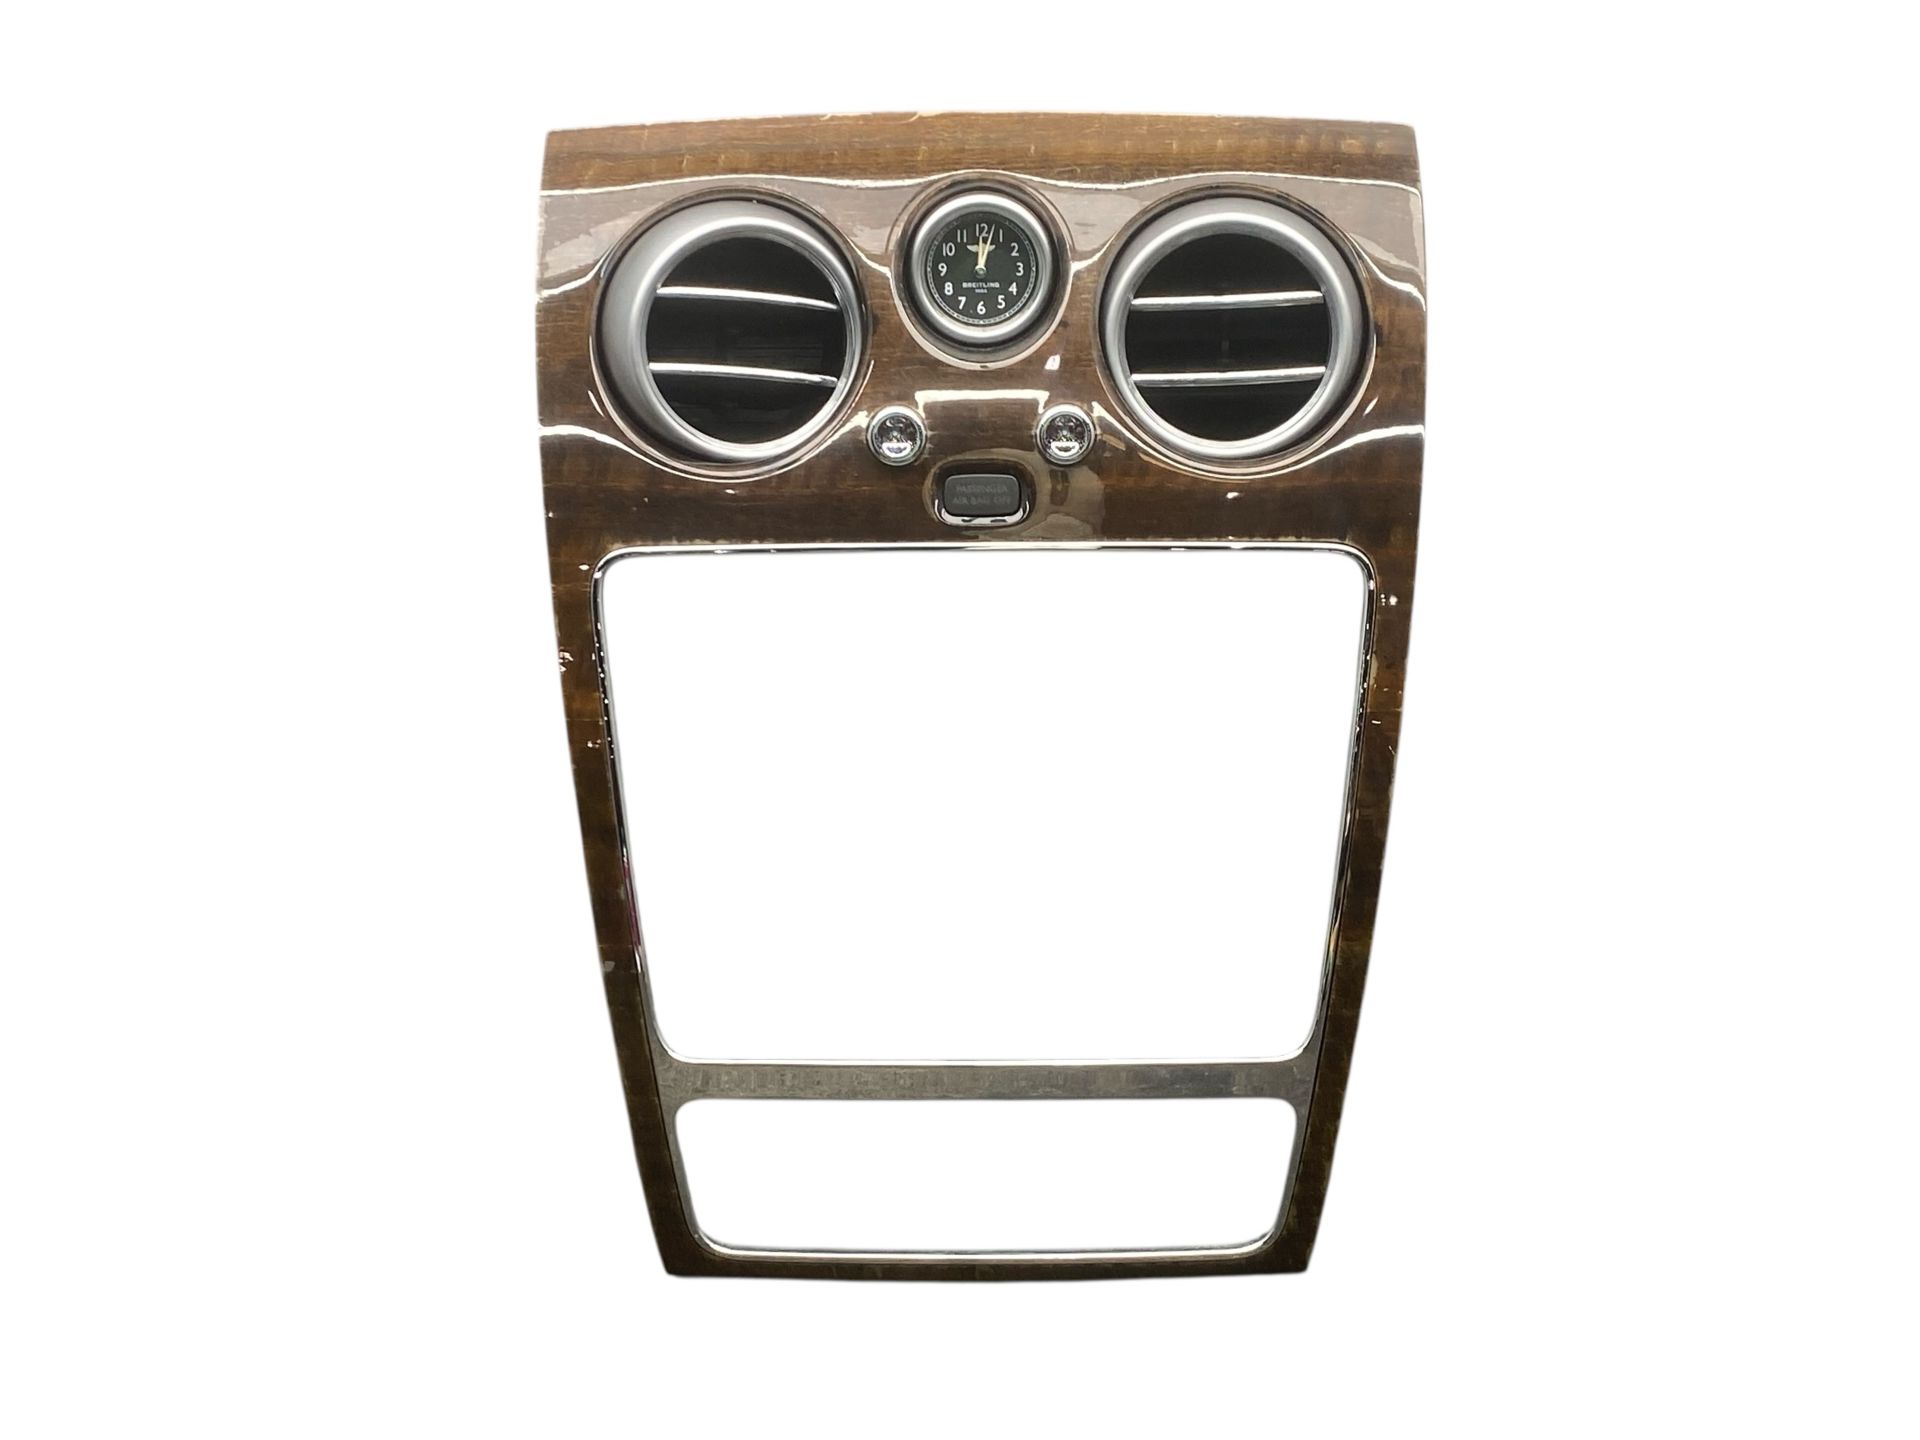
The Continental dashboard is comprised of many individual trim pieces: the main passenger-side fascia, the center console surround, the instrument cluster bezel, ashtray covers, and more. Before buying, positively identify the specific panel you need. Most importantly, you must match the finish. Bentley offered numerous wood veneers (e.g., Burr Walnut, Chestnut, Piano Black) and aluminum finishes over the years. A mismatch will be immediately obvious.
Pro Tip: Take high-quality photos of your existing trim in good, natural light. Use these photos to compare against the seller's pictures to ensure the wood grain, color, and finish are a perfect match.
2. Inspect the Finish and Veneer
When examining a used part, look for the following:
- Surface Integrity: Check for any signs of cracking, peeling, or delamination in the clear coat. Hold the part at an angle to the light to spot fine surface scratches.
- Color Consistency: Ensure the color is even across the entire piece and has not faded or yellowed excessively.
- Damage: Look for deep gouges, chips, or water damage, which can appear as cloudy or white spots under the lacquer.
3. Check All Mounting Tabs and Clips
This is the most critical inspection point. Turn the panel over and carefully examine every mounting tab and clip location. These plastic tabs are brittle and can easily break during removal. A panel with broken tabs will not sit flush and will almost certainly cause rattles. Do not purchase a panel with broken mounting points unless you are prepared to attempt a plastic repair.
Known Issues, Recalls, and Service Bulletins
There have been no recalls issued by the National Highway Traffic Safety Administration (NHTSA) specifically for the instrument panel trim on 2003-2017 Bentley Continental models. Recalls for these vehicles typically involve safety systems like airbags, seat belts, or fuel system components.
A Technical Service Bulletin (TSB) was issued for newer Continental models regarding a rattle or buzzing noise from the Head-Up Display (HUD) trim ring. The fix involves applying special anti-creak tape to the trim ring's mounting points. While this TSB applies to a later generation, the principle of using felt or anti-creak tape can be applied to resolve similar rattles in the 2003-2017 models.
Replacement Cost Comparison
Replacing interior trim on a Bentley can be expensive, but sourcing used parts or opting for restoration can provide significant savings.
| Part/Service | Estimated Cost | Notes |
|---|---|---|
| New OEM Panel (Single Piece) | $800 - $2,000+ | Varies by panel. A main wood fascia panel can exceed $1,500. |
| Used OEM Panel (Single Piece) | $75 - $500 | Price depends heavily on the specific piece, its condition, and rarity of the finish. |
| Used OEM Trim Set (Complete) | $700 - $1,500+ | A good option to ensure a perfect match across all panels. |
| Professional Refinishing/Restoration | $200 - $600 per piece | Cost-effective for repairing cracks or delamination on your original parts, ensuring a perfect match. |
| Shop Labor for Installation | $150 - $450 | Estimated 1-3 hours of labor at a specialist shop rate to replace one or two accessible panels. A full dash removal is significantly more. |
Installation Guide & Difficulty
Replacing a single trim panel, such as the center console surround, is a manageable DIY task for a careful and patient owner. However, the risk of damaging the expensive trim or adjacent surfaces is high.
- Difficulty Rating: 3 out of 5 (for a single, accessible panel)
- Estimated Time: 1-2 hours
- Tools Required: Plastic trim removal tools, small screwdrivers.
The general process for removing a piece like the center console trim involves:
- Putting the gear selector in Neutral to provide clearance.
- Using plastic pry tools to carefully lift the edges of the panel. The panel is held in by several tight metal clips.
- Once the clips are released, the panel can be lifted up.
- Disconnecting any electrical connectors for switches (e.g., starter button, suspension controls) on the back of the panel.
Warning: Never use metal tools like a screwdriver to pry on the wood or leather surfaces, as this will cause permanent damage. The clips hold the panel very tightly; use firm, steady pressure to release them.
Complete removal of the entire dashboard assembly is a highly complex job (Difficulty: 5/5) that requires removing the steering column, glove box, and numerous hidden fasteners and connectors. This is best left to a professional technician.
Frequently Asked Questions (FAQ)
Can I just repair the cracked lacquer on my wood trim?
Yes, professional wood restoration services can strip the old, cracked lacquer, make minor veneer repairs, and apply a new, factory-correct finish. This is often a better option than buying a used part, as it guarantees a perfect match to your car's original wood set.
How can I fix a rattling dash trim piece?
First, try to isolate the noise by pressing firmly on different trim panels while driving (have a passenger assist). If you find the loose panel, you may need to remove it and check for broken clips. A common DIY fix is to apply small pieces of felt tape or foam to the contact points between panels or on the back of the clips to tighten the fit and absorb vibrations.
Why is it so important to match the wood veneer?
Bentley uses a technique called book-matching, where adjacent pieces of veneer are mirrored to create a symmetrical pattern. The wood for an entire car is often sourced from a single tree to ensure consistent color and grain. A replacement piece from a different batch or wood type will stand out and disrupt the seamless look of the interior.
Are the part numbers 3W0819359 and 3W0857244 the only ones I need?
No. Those part numbers correspond to very specific components (a center vent assembly and a climate control trim piece, respectively). The dashboard is made of dozens of individual trim pieces, each with its own unique part number. You must identify the specific part number for the exact panel you need to replace.
Technical Specifications
OEM Part Numbers: 3W0819359 3W0857244 3W2857054B 3W0857060 3W2857204
The Bentley Continental dashboard consists of numerous individual trim pieces, each with a unique part number. Materials include various wood veneers (Burr Walnut, Chestnut, etc.), Piano Black lacquer, and aluminum. Compatibility must be verified by both part number and visual match of the material finish.
We Have This Part in Stock

The information in this article is provided for general reference and educational purposes only. Vehicle specifications, procedures, and part compatibility can vary by production date, trim level, and region. Always consult your vehicle's factory service manual and verify part numbers before purchasing or performing repairs. Safety-critical components such as airbags, seat belts, and braking systems should be installed by a qualified professional.
- Bentley Continental:
- 🛍️ Shop This Part
- Symptoms of a Failing Instrument Panel Trim Panel
- Visual Symptoms
- Audible Symptoms
- Buying a Used Bentley Continental Trim Panel: What to Check
- 1. Verify the Exact Part and Finish
- 2. Inspect the Finish and Veneer
- 3. Check All Mounting Tabs and Clips
- Known Issues, Recalls, and Service Bulletins
- Replacement Cost Comparison
- Installation Guide & Difficulty
- Frequently Asked Questions (FAQ)
- 🎟️ Get 5% Off