

Tesla Model 3 & Y Screen Failure: MCU Versions, Yellow Borders, and Replacement Guide (2017-2026)
This guide covers the common failures of the main infotainment display in the 2017-2026 Tesla Model 3 and 2020-2025 Tesla Model Y, focusing on critical compatibility differences and replacement requirements.
- You MUST match the replacement screen to your car's computer: MCU2 (Intel Atom) or MCU3 (AMD Ryzen). They are not interchangeable.
- A replacement screen is NOT plug-and-play; it requires a software pairing procedure using Tesla's proprietary 'Toolbox 3' software.
- Tesla may refuse to program a used screen, making the purchase of a recycled part a significant financial risk.
- Common failures include a cosmetic yellow border (fixable with UV light), black screens (try a soft reset first), and phantom touches.
Critical: Identify Your Media Control Unit (MCU) Version

Before diagnosing or replacing your infotainment screen, you MUST identify which Media Control Unit (MCU) your vehicle has. The screen is paired to a specific computer generation, and they are not interchangeable. All 2017-2026 Model 3 and 2020-2025 Model Y vehicles have either an MCU2 or MCU3.
- MCU2 (Intel Atom processor): Found in Model 3 vehicles from 2017 until late 2021 and Model Y vehicles from 2020 until late 2021.
- MCU3 (AMD Ryzen processor): Phased into new Model 3 and Model Y production in North America starting around December 2021. This unit is significantly faster and more responsive.
How to check your version: On your car's touchscreen, navigate to Vehicle Options > Software > Additional Vehicle Information. The "Infotainment processor" will be listed as either Intel Atom (MCU2) or AMD Ryzen (MCU3).
Warning: You cannot install an MCU3 screen into a car originally equipped with MCU2 without a complete and expensive computer system upgrade. When buying a used display, you must match it to your car's original MCU generation.
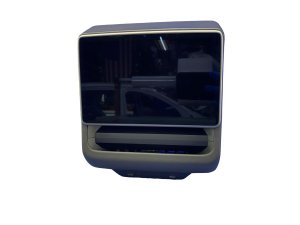
Compatibility Alert for 2024+ 'Highland' Model 3: The updated Tesla Model 3, known as 'Highland' (2024-present), uses a different front infotainment screen. It also introduced a new, smaller rear passenger display. Part numbers like 1875931-00-C and 1875931-00-D are for this REAR screen and are NOT compatible with the main front display or any pre-Highland models.
Symptoms of a Failing Infotainment Display

Problems with the main screen can range from minor annoyances to critical failures that make the car difficult to operate.
1. Yellow Border Around Screen Edges
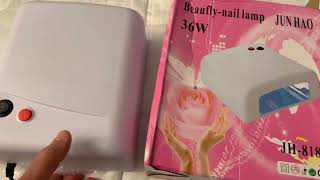
A faint yellow or brown border appearing around the perimeter of the display is a very common cosmetic issue. This is caused by the degradation of an adhesive layer within the screen, often accelerated by heat and UV exposure. While initially just a visual flaw, if the delamination worsens, it can allow moisture or contaminants to enter, potentially leading to phantom touches. Tesla Service Centers have a special UV light tool that can often fix this cosmetic issue in a few hours without replacing the screen.
🎬 See how to perform this UV treatment at home for cheap.2. Black Screen, Freezing, or Constant Rebooting
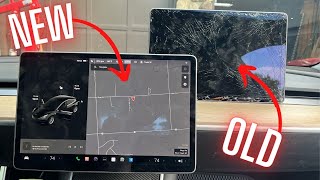
The screen may suddenly go black, become unresponsive to touch, or get stuck in a continuous reboot loop. These symptoms are often caused by software glitches. The first and easiest troubleshooting step is to perform a soft reset by holding down both scroll wheels on the steering wheel for about 15 seconds until the Tesla logo appears. 🎬 Watch this guide on performing a hard reset for black screens. If resets don't solve the problem and it happens frequently, it may indicate a more serious hardware issue with the MCU computer itself.
3. Phantom or Ghost Touches
The screen may act as if it's being touched when it isn't, causing menus to open, settings to change, or the map to zoom randomly. This can be extremely distracting and disruptive. It is often a sign of a hardware fault in the screen's digitizer (the layer that senses touch), sometimes related to the same delamination that causes the yellow border issue.
4. Laggy or Slow Response
A noticeable delay between touching an icon and the system responding is another common complaint, particularly on the older MCU2 hardware. This can be a sign of the processor being overloaded or a failing memory chip. While some lag can be normal, a sudden increase in sluggishness can be a precursor to a more significant failure.
Buying a Used Infotainment Display: What to Know

Purchasing a used OEM display can be a cost-effective solution, but it comes with significant risks and compatibility challenges.
- Match the MCU Generation: This is the most critical step. Verify if your car is MCU2 (Intel) or MCU3 (AMD) and purchase the exact same type of display. They are not cross-compatible.
- Physical Inspection: Before buying, carefully inspect photos of the used screen. Look for any signs of the yellow border, even if faint. Check for scratches, cracks, or delamination around the edges.
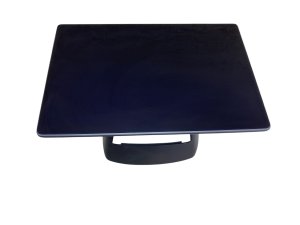
- Part Numbers: The base part number is often 1089543. Suffixes like -H, -J, or -K can indicate revisions. For example, 1089543-00-H is often associated with earlier 2017-2020 models (MCU2), while 1089543-00-K is seen on newer 2023+ models (MCU3). Always confirm the MCU processor type from the donor vehicle if possible.
- The Programming Risk: This is the biggest hurdle. A replacement screen is not plug-and-play. It requires a software configuration or 'redeployment' procedure using Tesla's proprietary Toolbox 3 software. Some eBay listings explicitly state that Tesla will refuse to install or program any used parts. There is a significant risk that you could install a used screen and be unable to get it programmed to work with your car, forcing you to buy a new one from Tesla anyway.
Programming and Installation Requirements
Physically replacing the screen is a manageable DIY job for those comfortable with basic tools. The process generally involves disconnecting the low-voltage battery, removing the panel below the screen, unbolting the display assembly (typically two 10mm bolts), disconnecting two cables, and swapping the unit.
Pro Tip: Always disconnect the low-voltage power before unplugging or plugging in the screen's electrical connectors to avoid damaging the components.
The real challenge is the software. Tesla's official service procedures require a technician to connect to the vehicle with Toolbox 3 software and run specific routines to pair the new hardware with the car. Without this step, the screen may not function correctly or at all. The ability of independent repair shops to perform this service is not guaranteed, as access to Tesla's diagnostic software is restricted.
Cost of Replacement
| Part Type | Estimated Cost (Part Only) | Notes |
|---|---|---|
| New OEM (from Tesla) | $1,300 - $1,500 | This price typically includes installation and programming by Tesla Service. |
| Used OEM (Recycled) | $300 - $500 | Purchased from online marketplaces like eBay. Carries significant programming risk. |
| New Aftermarket | $600 - $900 | Various aftermarket screens exist, often with added features like Apple CarPlay, but may have quality and integration issues. |
| Shop Labor (Installation Only) | $150 - $300 | Reflects 1-2 hours of labor for the physical swap. Does not include the cost or availability of software programming. |
Frequently Asked Questions (FAQ)
Can I drive my Model 3 or Y with a broken screen?
Yes, but it is not recommended and can be unsafe. While the car's basic driving functions (accelerate, brake, steer) will still work, you will lose access to the speedometer, gear indicator (P, R, N, D), climate controls (including defrosters), turn signal indicators, and all other vehicle settings. This severely limits situational awareness and control over essential safety features.
Will Tesla fix the yellow border on my screen for free?
If your vehicle is still under its basic limited warranty, Tesla will typically perform the UV light treatment to fix the yellowing border at no cost. If the warranty has expired, you will likely have to pay for the service.
Can I upgrade my older MCU2 to the faster MCU3?
Tesla has offered paid MCU upgrades for older Model S and X vehicles, but an official upgrade path for the Model 3 and Y has not been consistently available. The process is expensive (typically over $1,500) and involves replacing the entire infotainment computer, not just the screen. You should inquire with a Tesla Service Center for current availability and pricing.
Is replacing the screen a good DIY project?
The physical installation is relatively simple for a mechanically inclined person. However, because of the mandatory software programming step that requires Tesla's proprietary tools, it is a risky DIY project. You may successfully swap the hardware but be unable to make it work with your car.
Helpful Videos


Technical Specifications
OEM Part Numbers: 1089543 1089543-00-H 1089543-00-J 1089543-00-K 1089543-02-K 1673288-20-B 1756566-00-D 1875931-00-C (Rear Screen Only) 1875931-00-D (Rear Screen Only)
MCU2 Processor: Intel Atom. MCU3 Processor: AMD Ryzen.
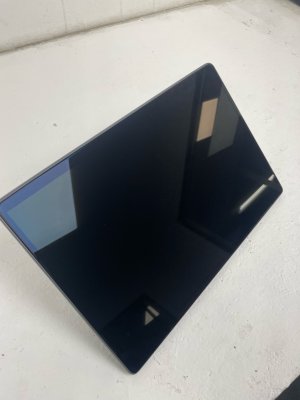
We Have This Part in Stock

The information in this article is provided for general reference and educational purposes only. Vehicle specifications, procedures, and part compatibility can vary by production date, trim level, and region. Always consult your vehicle's factory service manual and verify part numbers before purchasing or performing repairs. Safety-critical components such as airbags, seat belts, and braking systems should be installed by a qualified professional.
- Tesla Model 3:
- Tesla Model Y:
- 🎬 Helpful Videos
- 🛍️ Shop This Part
- Critical: Identify Your Media Control Unit (MCU) Version
- Symptoms of a Failing Infotainment Display
- 1. Yellow Border Around Screen Edges
- 2. Black Screen, Freezing, or Constant Rebooting
- 3. Phantom or Ghost Touches
- 4. Laggy or Slow Response
- Buying a Used Infotainment Display: What to Know
- Programming and Installation Requirements
- Cost of Replacement
- Frequently Asked Questions (FAQ)
- 🎟️ Get 5% Off