

2008-2019 Ford Escape & Mariner HVAC Control: Failures, Fixes & Buyer's Guide
This guide covers the common failures, compatibility issues, and replacement tips for the HVAC control module in the 2008-2019 Ford Escape and 2008-2011 Mercury Mariner.
- Compatibility is the biggest challenge. You MUST match your exact system: Manual vs. Automatic, Single vs. Dual-Zone, and with or without Heated Seats.
- For 2013 Escapes with automatic dual-zone control, a build date on or before Dec 2, 2012 uses a different part than those built after.
- If the fan only works on the highest setting, the problem is the blower motor resistor, not the main control unit.
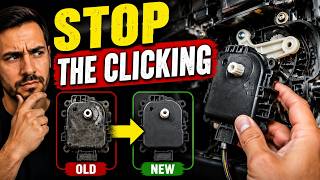
- Clicking noises from the dash point to a failing blend door actuator, a separate and common issue.
Vehicle Generations and Critical Differences

The HVAC control for the Ford Escape and Mercury Mariner covers two distinct generations with major differences. Choosing the correct part is critical, as they are not interchangeable.
Generation 1: 2008-2012 Ford Escape & 2008-2011 Mercury Mariner
These vehicles are mechanically similar and share many parts. Their HVAC systems are typically simpler, most often featuring a manual control unit with three knobs for fan speed, temperature, and airflow direction. Some higher trims may have automatic temperature control, which uses a different control module.
Generation 2: 2013-2019 Ford Escape
The third-generation Escape introduced a more complex and varied lineup of HVAC controls. It's essential to identify which system your vehicle has:
- Manual Control: Similar to the previous generation, with physical knobs for adjustment.
- Automatic Single-Zone Control: Allows setting a specific temperature, and the system maintains it automatically.
- Automatic Dual-Zone Control: Allows the driver and front passenger to set individual temperatures.
Warning: A critical production split exists for 2013 Ford Escape models with Automatic Dual-Zone Climate Control. One part is for vehicles built on or before December 2nd, 2012, and a different part is for vehicles built from December 3rd, 2012, onward. You can find your vehicle's build date on the sticker in the driver's side door jamb.
Common Symptoms of a Failing HVAC Control

A failing HVAC control module can cause a range of confusing and frustrating issues. Because it's the brain of the system, a failure can manifest in many ways:
- Unresponsive Buttons or Knobs: Pressing buttons or turning dials does nothing, or only works intermittently.
- Incorrect Temperature: The air blows hot when you want cold, or cold when you want hot, regardless of the setting.
- Wrong Airflow Direction: Air comes out of the defrost vents when you've selected the floor vents, or it's stuck in one position.
- Fan Speed Issues: The fan may be stuck on one speed or not respond to adjustments. However, if the fan only works on the highest setting, the problem is almost always the blower motor resistor, not the control module.
- Intermittent or Dead Display: On automatic control units, the screen may flicker, show garbage characters, or go completely blank.
- A/C Compressor Won't Engage: The control fails to send the signal to turn on the A/C compressor.
- Battery Drain: In some cases, a faulty module can fail to shut down properly when the car is off, causing a parasitic draw that drains the battery.
Known Issues, TSBs, and Recalls

While there are no widespread recalls directly for the HVAC control module itself on most of these models, there are related issues and Technical Service Bulletins (TSBs) to be aware of.
- TSB 16-0158: For some 2015-2017 Escape models built on or before April 8, 2016, with manual climate control, an issue can cause incorrect air distribution from the panel vents. This may require the replacement of the actuator assembly or the entire climate control housing.
- Blend Door Actuator Failure: 🎬 See how to diagnose and replace a clicking blend door actuator Often misdiagnosed as a bad control unit. A faulty blend door actuator can cause a clicking noise from the dashboard, incorrect temperatures on one side (in dual-zone systems), or air stuck in one temperature mode.
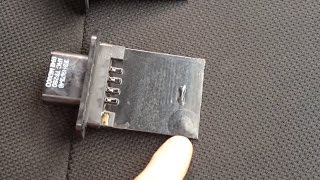
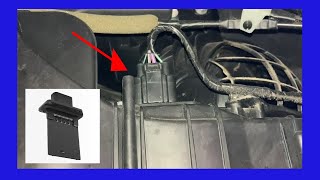
- Blower Motor Resistor Failure (2008-2012 Models): 🎬 Watch this step-by-step 2008-2012 Escape resistor replacement video This is an extremely common issue. The symptom is the fan only working on the highest speed. This is a separate, inexpensive part located behind the glove box and is an easy DIY fix.
Buying a Used HVAC Control: What to Check

Purchasing a used OEM control module can be a cost-effective solution, but careful verification is essential to avoid incompatibility headaches.
Step 1: Identify Your EXACT System
Before you buy, you must know what's in your car. Ask yourself:
- Manual or Automatic? Do you have knobs with blue and red zones, or a screen with a specific temperature number?
- Single-Zone or Dual-Zone? (2013+ Escape) Does your passenger have their own temperature knob?
- Heated Seats? The control unit for vehicles with heated seats has extra buttons and different internal wiring. A non-heated seat unit will NOT work, and vice-versa.
- Special Buttons: Does your unit have buttons for Max A/C, Recirculation, or Front/Rear Defrost? Ensure the replacement has the exact same button layout.
Step 2: Match the Part Number
Visual appearance is not enough. Different part numbers can look identical but have different software or internal logic. Find the part number on your original unit (it may require removing the trim to see it) and match it to the seller's listing. Cross-referencing compatible part numbers can be helpful, but a direct match is safest.
Step 3: Physical Inspection
When you receive the used part, inspect it for:
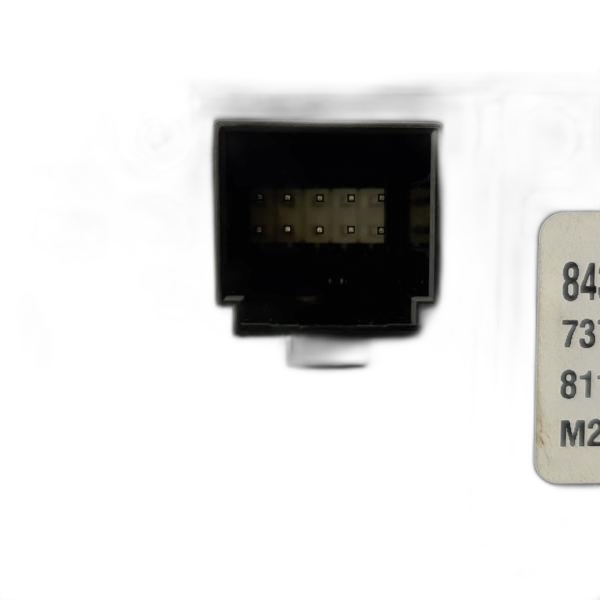
- Connector Pins: Look for any bent, corroded, or damaged pins in the electrical connectors.
- Button and Knob Feel: Buttons should have a positive click and knobs should turn smoothly. Worn-out buttons that have lost their markings are a sign of high usage.
- Screen Condition: For automatic units, check the screen for any cracks, dark spots, or signs of delamination.
- No Signs of Liquid Damage: Look for any sticky residue or discoloration, especially around the seams and button openings.
Replacement Overview
Replacing the HVAC control unit is generally a straightforward job suitable for a DIYer with basic tools.
- Difficulty: 2 out of 5.
- Tools Required: Plastic trim removal tools, 7mm or 8mm socket/driver, Phillips screwdriver (varies by year).
- General Steps (2008-2012): The control unit is typically part of the center stack. The surrounding trim panel is held on by clips and can be carefully pried off. Once the trim is removed, the control unit is secured by a few screws. Disconnect the electrical connectors and swap the unit.
- General Steps (2013-2019): 🎬 Watch a video walkthrough of removing the Ford Escape HVAC module The process is similar, but the trim pieces may be larger and more complex. Start by prying away the trim around the shifter and work your way up to the HVAC control area. The unit is held in by screws.
Pro Tip: After installing the new control unit, it's a good idea to perform an HVAC system reset or calibration. This can sometimes be done by disconnecting the battery for 15 minutes or by a specific sequence of key and button presses. This allows the module to re-learn the positions of the blend door actuators.
Cost Comparison
| Part Type | Estimated Cost |
|---|---|
| New OEM | $250 - $500+ |
| New Aftermarket | $150 - $300 |
| Used OEM | $40 - $150 |
| Shop Labor | $95 - $165 |
Frequently Asked Questions (FAQ)
My fan only works on high. Is the control unit bad?
Almost certainly not. This is the classic symptom of a failed blower motor resistor. It's a separate, inexpensive part located behind the glove compartment on 2008-2012 models. It's a common and easy fix.
Can I upgrade from manual to automatic climate control by swapping the head unit?
No. This is a very complex conversion that is not practical. The automatic system uses additional components that your manual system lacks, including multiple temperature sensors (in-cabin, sun load), different wiring harnesses, and a different control logic in the vehicle's body control module.
How do I find my 2013 Escape's build date?
Open the driver's door and look for the certification sticker in the door jamb. The build date, listed as month and year (e.g., 11/12 for November 2012), is usually printed clearly at the top of the label. This is crucial for getting the correct automatic climate control unit for this model year.
My controls work, but I hear a clicking noise from the dash. What is that?
A repetitive clicking or tapping noise from behind the dashboard when you start the car or change temperature settings is a tell-tale sign of a failing blend door actuator, not the control unit itself. The noise is from stripped plastic gears inside the actuator as it tries to move the air-blending door.
Helpful Videos
![Symptoms of a Bad Blender Door ACTUATOR [Fix Within Minutes]](https://img.youtube.com/vi/u9Xumc1OsfA/mqdefault.jpg)
Technical Specifications
OEM Part Numbers: 8L84-19980-AL 8L8419980AD 8L8419980AE 8L8Z-19980-N 8L8Z19980J 9L8419980AA 9L8Z-19980-A AL8419980AA AL8419980AB AL8Z19980A CJ5T-18C612-BE CJ5T18C612AA CJ5Z-19980-B CJ5Z-19980-D CJ5Z-19980-F CJ5Z-19980-E CJ5Z-19980-P
Varies significantly by vehicle options. Control units are specific to Manual, Automatic Single-Zone, or Automatic Dual-Zone systems, and whether the vehicle is equipped with heated seats.
We Have This Part in Stock



The information in this article is provided for general reference and educational purposes only. Vehicle specifications, procedures, and part compatibility can vary by production date, trim level, and region. Always consult your vehicle's factory service manual and verify part numbers before purchasing or performing repairs. Safety-critical components such as airbags, seat belts, and braking systems should be installed by a qualified professional.
- Ford Escape:
- Mercury Mariner:
- 🎬 Helpful Videos
- 🛍️ Shop This Part
- Vehicle Generations and Critical Differences
- Generation 1: 2008-2012 Ford Escape & 2008-2011 Mercury Mariner
- Generation 2: 2013-2019 Ford Escape
- Common Symptoms of a Failing HVAC Control
- Known Issues, TSBs, and Recalls
- Buying a Used HVAC Control: What to Check
- Step 1: Identify Your EXACT System
- Step 2: Match the Part Number
- Step 3: Physical Inspection
- Replacement Overview
- Cost Comparison
- Frequently Asked Questions (FAQ)
- 🎟️ Get 5% Off