

Saturn S-Series Headlight Guide (1991-2002): Decoding the Three Generations
This guide clarifies the critical differences between the three distinct generations of Saturn S-Series headlights to ensure you get the right part for your SL, SW, or SC model.
- There are three non-interchangeable headlight generations for 1991-2002 Saturn S-Series sedans/wagons: Gen 1 (91-95), Gen 2 (96-99), and Gen 3 (00-02).
- When buying a used assembly, the most critical inspection point is the integrity of all plastic mounting tabs; even one broken tab will cause vibration.
- These are simple halogen systems using 9005 high beam and 9006 low beam bulbs; they do not have complex ballasts or modules.
- Aiming the headlight after installation is mandatory for safety and is done via adjuster screws on the back of the housing.
Understanding the Three Generations of S-Series Headlights
The most common point of confusion when replacing a Saturn S-Series headlight is the significant design changes that occurred over its lifespan. The "1991-2002" range covers three distinct generations of vehicles with headlights that are not interchangeable. Ordering the correct assembly requires identifying your specific vehicle generation and body style.
First Generation: 1991-1995 SL/SW Sedans & Wagons
First-generation Saturn SL (Sedan) and SW (Wagon) models feature a single, fixed composite headlight assembly. These are known for their relatively simple design. It is important to note that the coupes (SC models) from this era used a completely different pop-up headlight system and these fixed assemblies will not fit.
Second Generation: 1996-1999 SL/SW Sedans & Wagons
For the 1996 model year, Saturn redesigned the sedan and wagon bodies, which included a new, more rounded headlight assembly. These second-generation headlights will only fit 1996-1999 SL and SW models. They will not fit the earlier 1991-1995 models or the later 2000-2002 models. The SC coupe models continued with a different body style and headlight design during this period.
Third Generation: 2000-2002 SL/SW Sedans & Wagons
The final generation of the S-Series saw another front-end refresh. The 2000-2002 models have a distinct headlight assembly that is not backward-compatible with earlier years. These assemblies fit all SL and SW models from 2000, 2001, and 2002. A video guide for a 2000 SL1 confirms the design for this generation.
Compatibility Warning: The Saturn SC (Coupe) had its own unique headlight designs and body style changes that did not always align with the sedan/wagon. The pop-up headlights on early 1991-1992 SC models are entirely different from the fixed composite lights on SL/SW models. Always verify your specific model (SL, SW, SC) and year before purchasing.
Symptoms of a Failing Headlight Assembly
- Dim or Yellowed Light Output: The most common failure is the plastic lens degrading over time due to UV exposure. This causes it to become hazy, yellow, and cloudy, which significantly reduces the amount of light that can pass through.
- Moisture or Condensation Inside: If you see water droplets, fog, or a water line inside the lens, the seal between the lens and the housing has failed. This moisture can cause the reflective chrome surfaces to peel and can short out bulbs and connectors.
- Cracked Lens or Housing: Physical damage from road debris or minor impacts can crack the lens or the rear housing, allowing moisture in and compromising the mounting integrity.
- Vibrating or Shaky Beam: If the light beam shakes while driving, it's a sign that one or more of the plastic mounting tabs are broken or that the internal bulb mounting points have failed.
- Melted Connectors: In some cases, using an incorrect, high-wattage bulb or a poor connection can cause the wiring harness connector at the back of the assembly to overheat and melt.
Buyer's Guide: What to Look for in a Used Headlight Assembly
Buying a used OEM headlight is often a better choice than a cheap aftermarket part due to superior fit, plastic quality, and beam pattern. Here’s what to inspect:
- Confirm the Generation: First, use the guide above to identify which of the three generations you need: 1991-1995, 1996-1999, or 2000-2002. Ensure it's for a sedan/wagon (SL/SW) and not a coupe (SC).
- Inspect All Mounting Tabs: Carefully check every mounting tab for cracks or signs of repair like glue or epoxy. The S-Series headlight is typically held on by two 10mm bolts on a bracket. Ensure the points where this bracket attaches to the main housing are intact. A single broken tab can cause the headlight to vibrate and fail inspection.
- Check the Lens Condition: Look for deep crazing (a network of fine cracks) or yellowing that has penetrated the plastic. Minor surface hazing can often be polished out, but deep internal damage is permanent.
- Look for Signs of Moisture: Check for a 'water line' or flaking of the chrome reflector inside the housing. This indicates the seal has previously failed and the assembly may be compromised.
- Examine the Adjuster Screws: Find the aiming adjustment screws (often on the back of the housing). Ensure they are not stripped or seized, as you will need them to aim the headlight after installation.
- Inspect the Bulb Sockets: Look at the sockets where the bulbs twist in. Check for brittleness, cracks, or heat damage, which could indicate a poor seal or the use of incorrect bulbs.
Known Issues, Recalls, and Technical Service Bulletins (TSBs)
For a vehicle of this age, formal recalls are rare and most issues are related to wear and tear. A search of the NHTSA database did not reveal any specific recalls for the headlight assemblies themselves on the 1991-2002 Saturn S-Series. Most owner complaints relate to common aging issues like lens hazing and electrical connector problems due to moisture or age. On some other GM models of the era, melting wiring harnesses were a known issue, but this is not widely reported for the S-Series specifically.
Headlight Technology: Halogen Simplicity
The 1991-2002 Saturn SL2 uses a standard Halogen headlight system.
- Bulb Types: The most common configuration uses a 9006 (HB4) bulb for the low beam and a 9005 (HB3) bulb for the high beam.
- No Extra Modules: This is a simple system. It does not use HID/Xenon or LED technology from the factory, so there are no ballasts, igniters, or LED driver modules to worry about. The bulbs plug directly into the vehicle's 12V wiring harness.
Warning: Avoid using aftermarket "plug-and-play" LED or HID bulbs in these halogen housings. The reflector and lens are specifically designed for the size and position of a halogen filament. Using other bulb types will create a poor, uncontrolled beam pattern that causes excessive glare for oncoming drivers and can be less effective at illuminating the road.
Replacement and Alignment
Replacing the headlight assembly on a Saturn S-Series is a straightforward job suitable for a DIY mechanic.
- Open the Hood: Access the back of the headlight assembly from the engine bay.
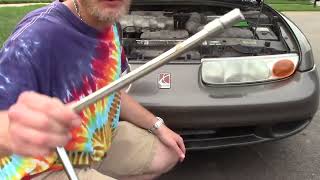
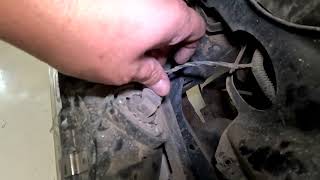
- Remove Retaining Bolts: There are typically two 10mm bolts that secure the headlight bracket to the vehicle's frame. One is on top and easily visible, and the other is lower down. A socket with a long extension is recommended. 🎬 See this step-by-step headlight assembly replacement video
- Pull Assembly Forward: Once the bolts are removed, carefully pull the entire assembly forward to release it from any clips or guides.
- Disconnect Wiring: Unplug the main electrical connector and twist to remove the turn signal bulb socket from the old housing.
- Installation and Aiming: Installation is the reverse of removal. Crucially, you must aim the headlight after installation. Park the car on a level surface about 25 feet from a flat wall. Turn on the low beams and use the adjuster screws on the back of the new assembly to match the beam height and position of the existing, non-replaced headlight.
Pro Tip: When installing a used assembly, it's a great time to replace the headlight bulbs with a new pair. This ensures maximum brightness and longevity. Always handle new halogen bulbs with gloves or a clean cloth; oils from your skin can cause the bulb to overheat and fail prematurely.
🎬 Watch: How to replace a Saturn SL headlight bulbCost Comparison
| Part | Price Range |
|---|---|
| New OEM | $150 - $250+ (if available) |
| New Aftermarket | $35 - $100 per side |
| Used OEM | $40 - $100 per side |
| Shop Labor (Installation) | $50 - $125 |
Frequently Asked Questions (FAQ)
Will this headlight fit my 1996 Saturn?
It depends. If you have a 1996 SL (sedan) or SW (wagon), you need the second-generation (1996-1999) headlight. If you have a 1996 SC (coupe), it may use a different headlight assembly. You must verify your body style.
Can I just replace the hazy plastic lens?
No. The headlight is a sealed assembly. The lens is permanently bonded to the housing and is not sold as a separate part. If the lens is severely damaged or hazy, the entire assembly must be replaced.
Do these headlights come with bulbs?
New aftermarket headlights sometimes include new low and high beam bulbs, but not always. Used OEM headlights may or may not come with bulbs, and their condition is unknown. It is always recommended to install new bulbs (9005 and 9006) with a replacement assembly.
Is aiming the headlight really necessary after installation?
Yes, absolutely. Any replacement, even with an identical part, can have slight variations in manufacturing that affect the beam's direction. Failure to aim the headlight can result in poor visibility for you and dangerous glare for other drivers. The process is simple and only requires a level surface, a wall, and a screwdriver or small socket.
Helpful Videos
Technical Specifications
OEM Part Numbers: 21111510 GM2503206 1489878 16512117 21093153 21093155 21094382 21094384 21111162 21111170 21111482 21112456
Technology: Halogen Low Beam Bulb: 9006 / HB4 High Beam Bulb: 9005 / HB3
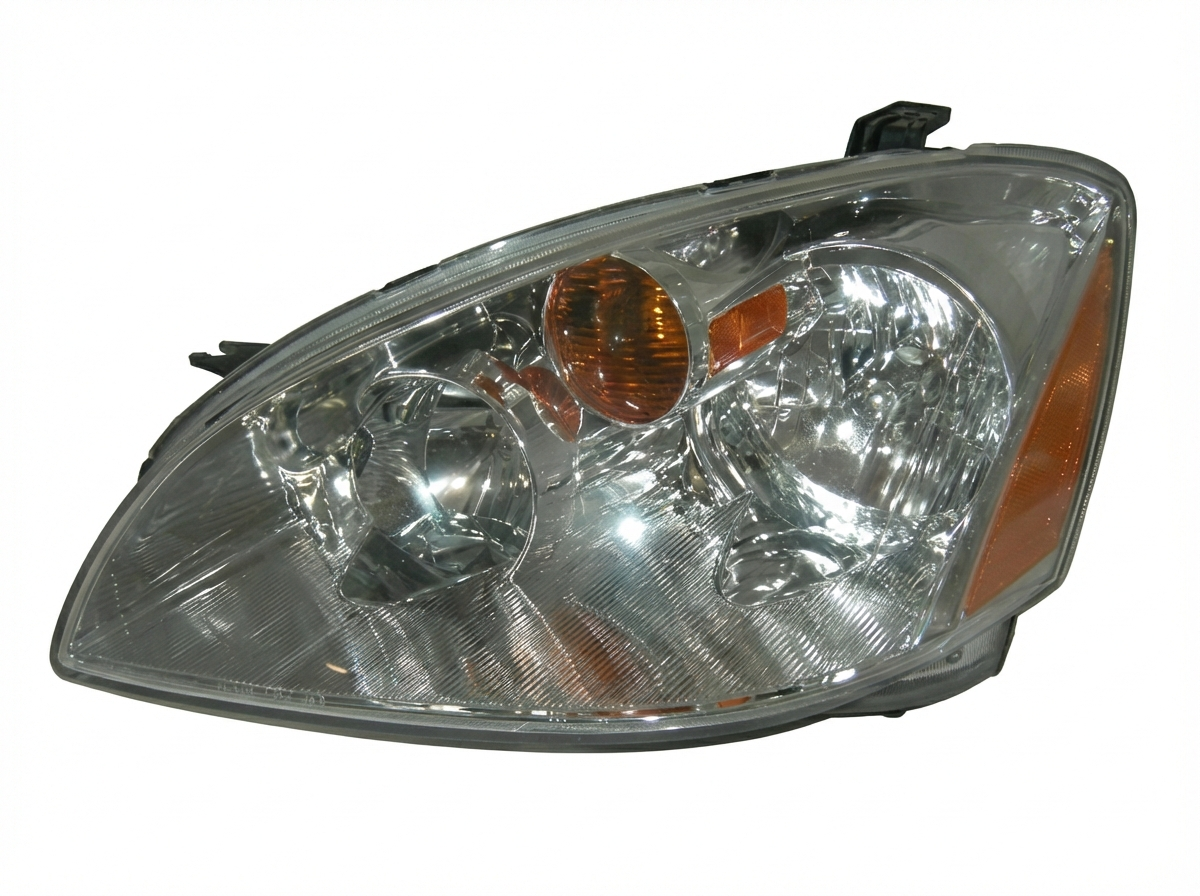
We Have This Part in Stock




The information in this article is provided for general reference and educational purposes only. Vehicle specifications, procedures, and part compatibility can vary by production date, trim level, and region. Always consult your vehicle's factory service manual and verify part numbers before purchasing or performing repairs. Safety-critical components such as airbags, seat belts, and braking systems should be installed by a qualified professional.
- Saturn SL2:
- 🎬 Helpful Videos
- 🛍️ Shop This Part
- Understanding the Three Generations of S-Series Headlights
- First Generation: 1991-1995 SL/SW Sedans & Wagons
- Second Generation: 1996-1999 SL/SW Sedans & Wagons
- Third Generation: 2000-2002 SL/SW Sedans & Wagons
- Symptoms of a Failing Headlight Assembly
- Buyer's Guide: What to Look for in a Used Headlight Assembly
- Known Issues, Recalls, and Technical Service Bulletins (TSBs)
- Headlight Technology: Halogen Simplicity
- Replacement and Alignment
- Cost Comparison
- Frequently Asked Questions (FAQ)
- 🎟️ Get 5% Off