

1973 Lincoln Mark IV Headlight Doors: A Guide to the One-Year-Only Vacuum System
This definitive guide explains the unique, vacuum-operated hideaway headlight system used only on the 1973 Lincoln Mark IV, focusing on common failures and repair solutions.
- The entire front headlight assembly, doors, and mounting system are unique to the 1973 model year due to new 5-mph bumper laws; parts from 1972 or 1974 will not fit.
- Nearly all operational problems are caused by failures in the vacuum system, such as cracked rubber hoses, leaking actuators, or a faulty headlight switch.
- The most common symptom is headlight doors slowly 'creeping' open while the car is parked, which is a clear sign of a vacuum leak.
- For a permanent fix, many owners opt for an electric motor conversion kit, which replaces the entire problematic vacuum system with reliable electric actuators.
1973: The One-Year-Only Headlight Design
The most critical fact about the 1973 Lincoln Mark IV headlight assembly is that it is a one-year-only design. This is not an optional detail; parts from a 1972 or 1974 Mark IV will not fit. The reason for this is the introduction of new federal safety regulations for 1973, which mandated that all new cars must have a front bumper capable of withstanding a 5-mph impact.
This new, bulkier bumper forced a complete redesign of the front end compared to the 1972 model. The grille, headlight door configuration, and all related mounting points were changed to accommodate it. The 1974 model saw further changes, including the addition of a 5-mph rear bumper, which again altered the front fascia. This makes finding correct-fitting used parts a challenge and underscores the importance of verifying compatibility.
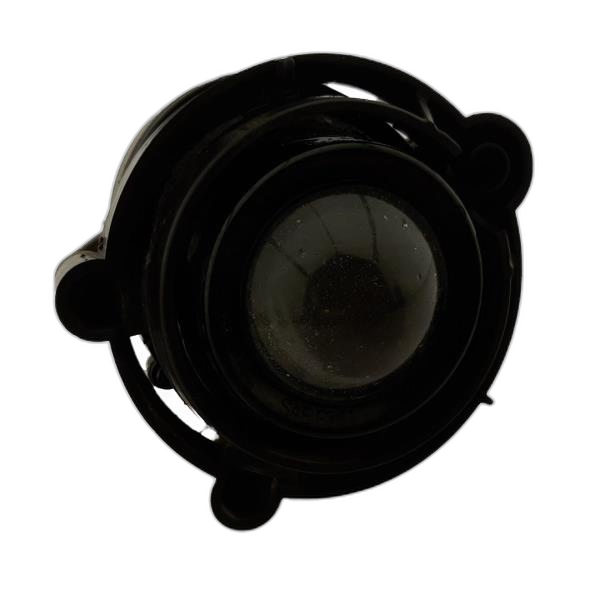
Warning: The OEM part numbers D3LY-13201-A and D3VY-13201-A, sometimes associated with this vehicle, are for the front parking and cornering lamp assemblies, not the main headlight buckets or doors. Do not purchase these expecting them to be part of the headlight system.
Symptoms of a Failing Headlight Door System
Nearly all problems with this assembly are related to the vacuum-operated door mechanism. The sealed beam headlights themselves are simple and reliable, but the system that reveals them is not. Symptoms almost always point to a vacuum leak.
- Headlight Doors "Creep" Open: The most common complaint. You park the car with the headlights off and the doors closed, but hours or days later, one or both doors have slowly drifted open. This indicates a slow vacuum leak somewhere in the system. The default, no-vacuum position for the doors is open, so any loss of vacuum allows them to rise.
- Doors Won't Close: When you turn the headlights off, the doors remain open. This points to a significant vacuum leak or a complete lack of vacuum being supplied to the closing side of the actuators.
- Doors Won't Open: You turn the headlights on, but the doors stay shut. This can be a failure in the headlight switch, which is responsible for routing the vacuum, or a blockage in the vacuum lines.
- Slow or Unsynchronized Operation: One door opens or closes much slower than the other, or they move sluggishly. This often points to a leak in the vacuum lines or actuator connected to the slower door.
Diagnosing the Vacuum System
Finding a vacuum leak in a nearly 50-year-old car is a process of elimination. The system is a network of components, any of which can fail.
- Vacuum Hoses: Start here. The original rubber hoses become brittle, cracked, and hard with age. Inspect every inch of the black rubber lines running from the engine to the firewall, to the headlight switch, and out to the actuators. Bend them slightly to reveal cracks.
- Vacuum Actuators (Motors): These are the two can-like pods behind the grille that physically move the doors. Inside is a rubber diaphragm that rots over time, causing a leak. You can test them with a hand-held vacuum pump. If they don't hold vacuum, they must be replaced or rebuilt.
- Check Valve: There is a small, one-way valve in the main vacuum line from the engine. Its job is to hold vacuum in the system's reservoir tank when the engine is off or under low vacuum conditions (like heavy acceleration). If this valve fails, the doors may open when you accelerate hard.
- Headlight Switch: The switch on the dashboard does more than just turn on the lights; it's also a vacuum valve. The back of the switch has multiple vacuum ports and can leak internally, causing the doors to malfunction.
- Manual Override Valve: Many systems have a manual valve under the hood that allows you to open the doors if the system fails. These valves can also be a source of leaks.
Buying a Used Headlight Assembly
Since new OEM assemblies are long gone, buying used is often the only option for the physical doors and mounting buckets. Here’s what to look for:
- Confirm it's from a 1973 Mark IV: This is non-negotiable. Ask the seller for photos of the car it came from if possible. A part from a '72 or '74 will not work.
- Inspect the Doors: Look for dents, deep scratches, and rust, especially on the lower edges. Check the condition of the chrome trim, if applicable. Minor cosmetic issues can be repaired, but major damage is costly to fix.
- Check the Mounting Buckets: These are the metal structures that hold the sealed beam bulbs. Check for rust, cracks, and bent mounting tabs. Ensure the three small aiming screws are present and turn freely.
- Assume Vacuum Components are Bad: When buying a used assembly, it's safest to assume the included vacuum actuators and hoses are no good. Factor the cost of new or remanufactured actuators into your budget.
- Why Used OEM is Better: For the physical doors and buckets, used OEM is your only choice. No aftermarket companies reproduce these complex, one-year-only parts. A good-condition used OEM part will fit correctly, which is a major advantage over non-existent aftermarket options.
Pro Tip: Many owners facing persistent vacuum issues choose to install an electric headlight door conversion kit. These kits replace the vacuum actuators with reliable electric motors, permanently solving the problem of leaking hoses and seals. While an investment, it provides modern reliability for this classic feature.
Cost Comparison (Estimated)
| Part or Service | Estimated Cost |
|---|---|
| New OEM Assembly | Not Available (NOS parts are extremely rare and expensive) |
| New Aftermarket Assembly | Not Available |
| Used OEM Assembly (Doors & Buckets) | $250 - $500+ (depending on condition) |
| Remanufactured Vacuum Actuator | $200 - $300 each (often requires core return) |
| Electric Conversion Kit | $600 - $700 |
| Replacement Halogen Sealed Beam Bulb | $10 - $20 each |
| Shop Labor (Diagnosis & Repair) | $200 - $600+ (highly variable due to diagnostic time) |
Frequently Asked Questions (FAQ)
Why are my headlight doors opening by themselves when the car is parked?
This is the classic symptom of a slow vacuum leak. The system requires vacuum to hold the doors closed. As the vacuum bleeds off through a cracked hose, a bad seal in an actuator, or a faulty switch, the doors slowly return to their default 'open' position.
Can I convert my vacuum headlights to an electric system?
Yes. Several aftermarket companies sell electric motor conversion kits specifically for classic Fords and Lincolns. These kits replace the unreliable vacuum actuators with modern, dependable electric motors, providing a permanent solution to vacuum leak problems.
What type of headlight bulb does the 1973 Mark IV use?
The 1973 Mark IV uses a four-headlight system with 5.75-inch round sealed beam bulbs. This typically consists of two high-beam bulbs (Type H5001) and two low-beam bulbs (Type H5006). Modern halogen and LED versions are available as direct replacements for the original incandescent bulbs.
How do I manually open the headlight doors to change a bulb?
Most systems have a manual override. Look for a knob or valve under the hood, often near the driver's side fender apron, connected to the vacuum lines. Turning this valve will vent the system's vacuum, causing the doors to open. Alternatively, you can simply disconnect one of the main vacuum lines from an actuator, which will also cause the doors to open.
Technical Specifications
OEM Part Numbers: D1VY-13A167-C (Headlight Door Actuator)
Headlight Bulb Type: 5.75 inch round sealed beam (H5001 High-Beam, H5006 Low-Beam)
We Have This Part in Stock


The information in this article is provided for general reference and educational purposes only. Vehicle specifications, procedures, and part compatibility can vary by production date, trim level, and region. Always consult your vehicle's factory service manual and verify part numbers before purchasing or performing repairs. Safety-critical components such as airbags, seat belts, and braking systems should be installed by a qualified professional.