

Acura TSX Headlight Guide (2004-2014): Moisture, Ballast Failures, and HID vs. Halogen
This guide covers the critical differences between the two TSX generations, explains the common failure of HID ballasts from water intrusion, and clarifies the Halogen vs. Xenon headlight trap.
- The 2004-2014 range covers two different generations (2004-2008 and 2009-2014) with incompatible headlights.
- For 2009-2014 models, you must verify if your car has Halogen or HID headlights; they are not interchangeable.
- Moisture inside the lens is the most common problem and the root cause of most HID ballast and igniter failures.
- Used headlight assemblies are typically sold as bare housings; HID bulbs and ballasts are almost never included.
Generation and Trim Level Differences: The Most Common Mistake
The 2004-2014 Acura TSX spans two generations with completely different headlight designs. Mixing them up is a common and costly mistake. Furthermore, the second generation had different headlight types depending on the trim level.
First Generation: 2004-2008 (CL9)
All first-generation TSX models came standard with projector-style High-Intensity Discharge (HID) headlights for the low beams. These systems use a D2S bulb, an external igniter, and a ballast (also called an HID control unit) to generate their bright, white light. A major known issue for this generation is moisture intrusion, which can damage these sensitive electronic components.
Second Generation: 2009-2014 (CU2)
This generation is more complex. The type of headlight depends on the vehicle's trim and original market:
- Halogen Projectors: Standard on US-market base models with the 4-cylinder engine. These use standard halogen bulbs and do not have ballasts or igniters.
- HID/Xenon Projectors: Standard on all models with the V6 engine, models with the Technology Package, and all Canadian-market models. Like the first generation, these use a D2S HID bulb, ballast, and igniter.
Warning: Halogen and HID headlight assemblies are NOT interchangeable. A car originally equipped with halogen lights cannot use an HID assembly without extensive wiring modifications, and vice-versa. Always verify which system your car has before purchasing a replacement.
Symptoms of a Failing Headlight Assembly
1. One Headlight Is Out or Flickers (HID Models)
If an HID headlight flickers, struggles to turn on, or won't light up at all, the issue is typically one of three components: the bulb, the igniter, or the ballast. Often, the bulb will glow pink or purple before it fails completely. A common diagnostic step is to swap the known-good bulb from the working side to the non-working side. If the problem persists, the issue is likely the ballast or igniter. These failures are frequently caused by long-term moisture exposure.
2. Moisture or Condensation Inside the Lens
This is the most common problem, especially on 2004-2008 models. You may see fog, water droplets, or a persistent haze on the inside of the clear outer lens. Headlights are designed with vents to breathe, but a failed housing seal allows excess water to enter, which can short out electrical components. Acura issued Technical Service Bulletins (TSBs #04041 and #07016) for early first-generation models to address this by adding sealing clips or replacing the entire assembly.
3. Dim or Yellowed Headlights
Over time, the polycarbonate lens is damaged by UV rays from the sun. This causes the plastic to become hazy, yellow, and cloudy, which significantly reduces light output and can be a safety hazard. While lens restoration kits can provide a temporary fix, a replacement assembly with a clear lens is the only permanent solution.
4. Cracked Housing or Broken Mounting Tabs
Physical damage from a minor impact can crack the headlight housing or, more commonly, break the plastic mounting tabs that secure it to the car. A loose headlight will vibrate, causing an unstable beam pattern, and will allow moisture to enter freely.
Buying a Used Headlight Assembly: What to Inspect
A used OEM headlight is often a better choice than a cheap aftermarket alternative due to superior optics, fit, and material quality. However, careful inspection is key.
- Verify the Type (2009-2014): First and foremost, confirm if you need a Halogen or HID assembly. Look at your existing headlight; HID projectors often have a clear, distinct lens, while the bulb itself may have a warning label about high voltage.
- Check the Lens Condition: Look for deep scratches, rock chips, and internal hazing. Minor external cloudiness can often be polished, but internal damage or cracks cannot be fixed.
- Inspect for Moisture Damage: Check the inside of the housing for dried water lines, mineral deposits, or a foggy film. This indicates the seal has failed and any included electronics may be compromised.
- Confirm Tab Integrity: Carefully inspect all mounting tabs. Broken tabs are a major red flag, as the headlight will not mount securely. Some tabs can be repaired with special kits, but intact tabs are always preferred.
- Assume Components Are Not Included: Most used headlight assemblies are sold as the housing only. Do not expect it to include the HID bulb, ballast, or igniter. These components are typically transferred from your old assembly or purchased separately.
Cost of Acura TSX Headlight Assemblies
| Part Type | Estimated Cost (Per Side) | Notes |
|---|---|---|
| New OEM | $450 - $1,050 | Price varies significantly by generation and HID vs. Halogen type. |
| New Aftermarket | $150 - $350 | Quality and beam pattern can be inconsistent compared to OEM. |
| Used OEM | $100 - $400 | A cost-effective option, but requires careful inspection. Price depends on condition. |
| Shop Labor (Assembly) | $150 - $300 | Replacement often requires removing the front bumper cover, increasing labor time. |
| Shop Labor (Bulb Only) | $50 - $150 | Can sometimes be done without full removal, but access is tight. |
Installation and Alignment
Replacing the headlight assembly on a TSX typically requires removing the front bumper cover to access the lower mounting bolts. While this is feasible for an experienced DIY mechanic, it can be a challenging job for a beginner.
Pro Tip: Before fully reinstalling the bumper, plug in the new headlight and test all functions (low beam, high beam, turn signal, marker light) to ensure everything works correctly.
Required Headlight Aiming
Anytime a headlight assembly is replaced, it must be properly aimed to ensure correct visibility and to avoid blinding oncoming drivers. This is a legal requirement.
- Park the car on a level surface, 25 feet away from a flat, vertical wall.
- Ensure tire pressures are correct and have someone sit in the driver's seat to simulate normal vehicle weight.
- Turn on the low beams. You will see a distinct horizontal cutoff line on the wall.
- Measure the height from the ground to the center of your headlight projector lens. The cutoff line on the wall should be at or slightly below this height.
- Use a long Phillips screwdriver or a 10mm socket to turn the vertical adjustment gear, which is typically accessible from the top of the headlight housing. One adjuster moves the beam up and down.
Frequently Asked Questions (FAQ)
How do I know if my 2009-2014 TSX has Halogen or HID headlights?
The easiest way is to check your trim. In the US, V6 models and 4-cylinder models with the Technology package have HIDs. Base 4-cylinder models have Halogens. Visually, when you turn on the lights, HIDs have a bright, pure white or slightly blue color and 'warm up' for a second, while halogens have a warmer, yellowish light and are instantly on at full brightness.
Can I upgrade my Halogen headlights to factory HIDs?
This is not a simple plug-and-play swap. The wiring harnesses are different, and the HID system requires a ballast and igniter that the halogen car does not have. While it is possible with custom wiring, it is a complex and involved project.
My headlight has moisture inside. Do I need to replace it?
Minor fogging that disappears when the headlights are on or when parked in the sun can be normal. However, if you see water droplets or the condensation never goes away, the main housing seal has failed. This will eventually lead to the failure of bulbs and ballasts. The best long-term solution is to replace the assembly. Some people attempt to reseal the light by baking it open, applying new sealant, and closing it, but this is a difficult process.
Is the HID ballast or bulb included with a used headlight?
Almost never. These components are considered separate parts. You should plan to either transfer them from your old headlight or purchase them separately. When buying a used ballast, ensure it was not from a water-damaged headlight.
Technical Specifications
OEM Part Numbers: 33101-TL0-A01 33101-TL0-A02 33151-SEC-A11 33151-SEC-A12 33151-TL0-A01 33151-TL0-A02 33151SECA12 33101-SEC-A12 33101-SEC-A62 33151-SEC-A62
HID Bulb Type: D2S. HID System Voltage: 85V. High Beam Bulb Type (2nd Gen): 9005.
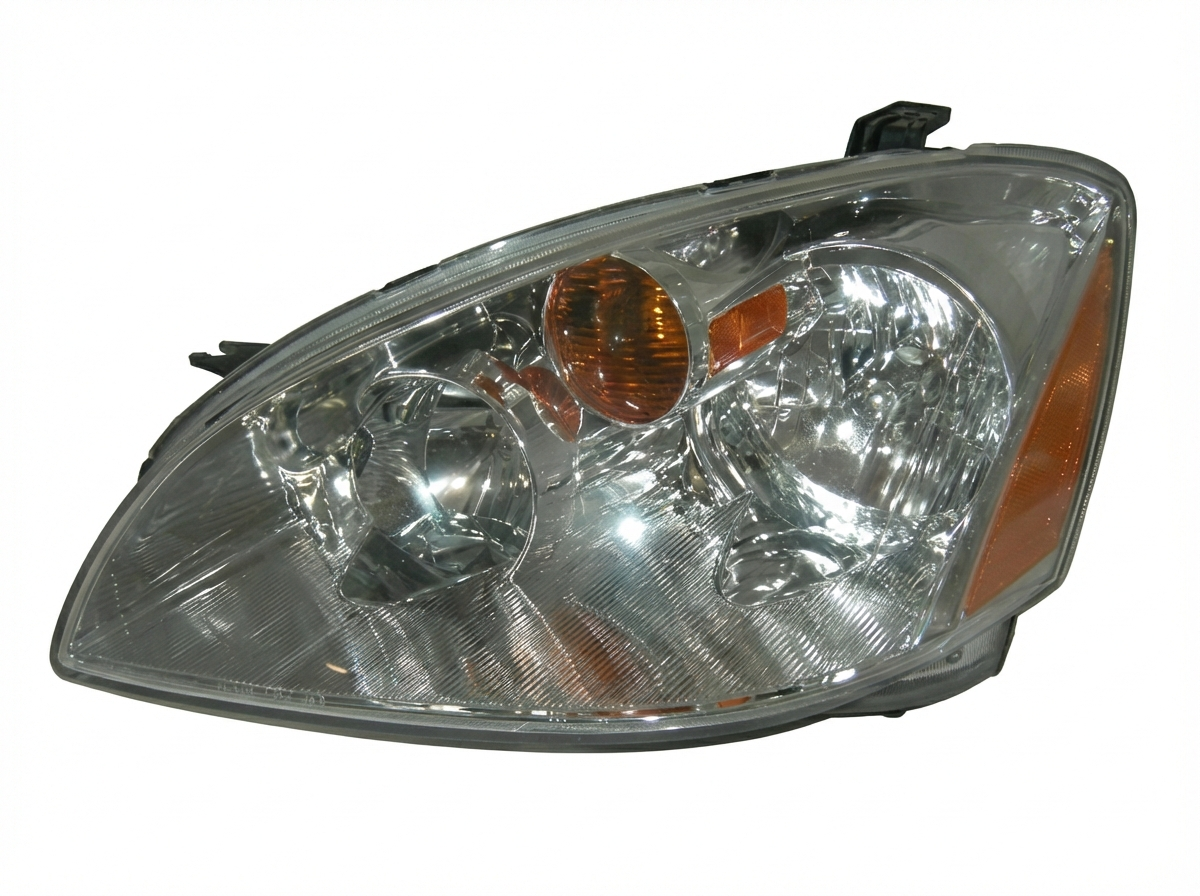
We Have This Part in Stock



The information in this article is provided for general reference and educational purposes only. Vehicle specifications, procedures, and part compatibility can vary by production date, trim level, and region. Always consult your vehicle's factory service manual and verify part numbers before purchasing or performing repairs. Safety-critical components such as airbags, seat belts, and braking systems should be installed by a qualified professional.
- Acura TSX:
- 🛍️ Shop This Part
- Generation and Trim Level Differences: The Most Common Mistake
- First Generation: 2004-2008 (CL9)
- Second Generation: 2009-2014 (CU2)
- Symptoms of a Failing Headlight Assembly
- 1. One Headlight Is Out or Flickers (HID Models)
- 2. Moisture or Condensation Inside the Lens
- 3. Dim or Yellowed Headlights
- 4. Cracked Housing or Broken Mounting Tabs
- Buying a Used Headlight Assembly: What to Inspect
- Cost of Acura TSX Headlight Assemblies
- Installation and Alignment
- Required Headlight Aiming
- Frequently Asked Questions (FAQ)
- 🎟️ Get 5% Off