

2008-2010 Porsche Cayenne Headlight: Wiring Rot, Moisture Leaks, and Replacement Guide
This in-depth guide covers the critical failure points of the 957-generation Cayenne headlamps, including internal wiring degradation and water intrusion.
- The #1 failure is brittle internal wiring insulation that flakes off, causing shorts and 'System Fault' warnings. Always inspect the wiring on a used unit.
- Halogen and Bi-Xenon (HID) headlights are NOT interchangeable due to different wiring and vehicle coding. Verify your car's original type before buying.
- Water leaking into the housing is common and will destroy the expensive Xenon ballast/control module located at the bottom of the assembly.
- Replacement is extremely easy for a DIYer using the special tool found in the vehicle's factory toolkit, which unlocks and allows the entire assembly to slide out.
Key Variants: Halogen vs. Bi-Xenon vs. PDLS Adaptive

The 2008-2010 Porsche Cayenne (known as the 957 generation) was offered with three main types of headlights. Correctly identifying your vehicle's system is the most important step before purchasing a replacement.
Standard Halogen Headlights
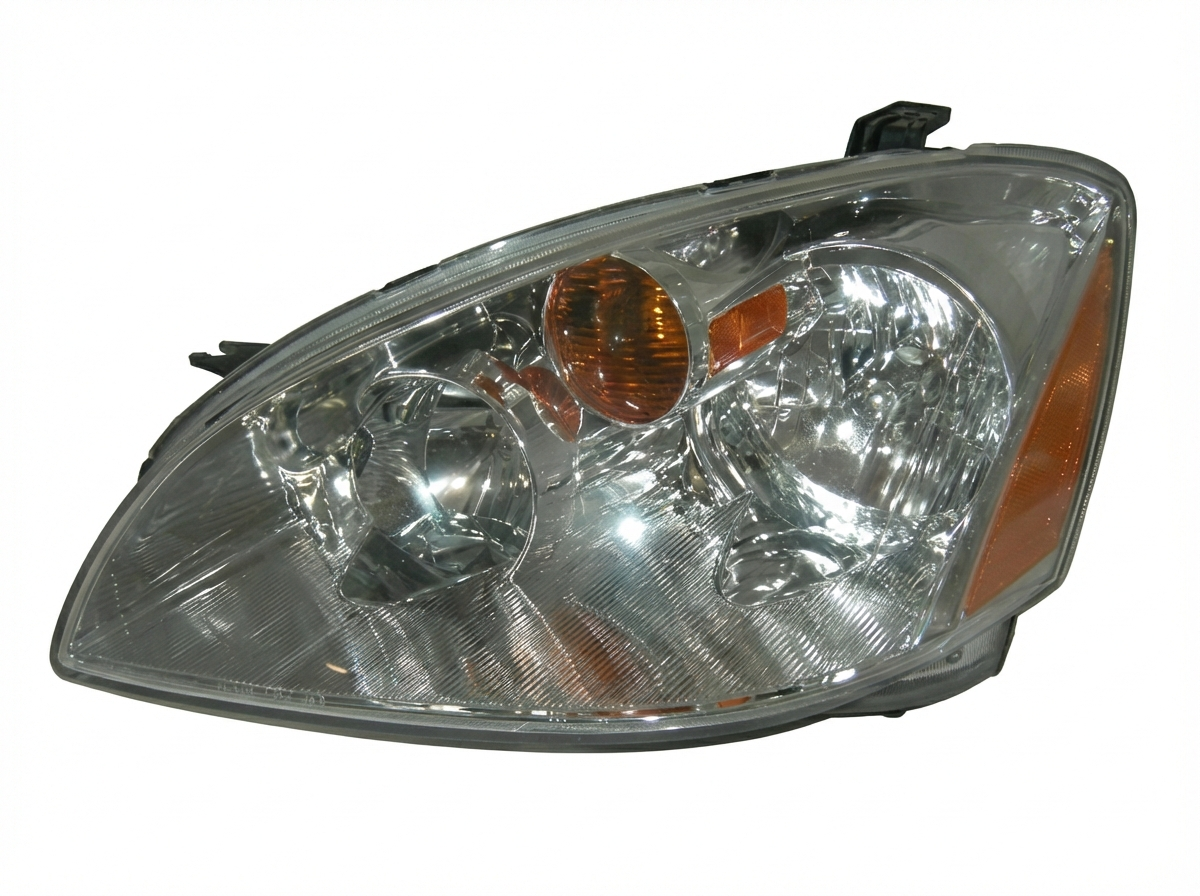
Typically found on the base Cayenne models, these headlights use a reflector housing with standard halogen bulbs (such as H7). They have a warmer, yellowish light output and are the simplest system. The internal appearance is a chrome reflector bowl behind a clear lens.
Optional Bi-Xenon (HID) Headlights
Standard on S, GTS, and Turbo models and optional on the base trim, Bi-Xenon headlights are easily identified by the projector lens (a glass sphere or 'eyeball') visible inside the housing. These use a D1S HID bulb, which produces a much brighter, whiter light. The term "Bi-Xenon" means a single projector and bulb are used for both low and high beams, with a mechanical shutter inside the projector that moves to change the beam pattern. These systems require an external ballast (or control module) and an igniter to operate, which are often mounted to the bottom or back of the headlamp housing.
Optional Bi-Xenon with PDLS (Porsche Dynamic Light System)
This is an upgrade to the Bi-Xenon system. These headlights look identical but contain additional motors that swivel the projector lenses left and right as you turn the steering wheel, illuminating corners more effectively. A failure in this system will typically trigger a "PDLS Fault" warning on the instrument cluster.
Warning: Halogen, Xenon, and Xenon with PDLS headlight assemblies are NOT interchangeable. They use different wiring harnesses and connectors (a 10-pin connector for Halogen vs. a 14-pin for Xenon) and require different coding in the vehicle's control modules. Attempting to upgrade from Halogen to Xenon is a complex project requiring custom wiring and programming, not a simple plug-and-play swap.
Common Failure Symptoms and Known Issues


The 957 Cayenne headlights are notorious for a few specific, costly problems as they age.
1. Internal Wiring Insulation Degradation
This is the most common and severe issue. The insulation on the wires inside the headlight housing becomes extremely brittle with age and heat. It cracks and flakes off, leaving bare wires exposed. This leads to short circuits, causing a cascade of problems:
- "System Fault Headlamp" or "Check Dipped Beam" warnings on the dash.
- Flickering or intermittent operation of one or both headlights.
- Complete headlight failure.
- In Xenon models, a short can damage the expensive ballast/control module.
This issue is so common that some companies offer replacement internal wiring harnesses to rebuild an otherwise good headlight.
2. Moisture and Condensation Ingress
The seal between the clear front lens and the black rear housing often fails, allowing water to enter the assembly, especially after rain or a car wash. This presents in two ways:
- Fogging/Condensation: A light mist on the inside of the lens that may come and go with temperature changes.
- Water Puddling: In severe cases, water collects at the bottom of the housing. This is extremely dangerous for Xenon models, as the water will submerge and destroy the ballast/control module mounted on the bottom of the unit, leading to a costly repair.
3. Lens Hazing and UV Damage
Like most polycarbonate lenses from this era, the outer surface is prone to UV damage. This appears as a yellow, cloudy, or hazy finish that reduces light output and looks unsightly. Minor hazing can be corrected with a polishing kit, but deep pitting or internal "crazing" (fine spiderweb cracks) is permanent.
Recalls and Technical Service Bulletins (TSBs)

NHTSA Recall 22V-656000: This recall affects 2008-2010 Cayenne models. The issue is missing sealing caps on the horizontal headlight adjustment screws. Without these caps, the headlights could be improperly adjusted, potentially causing glare for oncoming drivers or poor road illumination. Porsche dealers will inspect and install the missing caps free of charge.
Buyer's Guide: Inspecting a Used 2008-2010 Cayenne Headlamp
Buying a used OEM headlight is a smart way to save money, but careful inspection is crucial to avoid inheriting a failed unit.
- Verify the Type: First, confirm if you need Halogen or Bi-Xenon. Look for the projector 'eyeball' for Xenon or a simple chrome reflector for Halogen. Check the part number against known lists. Do not buy a Xenon light for a Halogen car or vice-versa.
- CRITICAL - Inspect the Internal Wiring: Remove the rear circular access caps. Use a flashlight to look at the wires inside. Check for any signs of cracked, flaking, or crumbling insulation. If you see bare copper wire, the headlight will need to be re-wired to be reliable. A unit with pristine, flexible wiring is significantly more valuable.
- Check for Moisture Evidence: Look for a 'water line' or dried mineral deposits on the inside of the lens or in the chrome/black plastic housings. This indicates a past or present leak. A foggy lens upon inspection is a major red flag.
- Examine the Lens Condition: Check for deep scratches, rock chips, and yellowing. Differentiate between surface haze (which can be polished) and internal crazing/cracks (which are permanent).
- Inspect All Mounting Points: The Cayenne uses a slide-in tray system. Ensure all plastic guide rails and locking tabs on the assembly are intact and not cracked or repaired. A broken tab can cause the headlight to fit loosely and vibrate.
- Confirm Ballast/Bulb Presence (for Xenon): Most used Xenon headlights are sold as bare housings. Confirm if the D1S bulb, igniter, and the main ballast/control module are included. If not, you will need to transfer them from your old unit or purchase them separately.
Pro Tip: Given the high failure rate of internal wiring, a used headlight that has already been professionally rebuilt with a new wiring harness can be a better value than a cheaper, all-original unit that is likely to fail soon.
Replacement Overview & Alignment

Replacing the headlamp assembly on a 957 Cayenne is famously simple and very DIY-friendly.
- Locate the Tool: In the vehicle's trunk toolkit, there is a special socket wrench specifically for headlight removal.
- Access the Release Mechanism: Open the hood. Near each headlight, there is a small plastic cover. Pop this cover off to reveal the release mechanism.
- Release the Headlight: Insert the tool into the hole and turn it (directions are often printed on the panel). You will feel the headlight pop forward as it unlocks from its tray.
- Swap the Assembly: Slide the old headlight out, disconnect the main electrical connector, and connect the new one. Slide the new assembly into the tray until it's fully seated, then use the tool to turn the lock back into place. You should hear and feel it click securely.
After installation, aiming is required. Park the vehicle on a level surface facing a wall (about 25 feet away) and use the adjustment screws on the back of the assembly to align the beam cutoff to the proper height. If you have PDLS and receive a fault code after replacement, the system may need to be calibrated by a dealer or a specialist with a Porsche PIWIS scan tool.
Cost Comparison
| Part Type | Estimated Cost |
|---|---|
| New OEM (Xenon) | $1,500 - $2,500+ (per side) |
| New Aftermarket (LED Upgrade) | $1,000 - $1,300 (per pair) |
| Used OEM | $300 - $800 (per side, depending on type and condition) |
| Shop Labor (Replacement) | $100 - $200 |
Frequently Asked Questions (FAQ)
Can I upgrade my Cayenne's Halogen headlights to Xenon?
This is not a simple plug-and-play swap. It requires different headlight assemblies, different wiring harnesses, and coding of the vehicle's central electronics module to recognize the Xenon system. While possible, it is a complex and potentially expensive project.
What is the special tool to remove the headlight and where is it?
It is a long socket wrench included in the factory tool kit, typically located with the spare tire in the trunk. The part number for the tool is 955-721-135-01. If missing, a long 5mm or 6mm hex socket on an extension may work in its place.
My headlight lens is foggy on the inside. What should I do?
This is caused by a failed seal. You must remove the headlight and dry it out completely, often by opening the rear access ports and using a hairdryer on a cool setting. To prevent it from happening again, the seal between the lens and housing must be repaired, typically by applying a quality automotive-grade silicone or butyl sealant around the entire seam. If you have a Xenon light, address this immediately to prevent water from destroying the ballast.
Why is my headlight flickering and showing a 'System Fault' warning?
This is the classic symptom of the internal wiring insulation failing and causing a short circuit. You will need to remove the headlight and inspect the wires. The fix requires either replacing the entire headlight assembly or rebuilding the existing one with a new internal wiring harness.
My used Xenon headlight won't turn on. Is it broken?
Not necessarily. Most used Xenon headlights are sold as bare housings. They do not include the D1S bulb or the main control module/ballast. You must transfer these components from your old, working headlight to the new one. If you've done that and it still doesn't work, then the ballast or bulb itself may have failed.
Technical Specifications
OEM Part Numbers: 7L5-941-032 7L5-941-032-A 7L5941031 7L5941032L 95563115602 95563115741 95563117520 95563117521 95563117620 95563117621 958941029G 958941029K 958941030C 46658 46659
Xenon (HID) Bulb Type: D1S. Headlight Removal Tool Part Number: 955-721-135-01.
We Have This Part in Stock



The information in this article is provided for general reference and educational purposes only. Vehicle specifications, procedures, and part compatibility can vary by production date, trim level, and region. Always consult your vehicle's factory service manual and verify part numbers before purchasing or performing repairs. Safety-critical components such as airbags, seat belts, and braking systems should be installed by a qualified professional.
- Porsche Cayenne:
- 🛍️ Shop This Part
- Key Variants: Halogen vs. Bi-Xenon vs. PDLS Adaptive
- Standard Halogen Headlights
- Optional Bi-Xenon (HID) Headlights
- Optional Bi-Xenon with PDLS (Porsche Dynamic Light System)
- Common Failure Symptoms and Known Issues
- 1. Internal Wiring Insulation Degradation
- 2. Moisture and Condensation Ingress
- 3. Lens Hazing and UV Damage
- Recalls and Technical Service Bulletins (TSBs)
- Buyer's Guide: Inspecting a Used 2008-2010 Cayenne Headlamp
- Replacement Overview & Alignment
- Cost Comparison
- Frequently Asked Questions (FAQ)
- 🎟️ Get 5% Off