

2009-2010 Mazda 6 Headlight Problems: Fixing Intermittent Failure and Choosing a Replacement
This guide covers the common electrical faults, replacement costs, and critical differences between halogen and HID headlights for the 2009-2010 Mazda 6.
- A widespread issue causes intermittent headlight failure, often temporarily fixed by hitting the assembly, which points to a faulty internal connection requiring full replacement.
- The Halogen and optional Xenon/HID headlight assemblies are NOT interchangeable. You must buy the correct type for your vehicle's specific trim.
- Replacing the headlamp assembly is a significant job that requires the complete removal of the front bumper cover.
- Despite numerous owner complaints about headlight failures, there are no official safety recalls from Mazda for this issue.
Critical: Halogen vs. Xenon/HID Headlights

Compatibility Warning: The 2009-2010 Mazda 6 was available with two completely different types of headlight systems: standard Halogen and optional High-Intensity Discharge (HID), also known as Xenon. These two systems are NOT interchangeable. The headlamp assembly you purchase must match the system your car was originally equipped with.
The fundamental difference lies in how they produce light and the components they require:
- Halogen Systems: These are the standard lights on most trims. They use a simple filament bulb (H7 for the low beam, 9005 for the high beam) that glows when electricity passes through it. They are self-contained within the main assembly.
- Xenon/HID Systems: Found on higher trim levels, these use a specialized bulb (like a D2S) that creates an electric arc inside a capsule of xenon gas. This produces a brighter, whiter light but requires additional components called a ballast and an igniter to create and maintain the high voltage needed. These components are often mounted to the bottom or back of the headlamp assembly.
Attempting to install a Halogen assembly in a car built for HIDs, or vice-versa, will result in electrical failure. The wiring harnesses are different, and the vehicle's control modules are not programmed for the wrong type of light. Always verify which system your vehicle has before purchasing a replacement.
Known Issues and Symptoms


The headlamp assemblies on the 2009-2010 Mazda 6 are known for a few specific and frustrating problems, primarily related to the halogen models.
Intermittent Headlight Failure (The "Mazda Tap")
The most widely reported issue is the sudden, intermittent failure of one or both low-beam headlights. Many owners have discovered that a sharp tap or bang on the outside of the headlight lens will cause the light to turn back on, at least temporarily. This indicates a poor internal electrical connection or a faulty wiring harness within the assembly itself, not necessarily a bad bulb. While this trick can work in an emergency, it is not a permanent solution and points to an underlying defect in the headlamp unit.
Premature Bulb Burnout and Melting Sockets
Related to the poor connections, many owners report having to replace low-beam headlight bulbs far more frequently than normal. In some cases, the heat from the faulty connection can cause the bulb socket, wiring, or even the headlight housing itself to melt. Upon inspection, you may find burnt or discolored plastic around the bulb's connection point. This is a serious fire hazard and requires immediate replacement of the entire headlamp assembly.
Moisture and Condensation
Like many modern headlights, the seals on the Mazda 6 assembly can fail over time, allowing moisture to enter the housing. This can appear as a light fog, small water droplets, or even standing water inside the lens. Condensation not only reduces light output and creates a poor appearance but can also lead to corrosion of electrical connectors and premature bulb failure. This is often caused by aging seals or clogged ventilation ports on the back of the assembly.
Pro Tip: If you experience intermittent headlight failure, before assuming the bulb is bad, try the "tap test." If hitting the housing makes the light flicker or turn on, the entire assembly is faulty and needs replacement.
Buying a Used Headlamp Assembly: What to Inspect

A used OEM headlamp can be a cost-effective solution, often providing better fit and longevity than a cheap aftermarket part. However, careful inspection is key, especially with the known issues on this model.
- Check the Lens: Look for deep scratches, cracks, or severe "hazing" (a foggy, yellowed appearance from UV damage). Minor hazing can often be polished out, but a cracked lens will allow moisture in and must be avoided.
- Inspect All Mounting Tabs: The assembly is held in by several plastic tabs and bolt points. These are brittle and can easily break during removal from the donor vehicle. Ensure all tabs are intact for a secure, vibration-free fit.
- Examine the Bulb Sockets: This is the most critical inspection point. Look closely at the low-beam (H7) socket. Check for any signs of melting, charring, or brown/black discoloration. If you see any evidence of heat damage, reject the part, as it has the same internal fault you are trying to fix.
- Look for Moisture Stains: Check the inside of the lens and the chrome reflectors for water lines or a chalky residue. This indicates the assembly has had a past or present leak.
- Confirm Part Numbers: If possible, match the OEM part number. The driver's side (left) will begin with GS3L-51-0L0 and the passenger's side (right) with GS3L-51-0K0. The final letter (C, D, E, F, G) indicates a revision, with later letters being newer versions.
Replacement Procedure Overview
Replacing the headlamp assembly on a 2009-2010 Mazda 6 is a moderately difficult job primarily because the front bumper cover must be removed to access all the mounting bolts.
- Remove the Bumper Cover: This involves removing numerous clips and screws from the top (under the hood), sides (in the wheel wells), and bottom of the bumper.
- Unbolt the Headlamp Assembly: With the bumper off, you will have clear access to the bolts securing the assembly to the frame. There are typically two on top, one on the side, and one or more on the bottom.
- Disconnect Wiring: Pull the assembly forward slightly to access and disconnect the main electrical connector on the back.
- Transfer Components: You may need to transfer bulbs and a lower mounting bracket from your old assembly to the new one.
- Install and Reassemble: Install the new assembly, reconnect the wiring, and test all lights before reinstalling the bumper cover.
Headlight Aiming After Installation
After replacing a headlamp assembly, you must have the headlights properly aimed. Misaligned headlights can reduce your visibility and blind oncoming drivers. The 2009-2010 Mazda 6 has adjustment screws on the back of the assembly that can be turned with a long Phillips screwdriver. The vertical adjuster is generally easier to access than the horizontal one. Accessing the adjusters on the passenger side can be tricky due to the windshield washer fluid reservoir neck, which may need to be moved out of the way.
Recalls and Technical Service Bulletins (TSBs)
While there are numerous owner complaints filed with the National Highway Traffic Safety Administration (NHTSA) regarding intermittent headlight failures, melting housings, and frequent bulb burnout, Mazda has not issued any official recalls or TSBs for the headlamp assemblies on the 2009-2010 Mazda 6. Other recalls exist for this vehicle concerning airbags and the front cross member, but none address the headlight issues.
Cost Comparison
| Part Type | Estimated Cost (Single Assembly) |
|---|---|
| New OEM (Dealer) | $850 - $1,200 |
| New Aftermarket | $175 - $400 |
| Used OEM | $150 - $400 |
| Shop Labor for Replacement | $250 - $375 |
Frequently Asked Questions (FAQ)
Why does my headlight turn on when I hit it?
This is a classic sign of a loose or failing electrical connection inside the headlamp assembly itself. The impact temporarily re-establishes the connection. This is a common defect in these specific headlight units and means the entire assembly should be replaced.
Can I upgrade my Halogen headlights to HID or LED?
Upgrading from a factory Halogen system to a factory HID system is extremely complex and costly, requiring new headlamp assemblies, ballasts, wiring harnesses, and potentially reprogramming the car's body control module. Simply putting an aftermarket HID or LED "conversion kit" bulb into a halogen housing is not recommended. It will create significant glare for other drivers and produce an improper, unsafe beam pattern because the reflector is not designed for that type of light source.
How do I know if I have Halogen or HID headlights?
The easiest way is to look at the light when you first turn it on. HID headlights have a characteristic "flicker" and take a few seconds to reach full brightness and correct color. Halogen lights are instant-on. You can also look for a warning label on the headlight assembly itself, as HIDs operate at very high voltages. HID bulbs are often marked with a code like "D2S".
What bulbs do I need for my HALOGEN headlight assembly?
For the factory halogen assemblies, the low beam headlight is bulb size H7 and the high beam headlight is bulb size 9005 (also called HB3).
Technical Specifications
OEM Part Numbers: GS3L-51-0K0C GS3L-51-0K0D GS3L-51-0K0E GS3L-51-0K0F GS3L-51-0K0G GS3L-51-0L0C GS3L-51-0L0D GS3L-51-0L0E GS3L-51-0L0F GS3L-51-0L0G
Fits Halogen models only. Left/Driver Side P/Ns start with GS3L-51-0L0x. Right/Passenger Side P/Ns start with GS3L-51-0K0x. Low Beam Bulb: H7. High Beam Bulb: 9005 (HB3).
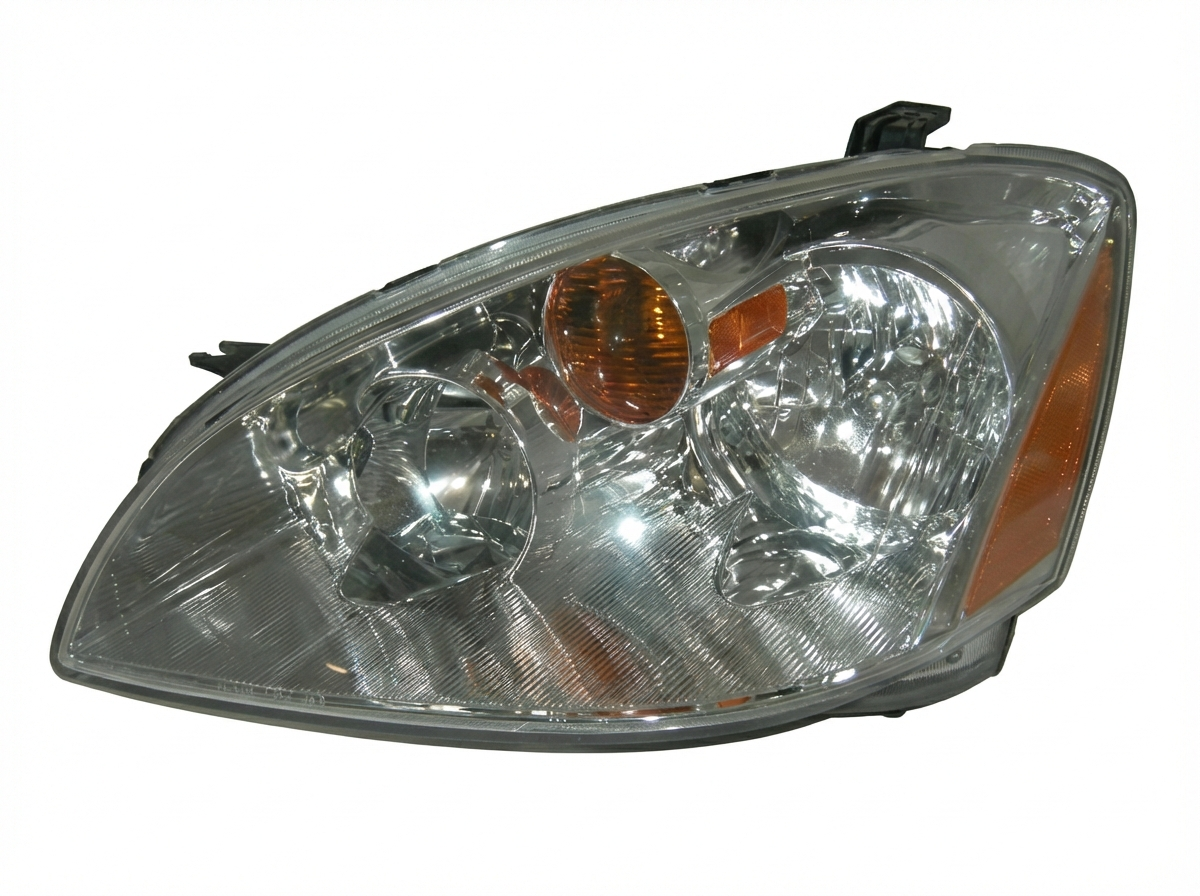
We Have This Part in Stock



The information in this article is provided for general reference and educational purposes only. Vehicle specifications, procedures, and part compatibility can vary by production date, trim level, and region. Always consult your vehicle's factory service manual and verify part numbers before purchasing or performing repairs. Safety-critical components such as airbags, seat belts, and braking systems should be installed by a qualified professional.
- Mazda Mazda6:
- Mazda 6:
- 🛍️ Shop This Part
- Critical: Halogen vs. Xenon/HID Headlights
- Known Issues and Symptoms
- Intermittent Headlight Failure (The "Mazda Tap")
- Premature Bulb Burnout and Melting Sockets
- Moisture and Condensation
- Buying a Used Headlamp Assembly: What to Inspect
- Replacement Procedure Overview
- Headlight Aiming After Installation
- Recalls and Technical Service Bulletins (TSBs)
- Cost Comparison
- Frequently Asked Questions (FAQ)
- 🎟️ Get 5% Off