

1995-1996 Hyundai Sonata Headlamp: Solving Haze, Moisture, and Fitment Issues
This guide covers the common failures of the 1995-1996 Hyundai Sonata headlamp assembly, including how to inspect a used unit and ensure proper fit.
- The most common failure is UV damage causing the lens to become yellow and hazy, which severely reduces light output.
- These are simple halogen units; they do not use HID ballasts or LED drivers, making replacement straightforward.
- Water leaking into the assembly is a frequent problem due to aging seals. Inspect any used part for signs of past moisture.
- Always verify the mounting bracket style of a replacement unit matches your original part, as there can be subtle variations.
Symptoms of a Failing Headlamp Assembly


A failing headlamp assembly can show several signs, many of which are visual and can impact safety by reducing light output.
- Dim or Yellow Light Output: Over time, the plastic lens is exposed to UV rays from the sun, causing it to oxidize and turn yellow or hazy. This cloudy layer significantly blocks the light from the bulb, reducing visibility at night.
- Moisture or Condensation Inside: A common failure is the breakdown of the seal between the lens and the rear housing. This allows water from rain or car washes to get inside, causing condensation, fogging, or even a visible puddle of water. This moisture can cause the reflective chrome surface to peel and can lead to premature bulb failure.
- Cracked or Damaged Lens: Impacts from road debris or minor accidents can easily crack the plastic lens. A crack compromises the assembly's seal, allowing moisture and dirt inside, and can create a distracting or illegal beam pattern.
- Broken Mounting Tabs: The plastic tabs that hold the assembly to the vehicle frame are brittle after decades of heat and vibration. They can easily break during a minor impact or even during removal for bulb changes, causing the headlight to become loose, vibrate, or be improperly aimed.
- Flickering or Inconsistent Light: While often caused by a bad bulb or wiring issue, corrosion on the bulb socket inside the assembly can also cause an intermittent connection and flickering lights.
Known Issues, Recalls, and TSBs
For a vehicle of this age, most issues are related to wear and tear rather than manufacturing defects.
- Primary Issue: Lens Degradation: The most widespread problem for these headlamps is severe UV hazing and yellowing of the polycarbonate lens. This is a gradual failure that severely limits how much light reaches the road.
- Recalls and TSBs: As of July 2026, there are no specific NHTSA recalls or Technical Service Bulletins (TSBs) for the headlamp assemblies on the 1995-1996 Hyundai Sonata. Recalls for this vehicle generation focused on other issues like suspension components or windshield wipers.
Warning: The key compatibility issue for these years is the mounting bracket style. Always compare the mounting points of a replacement unit to your original part before purchasing to ensure a correct fit.
Buying a Used 1995-1996 Sonata Headlamp: What to Look For

A good quality used OEM headlamp is often a better choice than a cheap new aftermarket one due to superior fit and materials. Here’s what to inspect.
1. Lens Clarity is Key
The most important factor is the condition of the lens. Look for a unit with minimal hazing or yellowing. A clear used OEM lens will provide better light output than a new, cheap aftermarket unit with poor optics. Avoid any assembly with internal hazing or deep cracks.
2. Check All Mounting Tabs
Carefully inspect every mounting tab and bracket point. These are made of plastic that becomes brittle with age. A single broken tab can cause the headlight to vibrate, aim incorrectly, and eventually fail inspection. Ensure all tabs are present and free of cracks.
3. Look for Signs of Moisture
Check the inside of the lens for a 'water line' or dried mineral deposits. These are clear indicators that the assembly has had a leak in the past. A past leak suggests the seal is compromised and it will likely leak again.
4. Inspect the Bulb Sockets and Pigtail
Ensure the electrical connector on the back of the assembly is not cracked, melted, or corroded. Check the sockets where the bulbs twist in for any signs of heat damage or corrosion, which can cause poor electrical connections.
Why Used OEM is Often Better
Original Equipment (OEM) headlamps were designed by Hyundai to fit perfectly and produce a specific, safe beam pattern. Many new aftermarket units, especially budget-priced ones, can have issues with fitment, requiring modification to install. They may also use lower-quality plastics that yellow faster and have optics that create glare for other drivers or uneven lighting on the road.
Cost Comparison: 1995-1996 Sonata Headlamp Assembly
| Part Type | Estimated Cost (per side) |
|---|---|
| New OEM | $130 - $295 |
| New Aftermarket | $50 - $90 |
| Used OEM | $40 - $110 |
| Shop Labor | $75 - $150 |
Replacement and Installation

Replacing the headlamp assembly is a straightforward DIY job for most home mechanics. The main challenge is accessing the mounting bolts.
Tools Needed: Socket set, screwdrivers.
- Disconnect the negative battery terminal.
- You may need to partially remove or loosen the front bumper cover to access the lower and side mounting bolts of the headlamp assembly.
- Locate and remove the bolts securing the headlamp assembly. There are typically two or three on top and one on the side or bottom.
- Carefully pull the assembly forward and disconnect the main electrical harness from the back.
- Installation is the reverse of removal. Transfer your old bulbs or install new ones before mounting the new assembly.
Headlight Aiming is Required After Installation
After installing a new headlamp assembly, you MUST aim it properly. Misaligned headlights can blind other drivers or fail to illuminate the road adequately.
Simple Aiming Procedure:
- Park the car on a level surface, 25 feet away from a flat, vertical wall.
- Turn on the low beams.
- Locate the vertical and horizontal adjustment screws on the back of the headlamp assembly. They typically look like small bolts or have Phillips-head slots.
- Adjust the beam so the top of the brightest part of the light pattern is about 2 inches below the center-height of the headlamp itself. The goal is a slight downward angle to illuminate the road without glaring into oncoming traffic.
Frequently Asked Questions (FAQ)
Can I upgrade my 1995 Sonata to modern LED or HID headlights?
While you can buy aftermarket LED or HID "plug-and-play" bulbs, it is generally not recommended. The original halogen reflector housing is not designed for the light source of an LED or HID bulb. This results in an improper and often illegal beam pattern that creates dangerous glare for other drivers and poor visibility for you. A proper conversion requires replacing the entire assembly with a projector-style unit designed for that specific light source.
Are the left and right side headlamps interchangeable?
No. Headlamp assemblies are specific to the driver's side (Left) and passenger's side (Right). They are mirror images of each other and cannot be swapped.
My lens is foggy. Can I just polish it?
If the fogginess is on the outside (UV hazing), you can often restore some clarity with a headlight restoration kit. However, if the fogginess is due to moisture on the inside, the assembly's seal has failed. Polishing will not fix this, and the moisture will continue to be a problem. In that case, the assembly should be resealed or replaced.
Do I need to buy new bulbs with a used assembly?
A used assembly may come with bulbs, but their age and condition are unknown. It is always best practice to install new, high-quality halogen bulbs (Type 9005 for high beam, 9006 for low beam) when replacing the assembly to ensure optimal performance and longevity.
Technical Specifications and Part Numbers
Pro Tip: The first five digits of the part number often indicate the part group. For this headlamp, `92101` typically denotes a left-hand assembly, and `92102` denotes a right-hand assembly.
| Specification | Detail |
|---|---|
| Lighting Technology | Halogen (Composite) |
| Bulb Type (Low Beam) | 9006 |
| Bulb Type (High Beam) | 9005 |
| Known OEM Part Numbers (Left/Driver) | 92101-34050, 92101-34500 |
| Known OEM Part Numbers (Right/Passenger) | 92102-34000, 92102-34050, 92102-34500 |
Technical Specifications
OEM Part Numbers: 92101-34050 9210134050 92102-34000 92102-34050 92102-34500
Lighting Type: Halogen. Bulb Types: 9006 (Low Beam), 9005 (High Beam).
We Have This Part in Stock
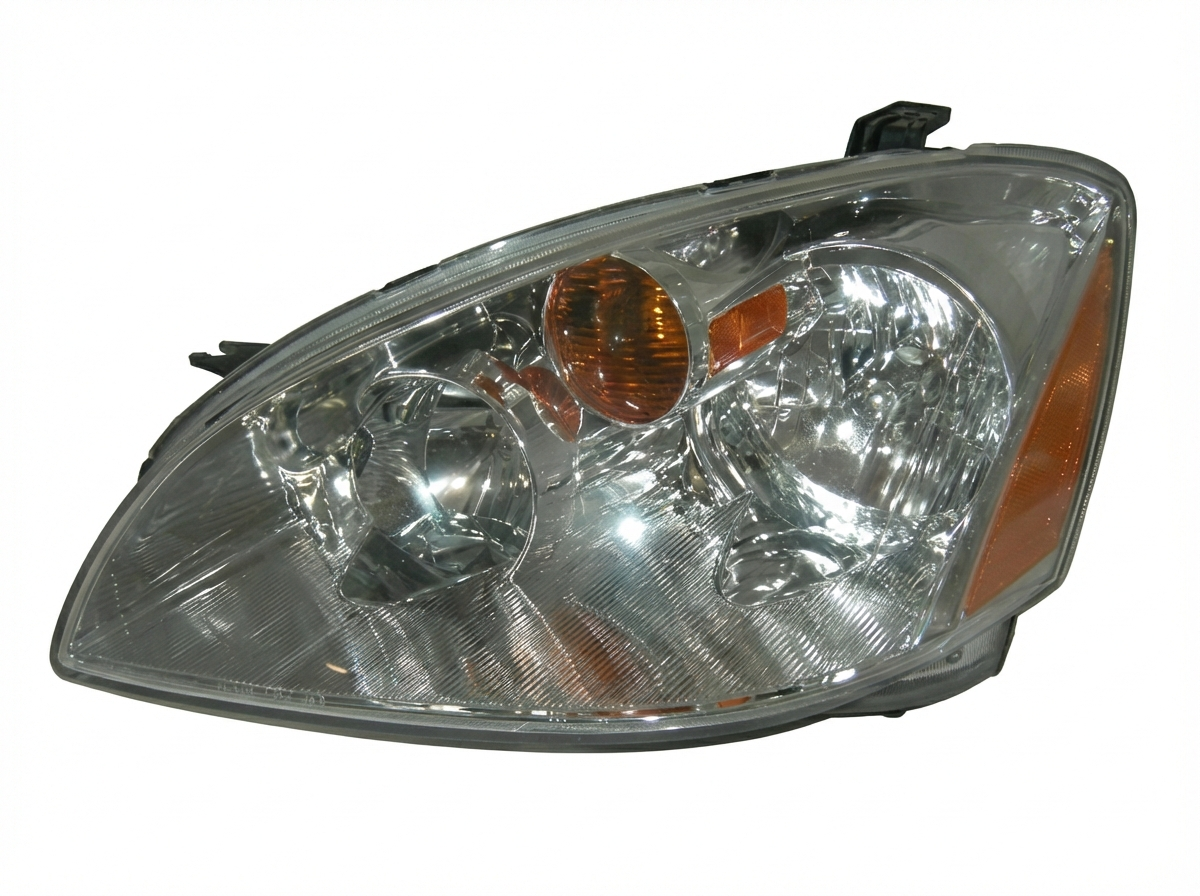

The information in this article is provided for general reference and educational purposes only. Vehicle specifications, procedures, and part compatibility can vary by production date, trim level, and region. Always consult your vehicle's factory service manual and verify part numbers before purchasing or performing repairs. Safety-critical components such as airbags, seat belts, and braking systems should be installed by a qualified professional.
- Hyundai Sonata:
- 🛍️ Shop This Part
- Symptoms of a Failing Headlamp Assembly
- Known Issues, Recalls, and TSBs
- Buying a Used 1995-1996 Sonata Headlamp: What to Look For
- 1. Lens Clarity is Key
- 2. Check All Mounting Tabs
- 3. Look for Signs of Moisture
- 4. Inspect the Bulb Sockets and Pigtail
- Why Used OEM is Often Better
- Cost Comparison: 1995-1996 Sonata Headlamp Assembly
- Replacement and Installation
- Headlight Aiming is Required After Installation
- Frequently Asked Questions (FAQ)
- Technical Specifications and Part Numbers
- 🎟️ Get 5% Off