

2012-2019 Bentley Continental & Flying Spur Dash Bezel: A Guide to Cracking Veneer and Trim Matching
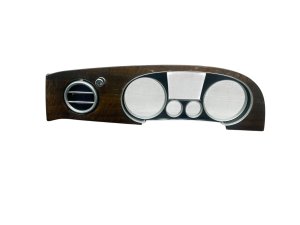
This is the definitive guide to diagnosing common veneer damage, matching rare wood grains, and replacing the center dash bezel on your Bentley Continental or Flying Spur.
- The single most critical factor when buying a used bezel is perfectly matching the specific wood veneer (e.g., Burr Walnut, Piano Black) to your car's interior.
- Common failures are purely cosmetic, such as cracked lacquer ('crazing') and fading from sun exposure; these do not affect vehicle operation.
- When buying a used part, always get clear photos of the back to verify that all mounting clips are intact to prevent rattles and ensure a secure fit.
- Replacement is a careful but feasible DIY job using plastic trim tools; a new OEM part is extremely expensive, making a quality used part the best value.
Common Symptoms of a Failing Dash Bezel
Failure of this part is almost always cosmetic, but can sometimes result in annoying noises or non-functional air vents. These issues are common as the vehicle ages and is exposed to sunlight and temperature fluctuations.
Cracked Lacquer or "Crazing"
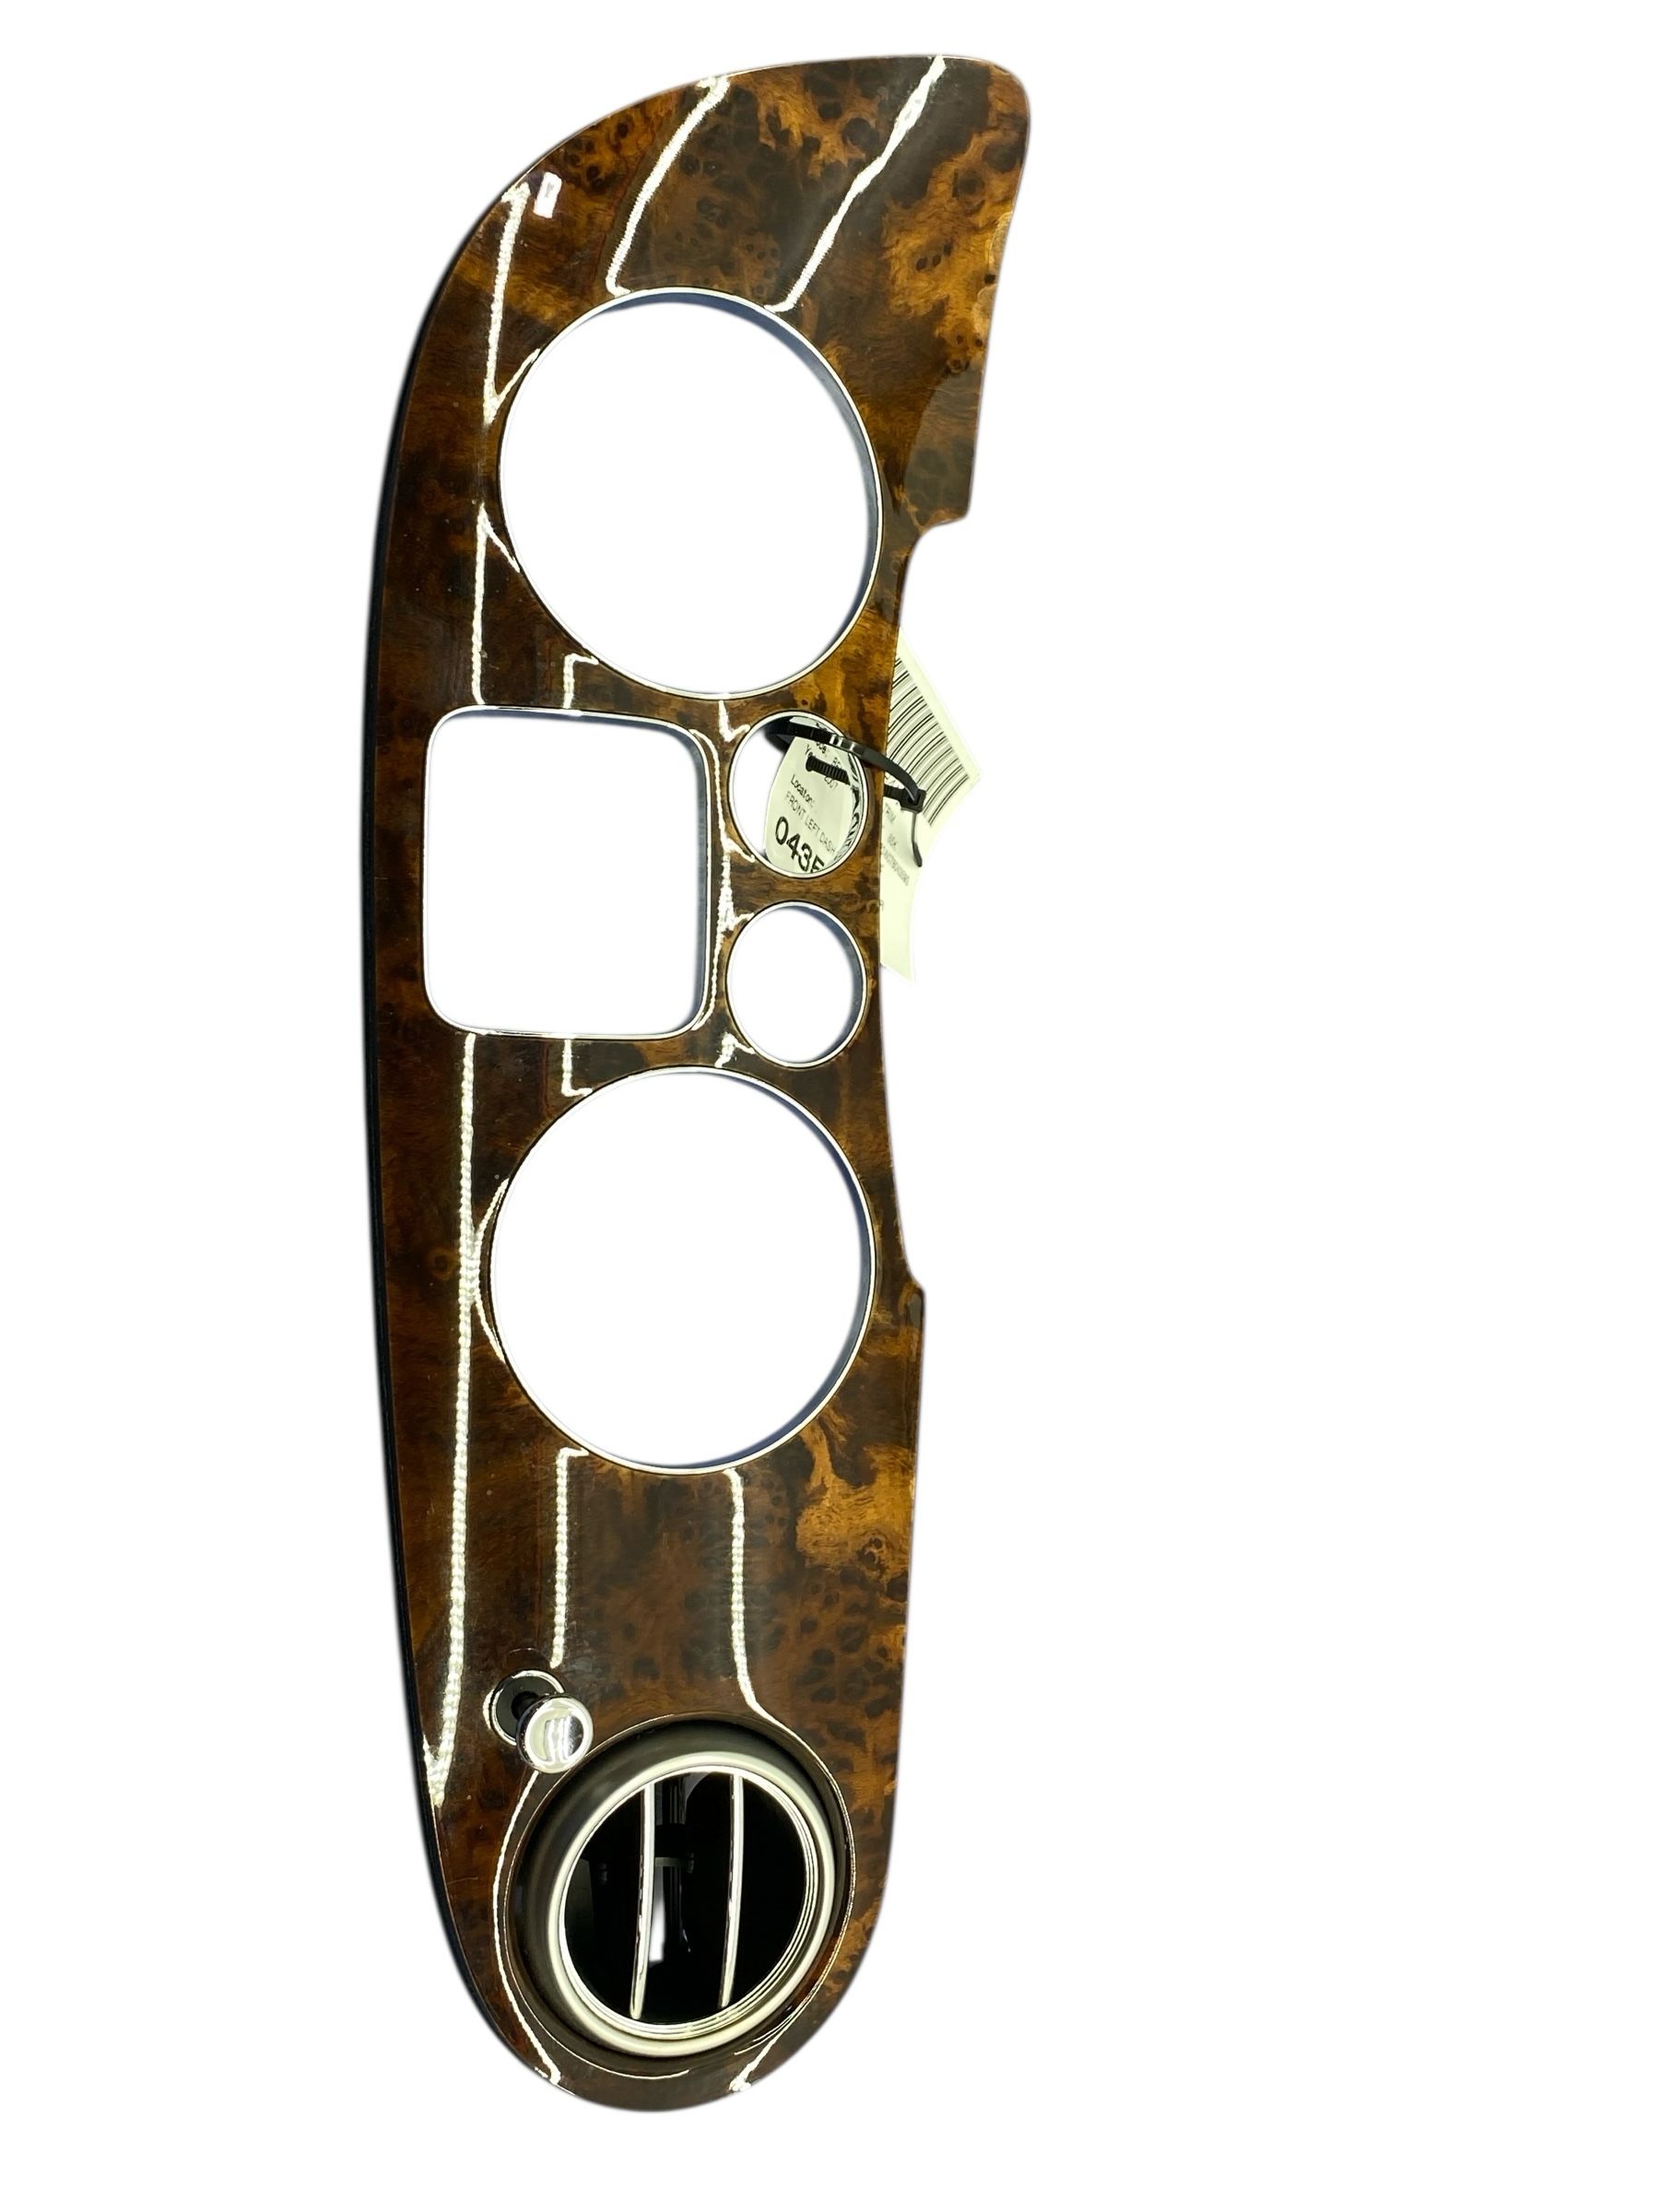
The most common problem is the development of fine, web-like cracks in the clear lacquer finish. This is often called “crazing.” These cracks are caused by the natural wood base expanding and contracting at a different rate than the hard lacquer finish, especially with exposure to heat and UV rays. The damage often appears first on the top edges most exposed to the sun.
Veneer Delamination or Peeling
In more advanced stages of failure, the wood veneer itself may begin to lift and peel away from its underlying substrate. This often starts at the edges of the panel or around the cutouts for the air vent. Once the veneer starts to peel, the damage can accelerate quickly.
Fading or Discoloration
Years of sun exposure can cause the wood veneer to fade and the lacquer to take on a yellowish tint. This can alter the color of the wood, causing it to look different from other wood panels in the car that have had less sun exposure.
Rattling or Buzzing Noises
The bezel is held in place by a series of metal and plastic clips. If these clips break, often during a previous repair, the panel can become loose. This may cause persistent rattling or buzzing sounds from the dashboard, especially when driving on uneven roads.
Damaged Integrated Air Vents
The center air vents are built into the bezel. If the vent louvers or their metal adjustment knobs are broken or stuck, the entire bezel assembly must be replaced to restore function.
Buying a Used Dash Bezel: A Guide to a Perfect Match
Given the extremely high cost of a new OEM bezel from a Bentley dealer, a quality used part is the best value. However, careful inspection is critical to get a part that is a true upgrade.
Warning: The veneer is pressed onto a shaped aluminum substrate, making it difficult for specialists to refinish a single damaged piece. It's often more practical to replace the entire panel.
🎬 See how specialists repair and refinish classic Bentley wood1. Match Your Wood Grain EXACTLY
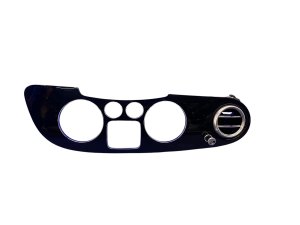
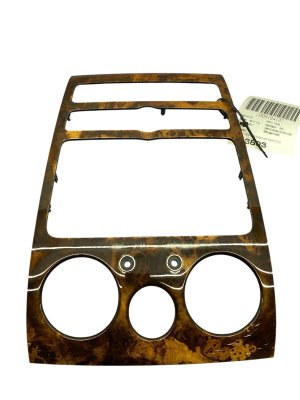
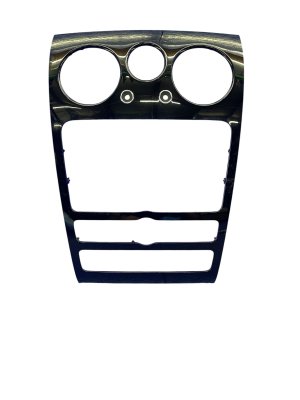
This is the most important step. Bentley offered a wide array of wood and material finishes, and entire vehicle sets were often made from the same tree to ensure a perfect grain match. Common options for this generation include:
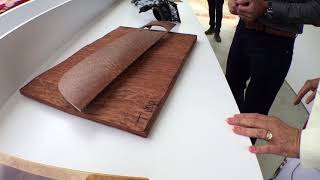
🎬 Watch: Learn about Bentley's bespoke wood selection process- Burr Walnut (Standard and Dark Stained)
- Piano Black
- Dark Fiddleback Eucalyptus
- Tamo Ash
- Liquid Amber
- Koa
- Carbon Fiber
Before buying, take several high-resolution photos of your existing trim in bright, indirect light to compare with the seller's part. Some sellers may also offer dual-finish or open-pore options, which have a different texture and sheen.
2. Inspect for Lacquer Cracks and Peeling
Ask the seller for close-up photos of the surface, especially the top edge and corners. Look for any signs of crazing (fine cracks), cloudiness, or areas where the veneer is starting to lift or bubble. A part with minor cracks may be acceptable if your current one is severely damaged, but a pristine one is always preferable.
3. Check All Mounting Tabs
Turn the bezel over and inspect the back. Ensure all plastic and metal mounting clips are present and intact. Even one broken tab can cause a poor fit or lead to the same rattles you might be trying to fix. If any tabs are broken, it's best to find another part.
4. Examine the Air Vents
Ask the seller to confirm that the vent louvers move smoothly and that the chrome "organ stop" adjustment knobs are not broken, loose, or stiff.
Known Issues, Recalls, and TSBs
There are no specific recalls or Technical Service Bulletins (TSBs) from the NHTSA for the dash bezel itself. Failures are considered cosmetic wear and tear. However, a recall was issued for 2012-2014 Continental and 2012-2014 Flying Spur models for a loose battery cable connection at the firewall, which posed a fire risk. While unrelated to the bezel, it's a critical safety check for any vehicle in this range.
Replacement Cost Comparison
Prices for Bentley interior parts are high, making a used OEM part the most sensible option for most owners.
| Part Type | Estimated Cost |
|---|---|
| New OEM | $2,000 - $4,000+ (Varies by dealer and veneer type) |
| New Aftermarket | Not commonly available |
| Used OEM | $250 - $600 |
| Remanufactured / Refinished | $500 - $1,500+ (Service to refinish your existing part) |
| Shop Labor | $150 - $350 |
Installation Guide: Is This a DIY Job?
Replacing the dash bezel is a feasible DIY project for a careful and patient owner. The main risk is scratching or damaging the expensive surrounding trim.
- Difficulty: 3/5
- Estimated Time: 1-1.5 Hours
Step-by-Step Overview
- Use Proper Tools: You will need a set of plastic trim removal tools to avoid scratching the leather dashboard or adjacent panels.
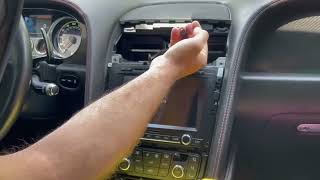
- Pry Carefully: The bezel is held in by strong clips and simply pops off. Start at a lower corner and gently work your way around the edge, prying the panel straight out. 🎬 Watch: Step-by-step dash bezel and radio removal guide
- Disconnect Electronics: Once the panel is loose, do not pull it away completely. Reach behind it to access the electrical connectors for the clock and hazard switch. Press the release tabs and unplug them.
- Install New Bezel: Connect the electrical plugs to the new bezel. Align the panel with the opening and press firmly around the edges to engage all the clips. You should hear them click into place.
Pro Tip: Some videos suggest you can use your fingers to wiggle the panel out, reducing the risk of scratching from tools. Place a soft microfiber towel on the center console below the bezel to protect it in case the panel drops.
Frequently Asked Questions (FAQ)
How can I be sure I'm ordering the right wood trim for my Bentley?
The best way is to identify your car's original build specification, which lists the exact veneer type. If that's not possible, take clear, well-lit photos of your existing wood trim and compare them meticulously to the part you intend to buy. Pay attention to color, grain pattern, and whether it's a high-gloss or open-pore finish.
Can a cracked or peeling veneer be repaired?
Yes, there are specialty shops that can professionally refinish and re-veneer Bentley woodwork, but it is a complex and expensive process. For a single cracked panel like the dash bezel, it is almost always more cost-effective to replace it with a good-condition used part.
Will a bezel from a Continental GT fit a Flying Spur?
Yes, within the specified year ranges (2012-2018 Continental and 2014-2019 Flying Spur), the center dash bezel is a shared part. However, always verify the part number and visual match, as subtle variations can exist between trim levels and special editions.
What causes the rattling noise from my dash bezel?
Rattling is almost always caused by broken or loose mounting clips on the back of the panel. This often happens if the panel was removed carelessly during a previous repair, such as for the radio or climate controls located behind it.
Helpful Videos

Technical Specifications
OEM Part Numbers: 3W0857059
Material: Real wood veneer on an aluminum or composite substrate. Finishes include high-gloss lacquer (0.5mm thick) and open-pore wax-like finishes (0.1mm thick).
We Have This Part in Stock


The information in this article is provided for general reference and educational purposes only. Vehicle specifications, procedures, and part compatibility can vary by production date, trim level, and region. Always consult your vehicle's factory service manual and verify part numbers before purchasing or performing repairs. Safety-critical components such as airbags, seat belts, and braking systems should be installed by a qualified professional.
- Bentley Continental:
- Bentley Flying Spur:
- 🎬 Helpful Videos
- 🛍️ Shop This Part
- Common Symptoms of a Failing Dash Bezel
- Cracked Lacquer or "Crazing"
- Veneer Delamination or Peeling
- Fading or Discoloration
- Rattling or Buzzing Noises
- Damaged Integrated Air Vents
- Buying a Used Dash Bezel: A Guide to a Perfect Match
- 1. Match Your Wood Grain EXACTLY
- 2. Inspect for Lacquer Cracks and Peeling
- 3. Check All Mounting Tabs
- 4. Examine the Air Vents
- Known Issues, Recalls, and TSBs
- Replacement Cost Comparison
- Installation Guide: Is This a DIY Job?
- Step-by-Step Overview
- Frequently Asked Questions (FAQ)
- 🎟️ Get 5% Off