

2010-2012 Lexus RX350 Console Trim: Solving Peeling Paint, Color Matching, and Replacement
This guide covers the common cosmetic failures of the 2010-2012 Lexus RX350 and RX450h center console trim and provides detailed instructions for buying a quality used replacement.
- The most common problem is the silver paint peeling off; carefully inspect any used part for signs of bubbling before purchase.
- Compatibility is critical: verify the part is for North American-built models (VIN starts with '2'), matches your interior color code, and has the correct cutouts for your options (e.g., heated seats).
- Replacement is a straightforward DIY task that can be completed in under two hours with basic plastic trim tools.
- There are no safety recalls or TSBs for this cosmetic issue, so repair or replacement is at the owner's discretion and expense.
Known Issues with the 2010-2012 RX350 Console Trim
The most widely reported issue with the console trim on this generation of Lexus RX is cosmetic. Owners frequently report that the silver-painted finish on the trim pieces, especially around the shifter and cupholder area, begins to bubble, peel, or flake off over time. This is a common complaint found in owner forums and is not a functional failure but significantly detracts from the interior's appearance. Other less common issues include scratches from normal use and the potential for mounting tabs to break during removal, which can cause rattles.
Symptoms of a Failing Console Trim Panel
Unlike mechanical parts, the symptoms of a failing console trim panel are almost entirely visual or auditory.
- Peeling or Flaking Paint: The most common symptom is the silver paint lifting off the plastic base, creating an unsightly appearance.
- Visible Scratches or Gouges: Deep scratches from keys, phones, or other objects can mar the surface.
- Rattling or Squeaking Noises: If the panel has been removed previously or has broken mounting clips, it may not sit securely, leading to noises as the vehicle moves.
- Sticky Buttons: While less common on this specific panel, buttons for features like seat heaters can sometimes develop a sticky or gummy feel over time due to material degradation.
Pro Tip: The peeling paint issue is purely cosmetic. Some owners choose to repair their existing panel by carefully sanding the affected area and repainting it with a matching interior trim paint. Another option is to apply a vinyl wrap for a custom look.
Buying a Used Console Trim Panel: What to Inspect
Purchasing a used OEM console trim panel is an excellent way to restore your interior's look without paying high dealership prices. However, careful inspection is key to getting a quality part.
1. Physical Inspection
- Check for Peeling Paint: This is the #1 issue. Scrutinize photos for any signs of bubbling, flaking, or peeling, no matter how small. What starts as a small bubble will eventually peel completely.
- Inspect All Mounting Tabs: Ask for photos of the back of the panel. Ensure all plastic mounting clips and tabs are intact. A single broken tab can cause a persistent and annoying rattle.
- Look for Scratches: Check for deep scratches or wear marks, especially in the high-traffic areas around the cupholders and shifter.
2. Compatibility Verification
Warning: Not all 2010-2012 RX350 console trims are the same. Verifying compatibility before you buy is essential.
- Build Location: These parts are primarily for North American-built models. Check the sticker on the driver's side door jamb for your vehicle's build location. A VIN starting with '2' indicates a North American (Canada) build, while a 'J' indicates a Japanese build. Parts may not be interchangeable between regions.
- Color Code: Lexus offered several interior colors, most commonly Black, Light Gray, and Parchment (a beige/ivory color). The part number suffix often indicates the color. For example, part number 58804-0E010-C0 designates a black panel. Check the seller's description and photos carefully to match your interior. Your vehicle's interior trim code can be found on the driver's door jamb sticker, labeled as 'C/TR'.
- Heated/Ventilated Seats: The console panel has specific cutouts for the heated and ventilated seat switches. Ensure the panel you are buying has the correct configuration for your vehicle's options. A panel without the cutouts cannot be easily modified.
- RX350 vs. RX450h: The console trim panels are generally interchangeable between the RX350 and the hybrid RX450h models of the same year range, provided the color and options match.
Replacement Overview & Difficulty
Replacing the center console trim is a manageable DIY project for most owners with basic tools.
- Installation Difficulty: 2 out of 5
- Estimated Time: 1 - 1.5 hours
- Tools Required: Plastic trim removal tools, Phillips head screwdriver, possibly a 10mm socket.
The general process involves unscrewing the shift knob, carefully prying up the shifter and cupholder surround with a trim tool, disconnecting any electrical connectors for seat heaters or power outlets, and then removing the main panel. It is crucial to use plastic pry tools to avoid scratching or damaging the surrounding dashboard components.
🎬 Watch: Step-by-step center console removal guideKnown Issues, TSBs, and Recalls
There are no known recalls or Technical Service Bulletins (TSBs) from Lexus or the NHTSA specifically addressing the cosmetic peeling of the console trim panel. Recalls for the 2010-2012 RX350 pertain to issues like accelerator pedal entrapment, airbag inflators, and brake actuators, none of which are related to the interior trim.
Cost Comparison
| Part Type | Estimated Cost |
|---|---|
| New OEM | $730 - $1,040 |
| New Aftermarket | Not commonly available |
| Used OEM | $100 - $250 |
| Shop Labor | $125 - $225 |
OEM Part Numbers & Variants
The console is made of several pieces. The main upper panel is the most common part that needs replacement due to peeling paint. The part numbers listed are for various components of the console assembly. Always verify the exact part number with the seller based on your VIN.
| Part Number | Description | Notes |
|---|---|---|
| 58804-0E010-C0 | Upper Console Panel | Color: Black. For Canada-built models. |
| 58903-0E020-A0 | Console Box Door / Armrest | Color: Ivory / Parchment |
| 58910-0E110-A0 | Rear Console Box Assembly | Color: Ivory / Parchment |
| 55618-0E040-C0 | Cup Holder Assembly | Color: Black |
Frequently Asked Questions (FAQ)
Can I just paint my peeling console trim instead of replacing it?
Yes, many owners have successfully repaired the peeling finish. The process involves carefully masking the surrounding area, sanding the peeling section smooth, and applying several light coats of a matching silver interior trim paint. This can be a cost-effective solution if done carefully.
How do I know if my Lexus RX was built in North America or Japan?
Check the Vehicle Identification Number (VIN) on the sticker inside the driver's door jamb or at the base of the windshield. If the first character of the VIN is '2', the vehicle was assembled in Canada (North America). If it starts with 'J', it was assembled in Japan.
Will a console trim from an RX450h fit my RX350?
Yes, for the 2010-2012 model years, the console trim panels are physically the same between the RX350 and RX450h. You must still ensure the color and options (like heated/cooled seat switches) match your vehicle.
Is it difficult to remove the console trim myself?
For most DIYers, it is not a difficult job. It requires patience and the correct plastic trim removal tools to avoid damage. The process involves prying up panels held by clips, removing a few screws, and disconnecting wires. Multiple video tutorials are available online to guide you.
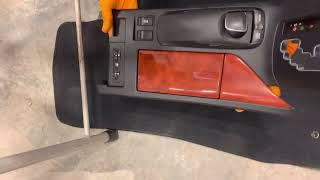
Helpful Videos

Technical Specifications
OEM Part Numbers: 58804-0E010-C0 588040E010C0 58839-48050 58903-0E020-A0 589030E020A0 58910-0E061-A1 58910-0E110-A0 58910-48010-C2 589100E110A0
Material: Plastic. Finishes vary by interior color (Black, Light Gray, Parchment/Ivory).
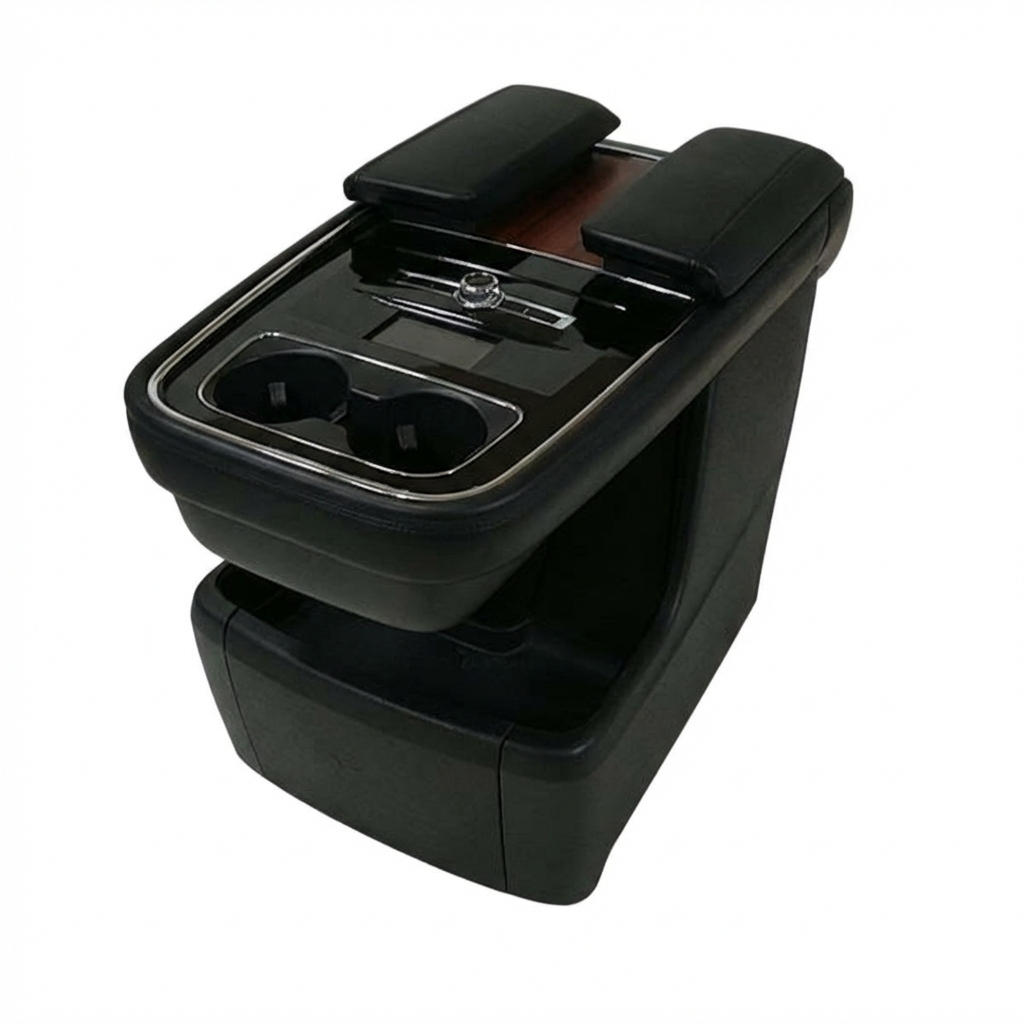
We Have This Part in Stock



The information in this article is provided for general reference and educational purposes only. Vehicle specifications, procedures, and part compatibility can vary by production date, trim level, and region. Always consult your vehicle's factory service manual and verify part numbers before purchasing or performing repairs. Safety-critical components such as airbags, seat belts, and braking systems should be installed by a qualified professional.
- Lexus RX350:
- 🎬 Helpful Videos
- 🛍️ Shop This Part
- Known Issues with the 2010-2012 RX350 Console Trim
- Symptoms of a Failing Console Trim Panel
- Buying a Used Console Trim Panel: What to Inspect
- 1. Physical Inspection
- 2. Compatibility Verification
- Replacement Overview & Difficulty
- Known Issues, TSBs, and Recalls
- Cost Comparison
- OEM Part Numbers & Variants
- Frequently Asked Questions (FAQ)
- 🎟️ Get 5% Off